Let’s talk about dessert bars that have been quietly dominating potlucks since before Instagram made food famous. Revel Bars are the unsung heroes of the cookie world, chewy, fudgy, oatmeal-y perfection that somehow manages to be both rustic and sophisticated.

They’re the kind of treat that makes people close their eyes on the first bite and say things like, “Oh my god, what IS this?”
If you’ve never experienced the magic of a Revel Bar, prepare for your life to change. If you have, welcome home.
This Revel Bars Recipe is about to become your most-requested, most-shared, most stashed in the freezer for emergencies recipe. Let’s get into it.

What Are Revel Bars?
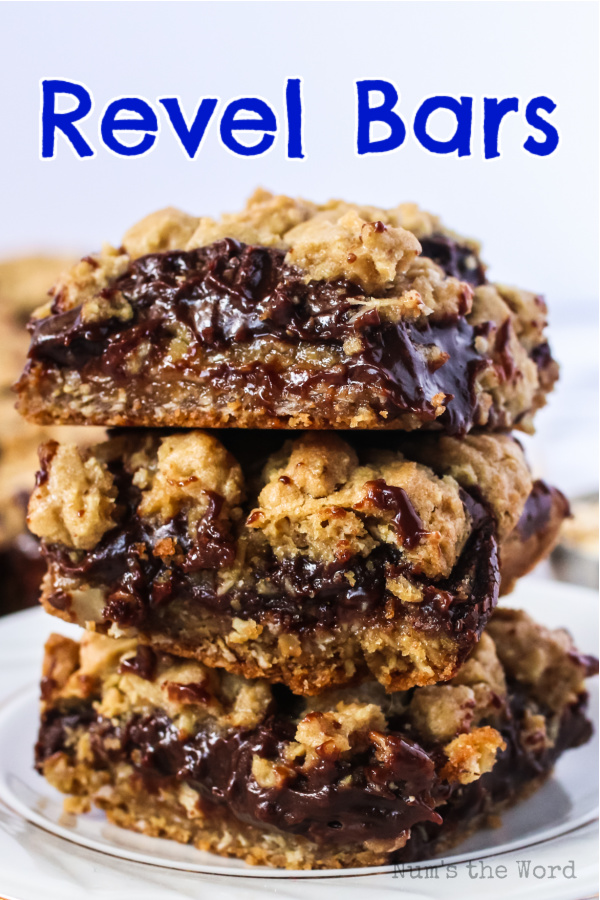
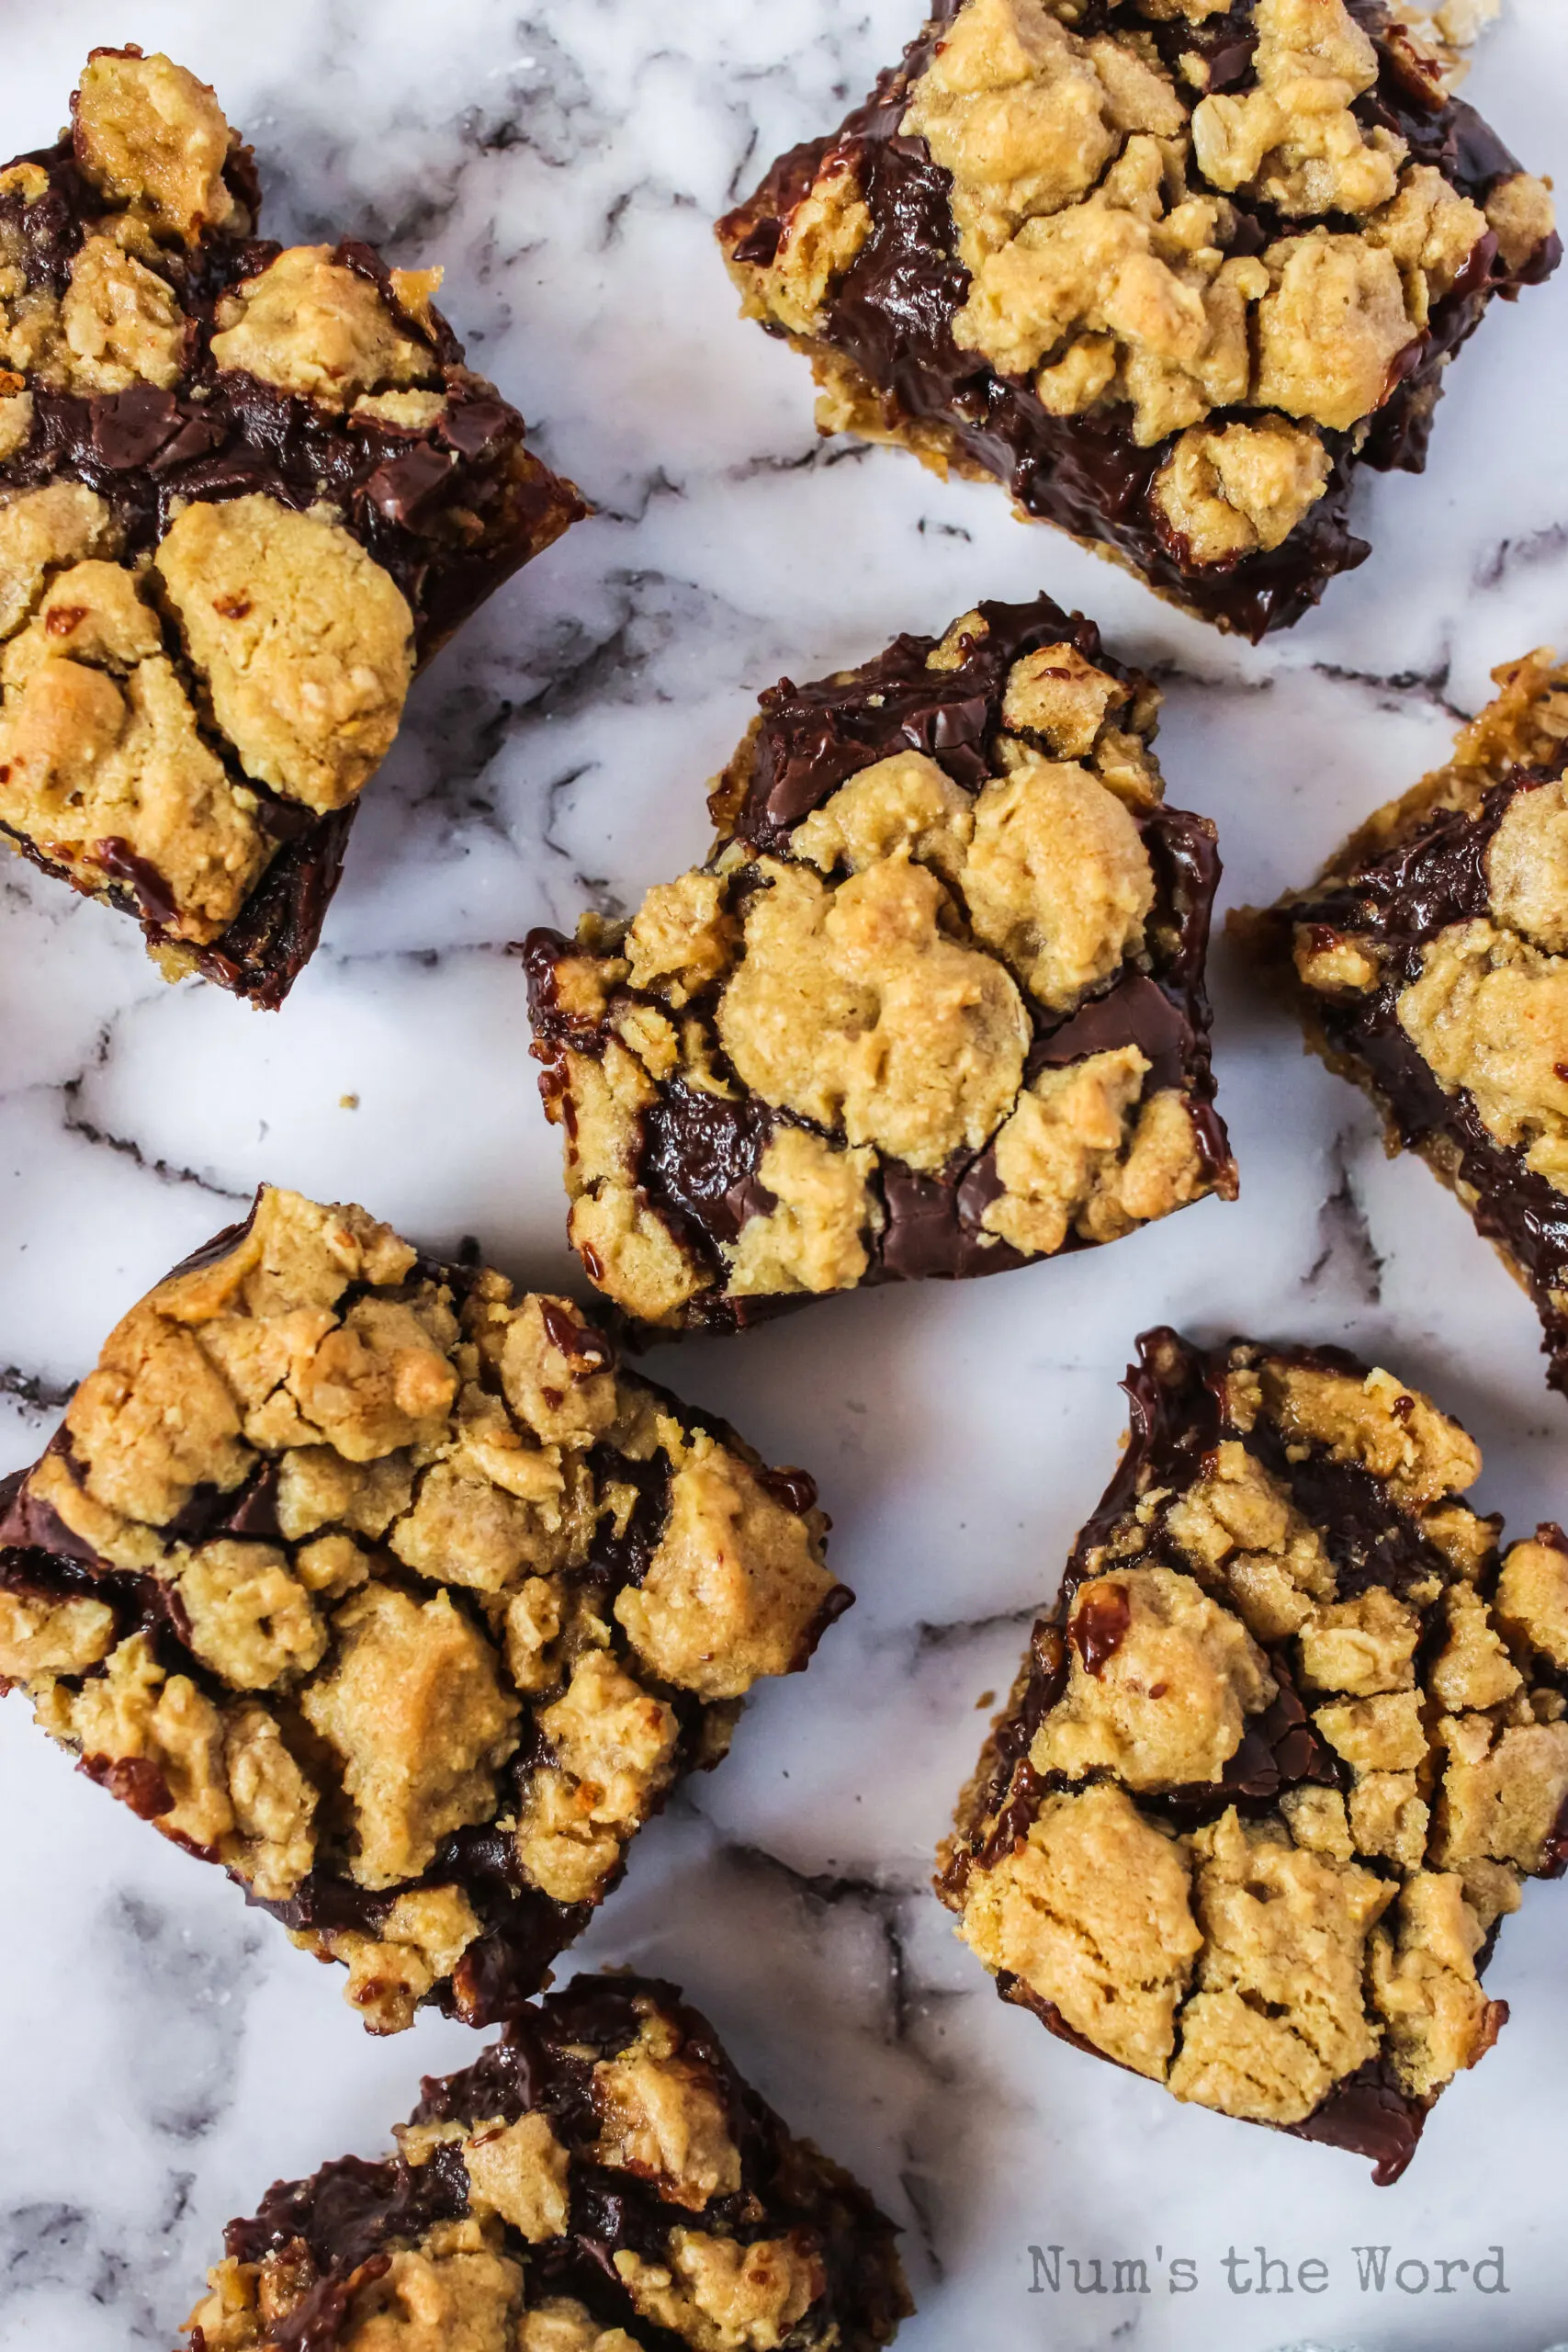
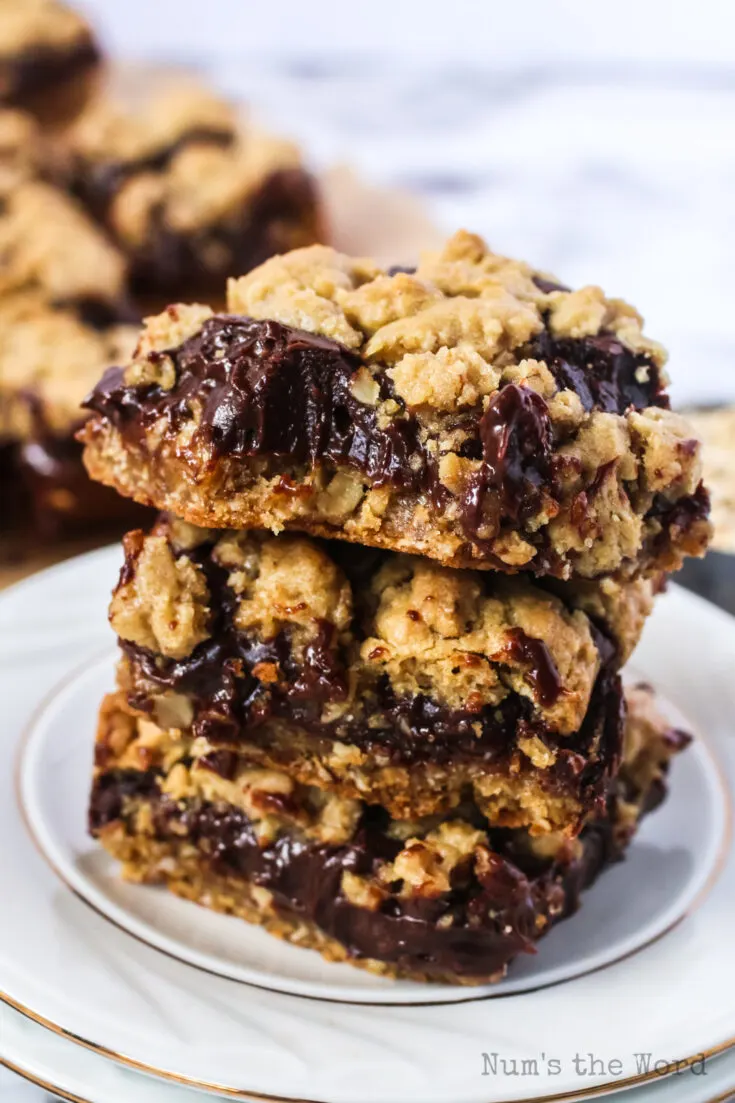
Imagine if an oatmeal cookie and a chocolate fudge brownie had a beautiful, delicious baby. That baby would be a Chocolate Revel Bar.
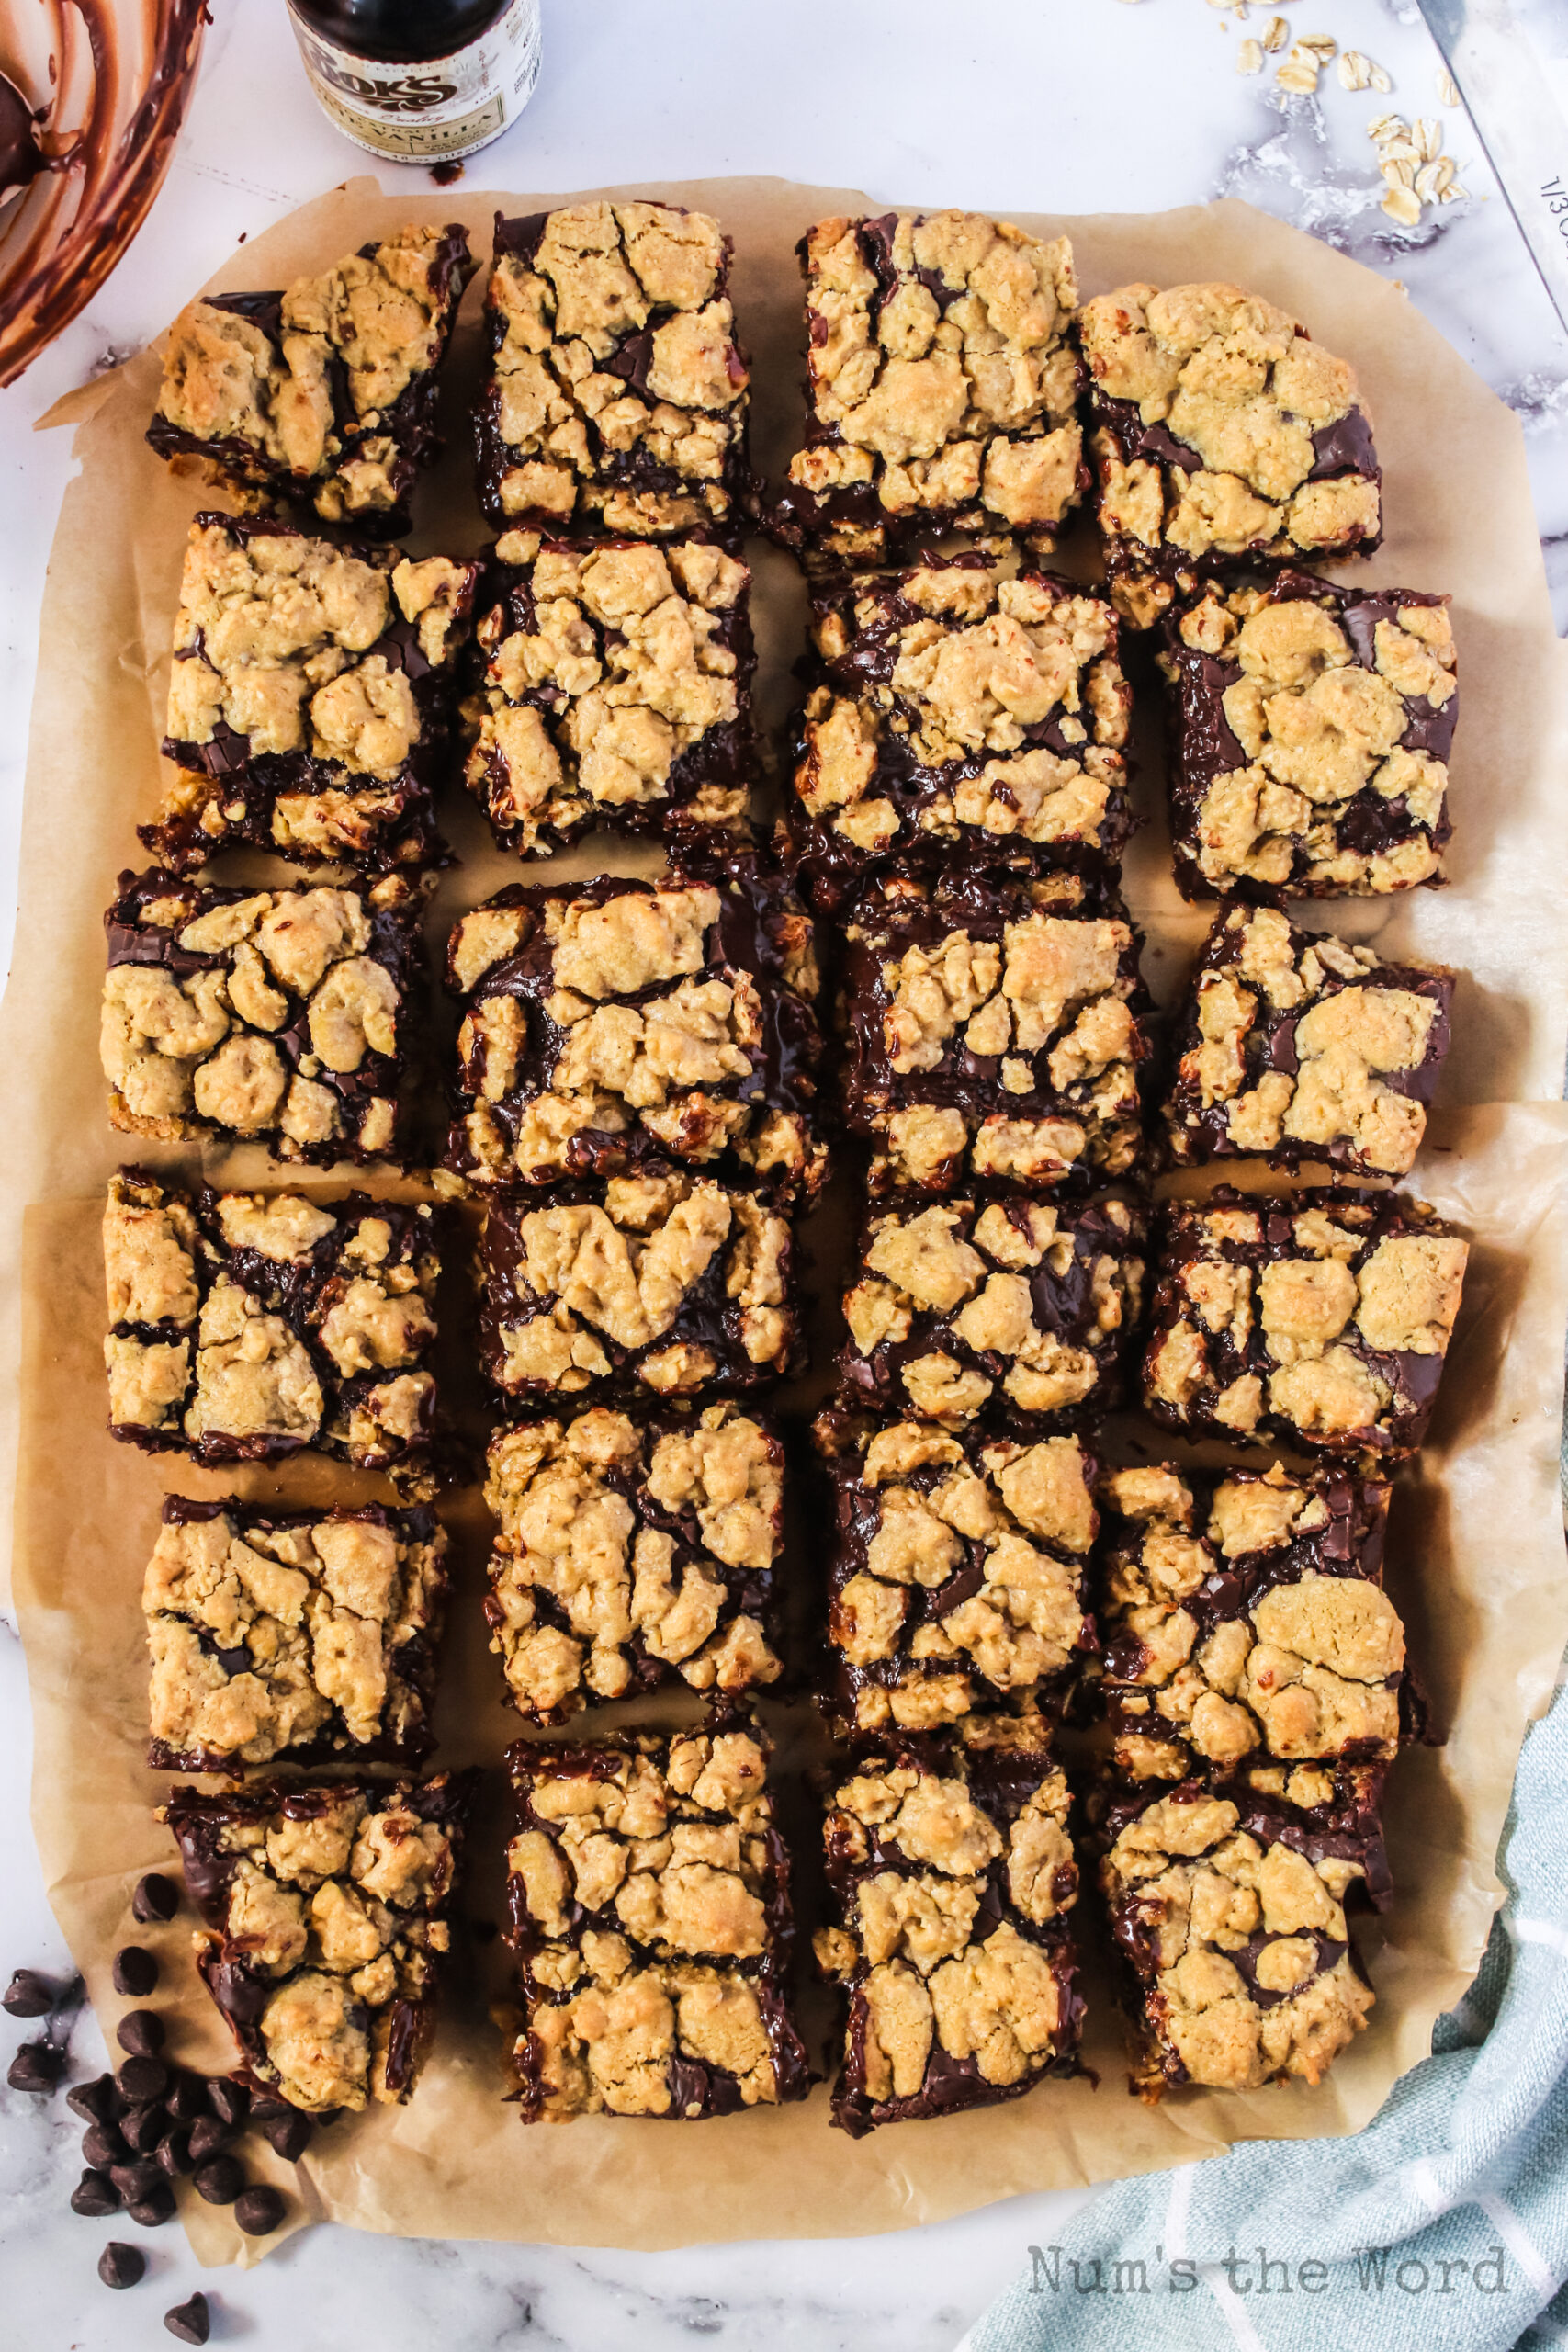
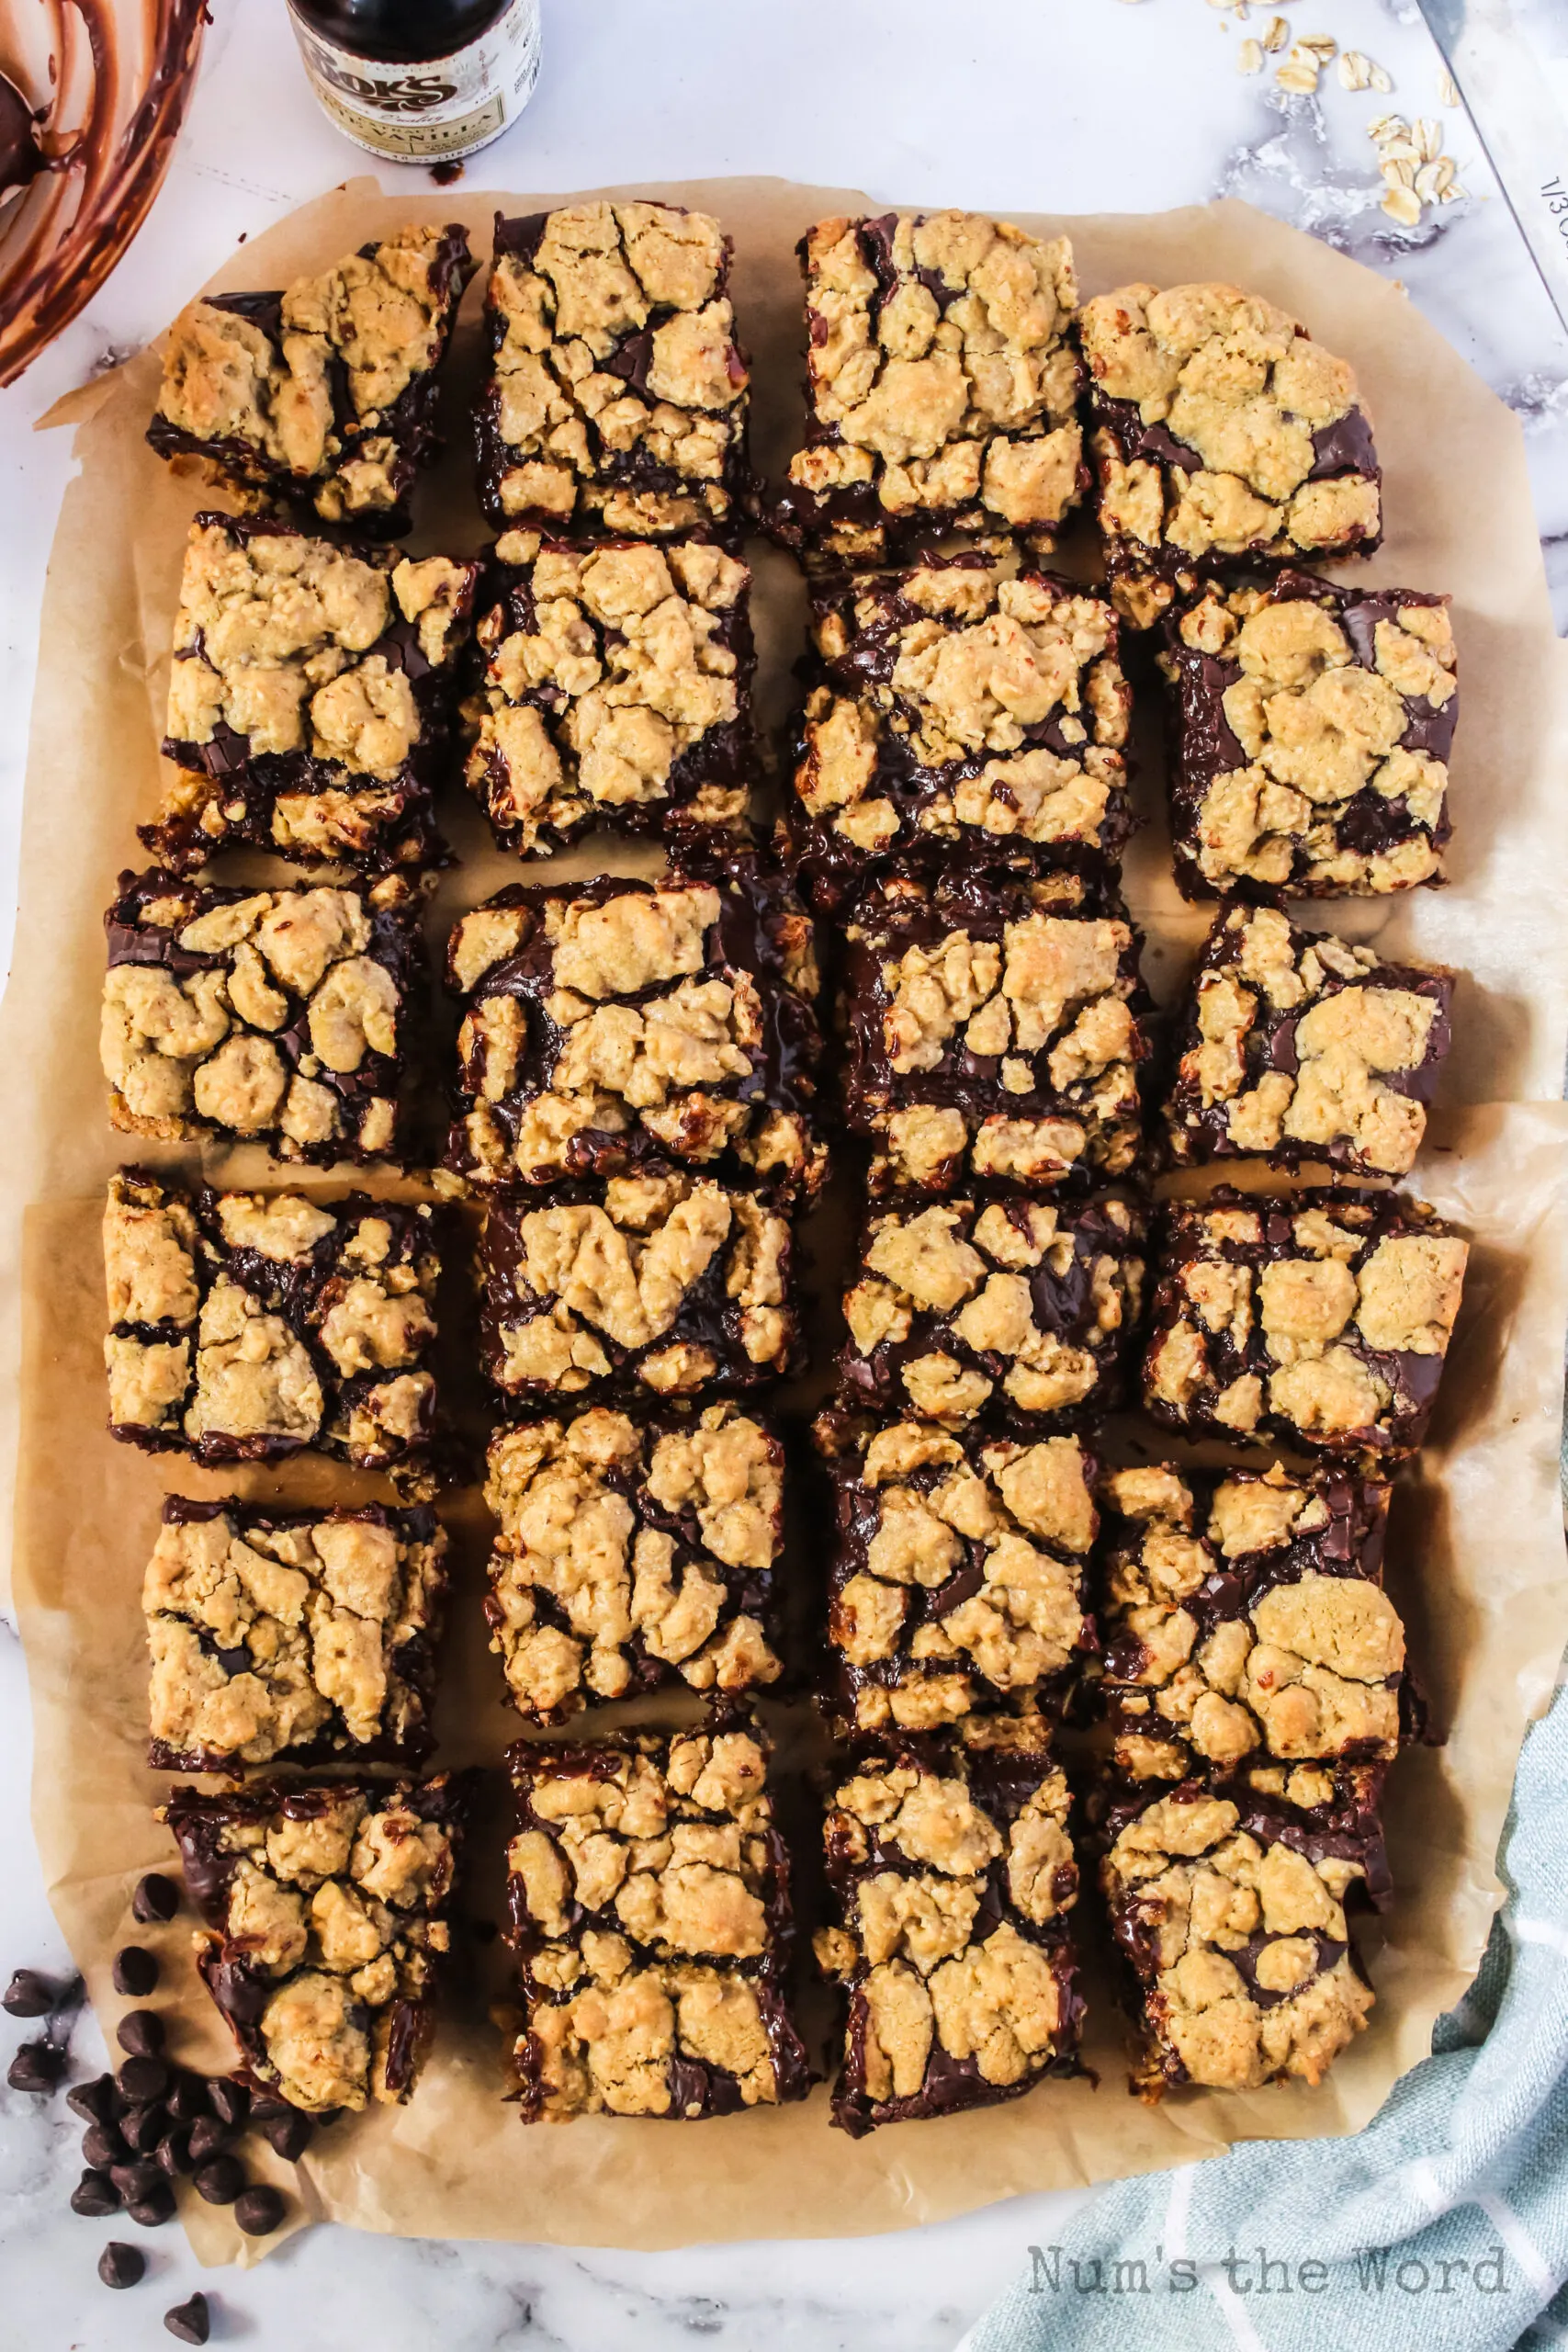
These Oatmeal Chocolate Chip Bars (though let’s be honest, they’re so much more than that) consist of two layers of cookie bar sandwiching a thick, fudgy layer of chocolate.
The top is dotted with more oatmeal dough, creating those signature “chocolate rivers” that peek through the crust.
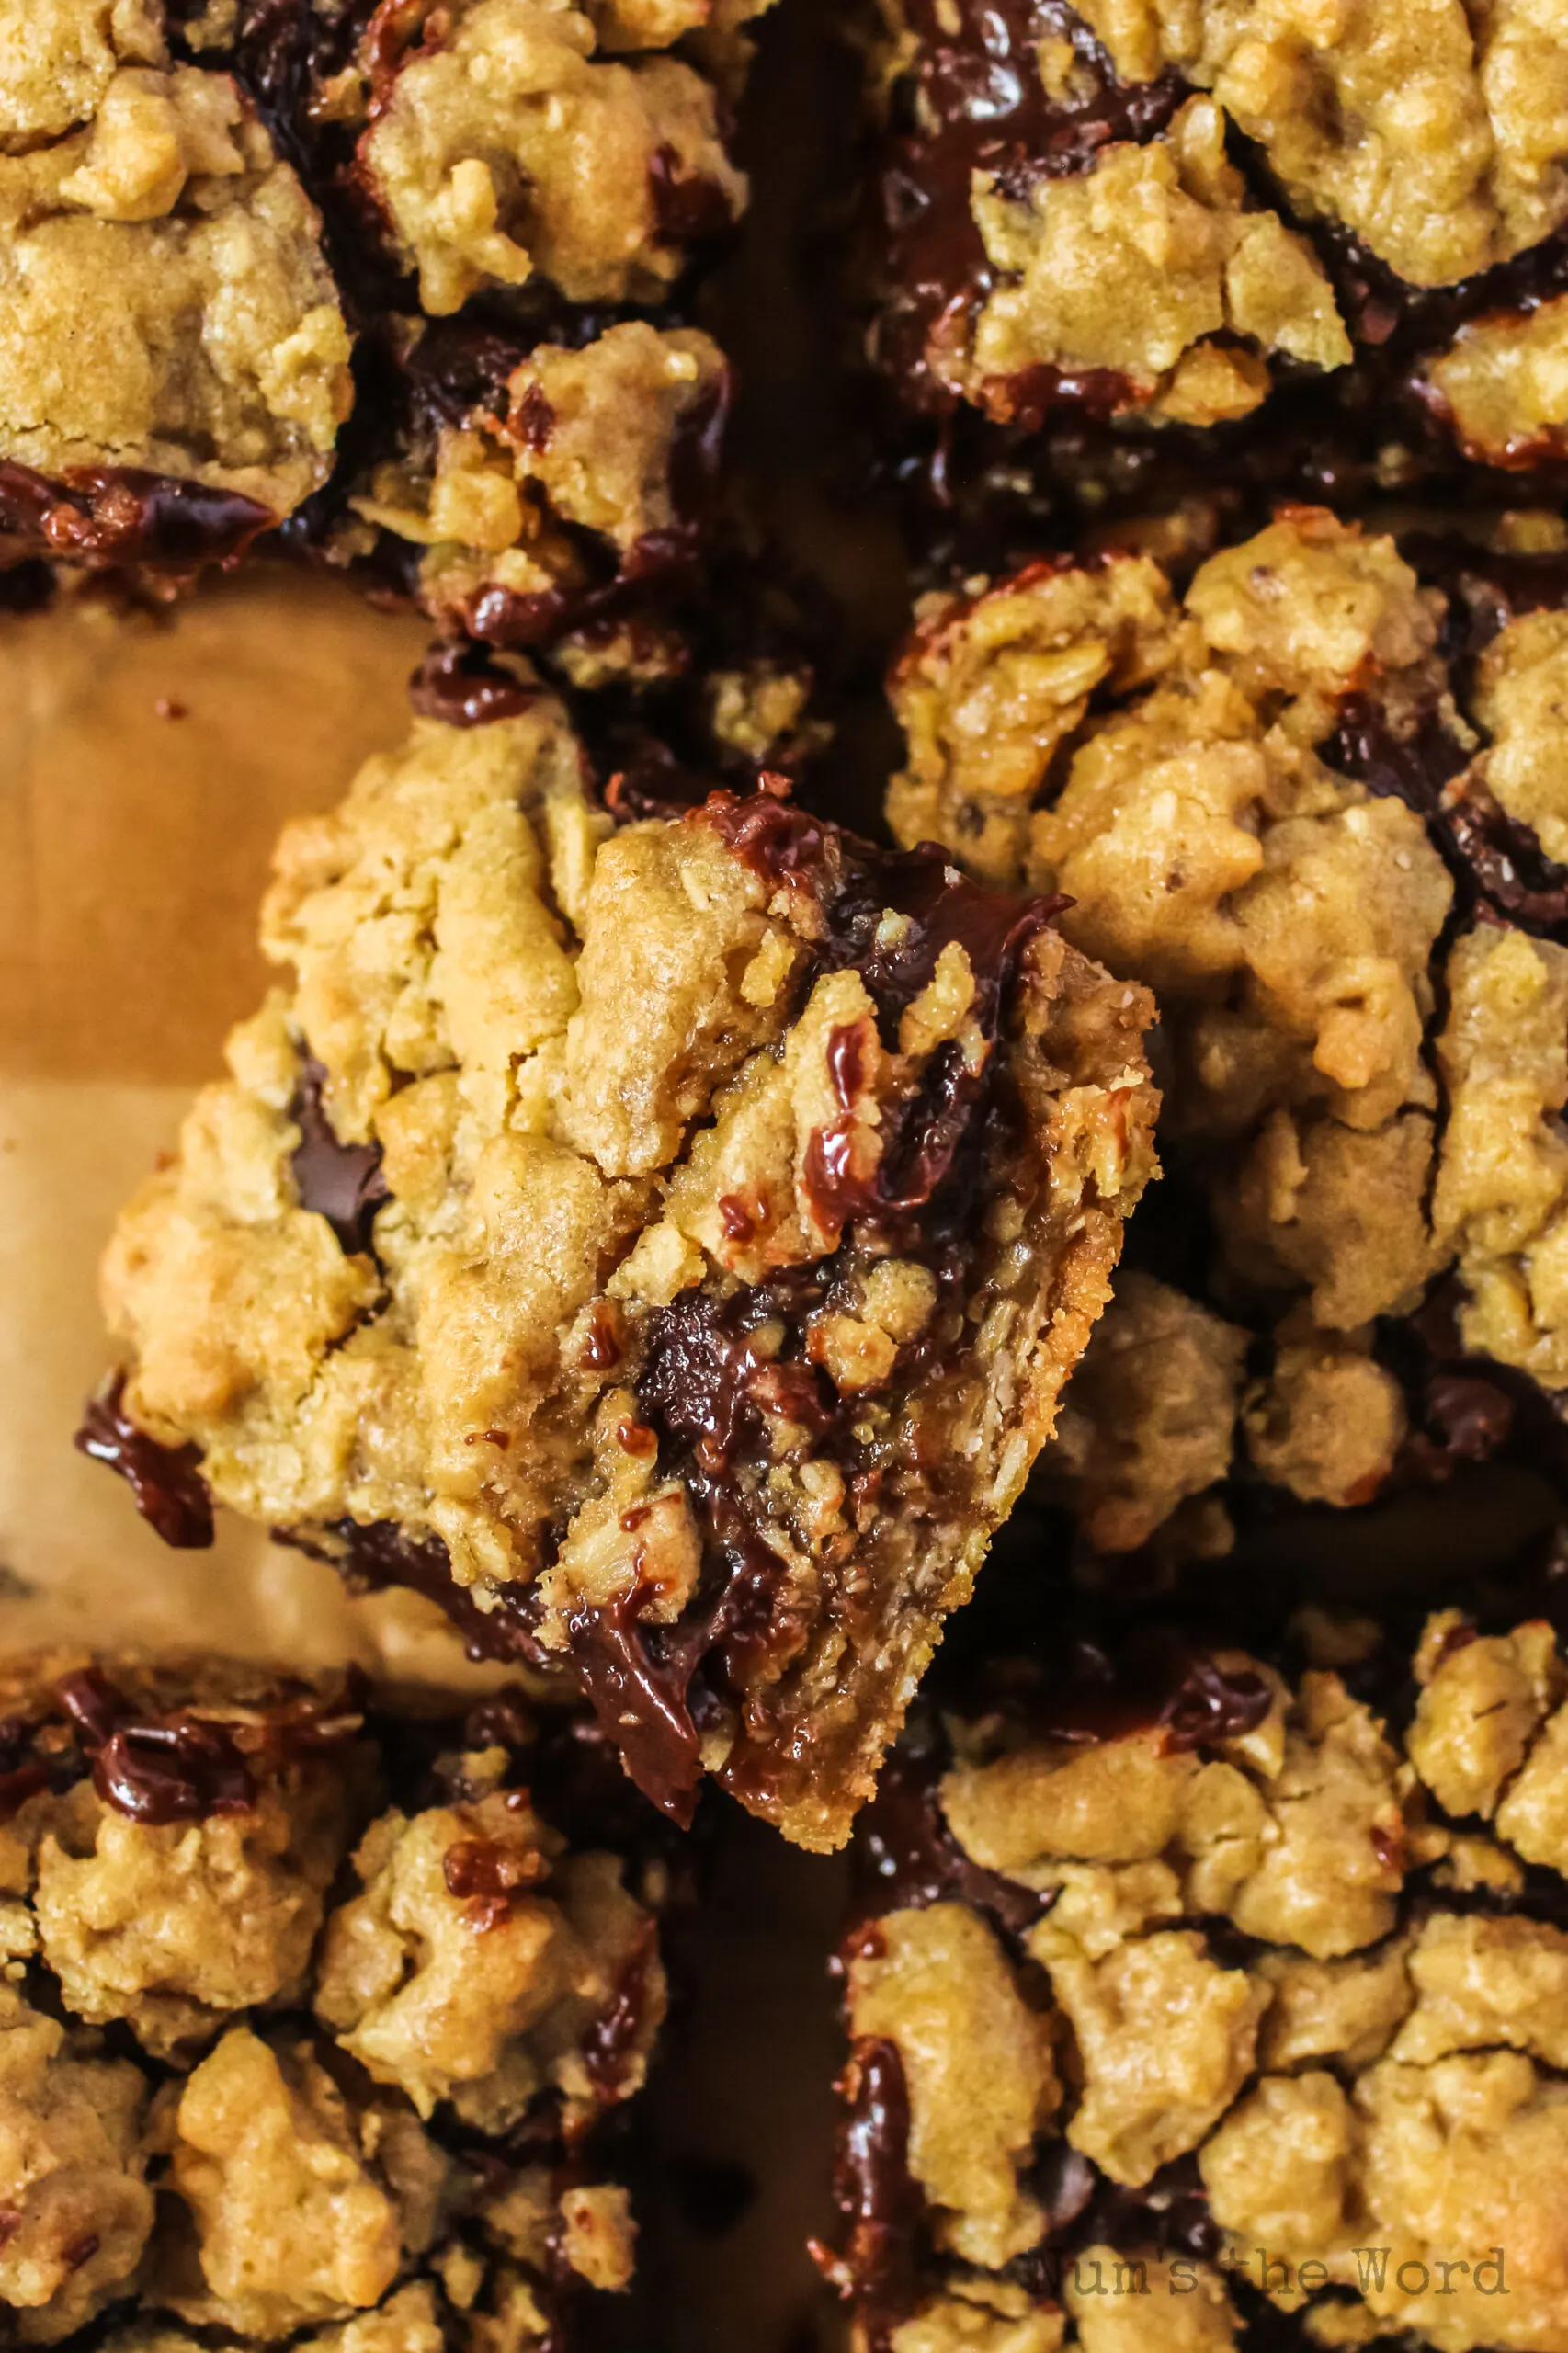
The texture is where these Revel Cookie Bars truly shine.
You’ve got the hearty chew of oats, the buttery richness of brown sugar, and that decadent fudgy center that stays soft for days.
It’s like someone took everything good about dessert and stacked it into one perfect square.
Fun fact: They’re called “revel” bars because you’ll revel in every single bite. Okay, that’s not actually confirmed, but it should be.
Revel Bars Origin: Where Did These Come From?
The true Revel Bars Origin is shrouded in mystery, like the Bermuda Triangle, but with more chocolate and fewer shipwrecks.
What we do know is that these Old Fashioned Revel Bars have been around since at least the 1960s, gracing church cookbooks, community bake sales, and grandmothers’ recipe boxes across America.
Some food historians suggest they emerged from the Midwest, where hearty oatmeal desserts reign supreme and potluck culture demands desserts that travel well and feed a crowd.
Others claim they’re a Southern creation, born from the tradition of layered bar cookies.
Wherever they came from, we’re just grateful they exist.
Unlike trendy desserts that come and go (remember cake pops?), Revel Chocolate Bars have staying power.
They’ve survived decades of food trends because they’re genuinely delicious, not because they’re photogenic, though they happen to be that too.

Ingredients: What You’ll Need
This Revel Bar Recipe uses pantry staples you probably already have, which is dangerous because it means you can make them whenever the craving strikes. Here’s your shopping list:
For the Oatmeal Layers:
- Butter – The foundation of all good things. You’ll need it for both the cookie dough and the fudge layer.
- Light Brown Sugar – Packed firmly, because we’re not messing around. This gives the bars their signature chew and caramel notes.
- Eggs – Room temperature, please. They bind everything together and add richness.
- Vanilla Extract – Good quality stuff. You’ll use it in both layers, so don’t cheap out.
- All Purpose Flour – Regular AP flour is perfect here. No need for fancy cake flour.
- Quick Oats – The quick-cooking variety is traditional, though old-fashioned oats work too (more on that later).
- Baking Soda – For just enough lift to keep the bars from being dense bricks.
- Salt – To balance all that sweetness and make the chocolate sing.
For the Fudge Layer:
- Semi Sweet Chocolate Chips – The backbone of our fudge. You can go darker if you’re feeling fancy.
- Sweetened Condensed Milk – This is non-negotiable. It’s what creates that fudgy, gooey texture that makes Fudge Revel Bars legendary.
- Butter – Just a couple tablespoons to add silkiness to the fudge.
- Vanilla Extract – Because vanilla makes everything better.
- Pecans – Optional but highly recommended. They add crunch, protein (so these are basically health food), and cut through the sweetness.
Pro Tips:
- Toast your pecans before chopping them. It takes 5 minutes in a dry skillet and adds a depth of flavor that will make people think you’re a professional.
- If you like a darker flavor, try dark chocolate chips for the chocolate fudge layer.

How to Make the Best Revel Bars
- Step 1: Prep Work – Preheat your oven to 350°F. Grease a 9×13-inch pan or line it with parchment paper (parchment is your friend for easy removal). Don’t use a glass pan if you can help it – metal conducts heat better and gives you that perfect crisp bottom.
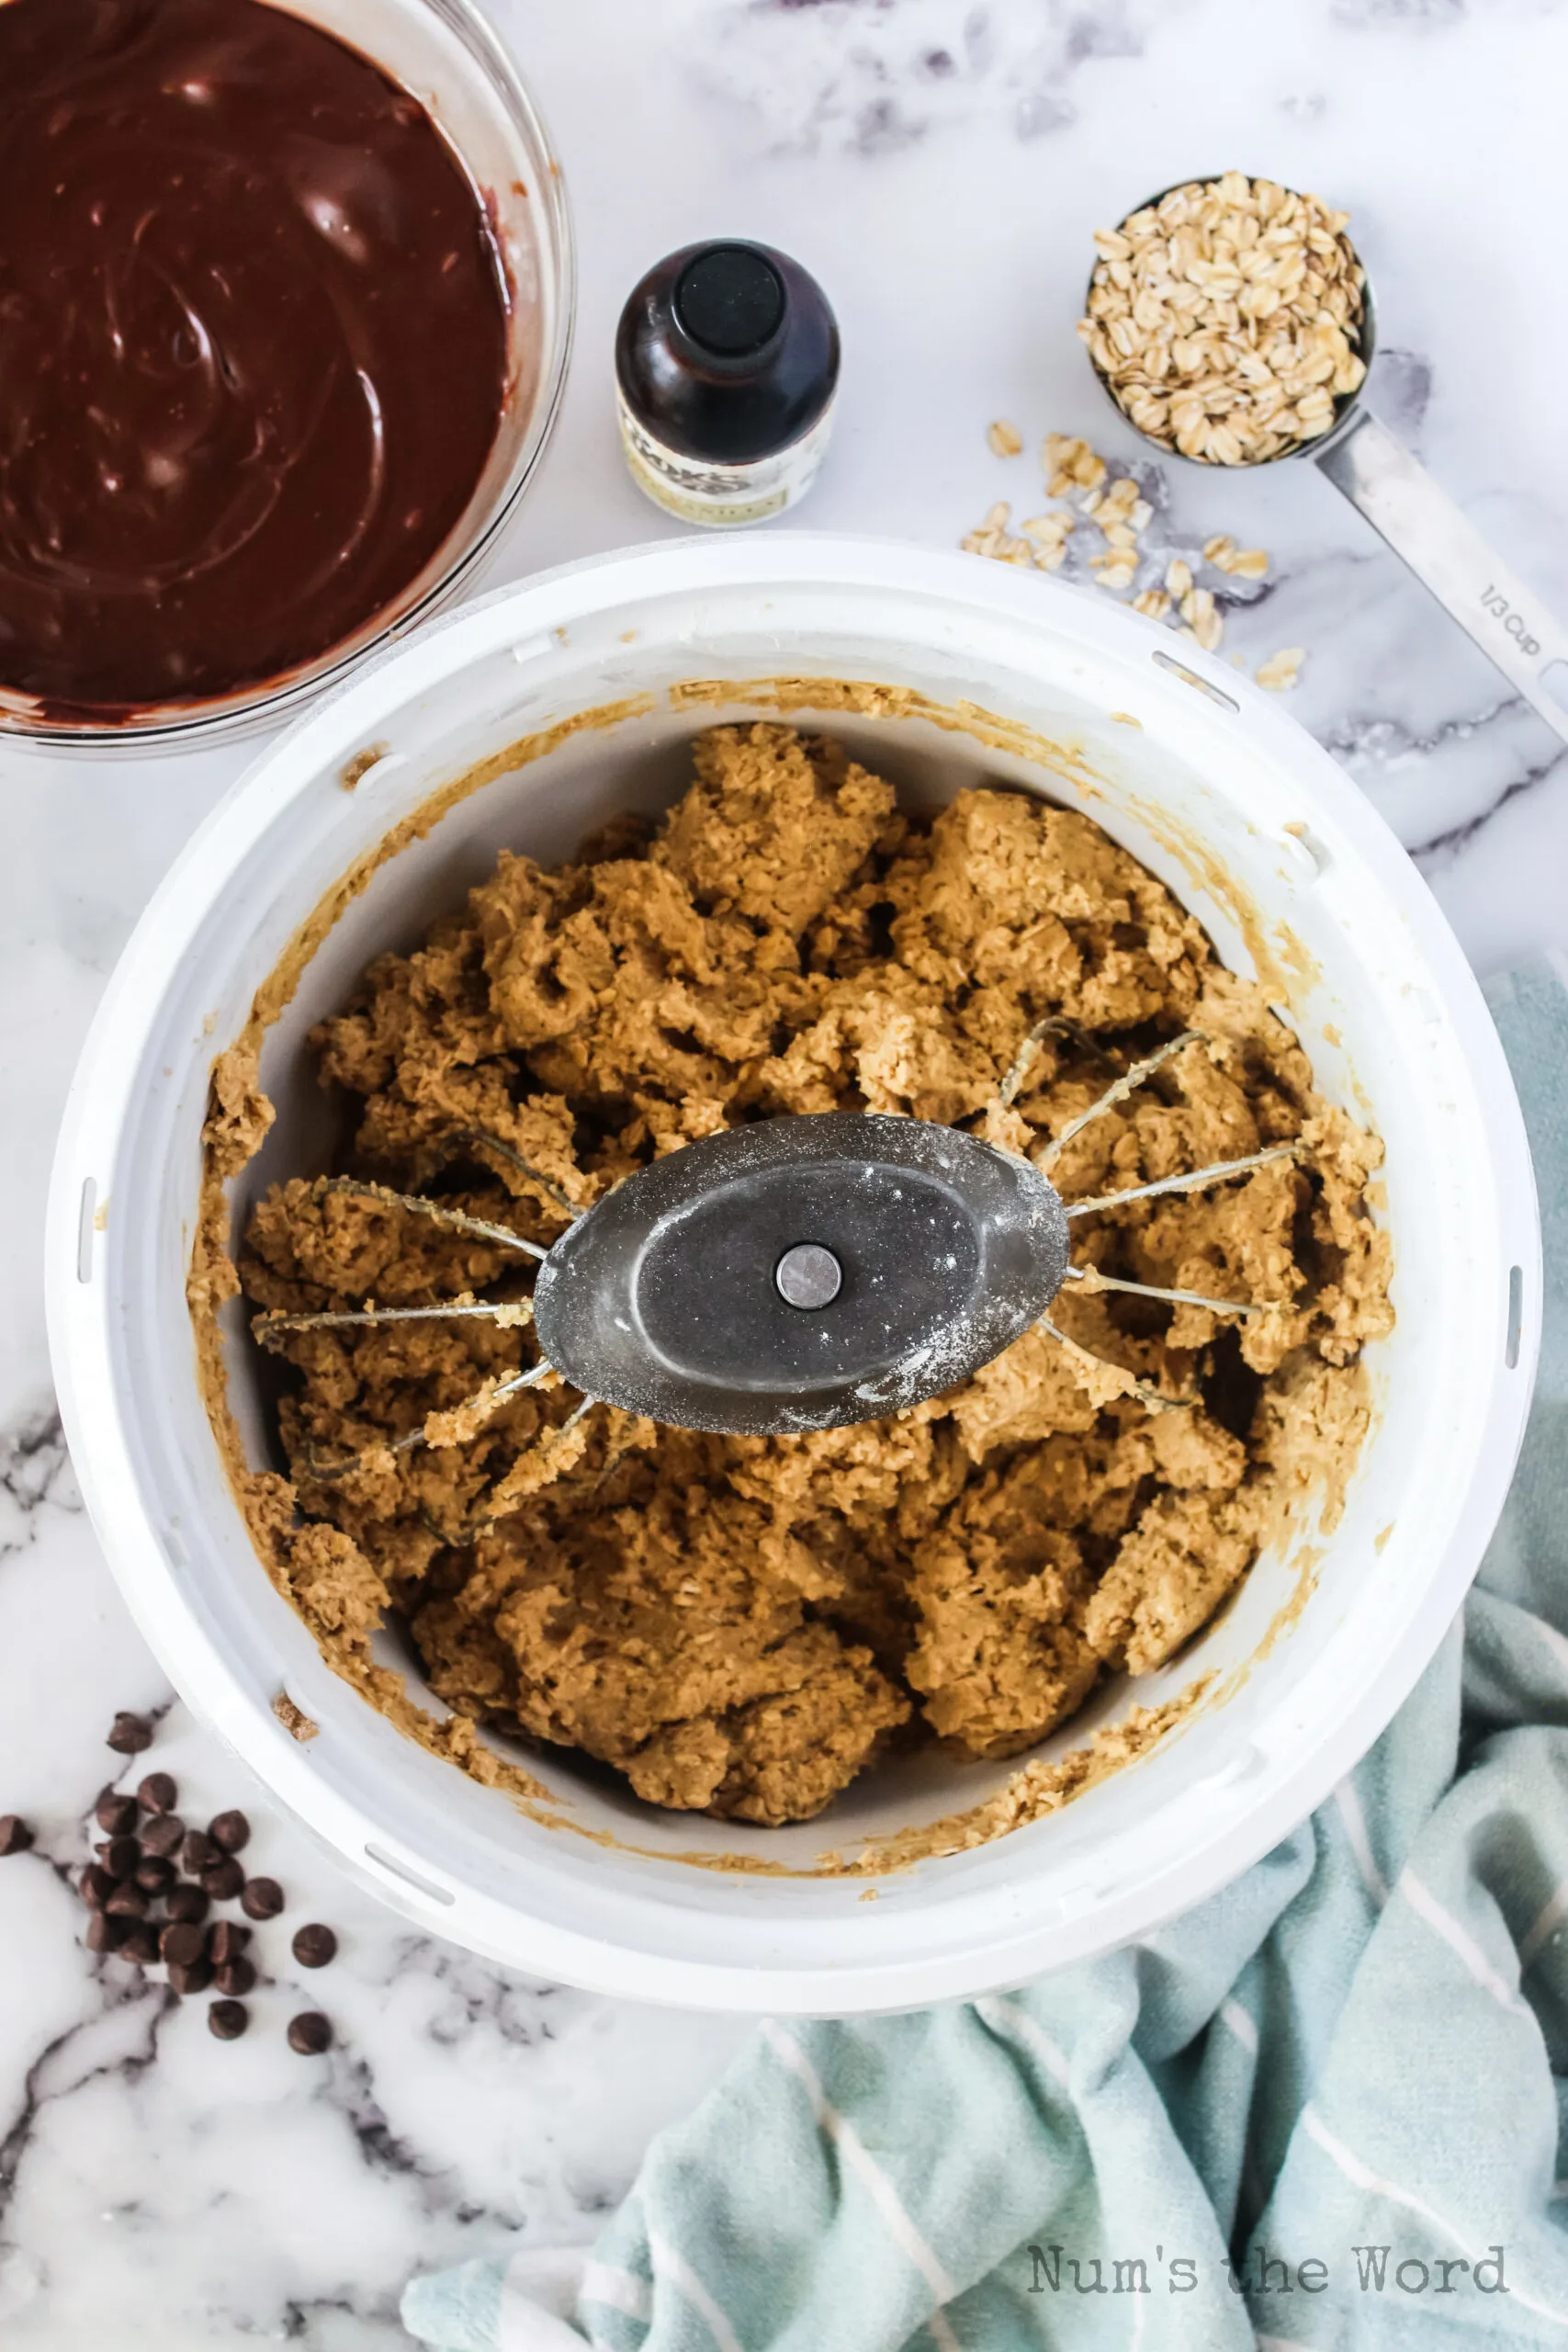
- Step 2: Make the Oatmeal Dough – In a large bowl, whisk together your flour, quick oats, baking soda, and salt. In another bowl (or your stand mixer), cream together the butter and brown sugar until light and fluffy – this takes about 3-4 minutes. Don’t rush it! Add the eggs and vanilla, mixing until smooth and glossy. Gradually add the dry ingredients, mixing just until combined. The dough will be thick and slightly sticky.
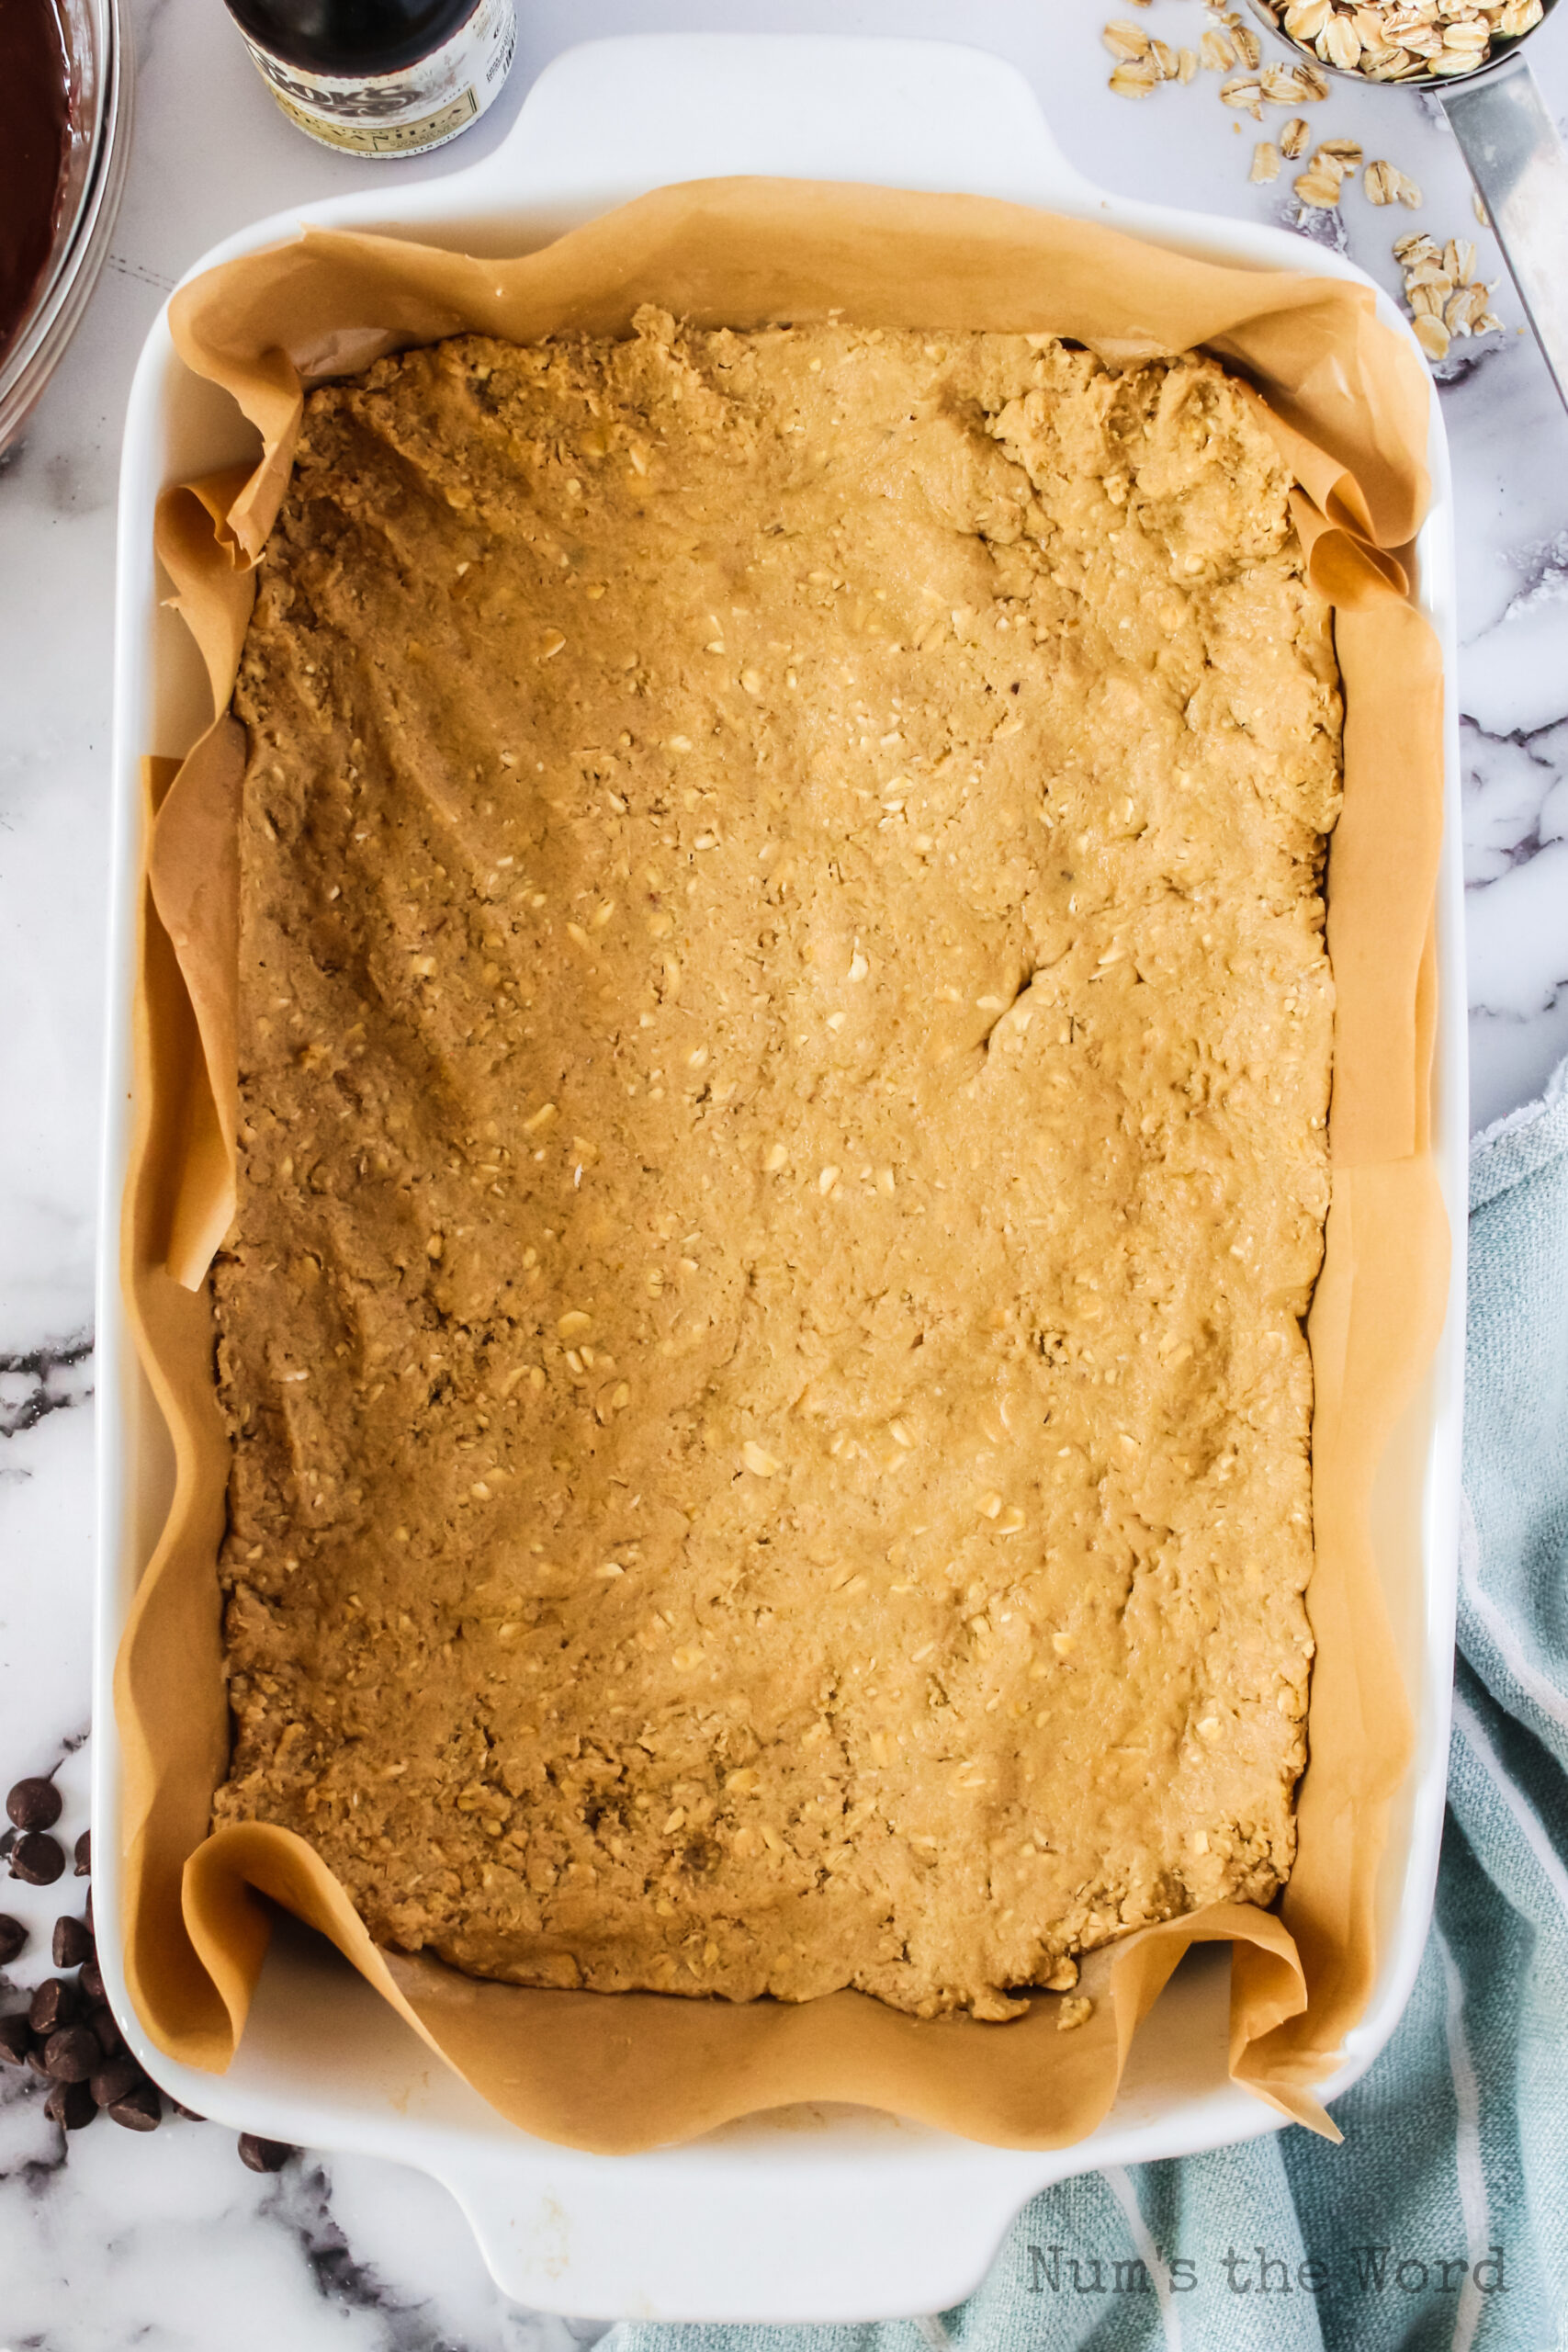
- Step 3: Create the Base – Press about 2/3 of the oatmeal dough into the bottom of your prepared pan. Use your hands or an offset spatula, and press firmly, you want an even layer that reaches all the corners. Set the remaining dough aside (that’s going on top).
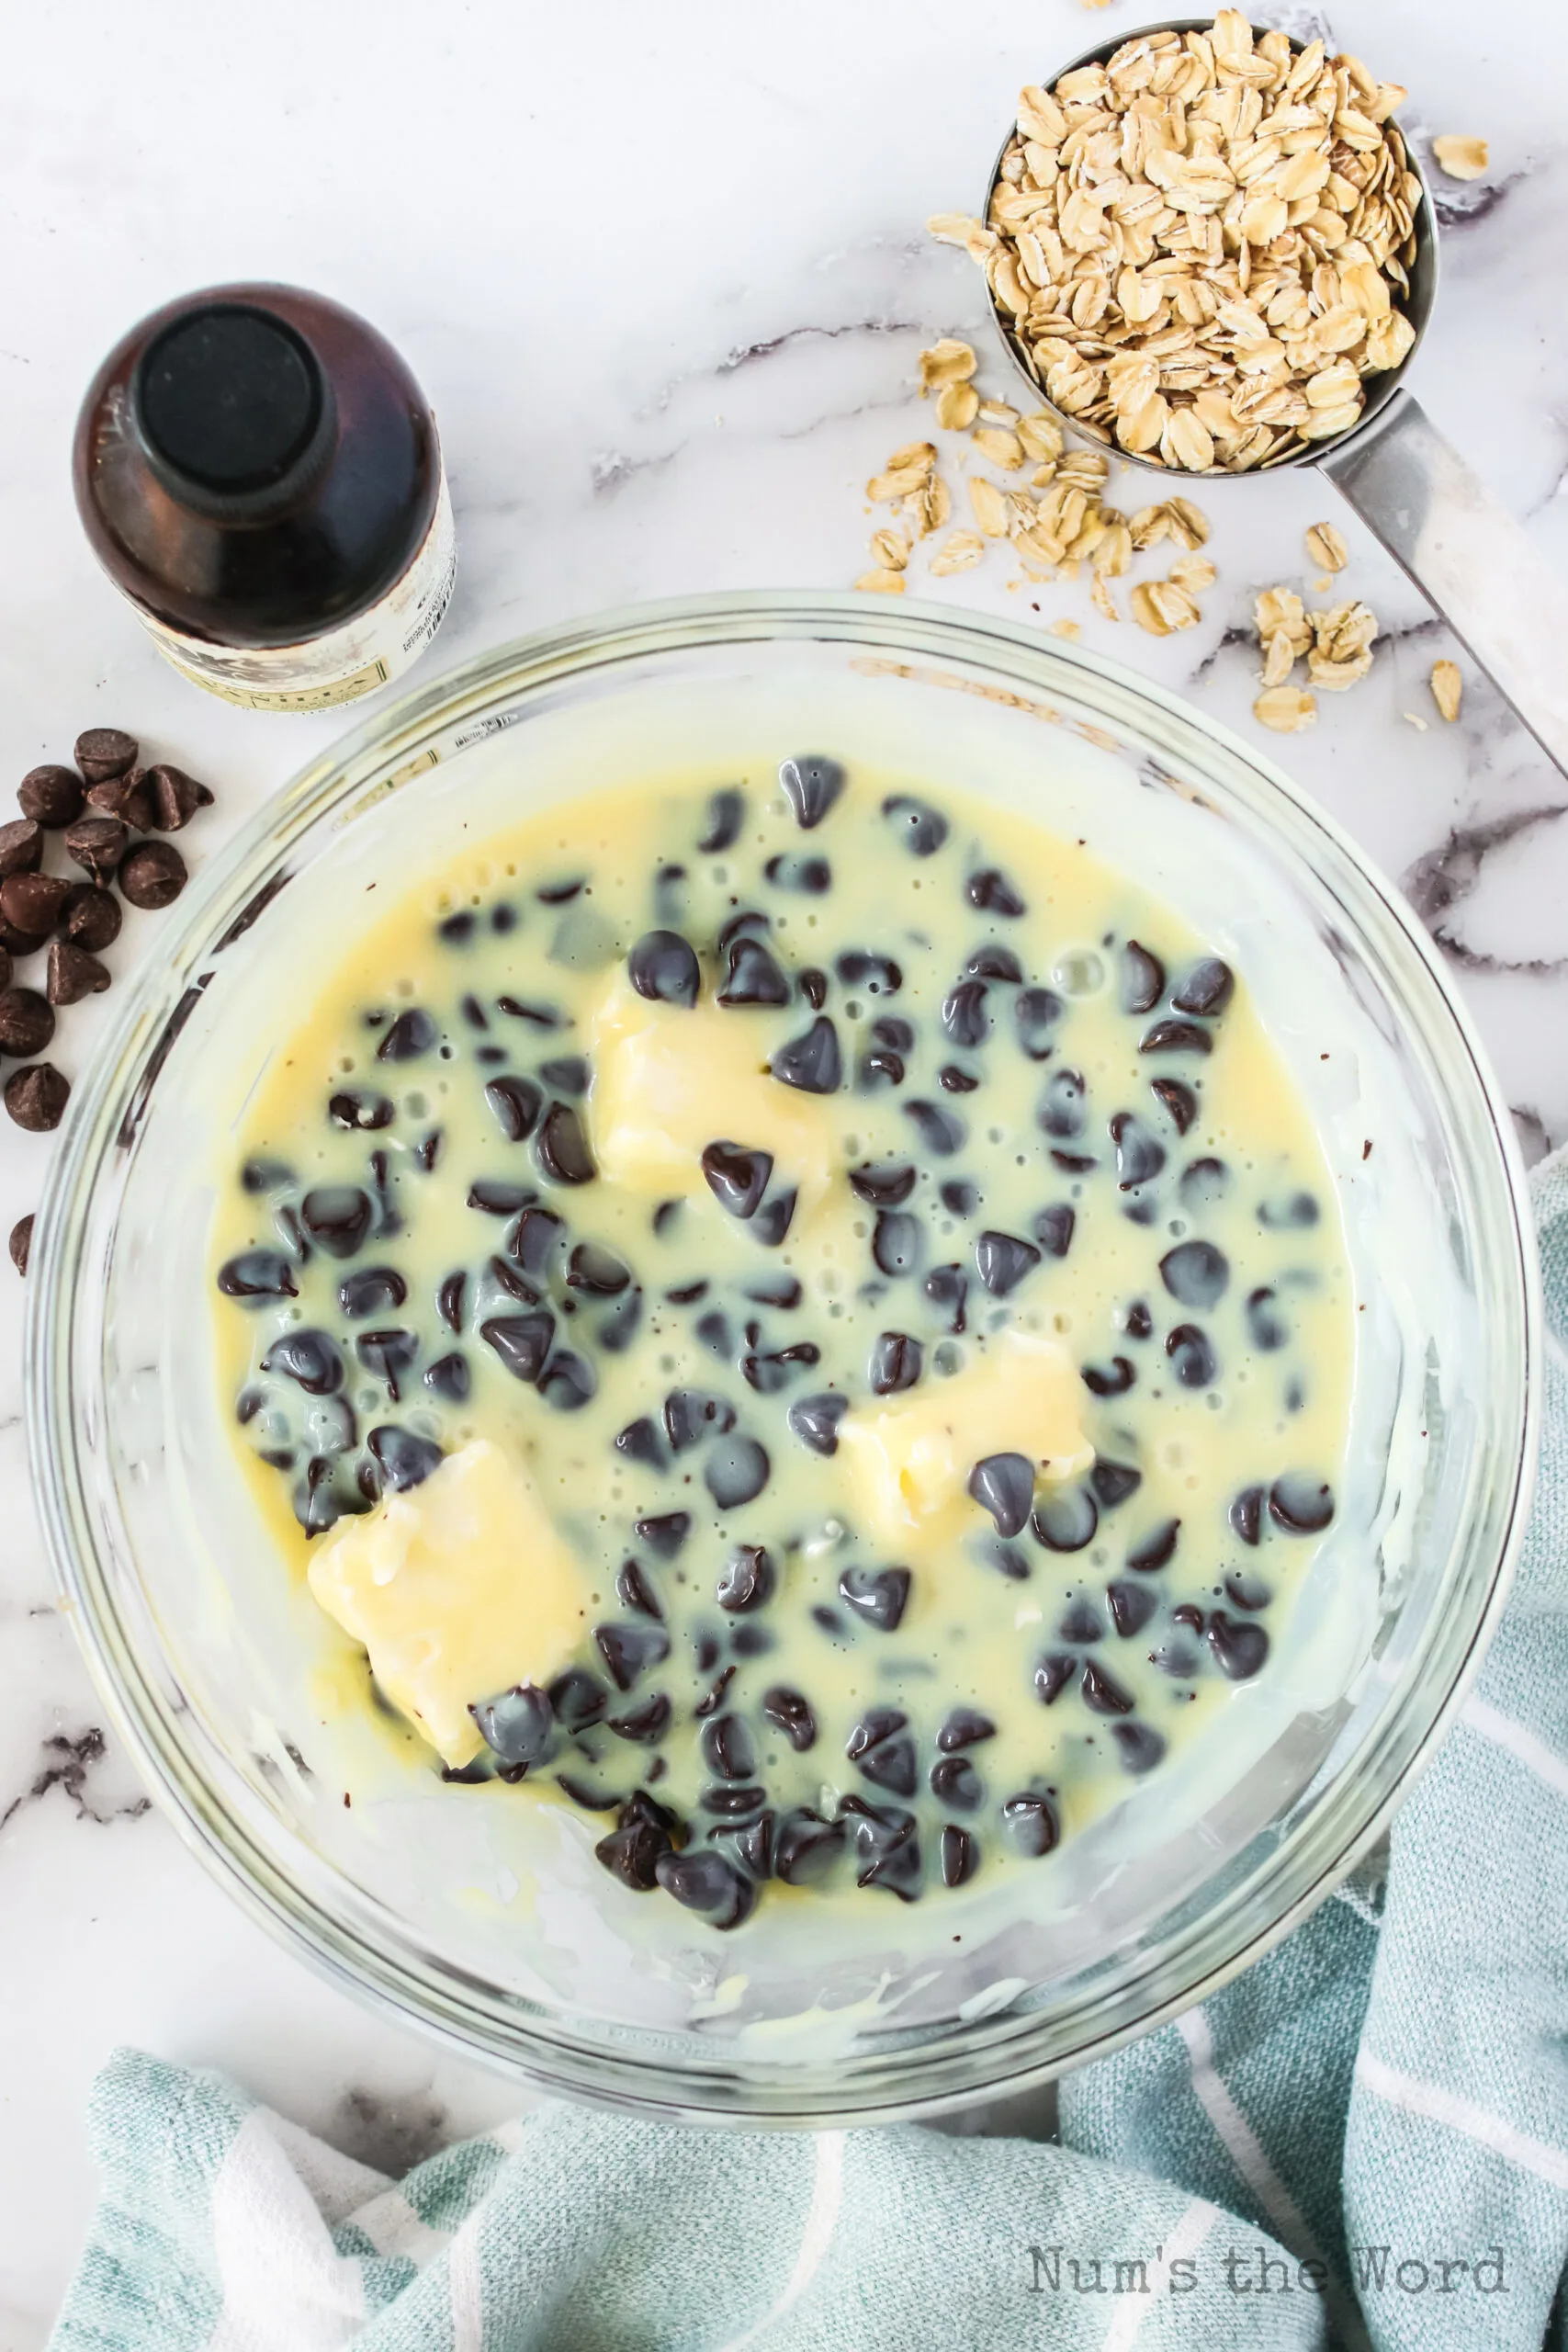
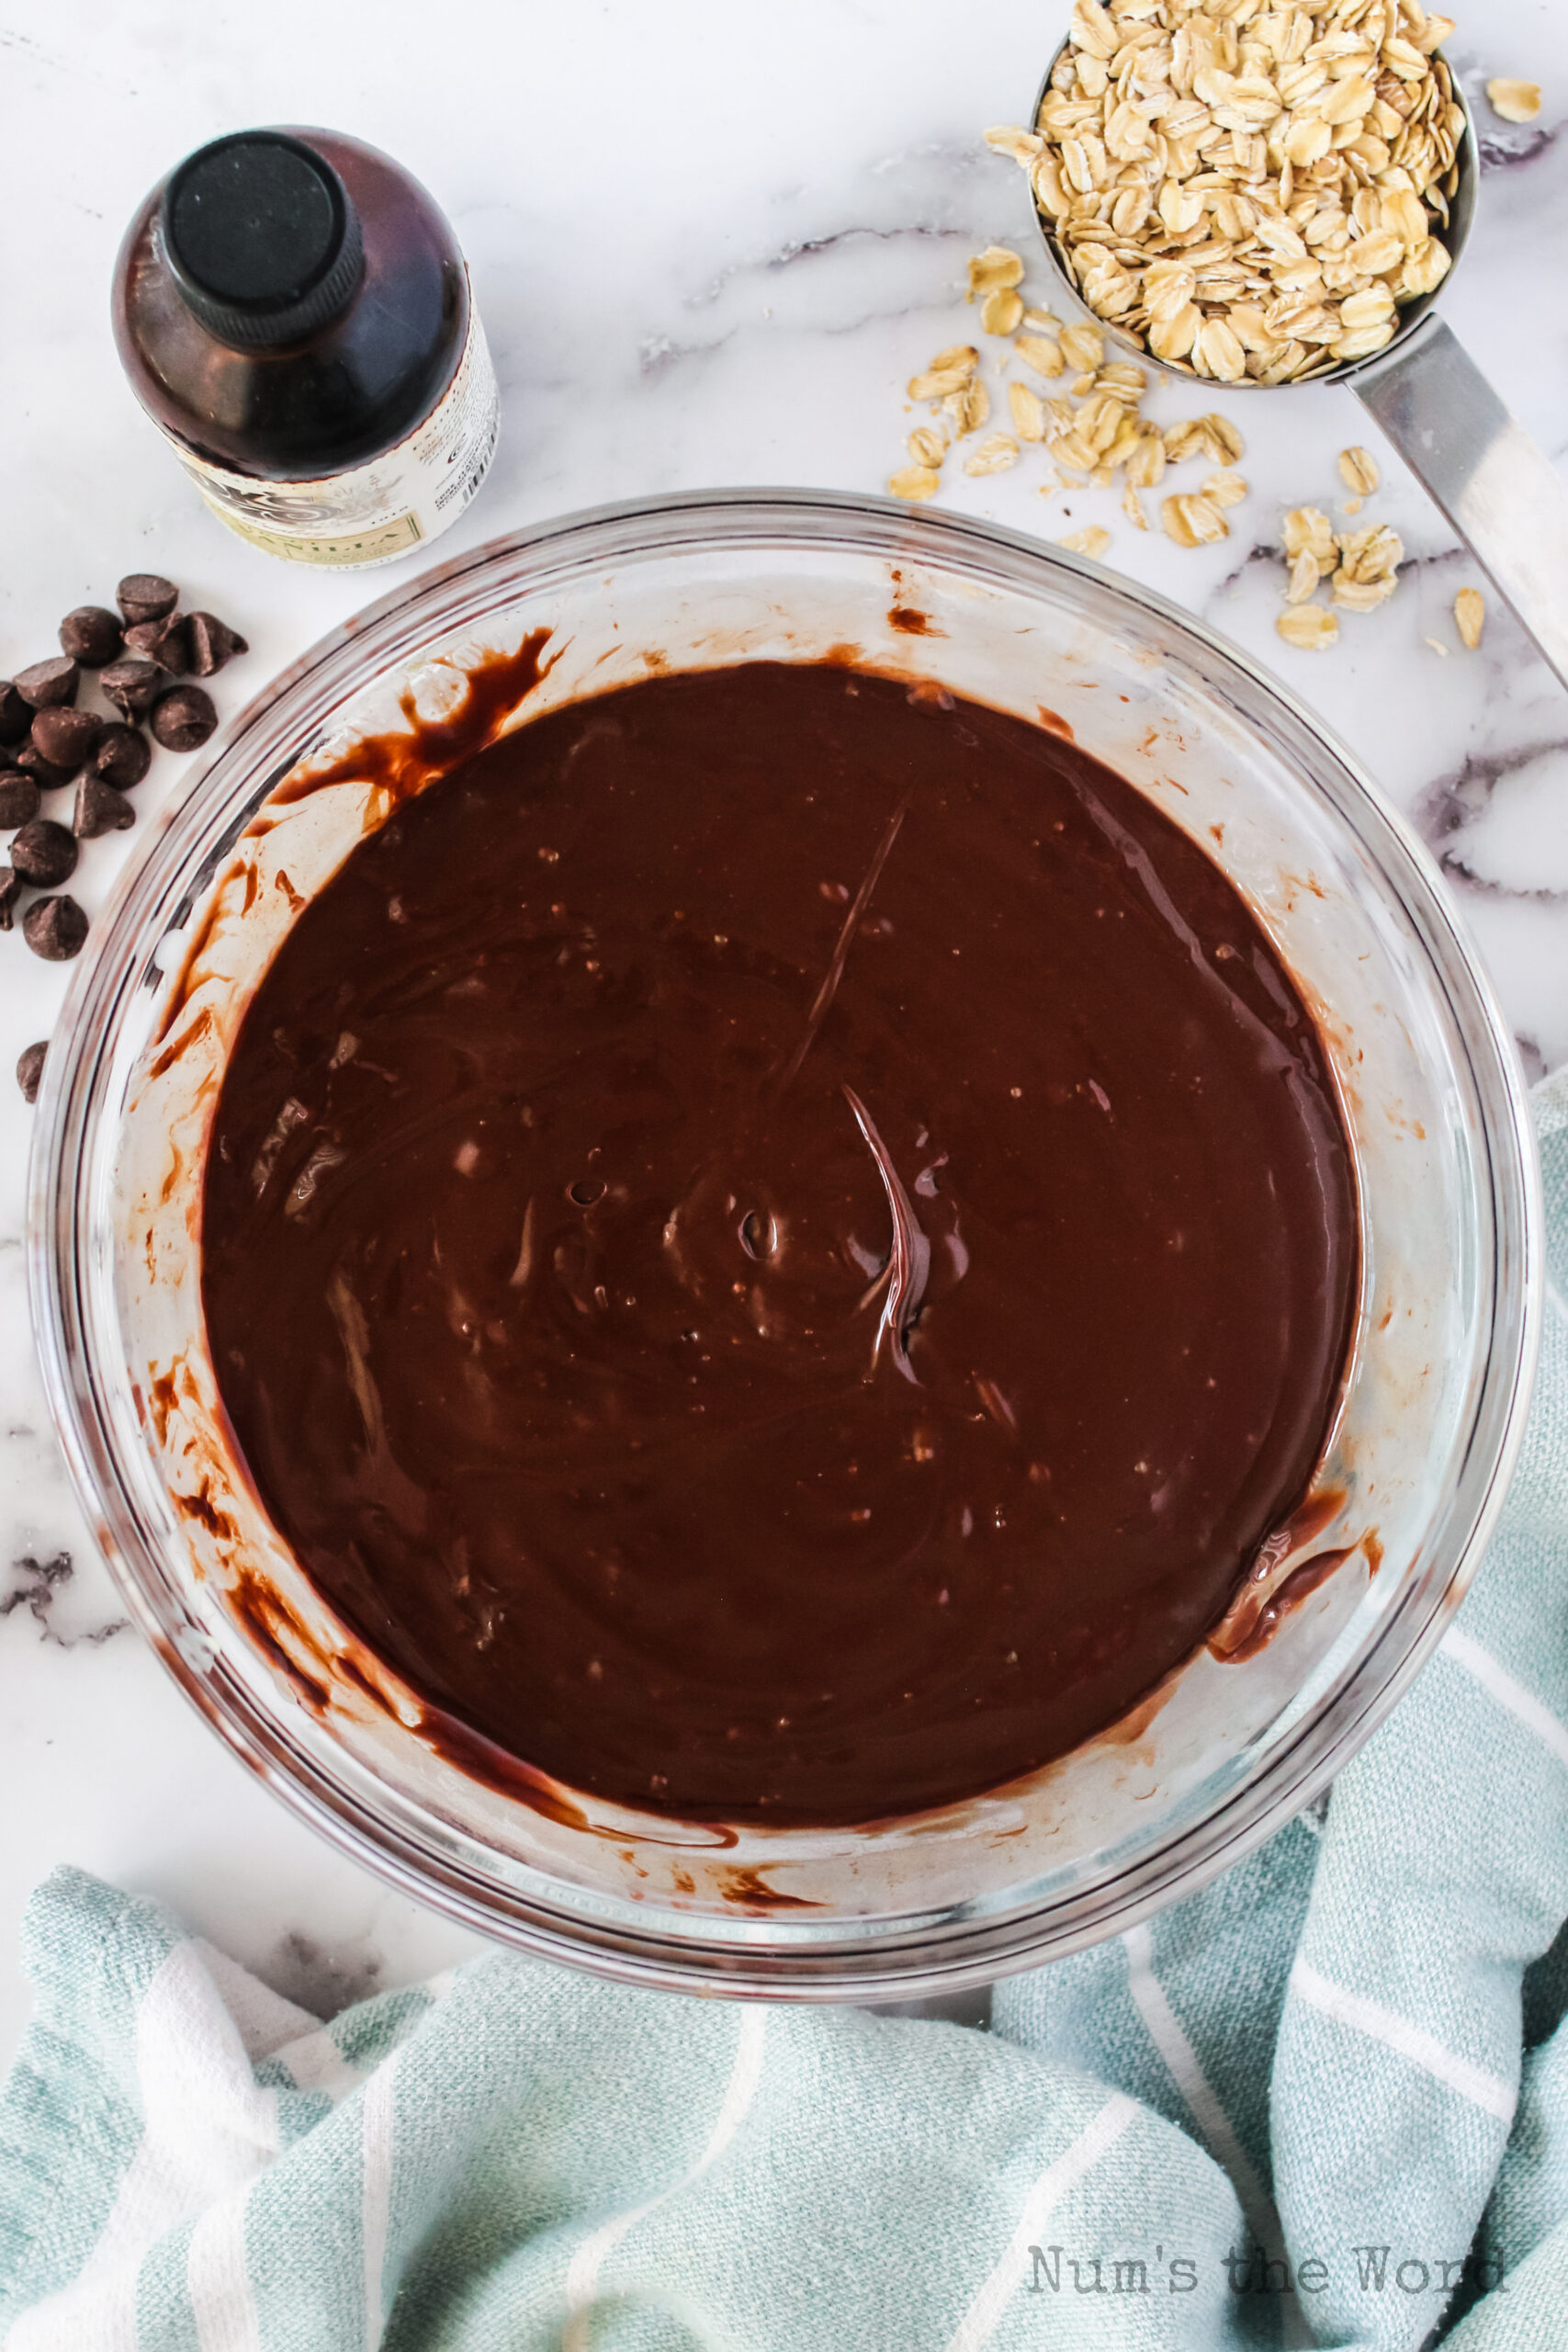
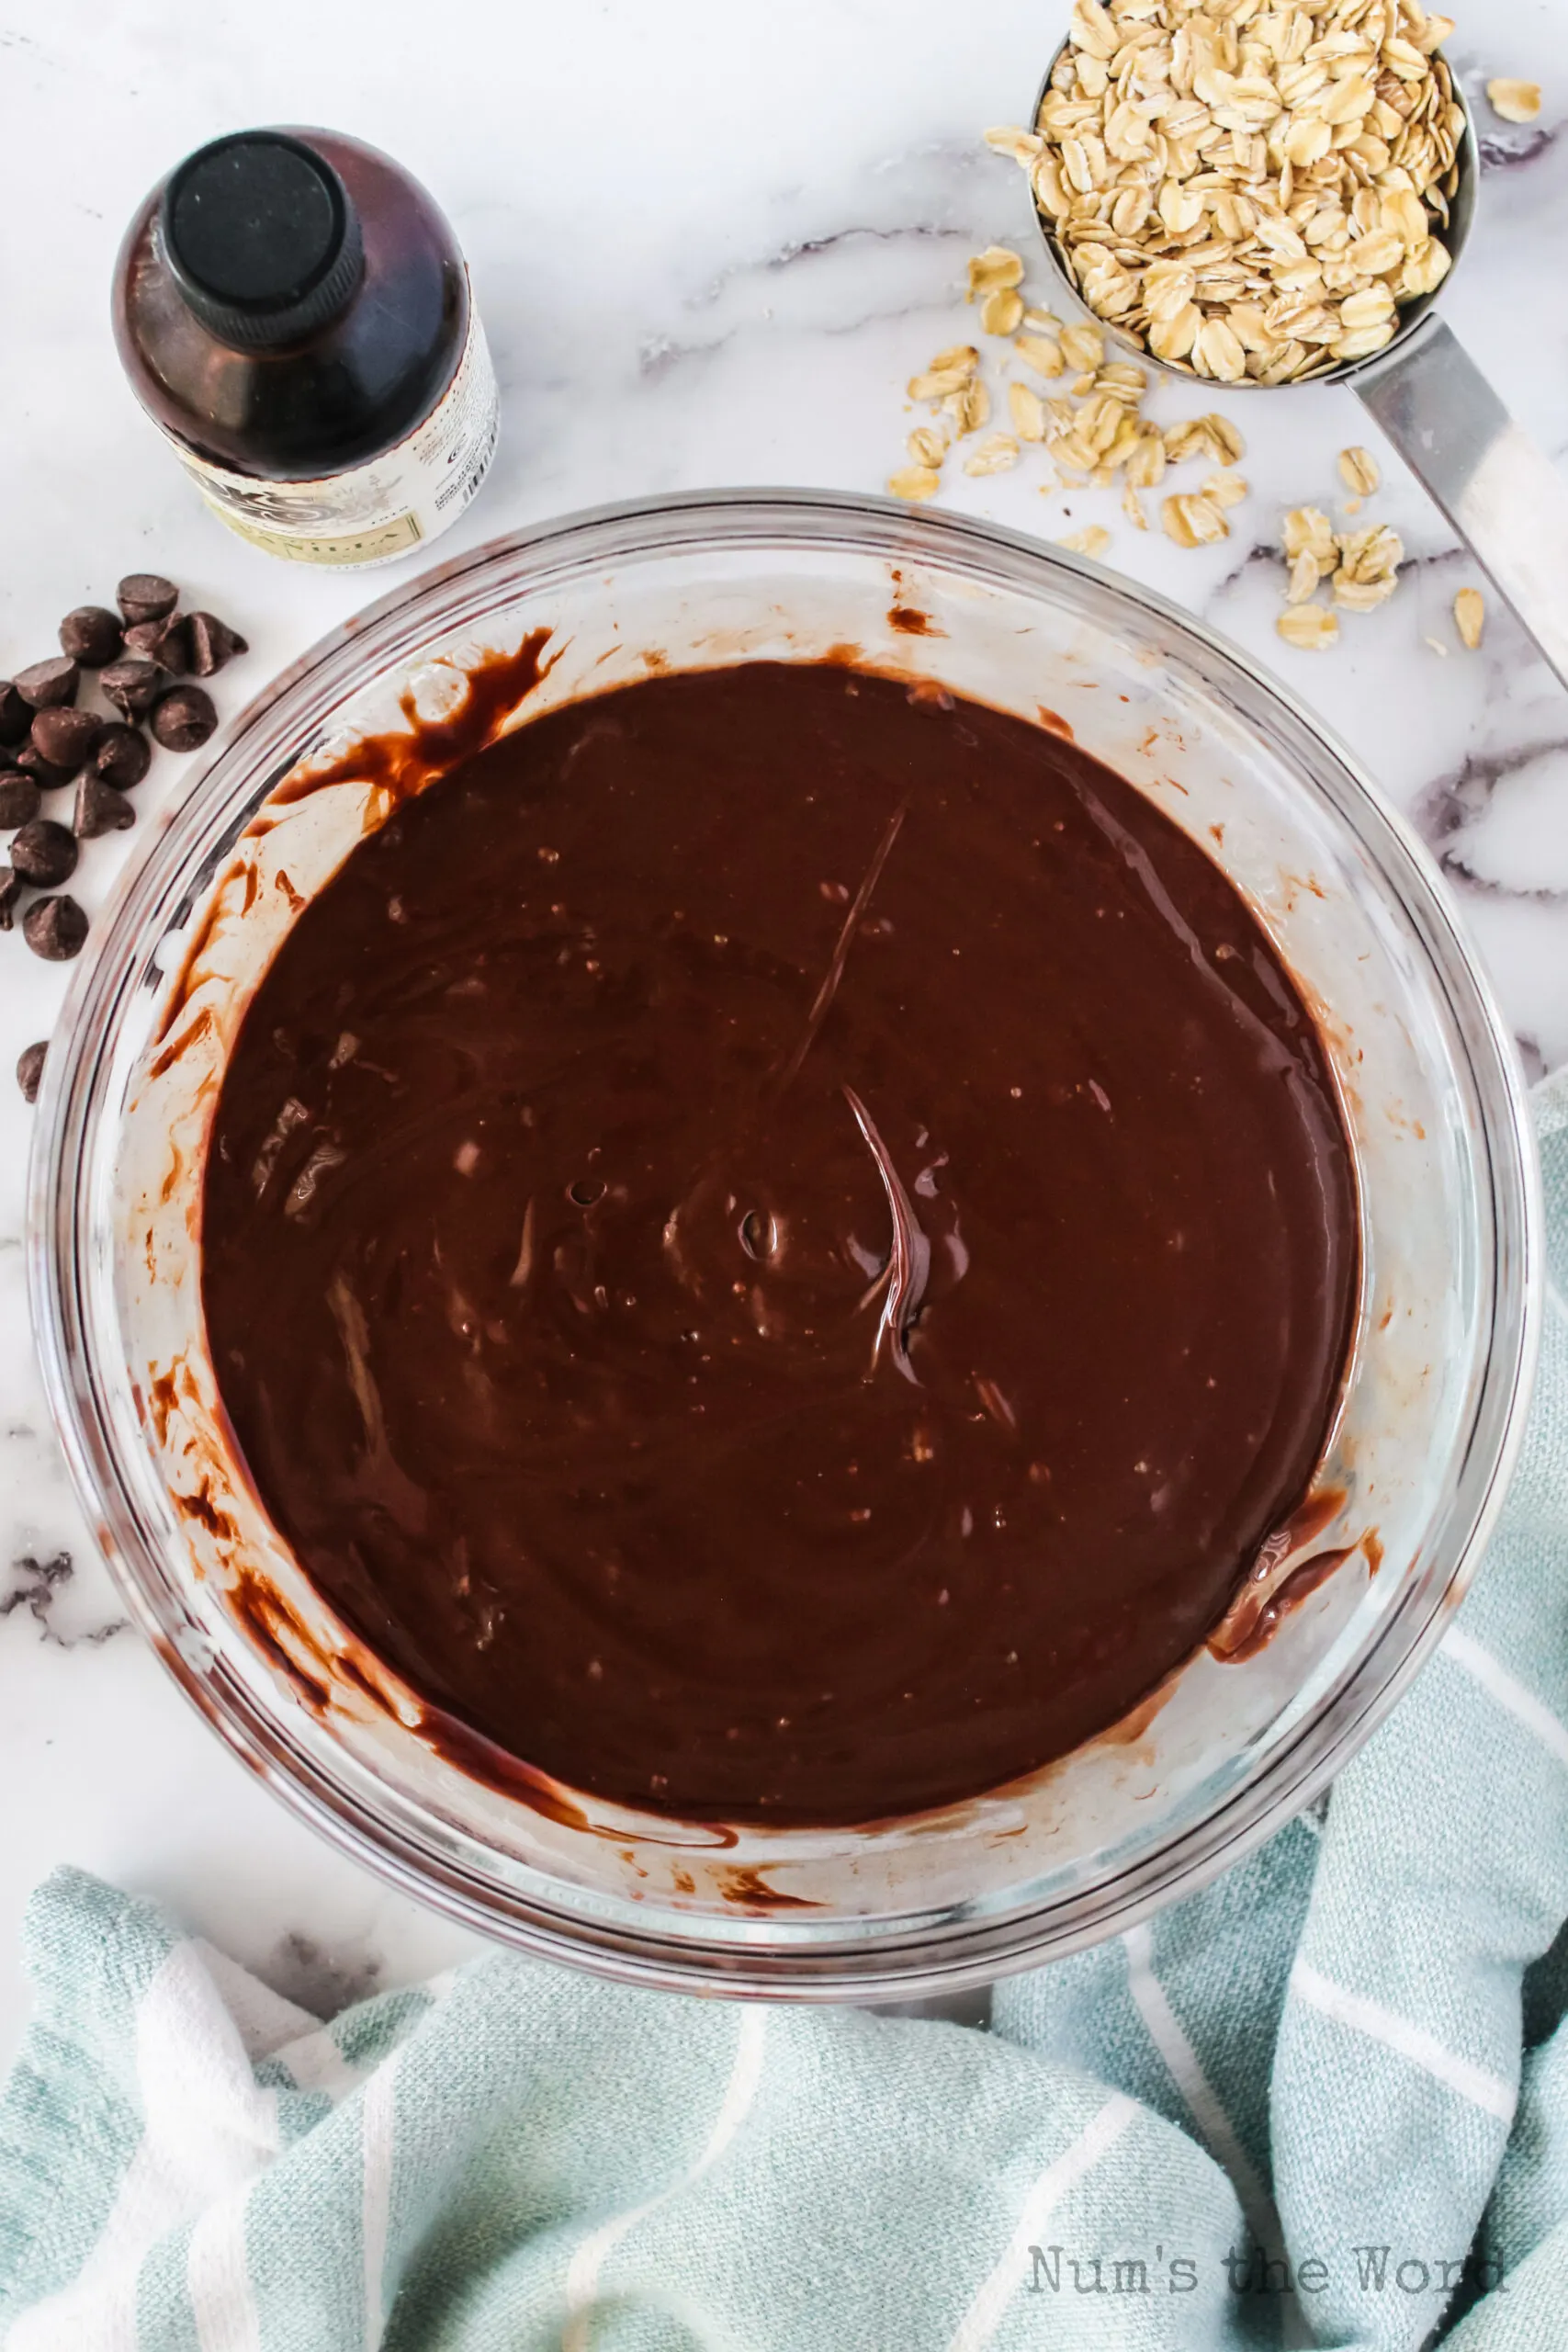
- Step 4: Make the Fudge Layer – In a medium saucepan over low heat, combine the semi sweet chocolate chips, sweetened condensed milk, and butter. Stir constantly until smooth and glossy, about 5-8 minutes. Remove from heat and stir in the vanilla and chopped pecans. If you’re feeling lazy, you can do this in the microwave in 30-second bursts, stirring between each.
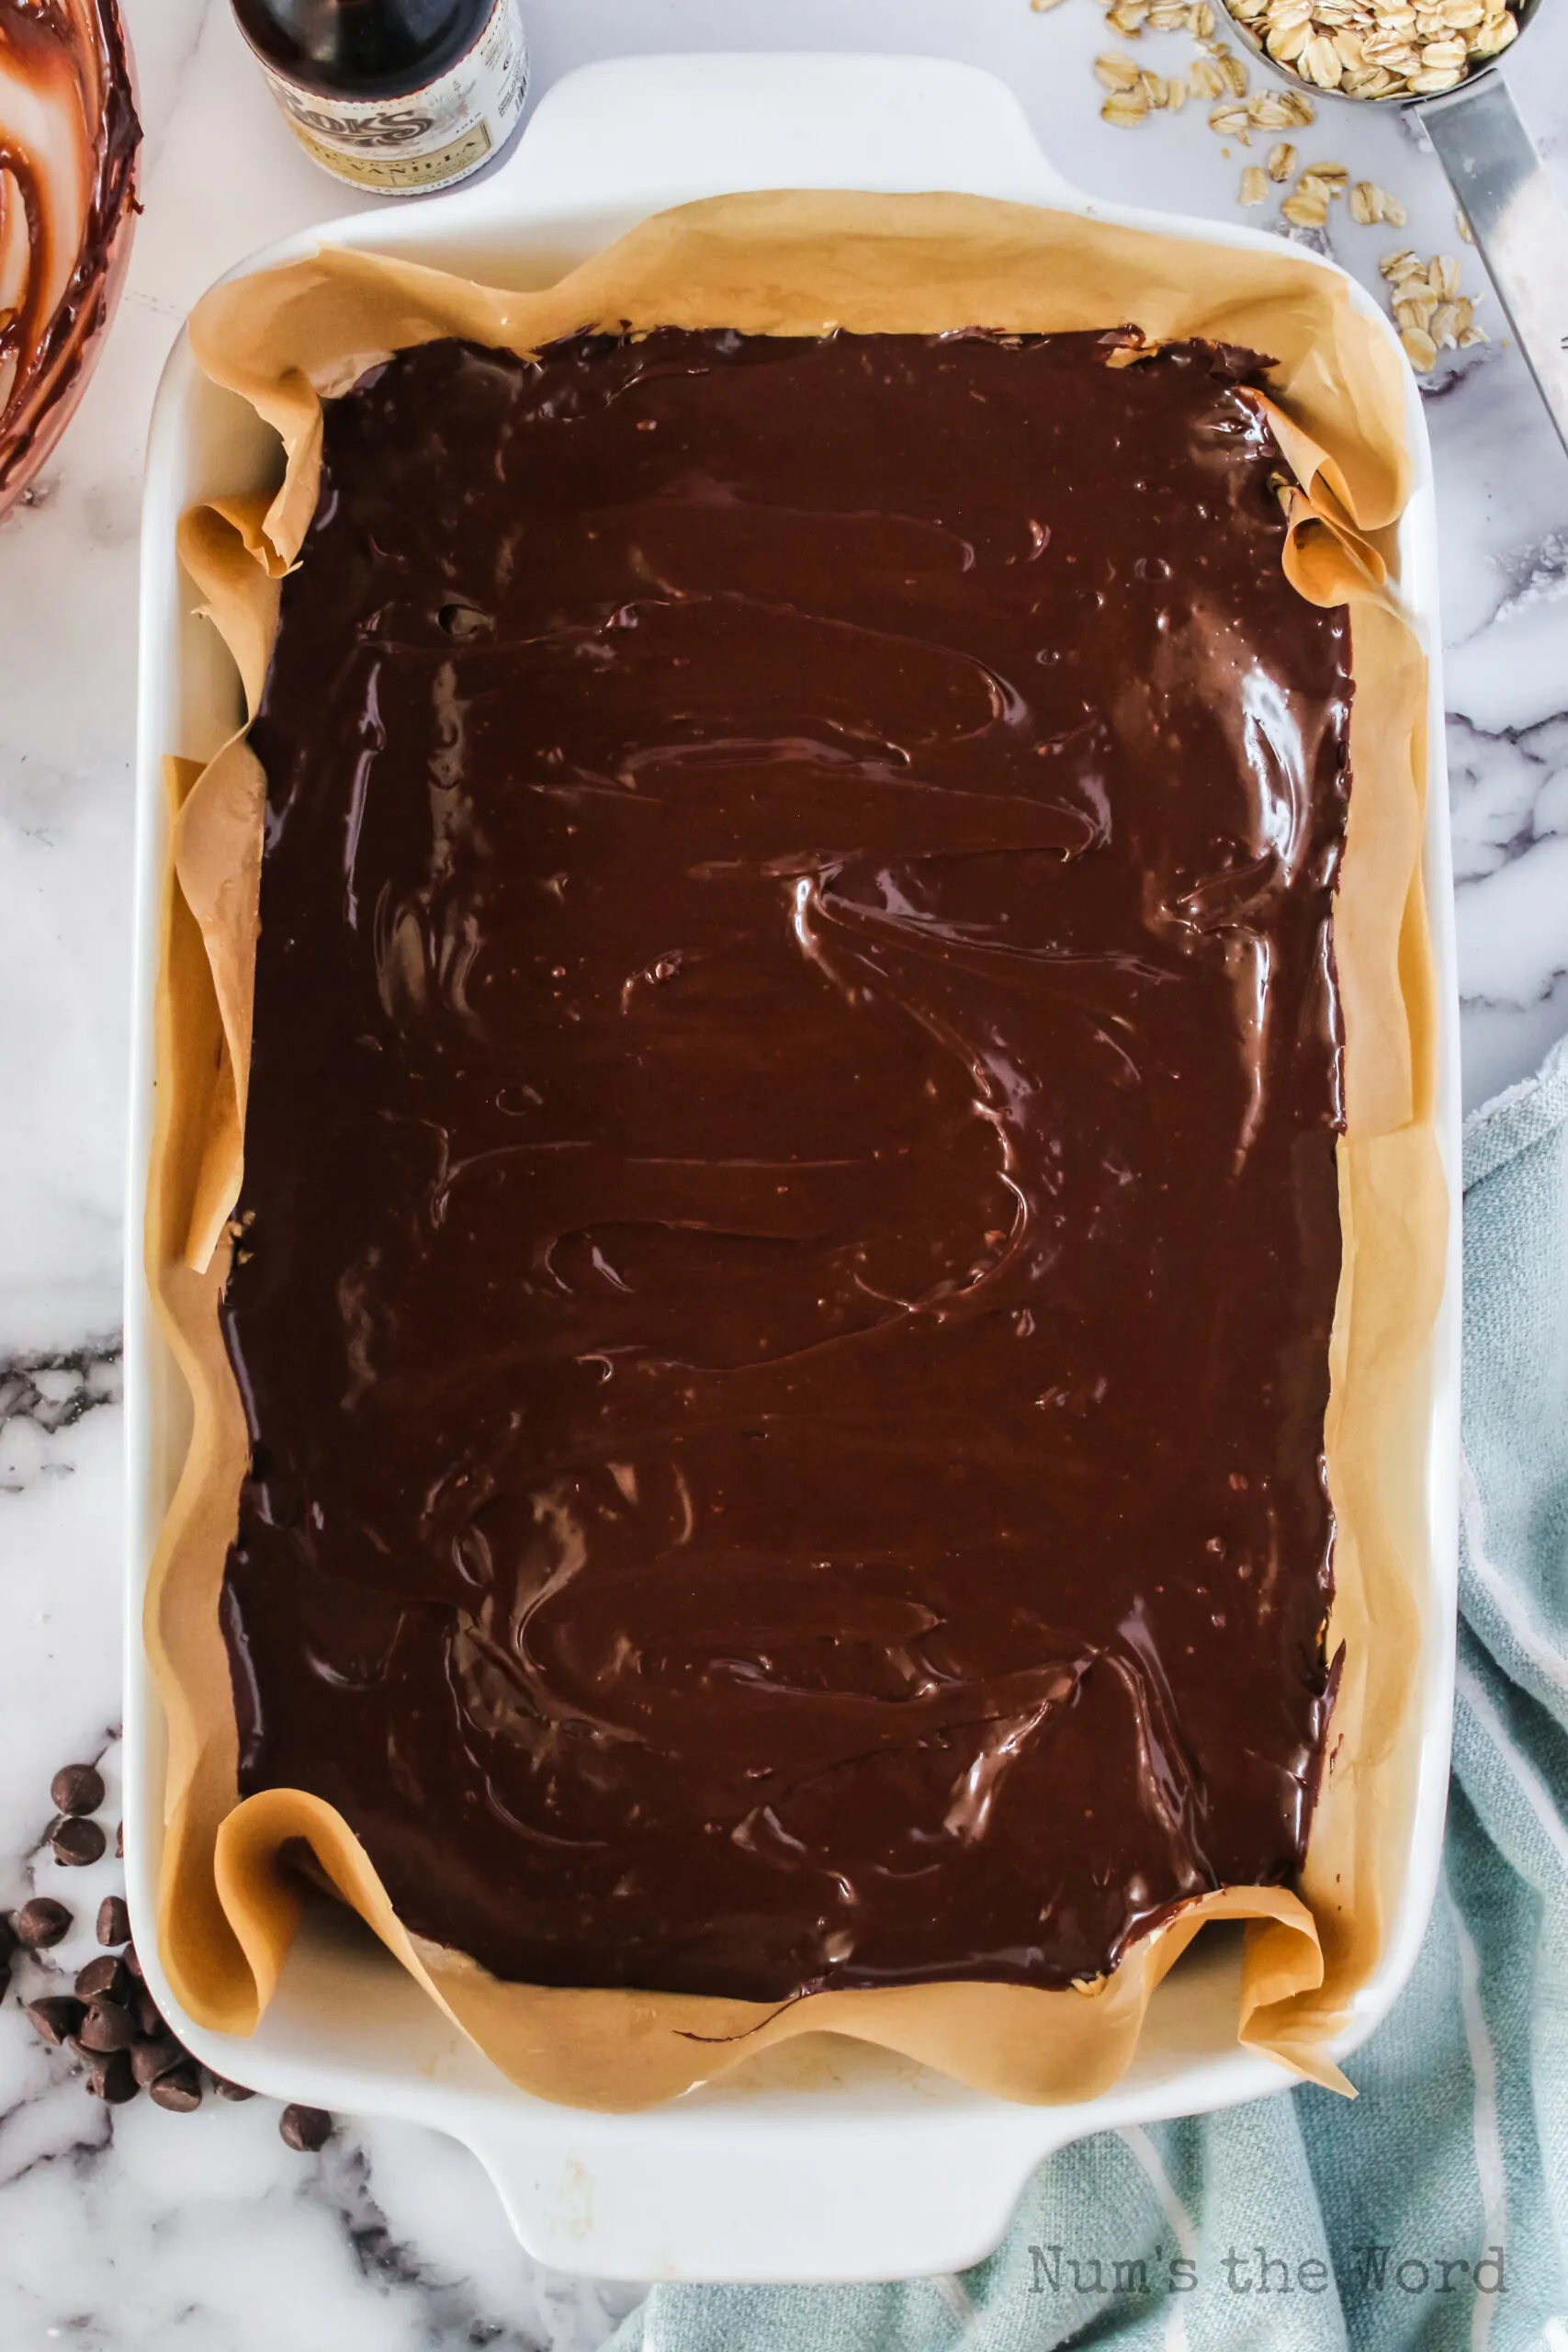
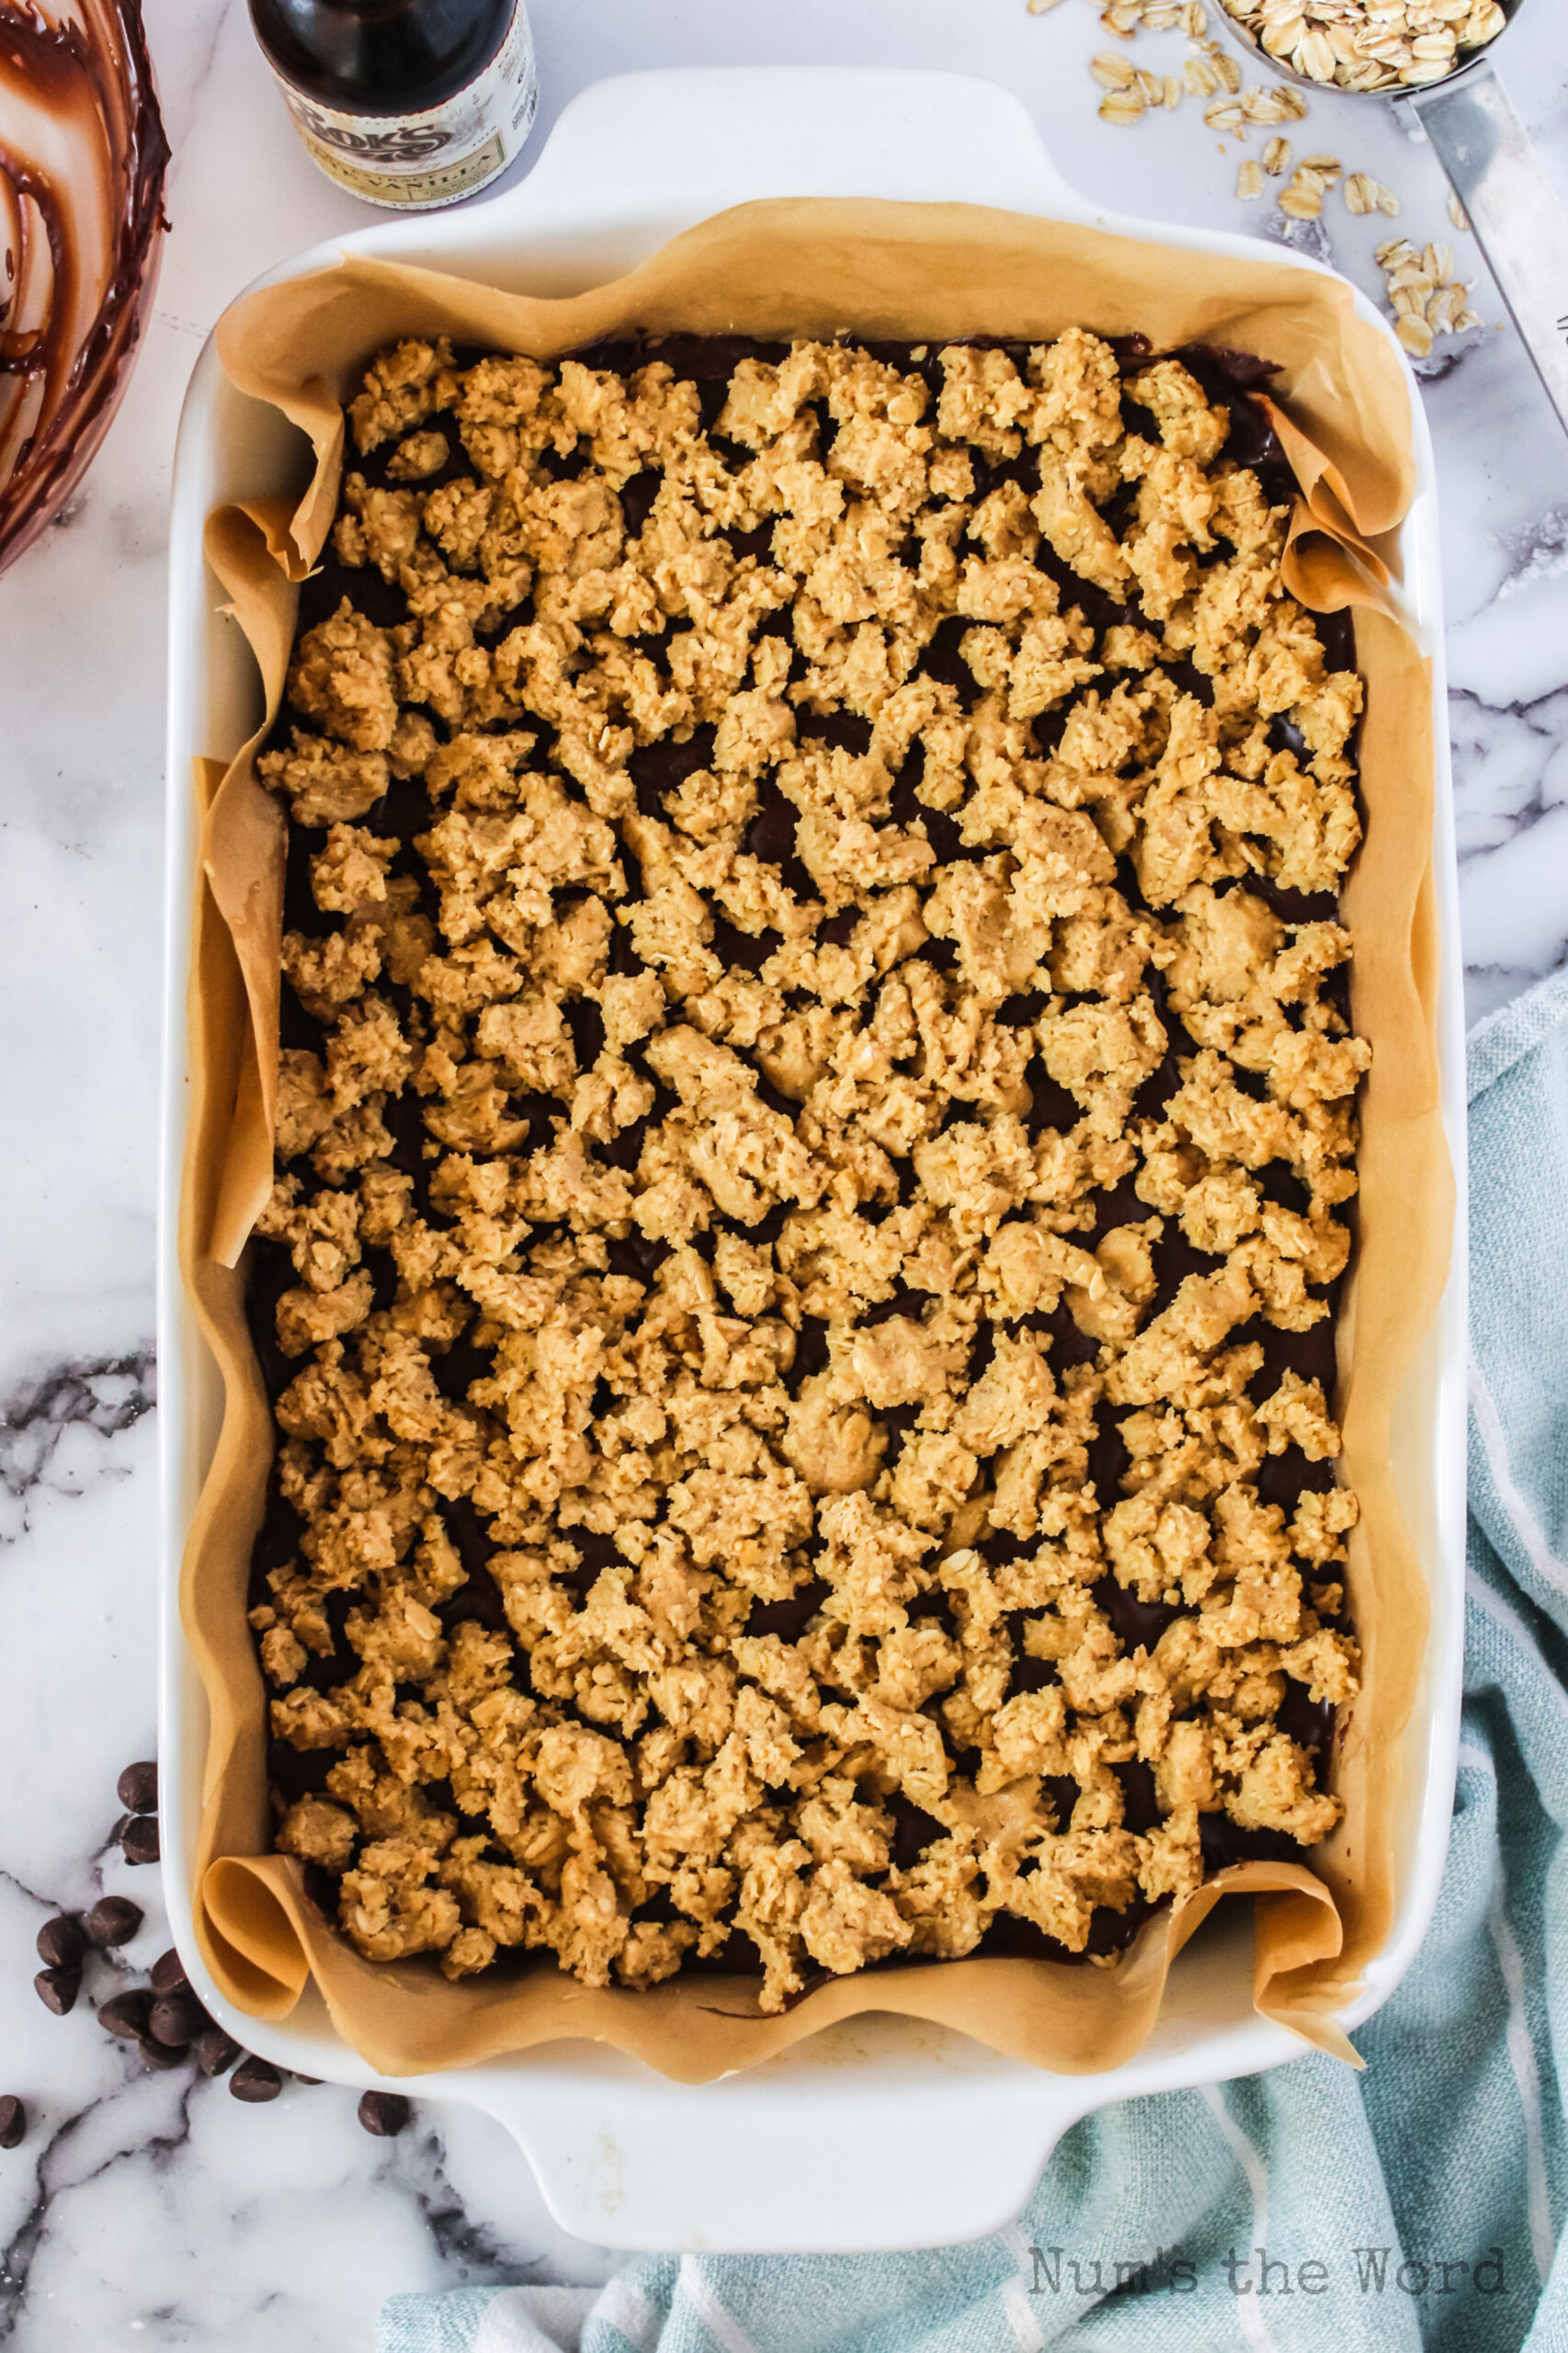
- Step 5: Assemble – Pour the hot fudge over the oatmeal base, spreading it to the edges. Now take the remaining oatmeal dough and dot it over the top. Don’t worry about covering every inch, the gaps are what create those beautiful chocolate rivers that make Revel Fudge Bars so visually appealing.
- Step 6: Bake – Bake for 25-30 minutes until the top is lightly golden brown. The fudge will bubble up slightly around the oatmeal dots, that’s exactly what you want. Don’t overbake! These should be slightly underdone in the center for maximum fudginess.
- Step 7: The Hardest Part: Waiting – Let the bars cool completely in the pan. I know, I know. You want to dive in immediately. But if you cut them while warm, they’ll fall apart into a delicious mess. Patience, grasshopper.

How Long Do Revel Bars Last?
- At Room Temperature: 5 days in an airtight container. Though honestly, they’ve never lasted that long in my house.
- In the Freezer: Up to 3 months, though they’re best within the first month.
- In Your Stomach: Approximately 30 seconds per bar, if you’re being polite.
The high sugar content and the fudgy texture actually act as natural preservatives, making these Old Fashioned Revel Bars perfect for mailing to college students, including in care packages, or stashing in your desk drawer for emergency afternoons.
How to Store Revel Bars
These Revel Bars actually get better with age (like fine wine, or George Clooney). Here’s how to keep them fresh:
- Room Temperature: Store in an airtight container for up to 5 days. Place wax paper between layers to prevent sticking. The fudge layer stays soft and gooey, and the oatmeal layers maintain their chew.
- Refrigerator: Not recommended unless your kitchen is sweltering. The cold can make the fudge layer hard and the oats tough.
Pro Tip: These are actually perfect for making ahead. The flavors meld together beautifully after a day, making them ideal for potlucks, bake sales, or “I need dessert tomorrow but don’t want to bake tomorrow” situations.

Can You Freeze Revel Bars?
Yes! And honestly, you should. These Fudge Revel Bars freeze beautifully, making them the ultimate “emergency dessert” to have on hand.
Freezing Instructions:
- Let the bars cool completely—this is crucial. Warm bars + freezer = soggy mess.
- Cut into squares or leave as a whole slab (I recommend squares for easier portion control… or lack thereof).
- Wrap individual bars in plastic wrap, then place in a freezer-safe bag or container. If freezing a whole slab, wrap tightly in plastic wrap, then foil.
- Freeze for up to 3 months. Label with the date so you don’t play “freezer archaeology” six months later.
Thawing Instructions:
- Overnight: Transfer from freezer to refrigerator the night before you need them.
- Quick Thaw: Leave at room temperature for 1-2 hours.
- Emergency Thaw: Microwave individual bars for 20-30 seconds. The fudge gets extra gooey this way – in a good way.
Pro Tip: Some people (hi, it’s me) actually prefer these slightly frozen. The fudge gets fudgier, the chew gets chewier, and you can pretend you’re eating ice cream bars.
Pro Tips for Revel Bar Perfection
- The Oat Debate: Quick oats vs. old-fashioned oats. Quick oats give you a more uniform, chewy bar that holds together well. Old-fashioned oats create a more rustic, textured bar with bigger oat pieces. Both are delicious – use what you have.
- Butter Temperature: Room temperature butter is crucial for the dough. Too cold and it won’t cream properly; too melted and your bars will be greasy. The “leave it on the counter for an hour” rule works, or microwave in 5-second bursts if you’re impatient.
- Don’t Overmix: Once you add the flour and oats, mix just until combined. Overmixing develops gluten and makes tough bars. We want tender, chewy bars, not oatmeal-flavored rubber.
- The Pressing Technique: When creating the base layer, press firmly and evenly. Thin spots will cause the fudge to leak through and burn on the pan bottom. Thick spots will create doughy pockets. Take your time here.
- Cutting Clean Slices: Use a sharp knife run under hot water (and dried) between cuts. The hot knife melts through the fudge layer cleanly instead of dragging it. Wipe the blade clean between cuts for picture-perfect squares.
- Customize Your Chocolate: While semi sweet chocolate chips are traditional, try dark chocolate for sophistication, milk chocolate for extra sweetness, or a mix of white and dark for visual drama. Peanut butter chips? Butterscotch? The world is your oyster.
- Nut Options: Don’t like pecans? Try walnuts, almonds, or hazelnuts. Allergic to nuts? Substitute toffee bits, crushed pretzels for saltiness, or just leave them out. The bars will still be fantastic.
- Add-Ins: Stir ½ cup of shredded coconut into the oatmeal dough, or add a teaspoon of cinnamon to the dry ingredients for warmth. A sprinkle of flaky sea salt on top before baking adds a gourmet touch.
- Pan Size Matters: A 9×13 pan gives you thinner bars (about 24). An 8×8 or 9×9 gives you thicker, more decadent bars (about 16). Adjust baking time accordingly – thicker bars need 5-10 minutes more.

Frequently Asked Questions
- “Why are they called Revel Bars?” No one knows for sure! Some say it’s because you “revel” in the deliciousness. Others think it’s a corruption of “reveal” because the chocolate layer is revealed through the top. The mystery is part of their charm.
- “Can I use evaporated milk instead of sweetened condensed milk?” Absolutely not. These are completely different products. Evaporated milk is thin and unsweetened; sweetened condensed milk is thick and sugary. Using evaporated milk will give you chocolate soup, not fudge.
- “My bars came out dry and crumbly. What happened?” You likely overbaked them. These should be slightly underdone when you pull them out—the residual heat will finish cooking them as they cool. Also, make sure you’re measuring your flour correctly (spoon and level, don’t scoop).
- “Can I make these gluten-free?” Yes! Use a 1:1 gluten-free flour blend and certified gluten-free oats. The texture will be slightly different but still delicious.
- “Can I double the recipe?” Yes! Use a half-sheet pan (18×13) and increase baking time by 5-10 minutes. Perfect for feeding a crowd or stocking your freezer.
- “Why did my fudge layer sink to the bottom?” Your base layer wasn’t firm enough, or the fudge was too hot when poured. Make sure to press the base firmly, and let the fudge cool slightly (but not set) before pouring.
- “Can I use chocolate bars instead of chips?” Yes, just chop them finely so they melt evenly. Chocolate chips have stabilizers that help them hold their shape, so bars might be slightly softer, but still delicious.
- “How do I know when they’re done?” The top should be lightly golden brown, and the edges should be set. The center will still look slightly underdone—that’s perfect. They’ll firm up as they cool.
- “Can I add frosting?” You can, but you absolutely don’t need to. These are rich enough on their own. If you must, a simple powdered sugar glaze or cream cheese drizzle works nicely.
- “Why are my bars sticking to the pan?” You need more grease, or you tried to cut them too soon. Parchment paper is your best friend here, leave an overhang to lift the whole batch out for easy cutting.
Variations to Try
- Peanut Butter Revel Bars: Replace ½ cup of the chocolate chips with peanut butter chips, or swirl ¼ cup of peanut butter into the fudge layer.
- Caramel Revel Bars: Add a layer of soft caramel candies (melted with a splash of cream) between the oatmeal base and the chocolate fudge.
- Mint Chocolate Revel Bars: Use mint chocolate chips or add ½ teaspoon peppermint extract to the fudge layer. Top with crushed candy canes for a holiday version.
- Mocha Revel Bars: Add 1 tablespoon instant espresso powder to the fudge layer for coffee lovers.
- S’mores Revel Bars: Add mini marshmallows to the top during the last 5 minutes of baking, and use graham cracker crumbs in place of ½ cup of the oats.

More Chocolate Recipes You’ll Love…
- Peanut Butter Truffles
- Chocolate Dipped Potato Chips
- Rolo Cupcakes
- Chocolate Chip Cookie bars
- Chocolate Cobbler
- Dessert Cheese Ball
- Chocolate Chip Cookie Dough
- No Bake Monster Cookies
- Chocolate Pringles
- Chocolate Crinkle Cookies
- Rice Krispie Cookies
- Doubletree Cookies
- Strawberry Hot Chocolate Bombs
- Honeycomb Candy
There you have it—everything you ever wanted to know about Revel Bars and probably some things you didn’t.
From their mysterious origins to the perfect storage methods, from pro tips to creative variations, you’re now armed with the knowledge to make the best Chocolate Revel Bars on the planet.
These Oatmeal Chocolate Chip Bars are more than just a dessert, they’re a tradition, a crowd-pleaser, and quite possibly the perfect food. They’re the bars you’ll be asked to bring to every gathering, the recipe you’ll pass down to your kids, and the treat you’ll sneak from the freezer at midnight when no one’s watching.
So preheat that oven, grab your oats, and prepare to revel in the deliciousness. Your new favorite dessert awaits in every chewy, fudgy, irresistible bite of these Revel Bars.
Revel Bars

Revel Bars are an easy dessert for all your favorite moments! Thick, chewy, chocolatey, and buttery, they’re a dessert you just can’t resist!
Ingredients
- 1 (12 ounce) package semi-sweet chocolate chips
- 1 (15 ounce) can sweetened condensed milk
- 3 Tablespoons butter
- 1 teaspoon vanilla extract
- 3/4 cups pecans (optional)
- 1 cup butter
- 2 cups light brown sugar
- 2 eggs
- 1 teaspoon vanilla extract
- 1 teaspoon baking soda
- 1 teaspoon salt
- 2 1/2 cups all-purpose flour
- 2 cups quick oats
Instructions
- Preheat oven to 350*F
- Line a 9x13 casserole dish with parchment paper or non-stick foil and set aside.
- In a microwave safe bowl, mix together chocolate chips, condensed milk, and 3 Tablespoons butter.
- Cook in the microwave in 30 second intervals, stirring in between, until the mixture is smooth and creamy.
- Add 1 teaspoon vanilla extract and nuts (if adding) and mix well. Set aside.
- In a mixing bowl, mix 1 cup butter and brown sugar until nice and creamy.
- Add eggs and 1 teaspoon vanilla extract. Mix well, scraping sides of bowl as needed.
- Add baking soda and salt. Mix well.
- Add 1 cup flour and 1 cup of oatmeal. Mix well.
- Add remaining 1 ½ cups flour, mix well.
- Add remaining 1 cup of oatmeal, mix well.
- Dough will be stiff and sticky.
- Press ⅔ of the dough in the bottom of your casserole dish.
- Gently pour chocolate fudge filling over cookie dough.
- Sprinkle remaining dough over the top of the fudge filling.
- Bake for 20-25 minutes or until golden brown (not burnt). My oven needed the full 25 minutes.
- Let cool then cut into 1 ½ inch bars.
Nutrition Information:
Yield:
24Serving Size:
1Amount Per Serving: Calories: 243Total Fat: 13gSaturated Fat: 7gTrans Fat: 0gUnsaturated Fat: 5gCholesterol: 40mgSodium: 226mgCarbohydrates: 30gFiber: 1gSugar: 17gProtein: 3g
Text Updated: February 6, 2026