These Banana Pudding Cupcakes are for any Banana Pudding Lover. Yellow Cupcakes filled with homemade banana pudding. One of my all time favorite desserts! This flavor takes cupcakes to a whole new level!
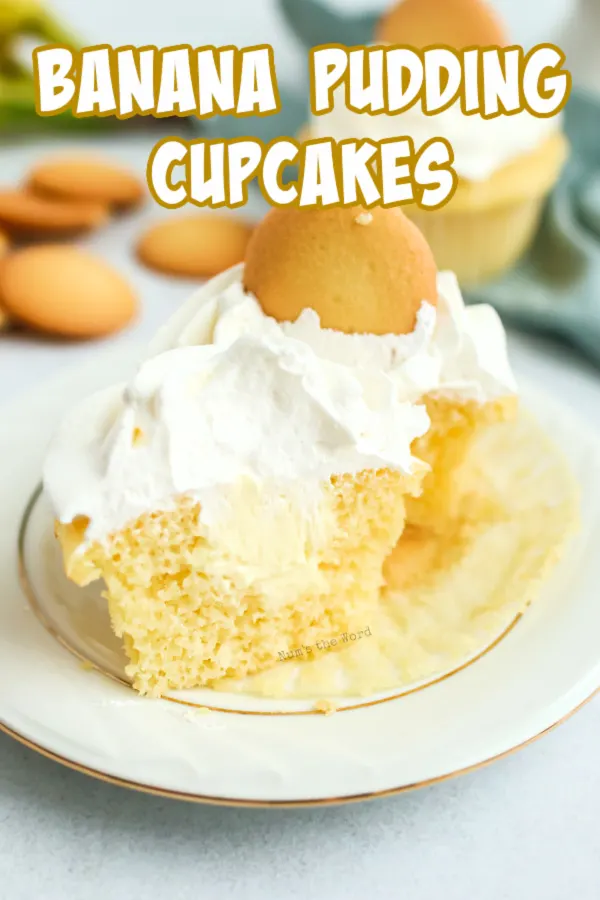
Banana pudding is one of those things that evokes memories of family gatherings and picnics, celebrations and comfort. And I happen to have a fantastic banana pudding recipe, if I do say so myself (and I do!).
So what happens when my banana pudding recipe meets my perfectly doctored yellow cupcake recipe? Magic. These banana pudding filled cupcakes are pure magic! I’m sorry, it’s hard to be humble when you love something this much.
And I want to share the magic with you! It takes a little effort, but these are gourmet level, crowd pleasing cupcakes, and I know if you take the time to whip these tasty darlings up you will love them too!
What is in banana pudding cupcakes?
With a rich and moist yellow cupcake base and a creamy banana pudding filling, these cupcakes take all the tastiness of banana pudding and seamlessly blend it together into cupcake form. To make these banana cupcakes you’ll need the following ingredients:
For the pudding
- Cream cheese – with its smooth texture and sweet and tangy taste, cream cheese is the perfect pudding ingredient you never knew you needed!
- Sweetened condensed milk – ½ a can of sweetened condensed milk provides loads of creamy sweetness and richness to the banana pudding.
- Instant vanilla pudding – vanilla pudding provides the perfect canvas for the natural flavor of the bananas to really SING. No fake banana taste here, my friends! All the banana goodness comes from bananas themselves, which is the classic southern style banana pudding.
- Milk – cold milk is an essential ingredient in any pudding mix. We’ve just amplified this pudding with additional ingredients. But you still need a bit of milk to finish it up!
- Vanilla extract – vanilla extract provides an additional boost of vanilla flavor to your pudding base.
- Bananas – sliced bananas add all the banana flavor to the pudding that you need! I love the flavor of fresh bananas in combination with this rich and creamy vanilla pudding base!
For the cupcakes
- Yellow cake mix – I love a good, doctored up cake mix, and this is no exception. With a box of yellow cake mix as the foundation for your cupcake recipe, you can’t go wrong!
- All-purpose flour – we’re taking this box of cake mix and making it our own. Adding a bit of flour and other cake mix ingredients will help elevate this cake to a new level!
- White sugar – though there’s sugar in boxed cake mixes, we’ll need a bit more since we’re doctoring this baby up a bit.
- Salt – salt is a flavor enhancer and yeast stabilizer in baking. Since this recipe doesn’t have any yeast to stabilize, salt’s main purpose is to enhance and showcase the various flavors of the cupcake. Ever forget to add salt to cookies? It actually ends up tasting like several things are missing because the individual flavors are all blandly blended together. So don’t forget the salt!
- Water – just like with a regular box mix, this cupcake recipe uses water as the main source of moisture.
- Vegetable oil – a small amount of vegetable oil keeps the cupcakes from becoming too “heavy” while also providing the necessary moisture to maintain a fluffy texture.
- Vanilla extract – vanilla extract also serves as a flavor enhancer, but on the sweeter side of baking.
- Sour cream – sour cream is high in fat content and has a tangy taste that pairs beautifully in baked goods. It keeps things decadently moist and delicious!
- Eggs – as usual, eggs are the unsung heroes of baking. They provide structure, leavening, and even flavor to baked goods!
For the topping
- Cool Whip – Pro tip: Do NOT stir up the Cool Whip before piping it on top of your cupcakes. It will turn into a melty, liquid mess! I know this from experience.
- Vanilla wafer cookies – can you have banana pudding without vanilla wafers? No, you cannot. Therefore, you cannot have these tasty banana pudding cupcakes without it either! And these make the perfect gourmet-looking topping for your cupcakes, too!
How to make banana pudding cupcakes?
Don’t let the number of steps scare you, these cupcakes are completely worth the effort!
- Make the banana pudding. You can do this a day or two ahead of time if you like! Pudding is one of those things that gets better with a little time for the flavors to settle and blend.
- Whip up the cupcakes.
- Bake cupcakes.
- Cool cupcakes. Cupcakes need to be completely cooled before they can be filled with the pudding mixture!
- Fill cupcakes. You’ll want to use a piping bag or hollow out a little bit of the middle of the cupcakes. If you’re hollowing, be sure to save the little nubs!
- Stuff banana slices carefully into the hole in the cupcake filled with pudding.
- Pipe Cool Whip on top of cupcakes.
- Place a jaunty little wafer on top.
- Voila! You’re done!
Can you make these in advance?
You can definitely make the banana pudding a day or two ahead of time, but I wouldn’t assemble the cupcakes much in advance. The cupcakes are best served the day they are assembled.
Do you need to refrigerate these cupcakes?
If you assembled these cupcakes earlier in the day, it’s best to refrigerate them until you’re ready to serve them.
Banana pudding should be kept refrigerated, as well as the Cool Whip topping. Consider waiting to add the vanilla wafers until just before serving so they don’t get soggy.
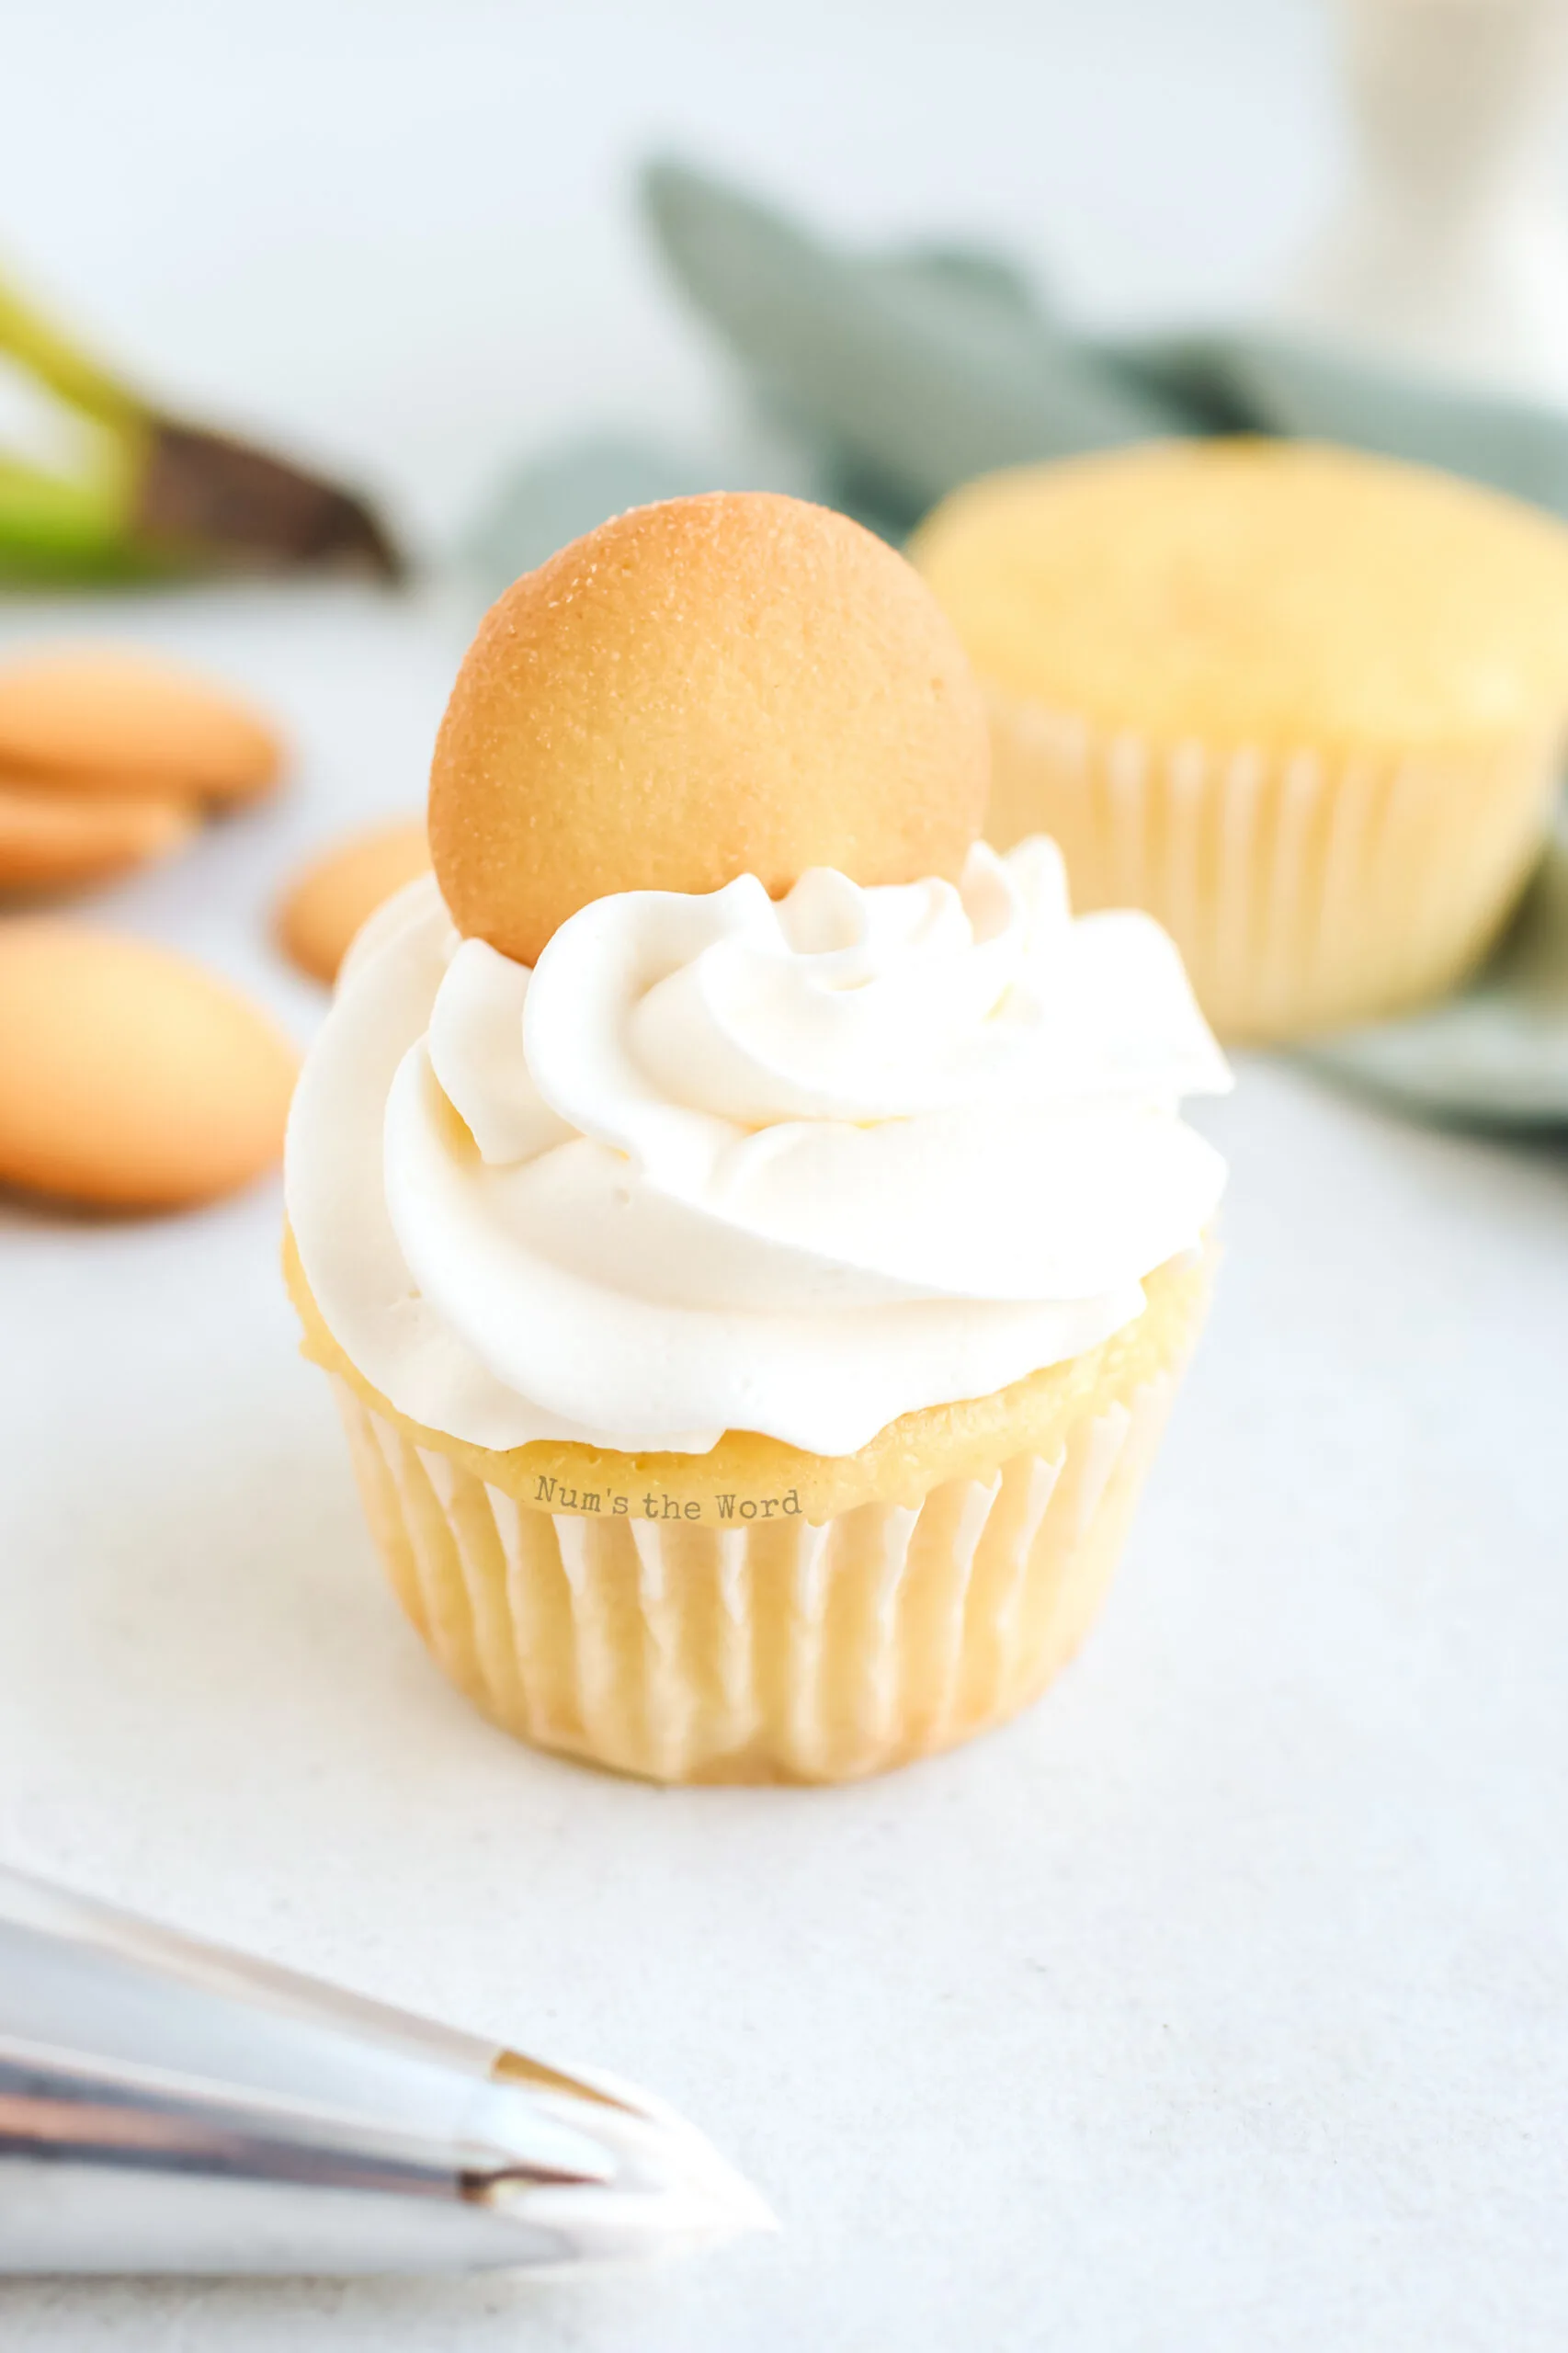
Can you freeze these cupcakes?
Yes you can! Remove the Nilla wafter and freeze the cupcakes. When ready to enjoy, thaw for 1 hour or longer then add a new vanilla wafer on top for looks.
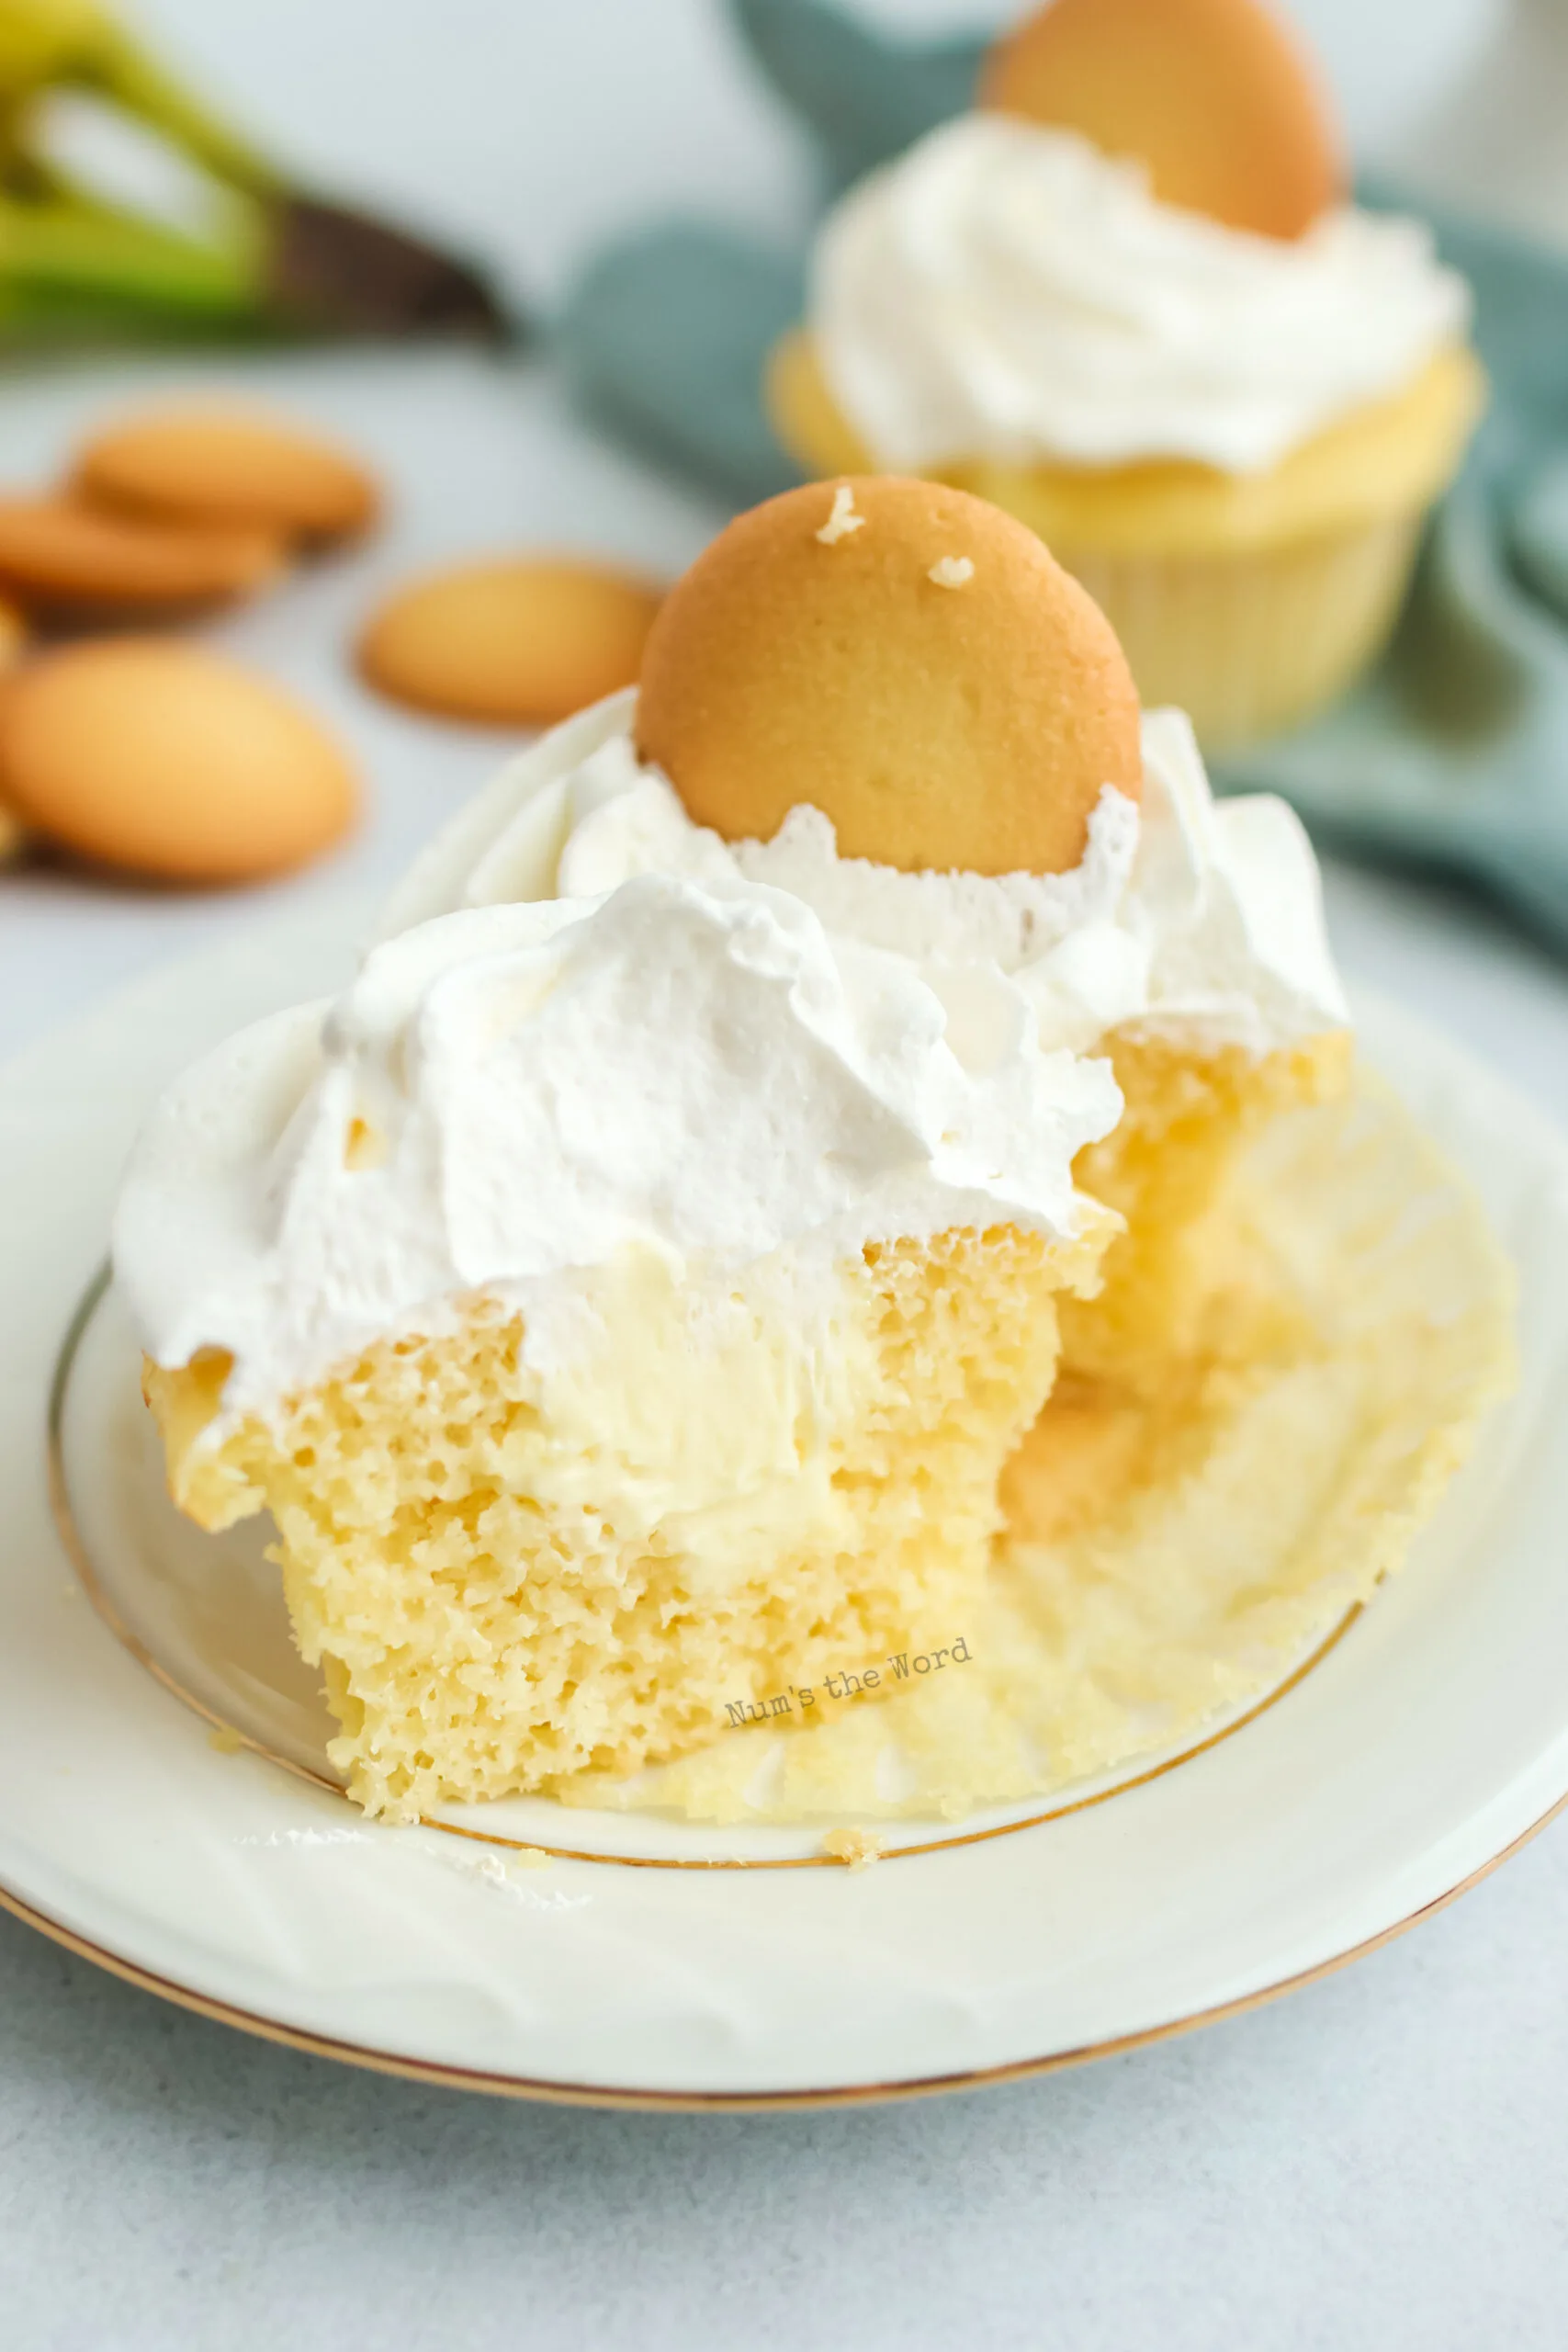
More Awesome Cupcakes You’ll Love…
- Root Beer Float Cupcakes
- Andes Mint Cupcakes
- Lemon Filled Cupcakes
- Black Forest Cupcakes
- Pumpkin Cupcakes
- Cookies and Cream Cupcakes
- Apple Pie Cupcakes
- German Chocolate Cupcakes
- Rolo Cupcakes
More Banana Recipes You’ll Love…
These cupcakes are moist and delicious; the banana pudding is thick and full of flavor and the slice of banana hiding in the center is a perfect gem of real banana flavor.
I’m sure your family and friends will love these banana pudding cupcakes as much as we do! It’s totally worth the effort for these gourmet-level cupcakes.
Banana Pudding Cupcakes
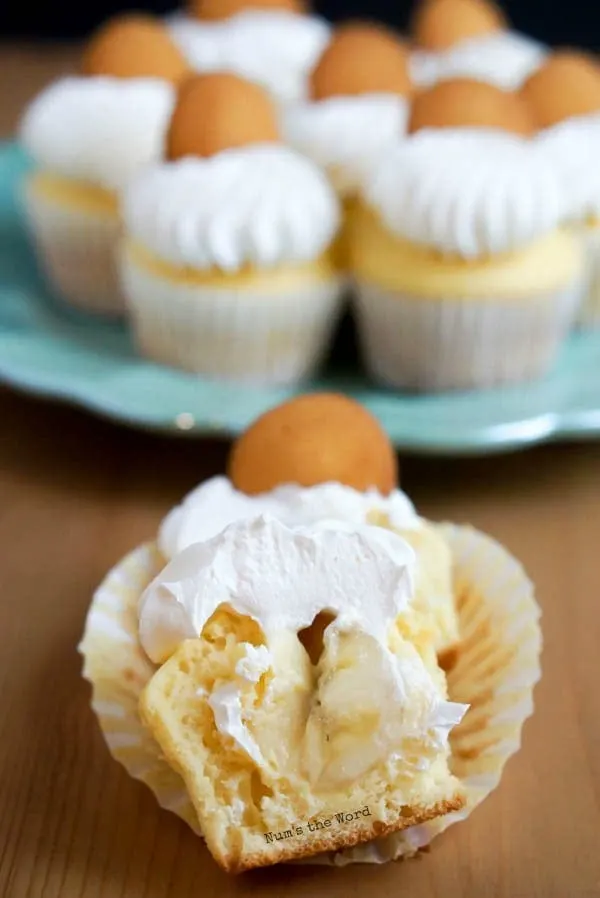
These Banana Pudding Cupcakes are for any Banana Pudding Lover. Yellow Cupcakes filled with homemade banana pudding. One of my all time favorite desserts! This flavor takes cupcakes to a whole new level!
Ingredients
- (4 ounces) cream cheese
- (7 ounces) sweetened condensed milk (1/2 a can)
- (3 ounce) package of INSTANT vanilla pudding
- 1 1/2 cup cold milk
- 1/2 teaspoon vanilla extract
- 2 (8 ounce) containers cool whip, thawed.
- 2 Bananas, sliced.
- Vanilla wafer cookies
- -----------------
- 1 (16 - 18 ounce) box of yellow cake mix
- 1 cup all-purpose flour
- 1 cup white sugar
- 3/4 teaspoon salt
- 1 1/3 cup water
- 2 Tablespoons vegetable oil
- 1 teaspoon vanilla extract
- 1 cup sour cream
- 2 large eggs
Instructions
- First you'll want to make the banana pudding. This can be done the same day or a day or two ahead of time.
- In a medium bowl, with a hand mixer, beat cream cheese until smooth.
- Slowly beat in the sweetened condensed milk a little at a time. By adding it slowly you'll prevent cream cheese clumps and your mixture will be smoother.
- Add your instant pudding and mix until smooth.
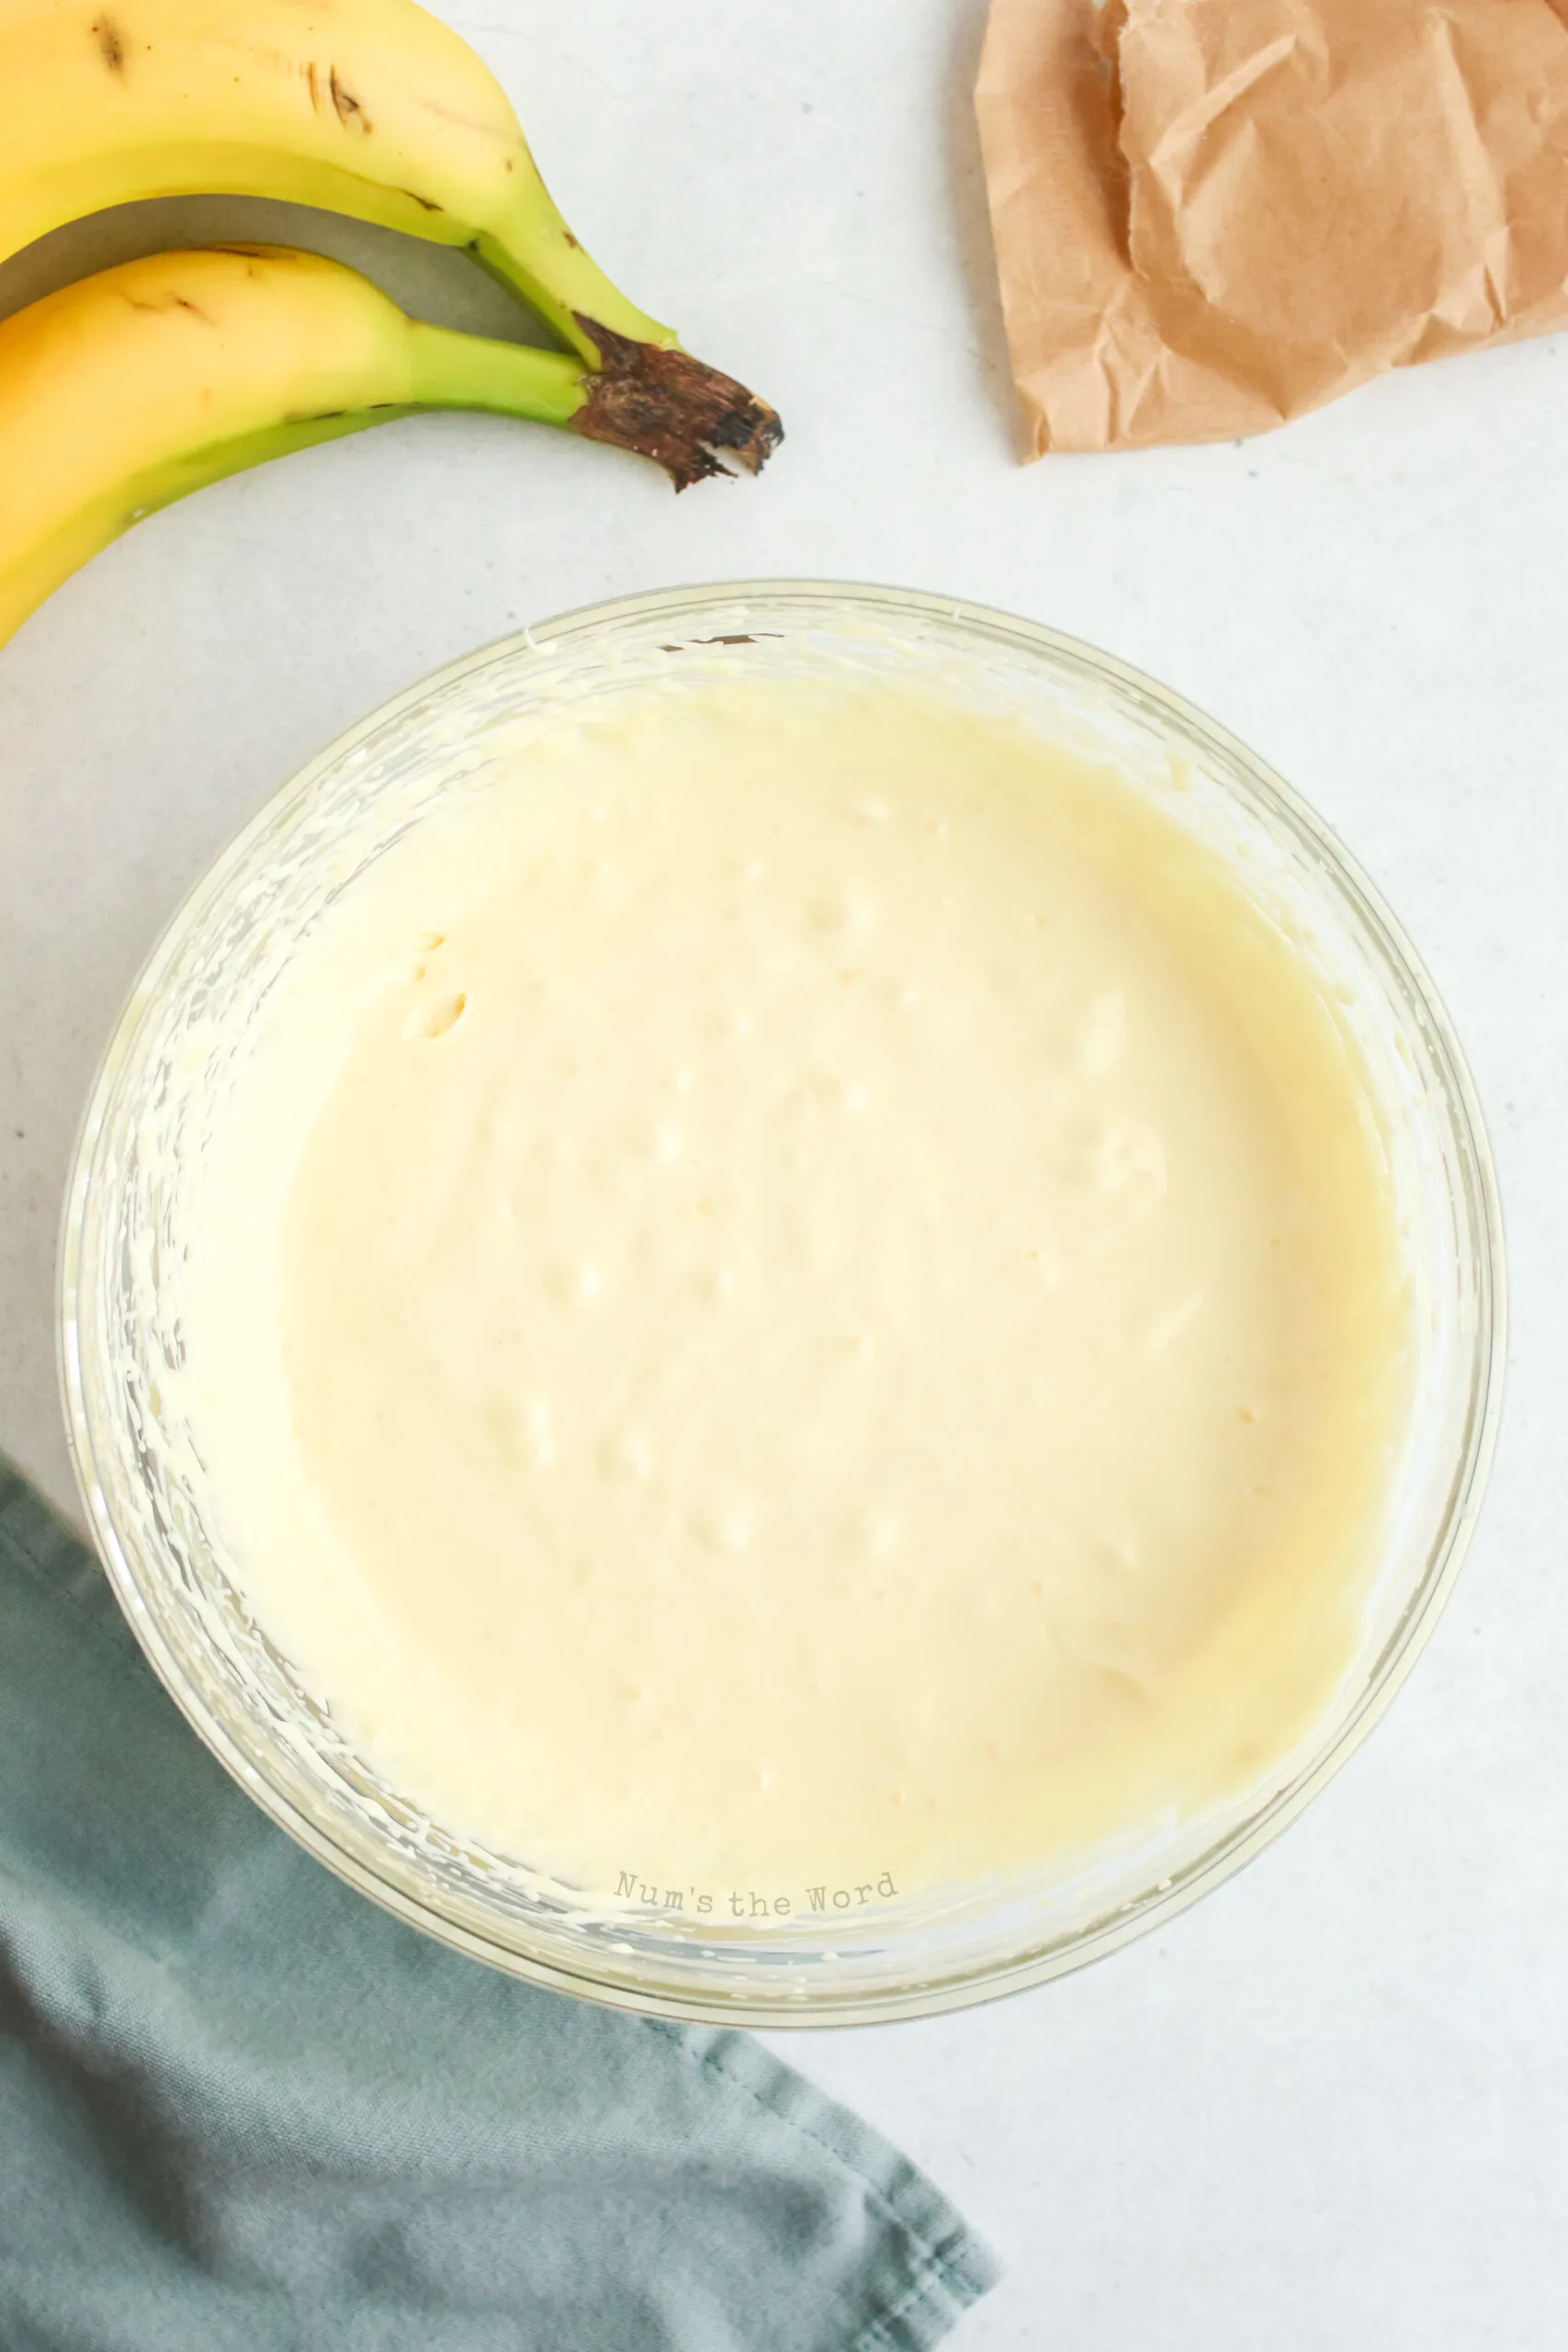
- Slowly add milk 1/2 cup at a time, mixing between each addition. Again, adding it slowly will prevent clumps.
- In a separate bowl blend 1/4 tub of cool whip with beaters until smooth. You can use the same beaters, no need to clean them.
- Slowly add 1/2 cup of banana pudding to cool whip bowl, mixing well. Add 1/2 cup more mixing well and then finally all of your banana pudding mixture to cool whip mixture. Again by adding slowly you are avoiding clumps.
- Once fully blended, put in fridge.
- Now make your cupcakes!
- Preheat oven to 325*F
- Line your cupcake pan with liners.
- Using a stand mixer or hand mixer, combine cake mix, flour, sugar and salt. Blend.
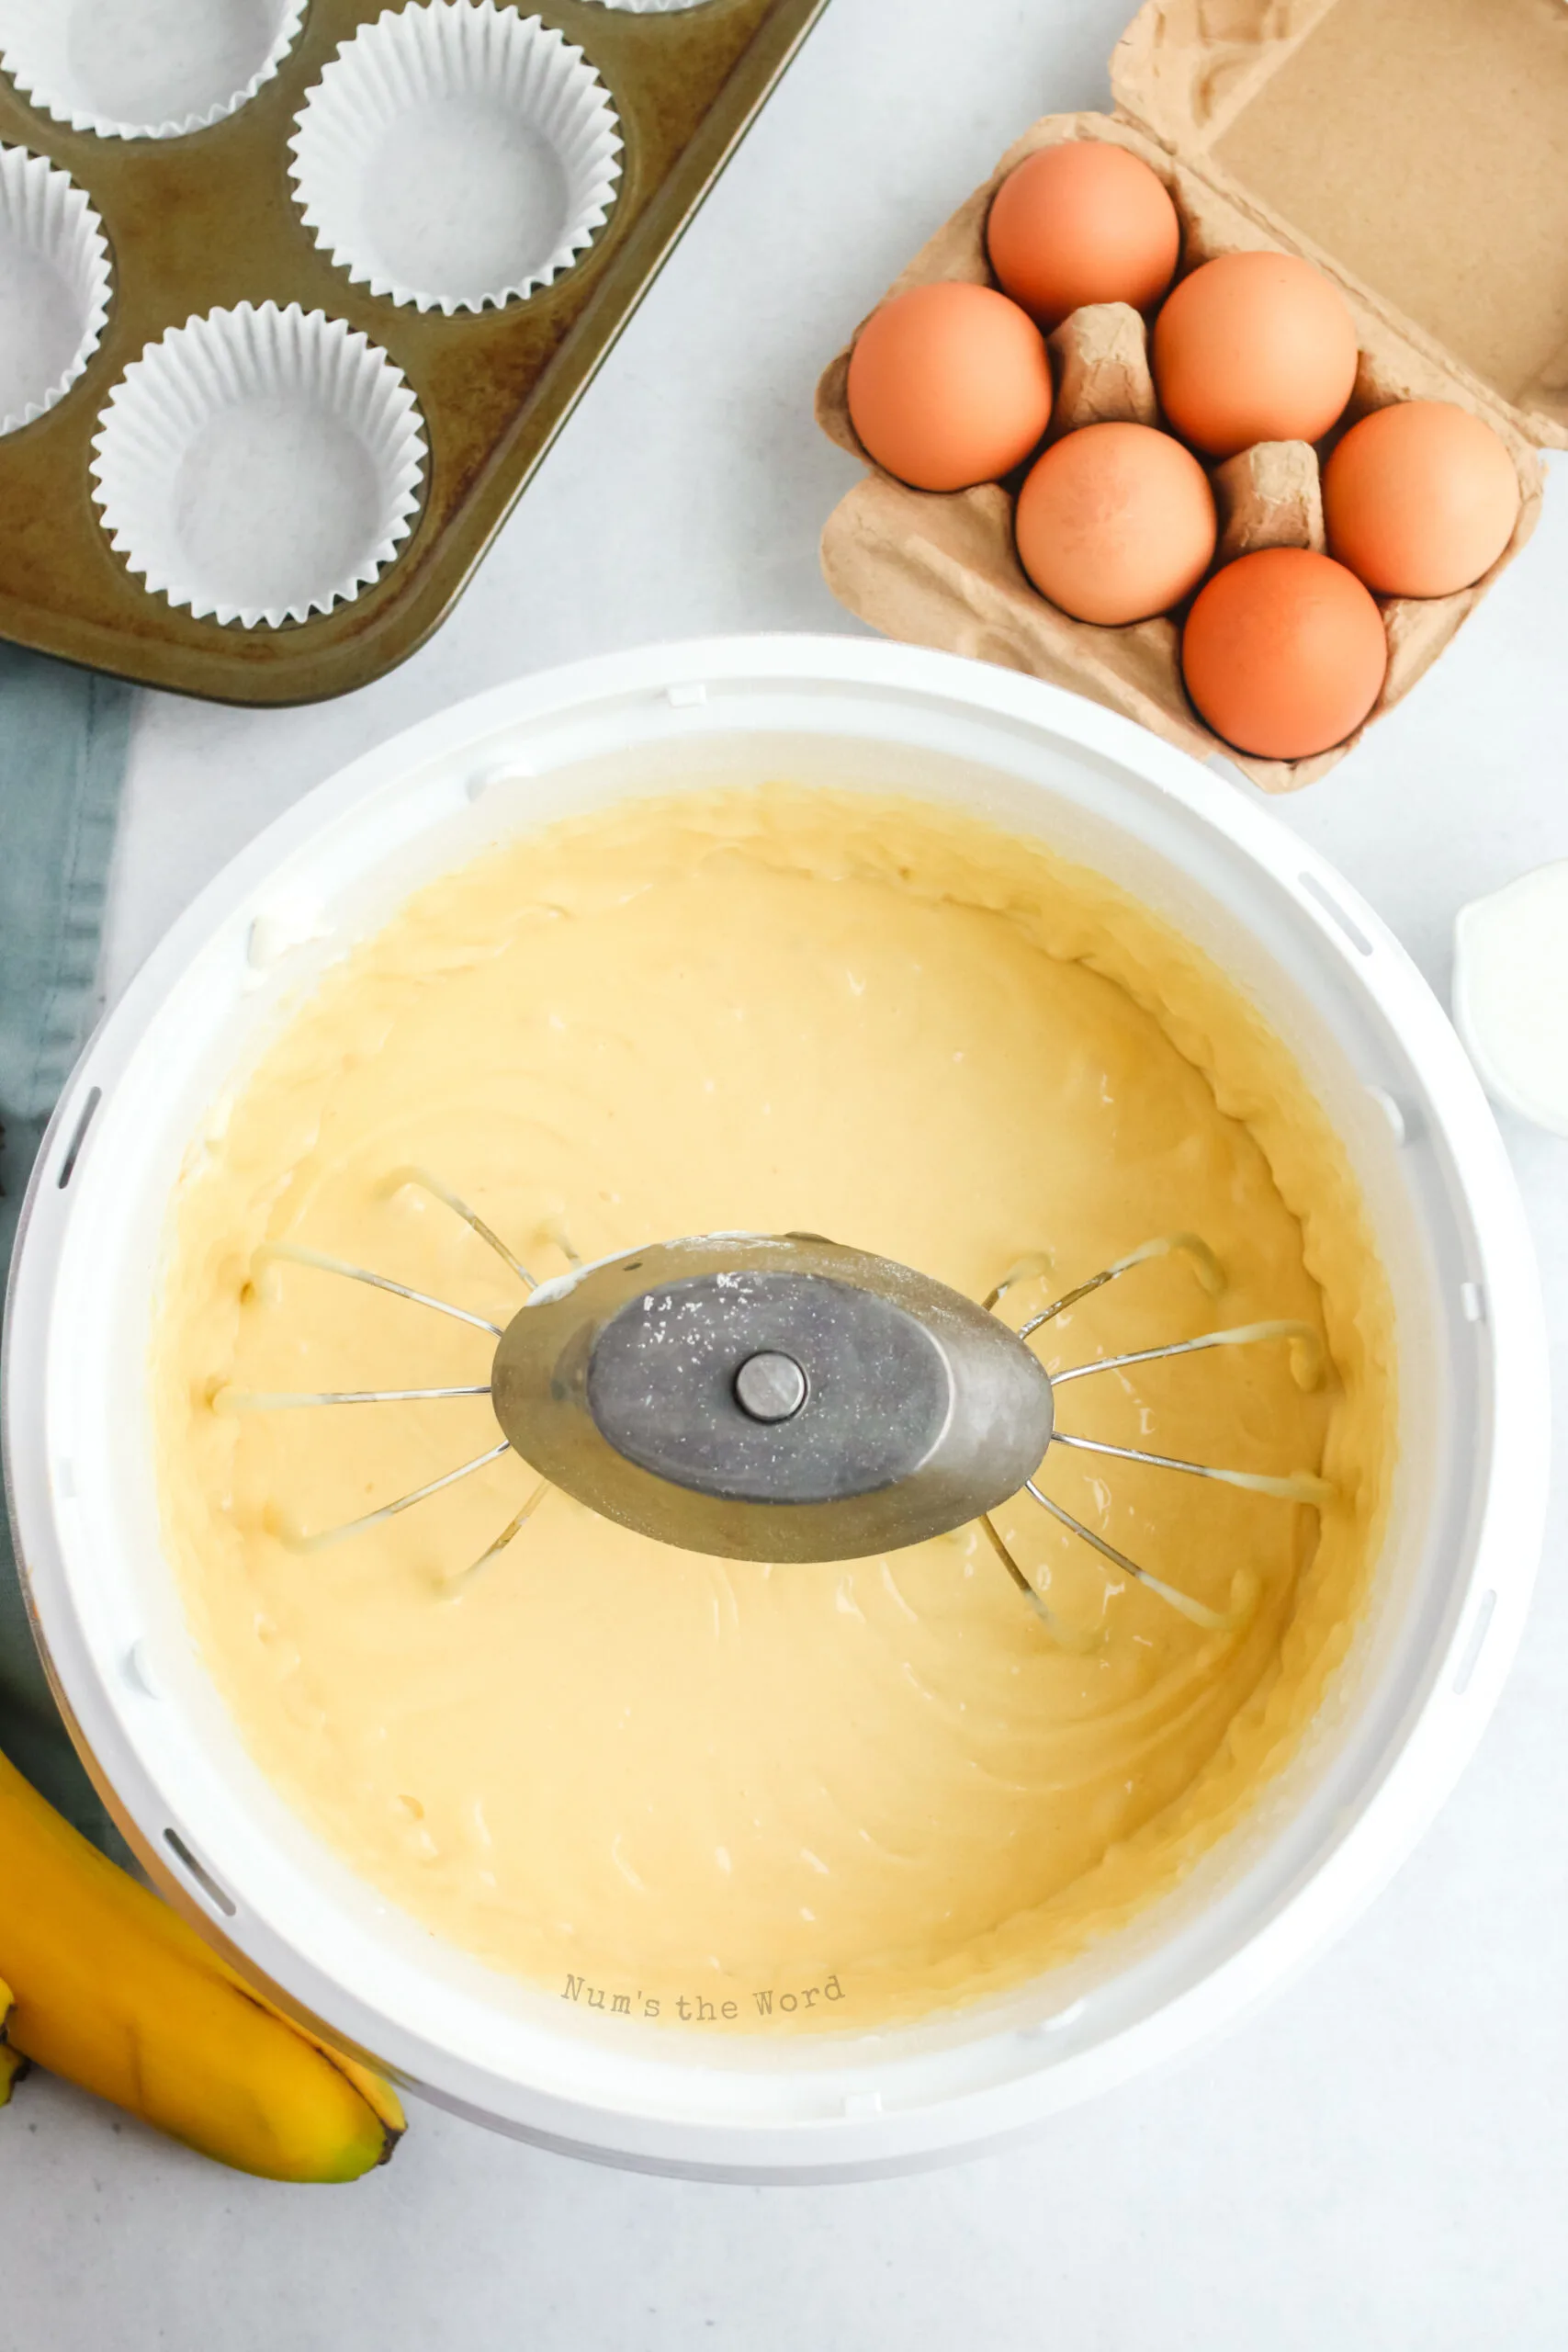
- With mixer on, slowly add water, oil, vanilla, sour cream and eggs. Blend until smooth.
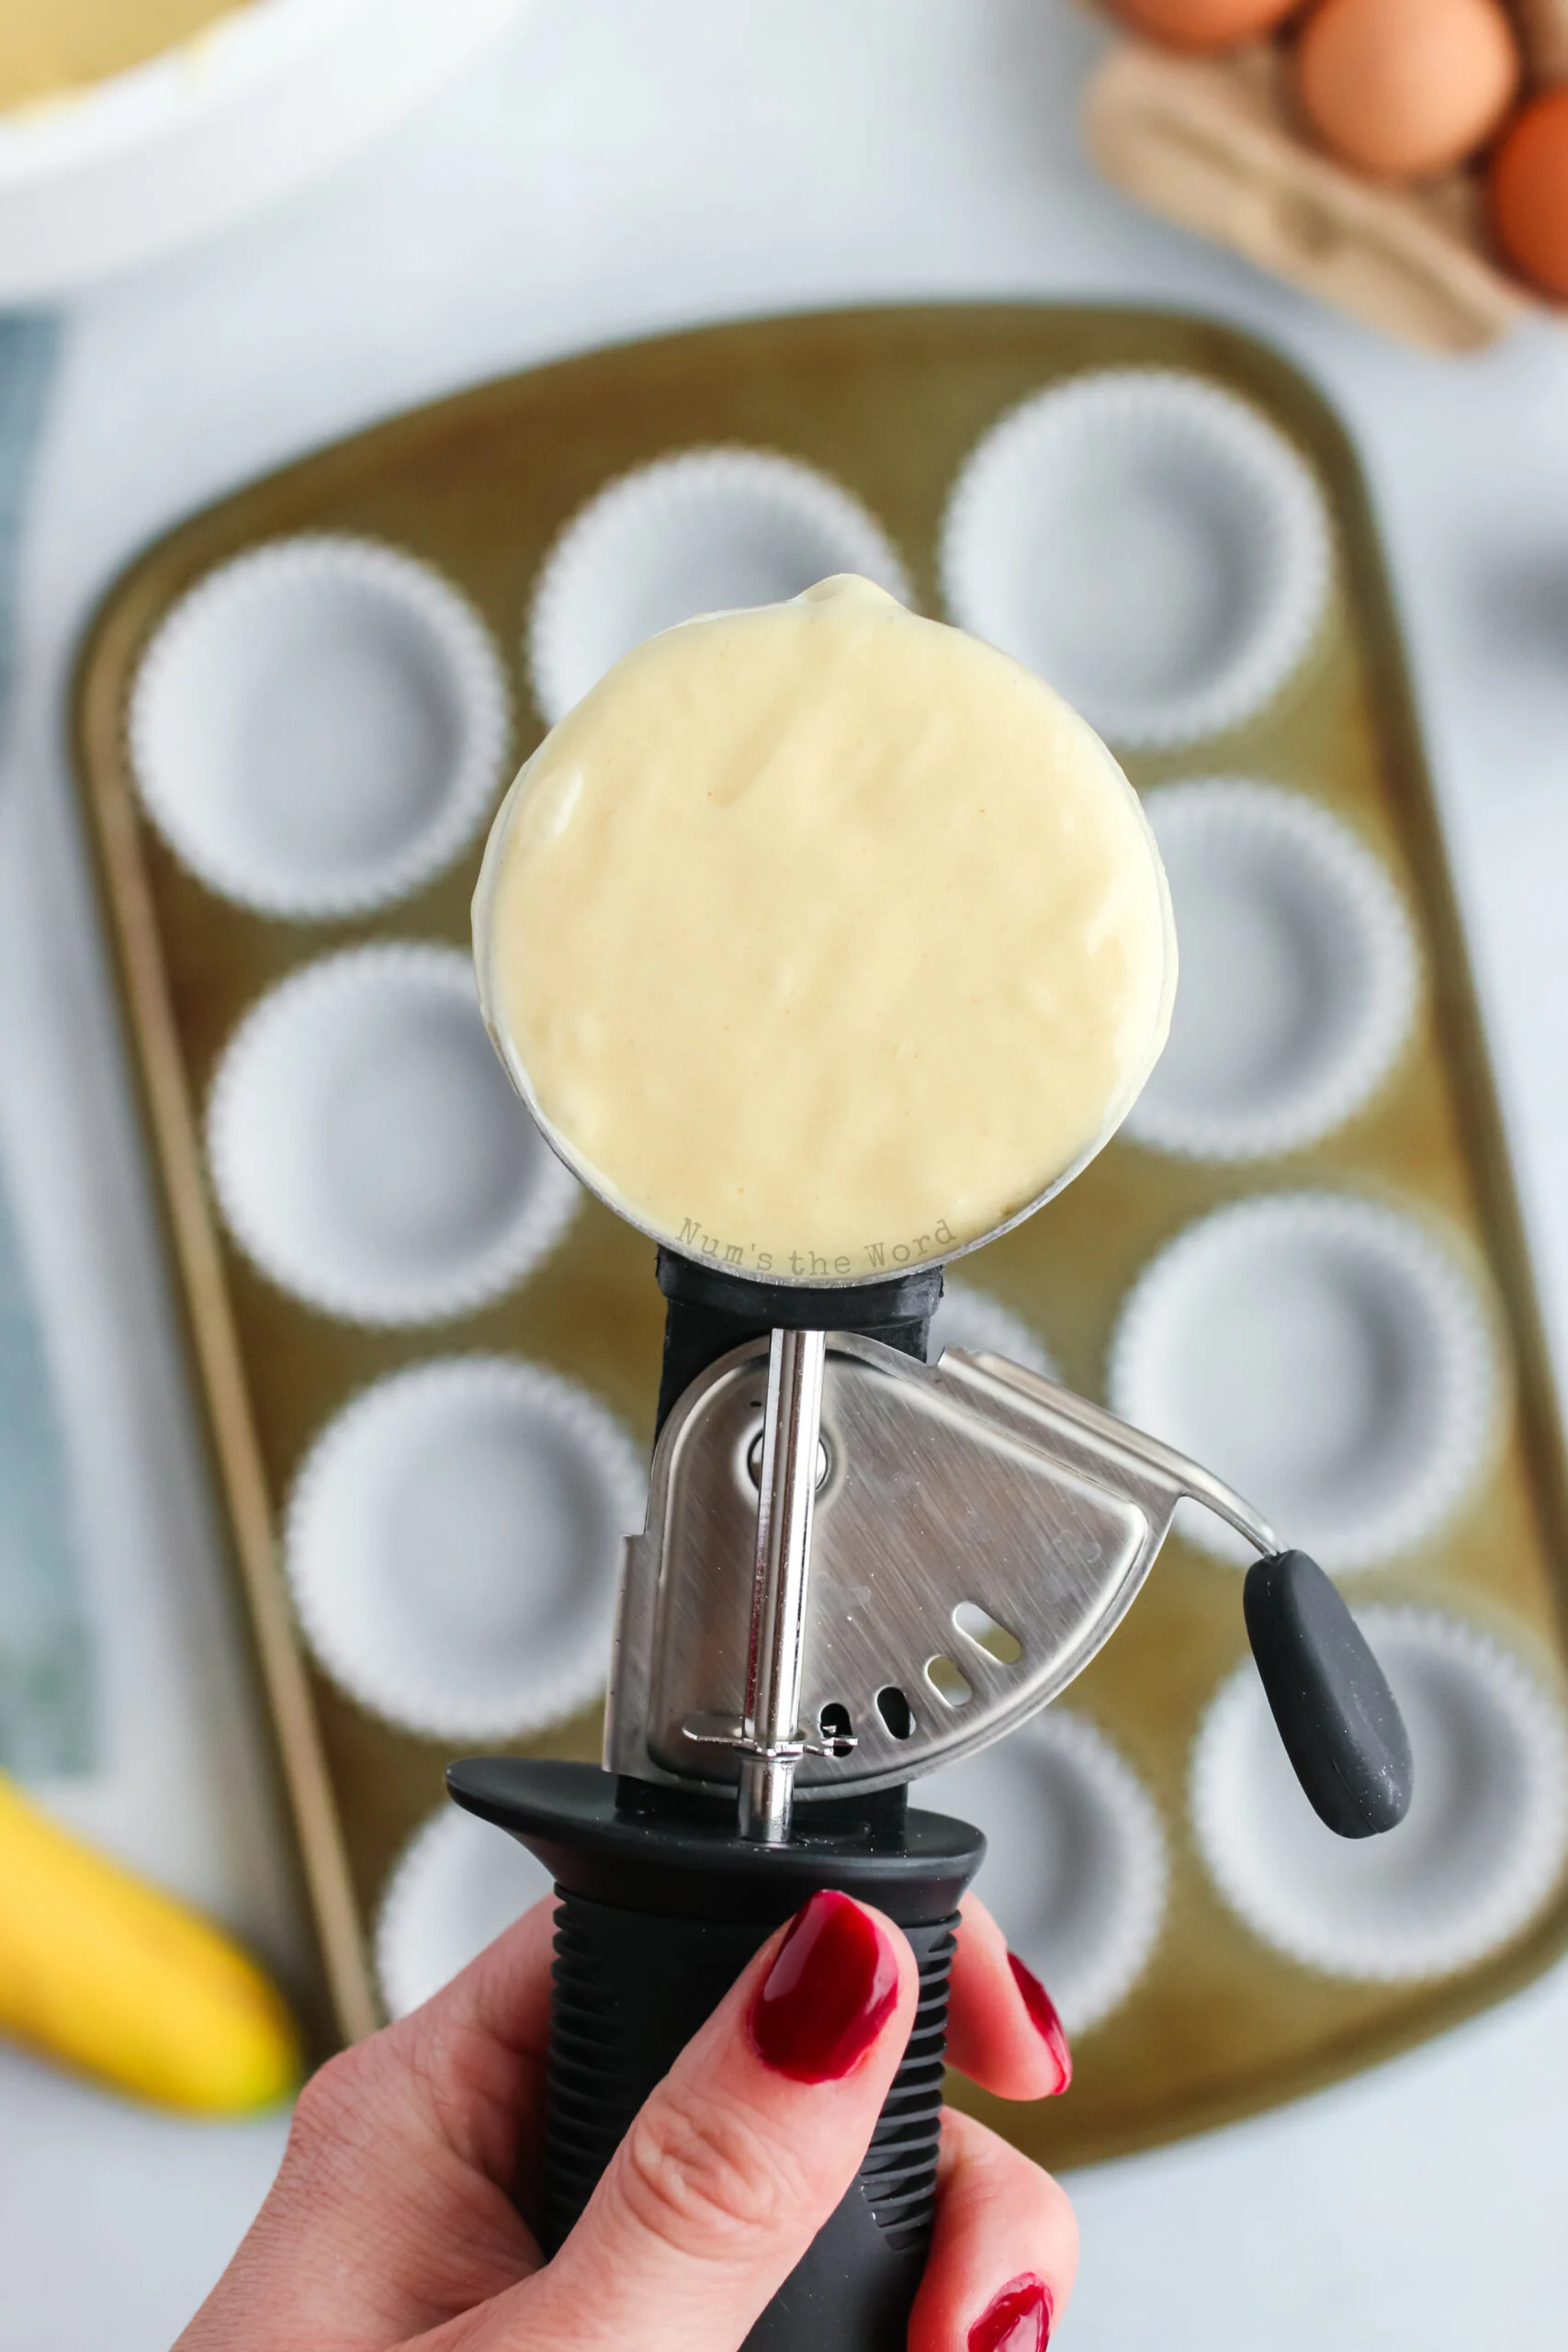
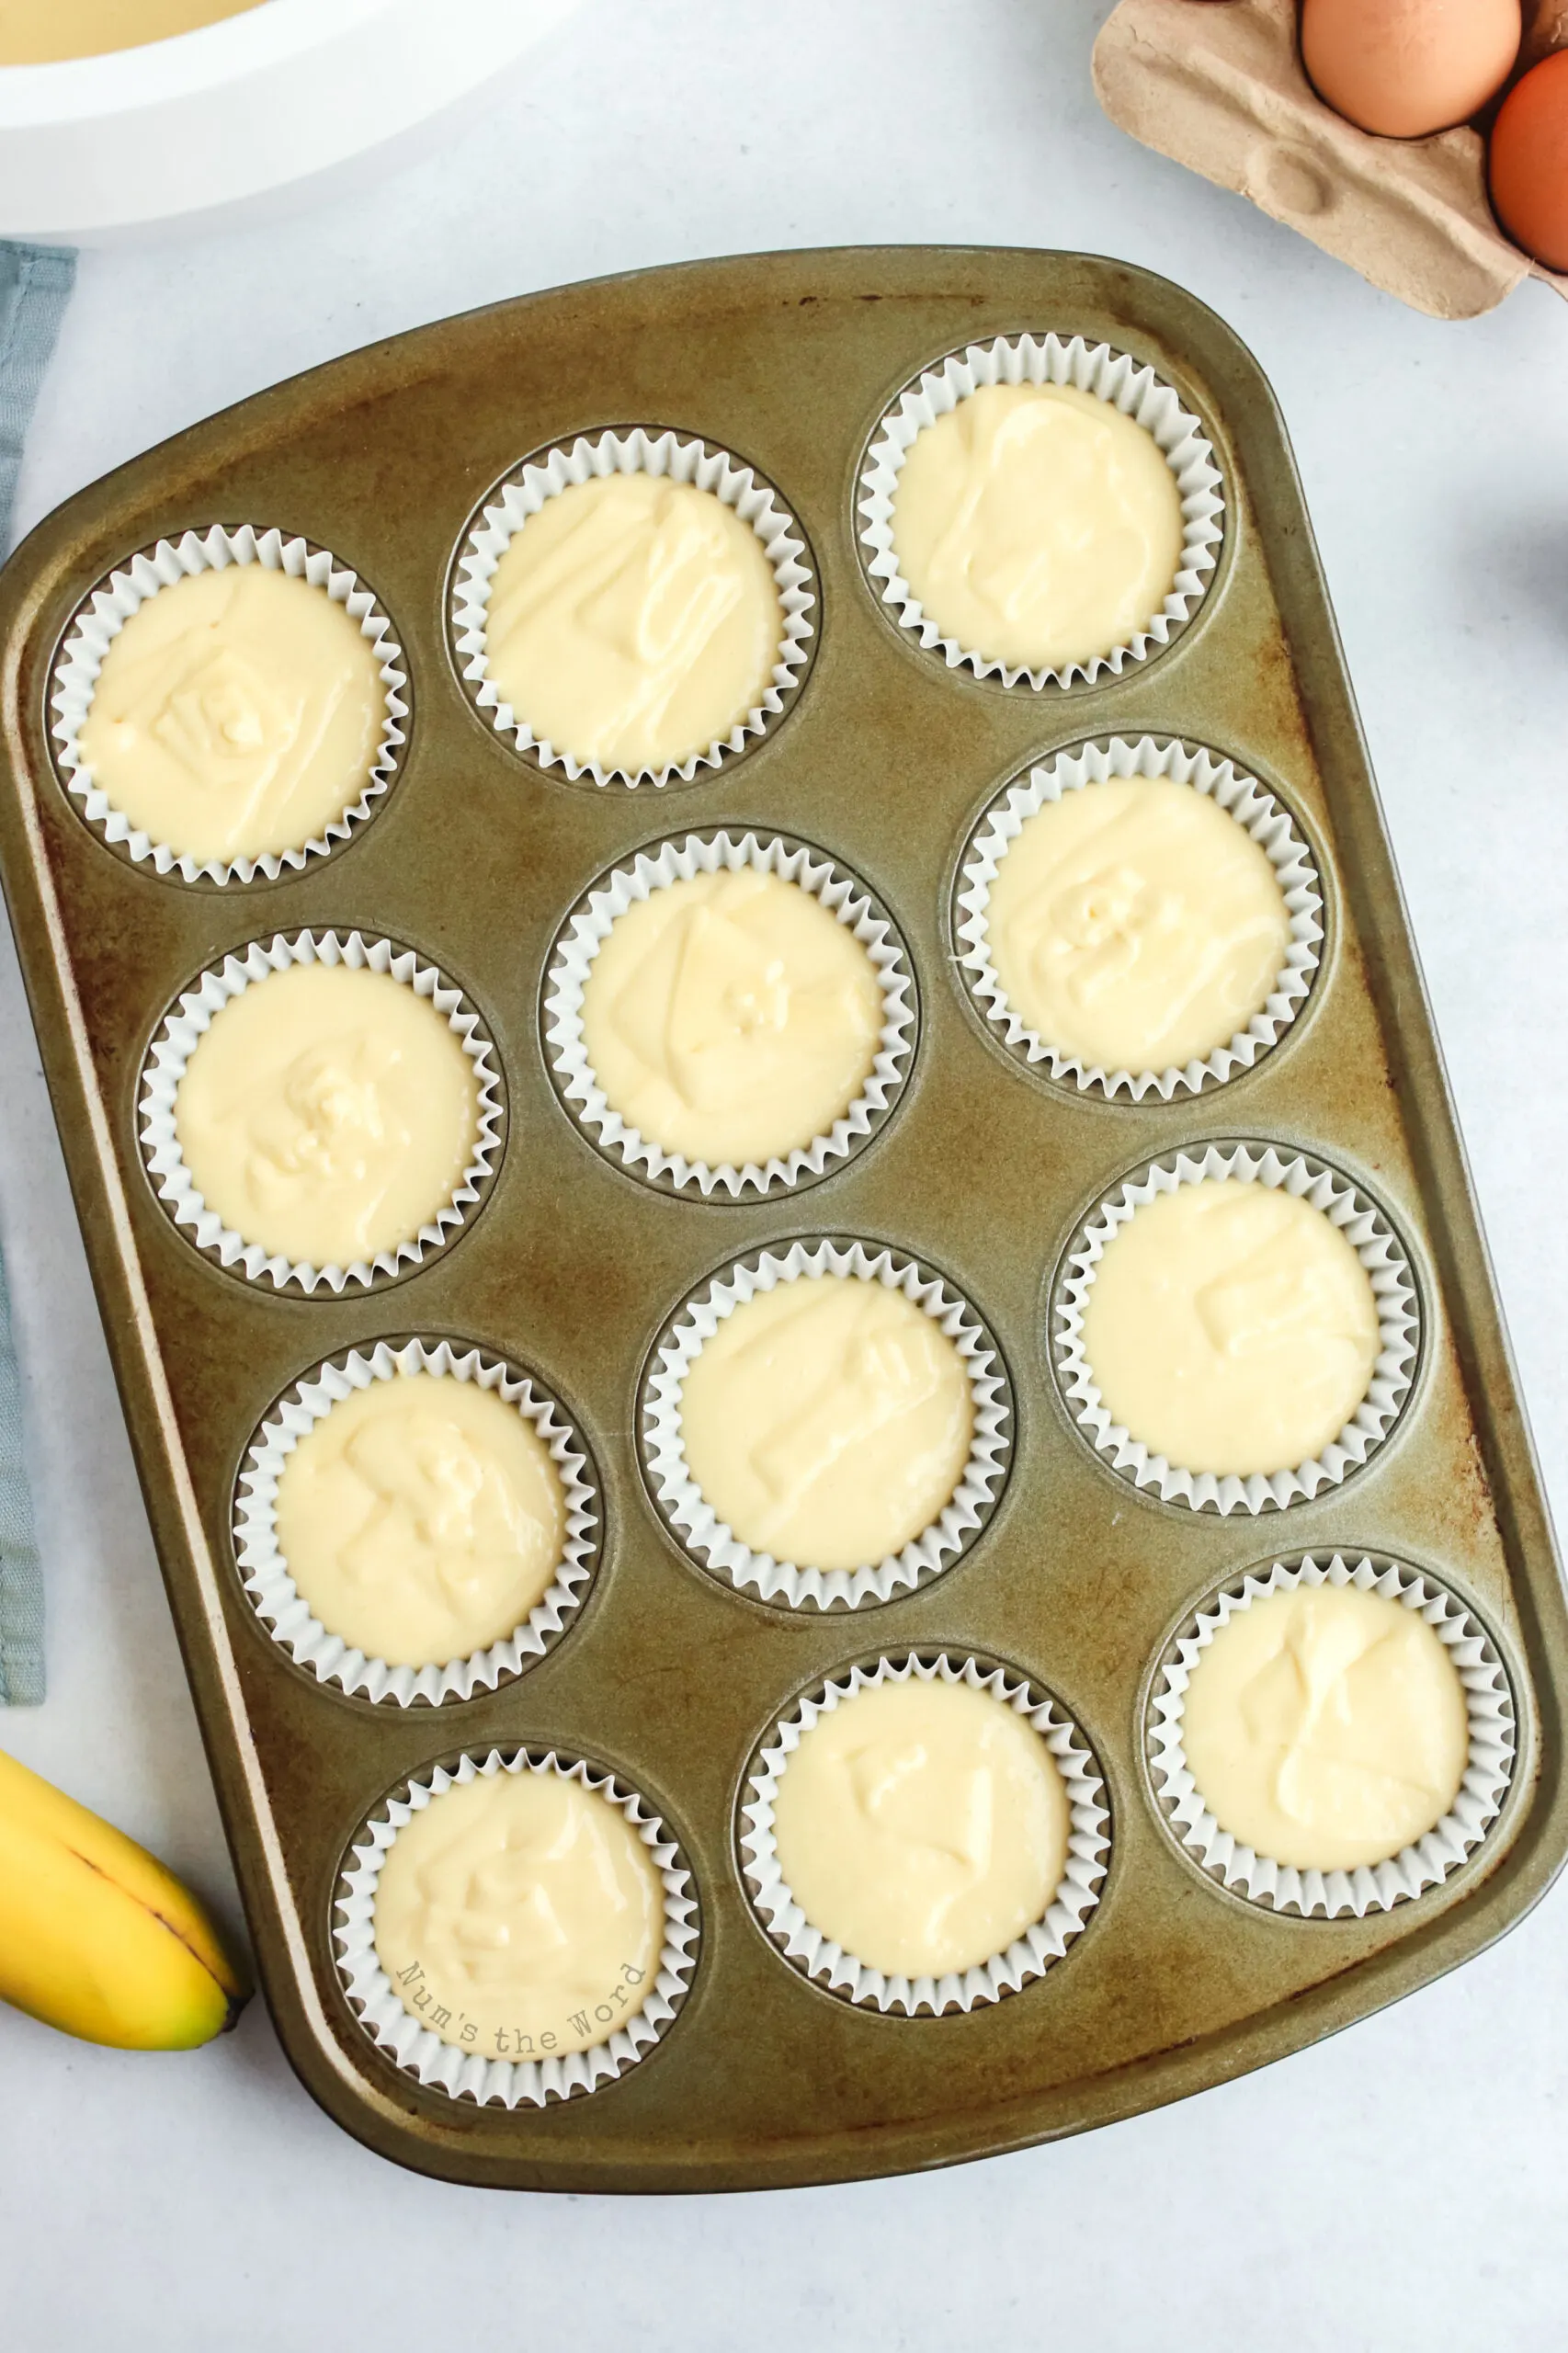
- Fill each cupcake liner 3/4 full. I find a large cookie scoop works great!
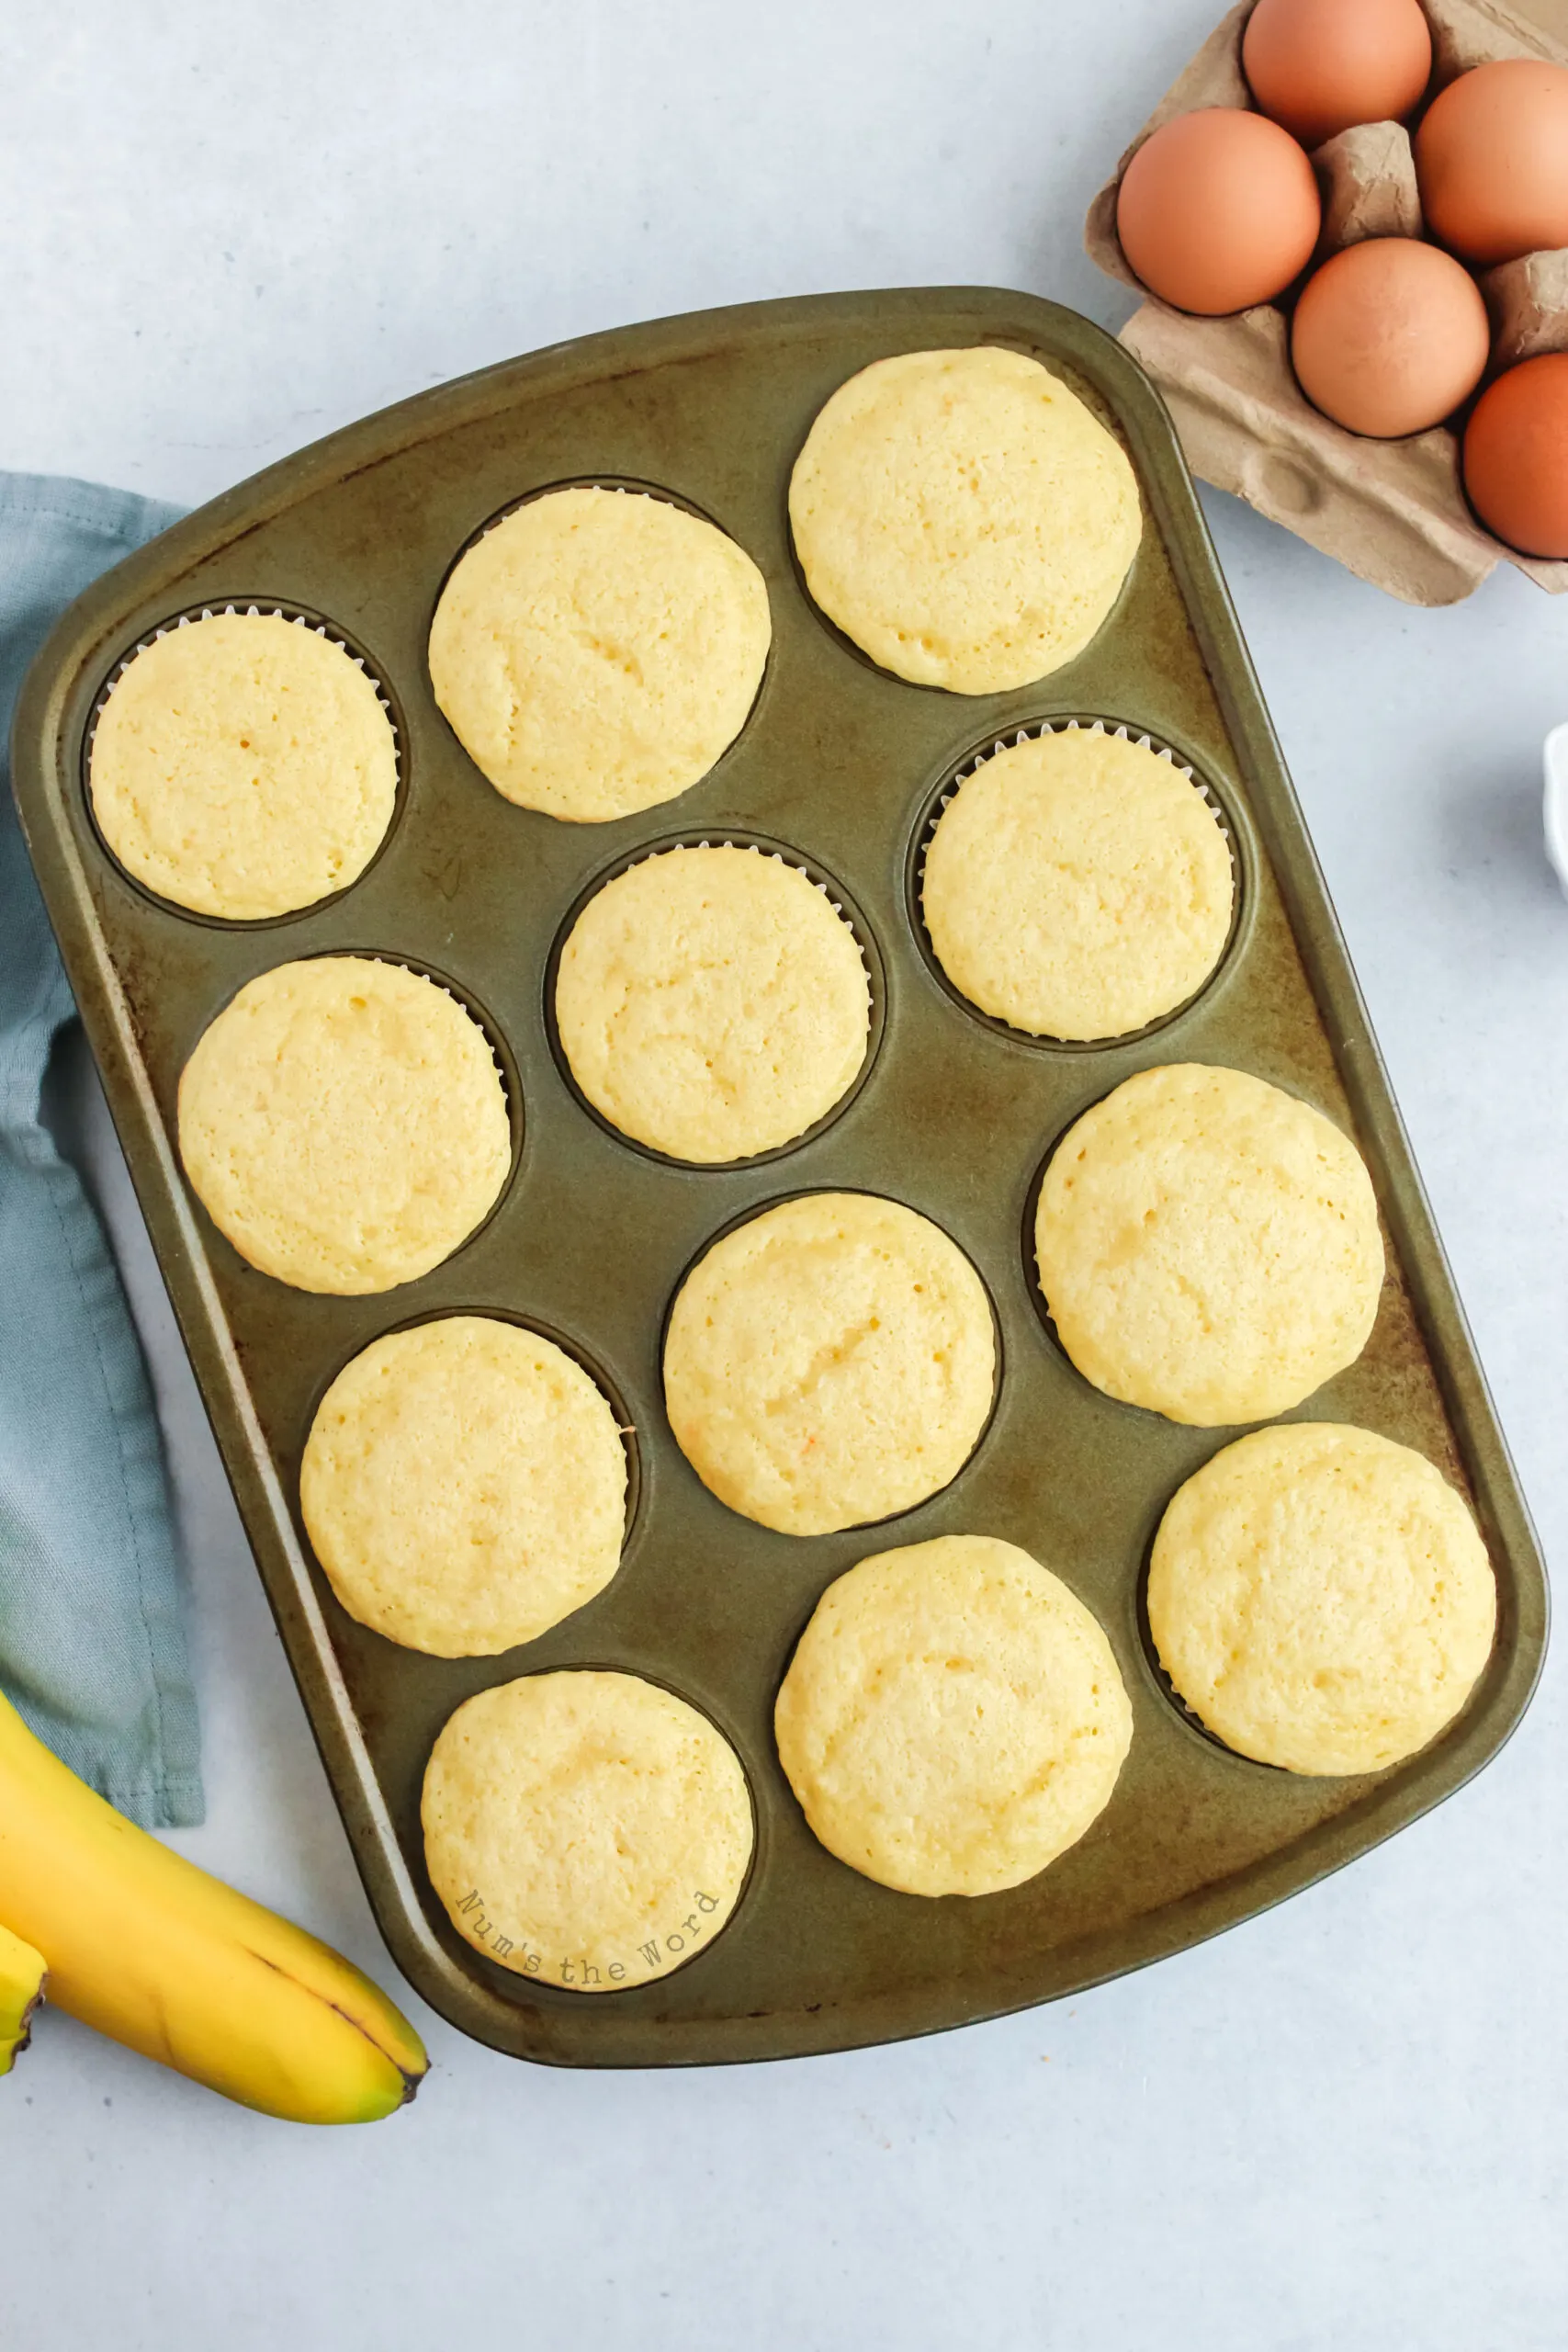
- Bake for 16 - 18 minutes, a toothpick test should show a dry toothpick upon removing it from center of cupcake.
- Allow to cool 5 minutes in pan then move to a wire rack to cool completely.
- Once completely cool, it's time to fill!
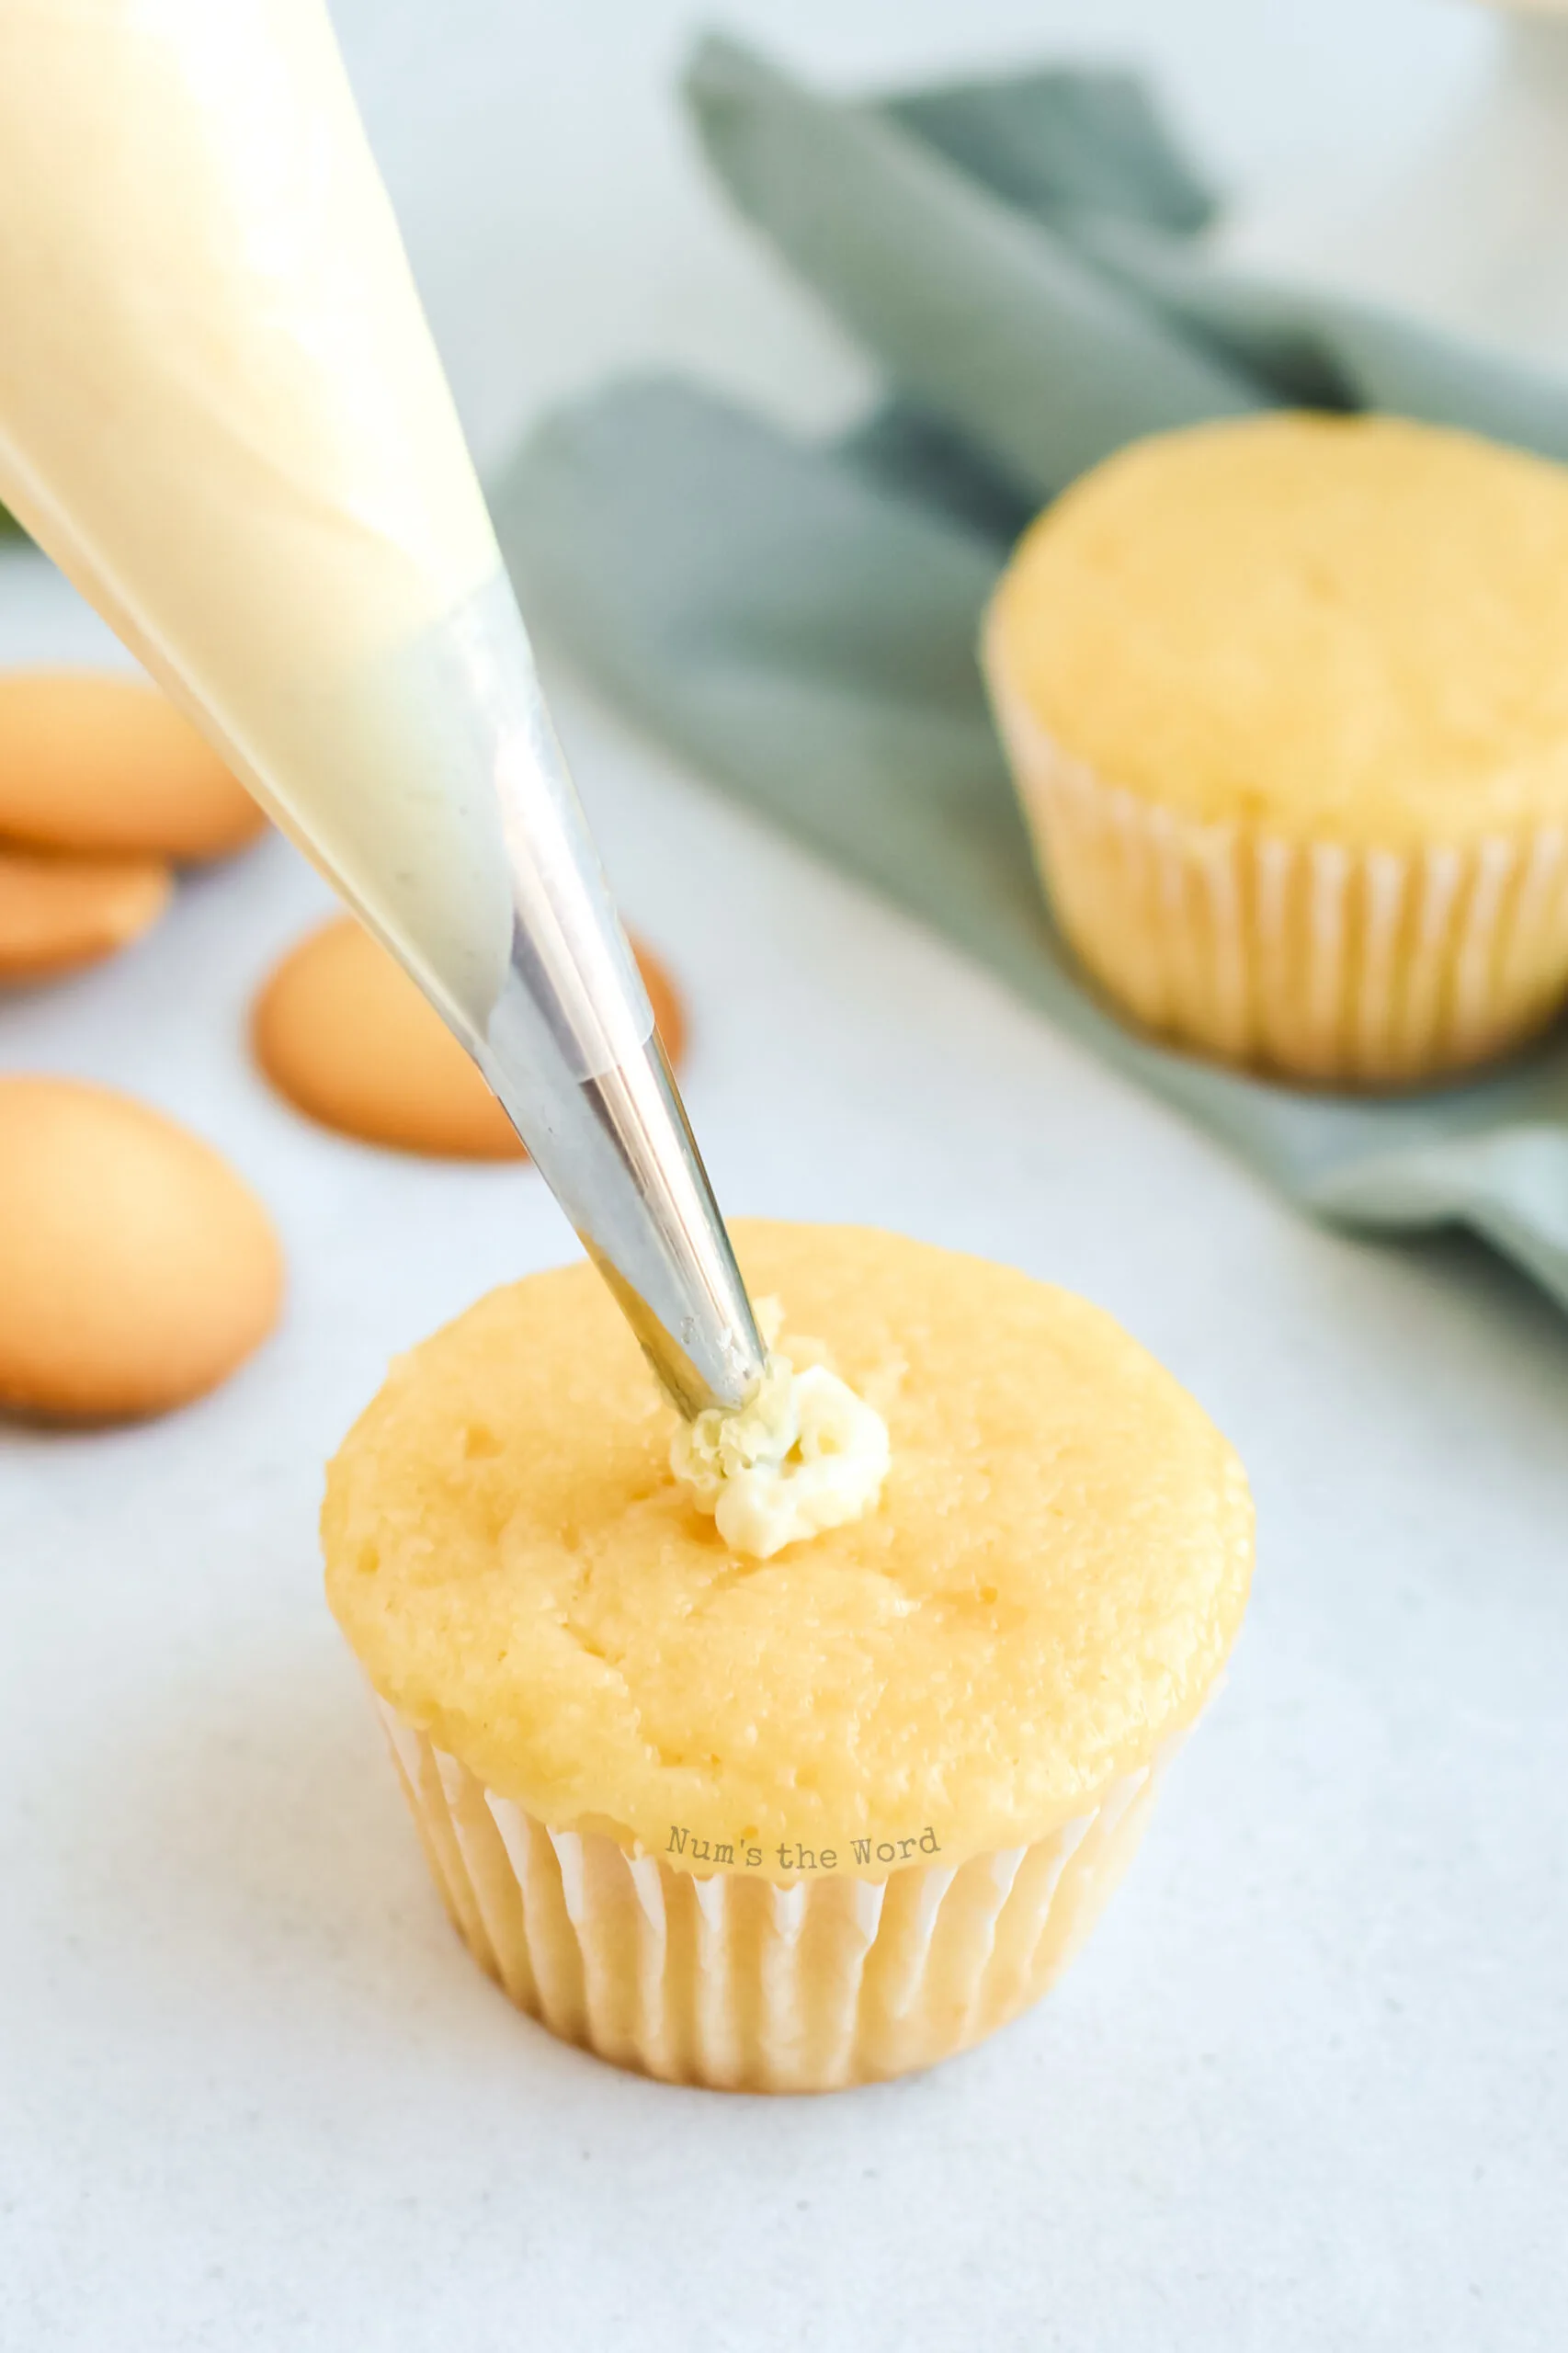
- Fill a piping bag with a piping tip, with banana pudding. If you do not have a piping bag or piping tip, then you'll want to gently hollow out the center of each cupcake. Save your cupcake nubs. Do not go all the way to the bottom. Only 1/2 way down.
- If using a piping bag, push tip into center of the cupcake and gently squeeze. Only push until piping tip is in the cupcake. Do not push to the bottom of the cupcake. Cupcake should puff out a bit as it fills. Remove piping bag from cupcake and repeat to all other cupcakes, cleaning tip as needed.
- If not using a piping bag, then gently fill each hole you've created with banana pudding.
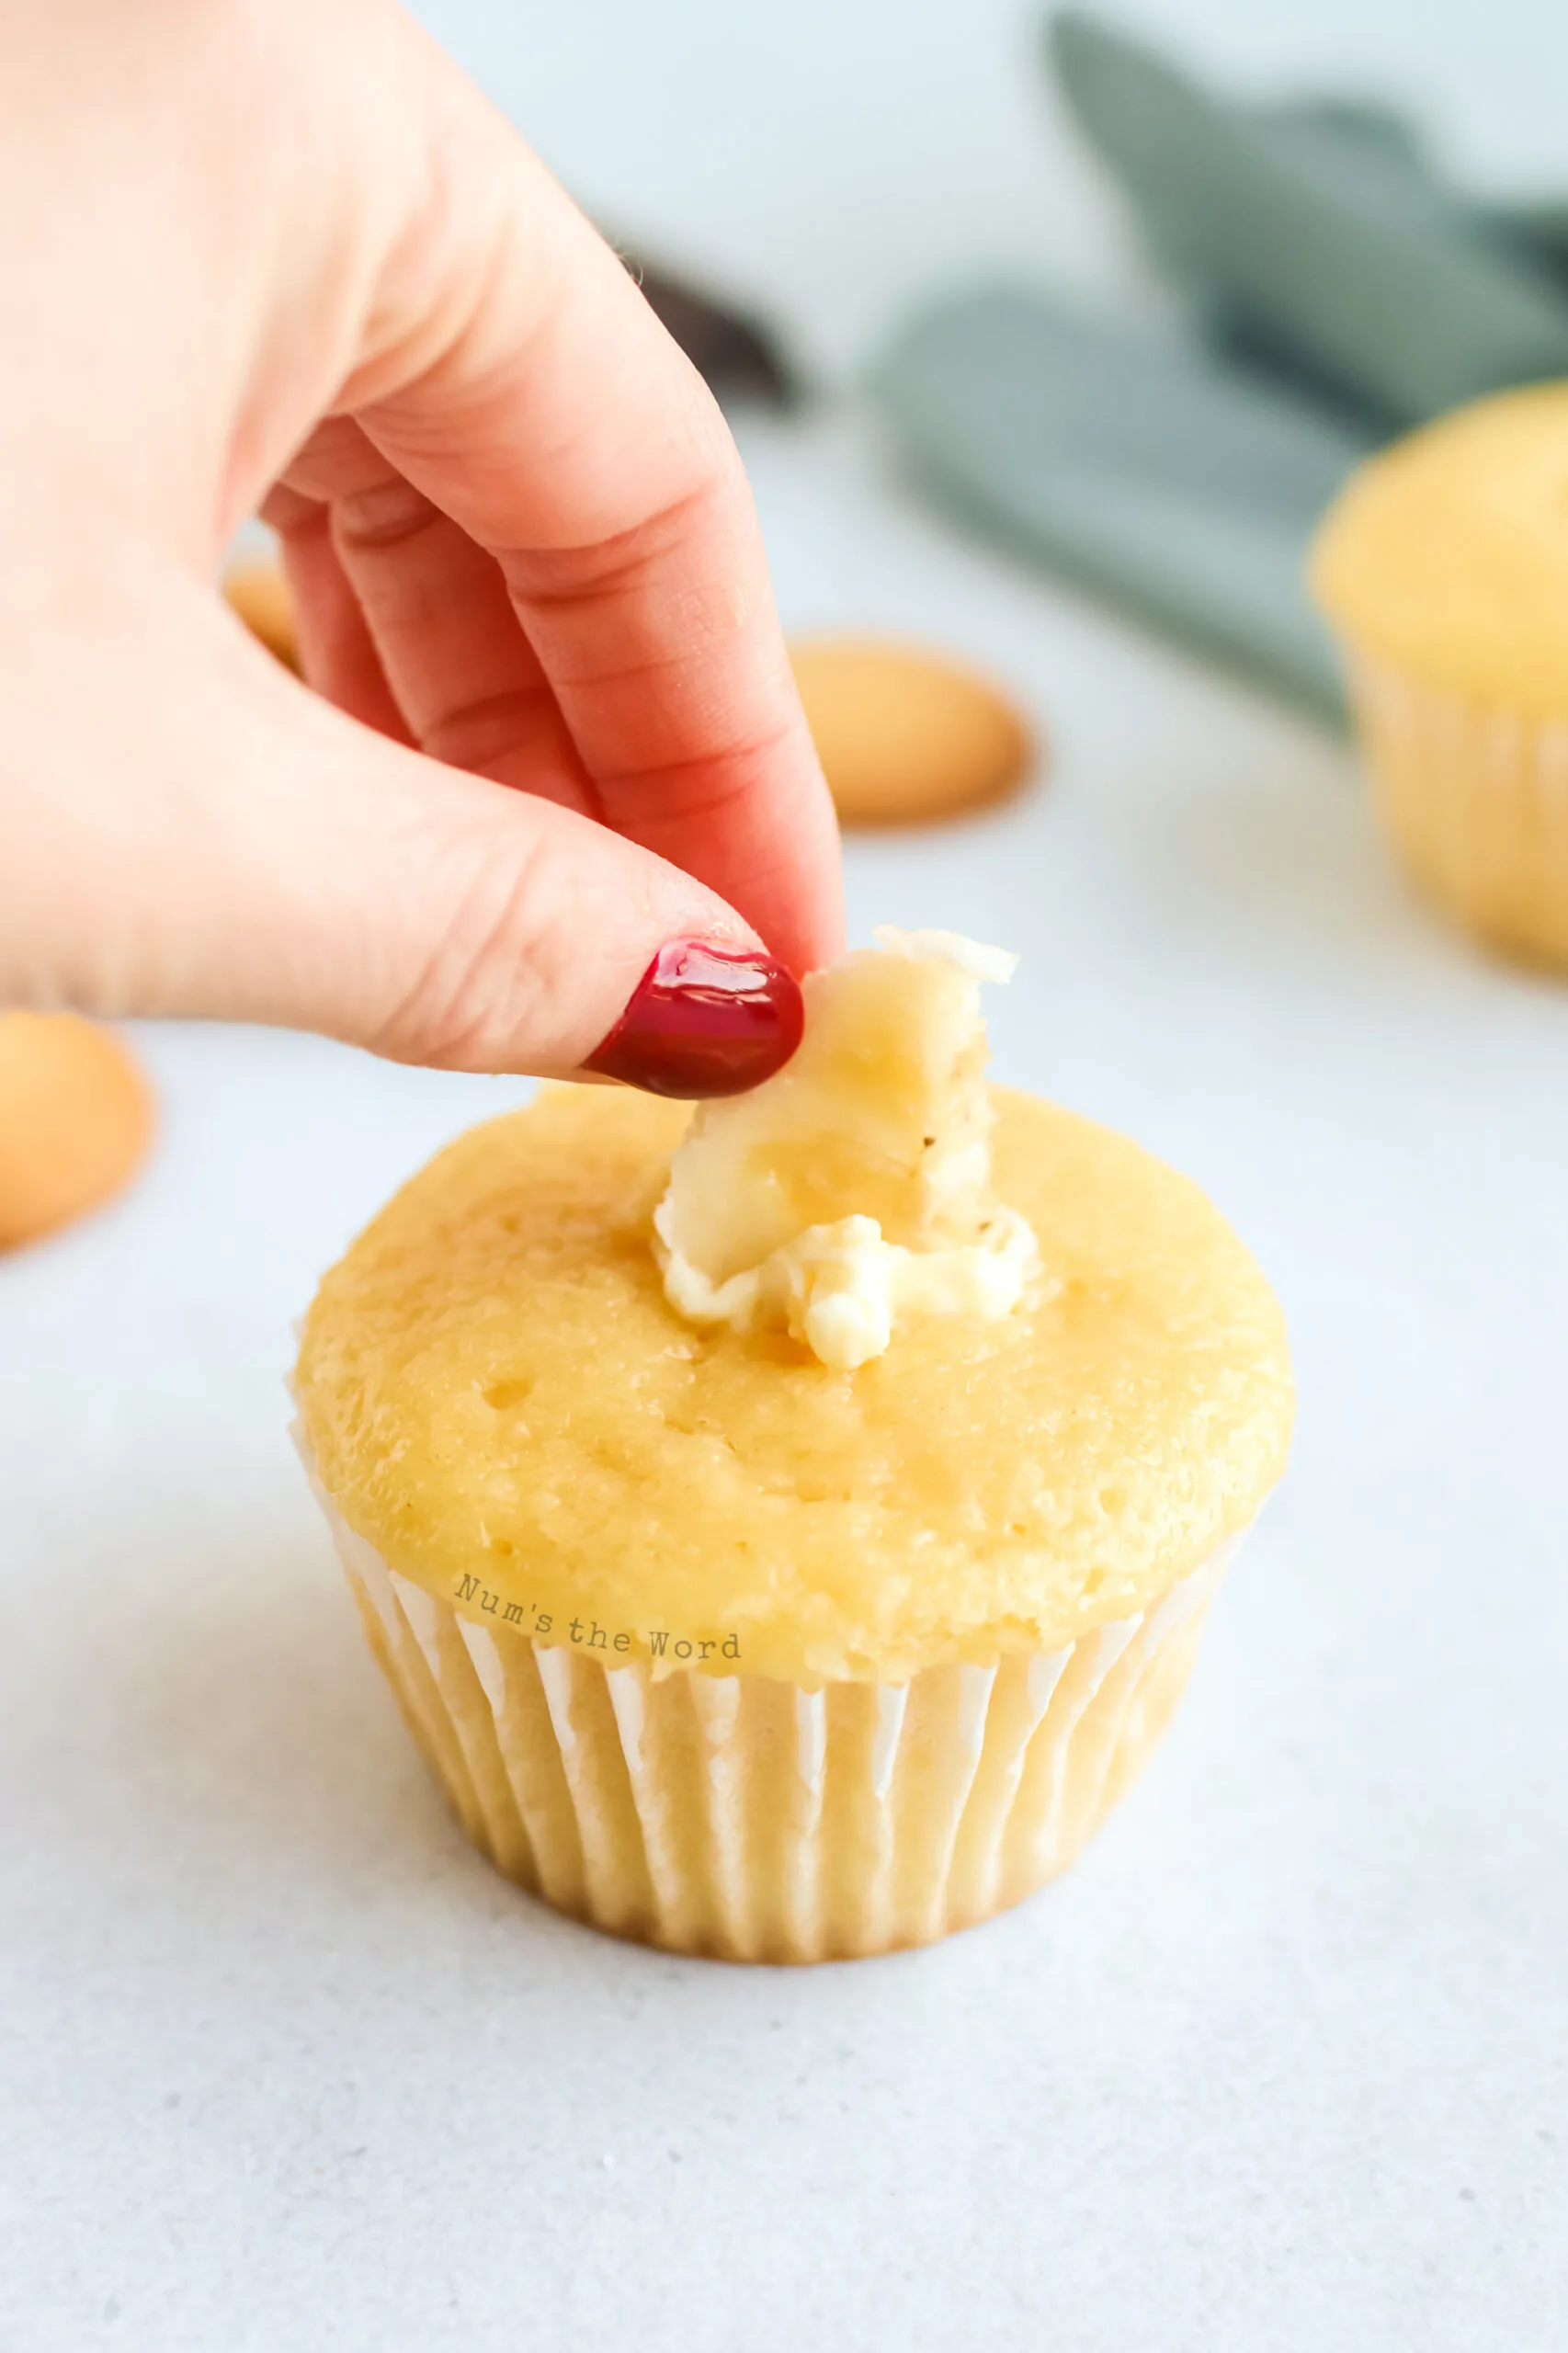
- Slice 1 banana in to slices, then cut each slice in half. Push one half of a sliced banana into the banana pudding.
- If you cut holes, place cupcake numb or crumbs on top to prevent pudding from squeezing out when picked up.
- Open thawed but cold cool whip and place in a new piping bag or a freezer Ziploc type bag. Snip tip. Pipe cool whip onto cupcake. DO NOT MIX cool whip before piping. It will melt in seconds on your cupcake.
- Top each cupcake with a vanilla wafer.
Nutrition Information:
Yield:
32Serving Size:
1Amount Per Serving: Calories: 155Total Fat: 4gSaturated Fat: 2gTrans Fat: 0gUnsaturated Fat: 2gCholesterol: 18mgSodium: 195mgCarbohydrates: 28gFiber: 1gSugar: 16gProtein: 2g
Photos & Text Updated: March 17, 2021

Nicole
Friday 16th of June 2023
How long can these last? Do the need to be refrigerated?
Janelle
Saturday 30th of September 2023
Yes they do need to be refrigerated and should last about 3-4 days.
Lou
Monday 28th of February 2022
Do these cupcakes need refrigerated?
Janelle
Wednesday 2nd of March 2022
Hi Lou! Yes they do. The banana pudding does need to be in the fridge so keep them chilled before and after serving. Great question!
Bekah
Tuesday 8th of June 2021
Do these get much banana flavor since you’re using vanilla pudding? And I correct in thinking the only banana is the slice you put in the middle?
Janelle
Monday 11th of October 2021
Classic banana pudding and southern banana pudding are traditionally made with vanilla pudding with bananas added. It has only been in recent years that banana flavored pudding has been used. You could use banana flavored if you prefer that flavor, however traditionally it's made with vanilla pudding.
Marilyn
Thursday 18th of March 2021
Is there a way I can print this recipe without the ads being included? I have tried several times and it always includes unwanted ads on the printed recipe. This recipe sounds delish! Thanks!
Janelle
Saturday 20th of March 2021
Hi Marilyn! Yes there is an easy way to print the recipe. In the recipe card, there is a button that says print. It will print the recipe without any ads or extra content. If you aren't sure where the recipe card is, at the top of each recipe, before the first photo but under the title of the recipe, is a button that says Jump to Recipe. Click on that. It will take you right to the recipe cards. Once you see the recipe card, there is a little square photo on the right. Under that photo is a button that says print recipe. It will open a new browser tab and you can print the recipe. This method should work on most websites and certainly all of my recipes. Enjoy!
Claudia Lamascolo
Friday 10th of January 2020
These lasted 10 seconds on the table, the recipe is brilliant and delicious as we are banana, anything lovers!
Janelle
Friday 28th of August 2020
Thank you for your kind comments! So glad everyone loved them!