These Homemade Crescent Rolls are fluffy, flavorful and fun to eat. Skip the store bought ones and make this tried and true family recipe!
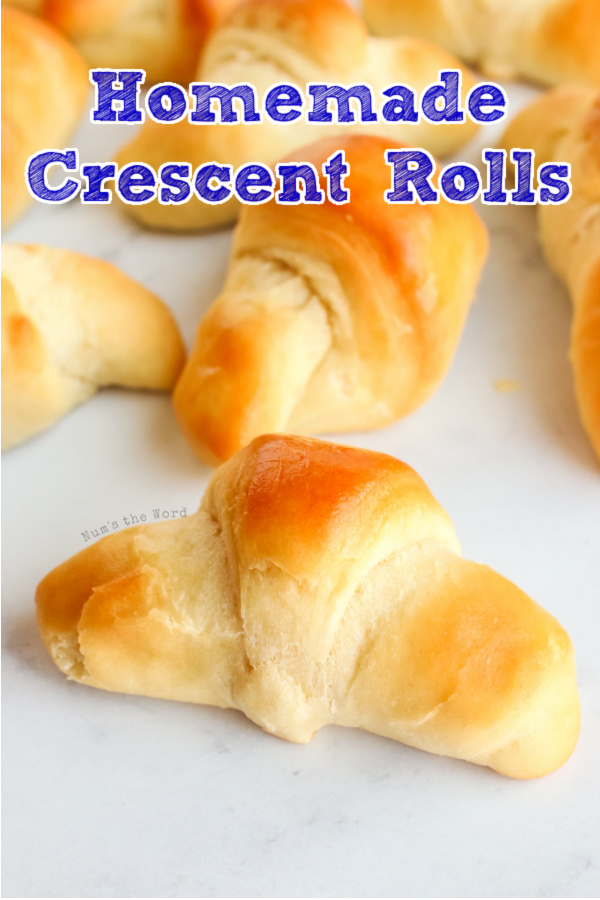

These Homemade Crescent Rolls are AH-mazing! They are perfect if you are new to baking because they are so easy to make. Fluffy, and buttery, they literally go with almost every meal.
I love the fun butterhorn rolls. Who doesn’t love unwrapping rolls one fluffy layer at a time? It can’t just be me because I know my kids love it too.
I also love how many easy dinner rolls this recipe makes. One recipe makes sixty rolls! When suddenly my neighbor needs a plate of food: new babies, broken hips, etc. I can always have rolls on hand to bring by with their plate.
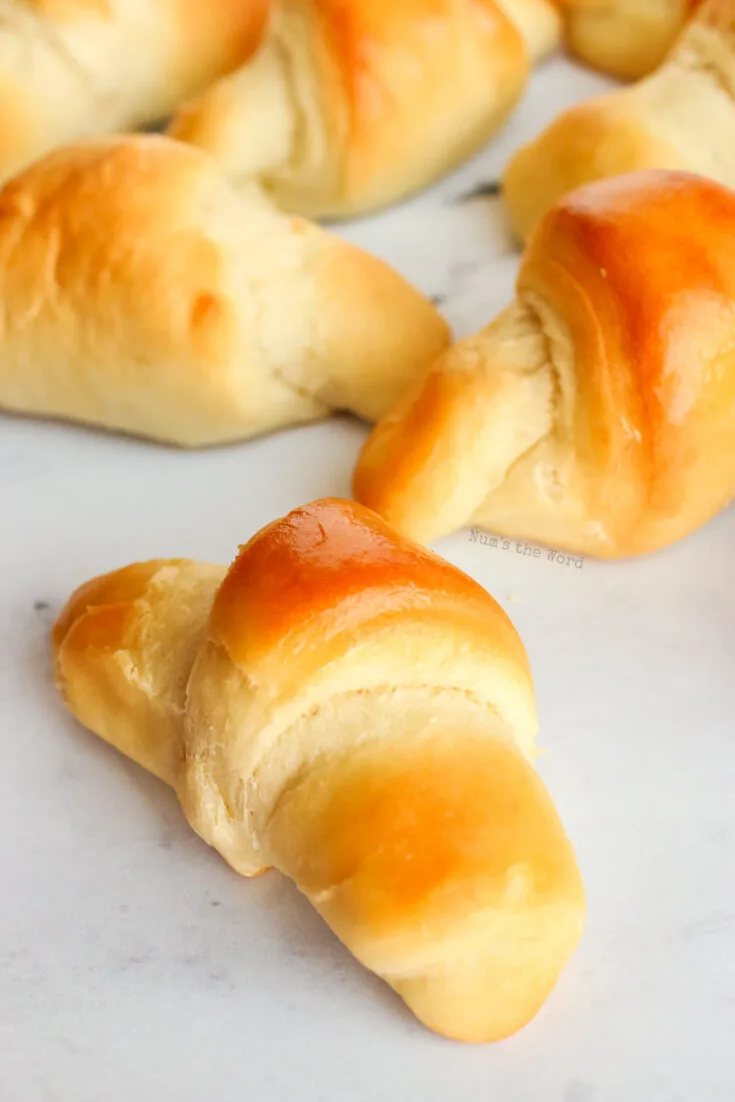
These homemade rolls come out perfect every time. I mean AMAZING. Golden on the outside, so soft on the inside, these get swallowed in two seconds by my kids. Which is where that big batch really comes in handy!

Ingredients for Homemade Crescent Rolls
- Yeast: The yeast is what gives your rolls their rise. I use rapid rise yeast but as you will be proofing before mixing in, you can choose to use active dry yeast too.
- Sugar: Table sugar, granulated sugar, or regular sugar. Whatever name it goes by in your house, that’s the one you want. I have not tried substituting for any other sweeteners.
- Water: You are using the water to proof the yeast. You’ll want it to be about 110 degrees. I recommend testing on your wrist. If it feels warm and comfortable to you, then your yeast will love it. Too hot or too cold and it won’t activate.
- Milk: For this recipe the percentage on your milk container doesn’t matter. You want the milk to be warm. You can microwave 15 seconds at a time, stirring between each heating. Or you can use a saucepan. Heat the milk on low while stirring continually until it is warm.
- Vegetable Oil: Any vegetable oil such as: avocado oil, olive oil, or vegetable oil, should work.
- Eggs: Used as a binder to help hold your rolls together.
- Salt: I’ve said this before but there are just so many options for salt nowadays! Pick whichever one is in your cupboard and call it good.
- Flour: All-purpose flour. I haven’t experimented with other flours though I imagine if you were to do a small amount of another flour while keeping the majority all-purpose then it should turn out similar. Whole wheat cooks differently than all purpose so don’t substitute the whole thing.
- Butter: You knew this one was coming right? You can’t get delicious buttery rolls without the butter!
- Cooking Spray: I list this as an ingredient because it helps to keep your dough from sticking to your bowl and is a real lifesaver.

How to Make Homemade Crescent Rolls
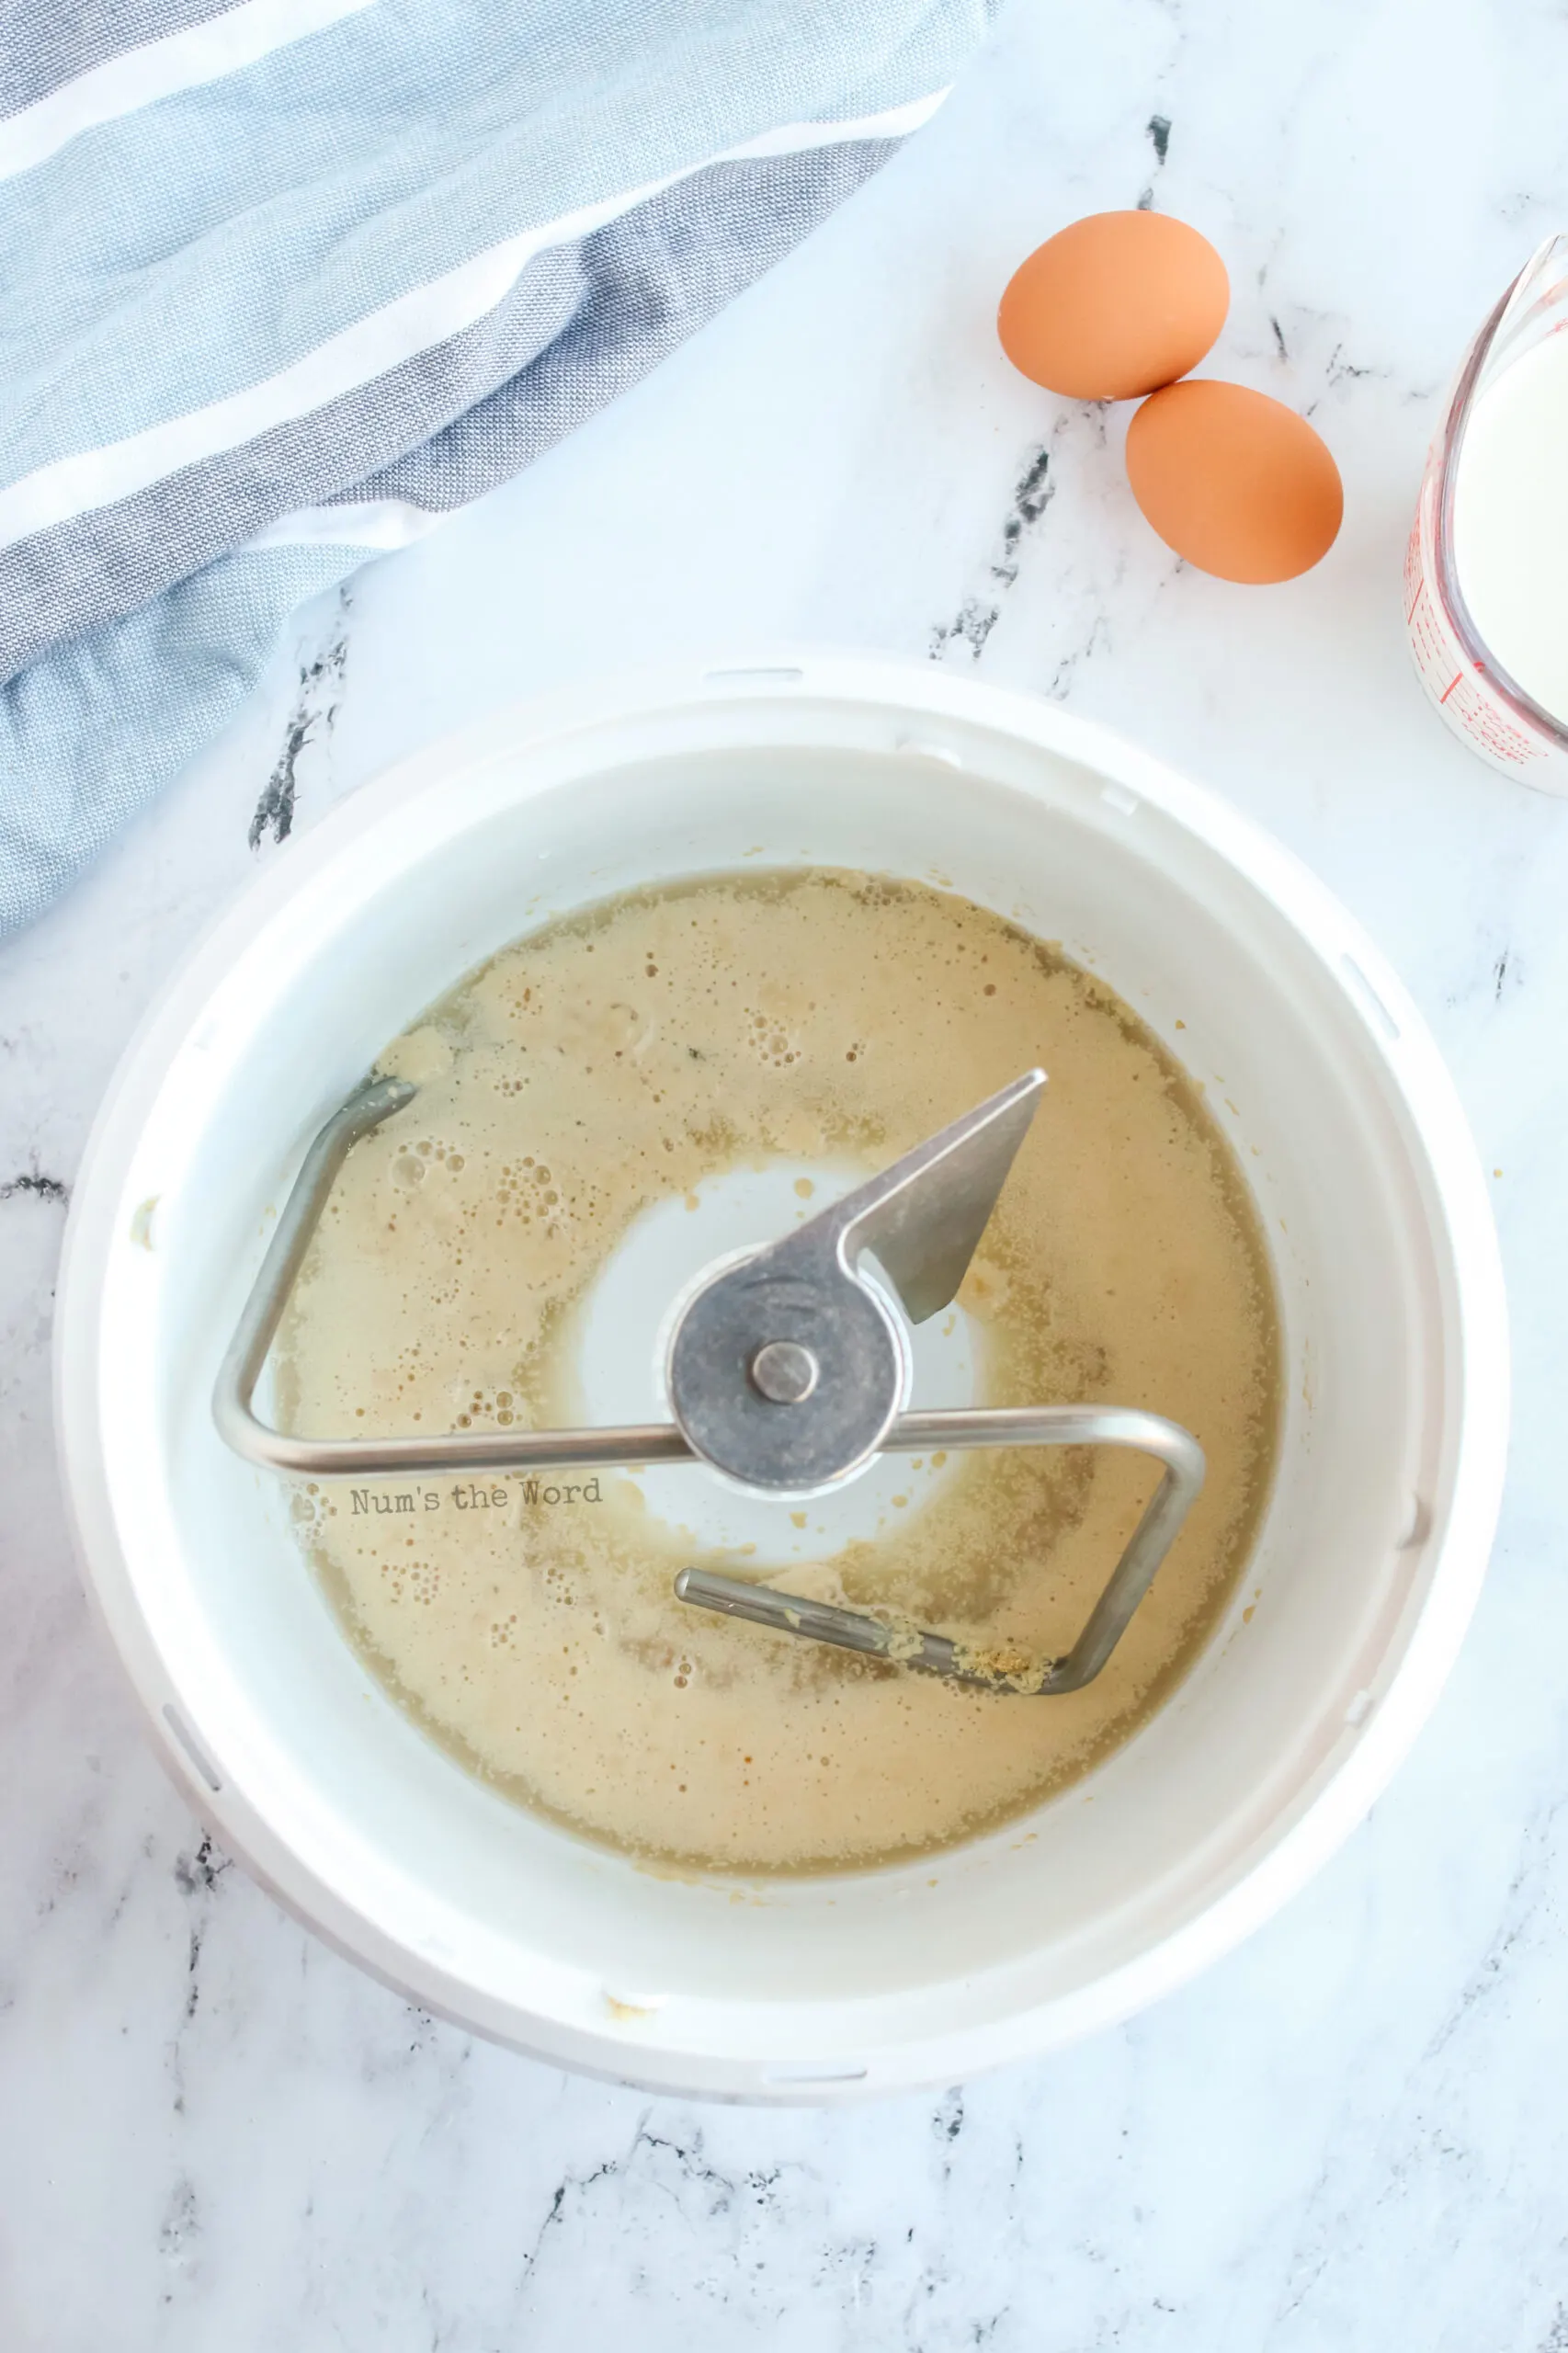
- Heat: Use your warm water to proof the yeast and sugar for about 5 minutes while you heat up the milk. The warm milk will help keep your yeast at the right temperature and not kill it. When the yeast is all bubbly and smells like bread, it’s ready.
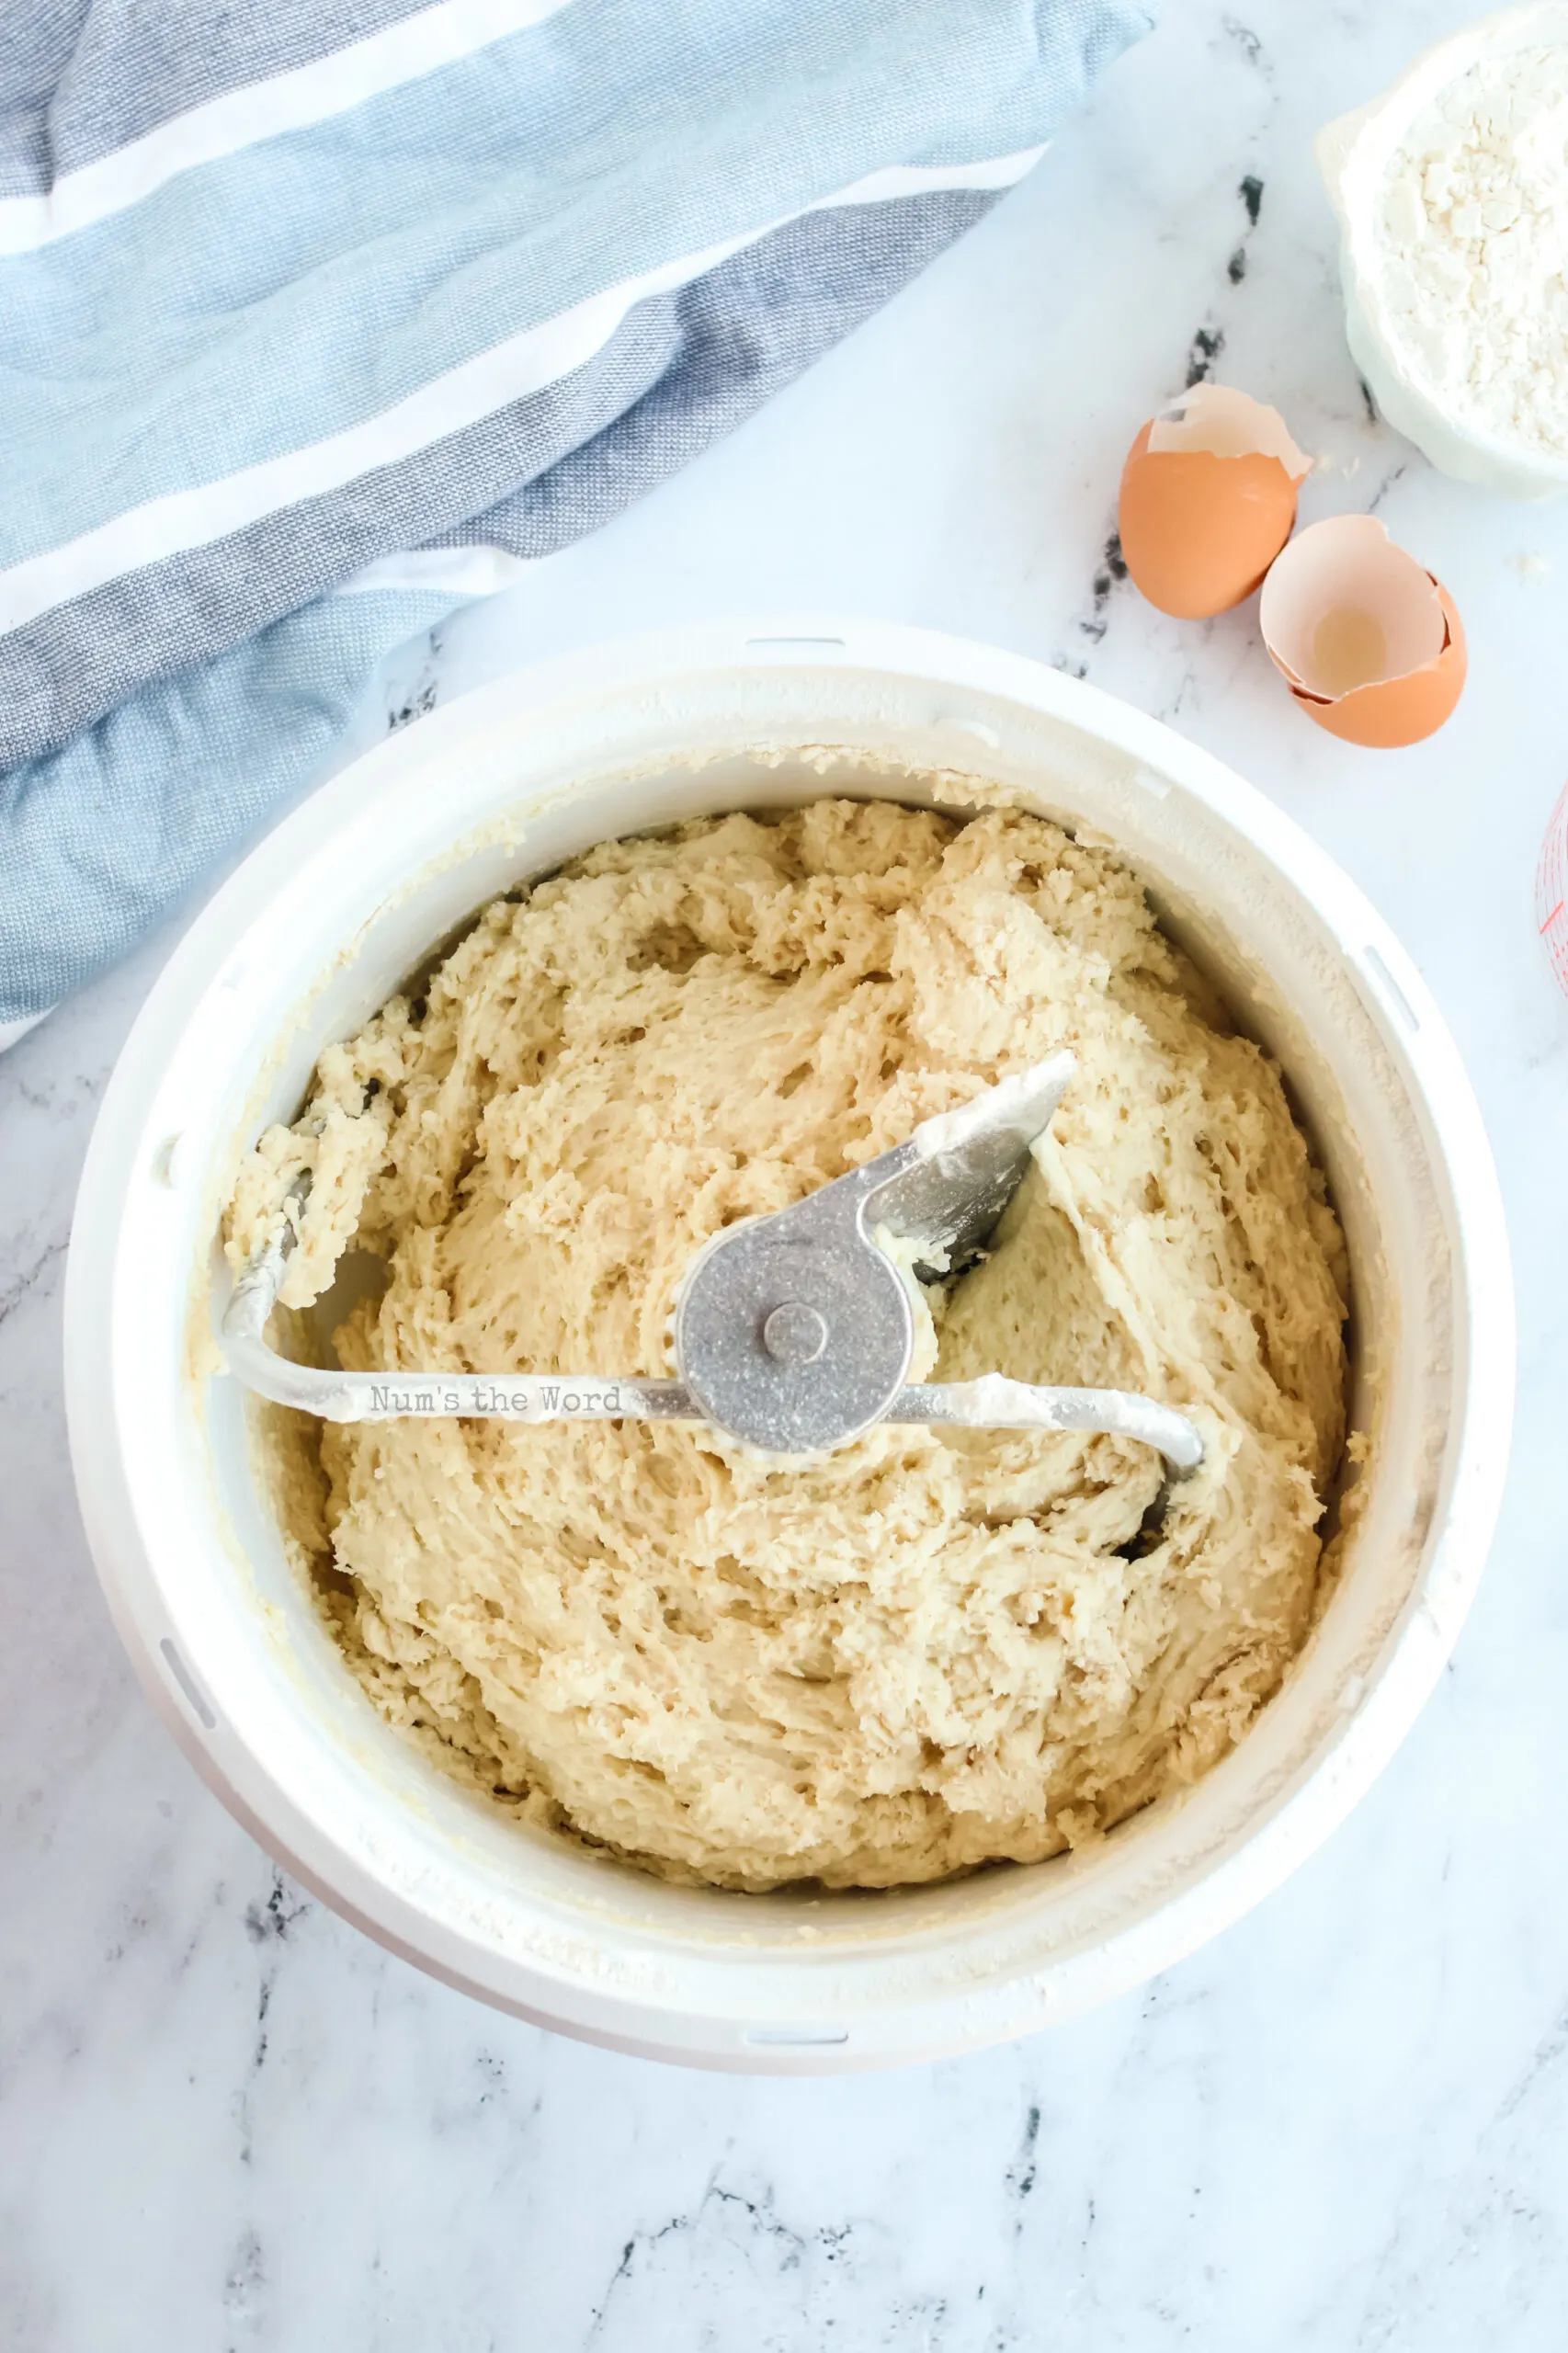
- Mix: Add milk, eggs, sugar, salt, oil, and flour. When your dough is still slightly sticky, it’s done. Give it enough time to mix and pull away from the sides of the bowl. You should be able to touch it and feel how sticky it is but also be able to pull away without a glob of it sticking to your finger.
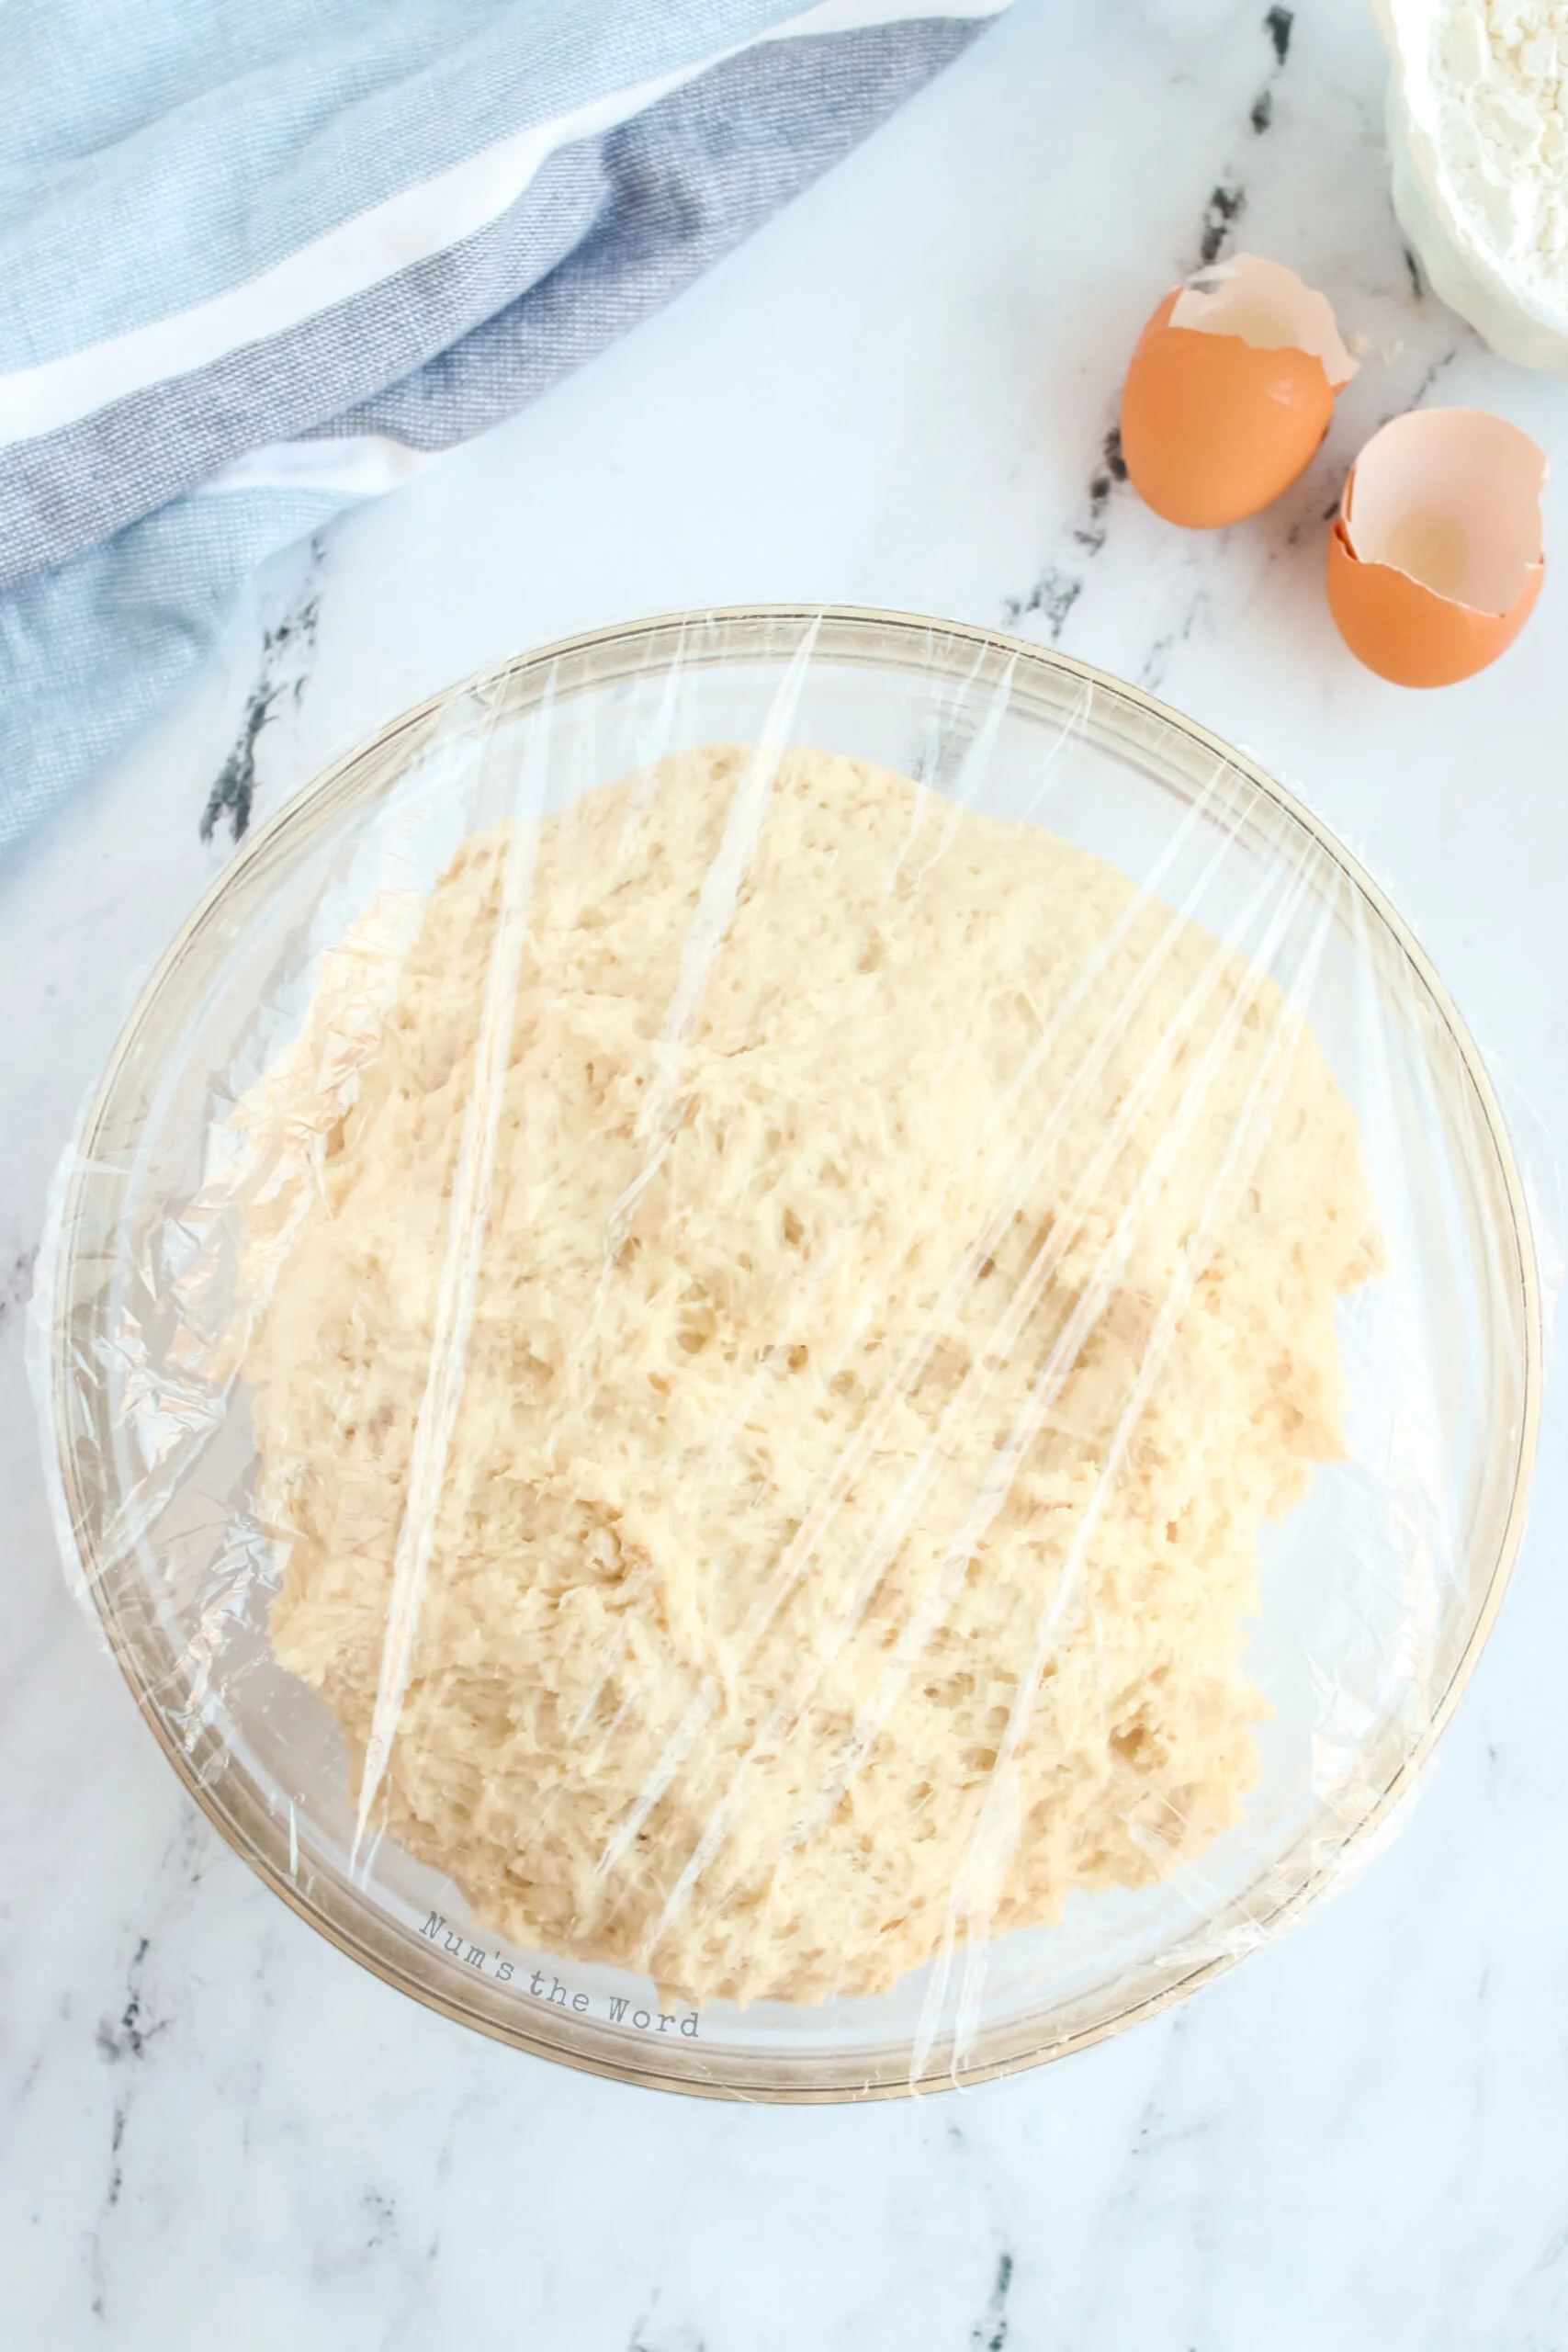
- Rise: The rising time is so important! I find it helps if I let it rise in a warm place until it has doubled in size. Then beat it down. My kids love that part! Punch the dough? Yes please!
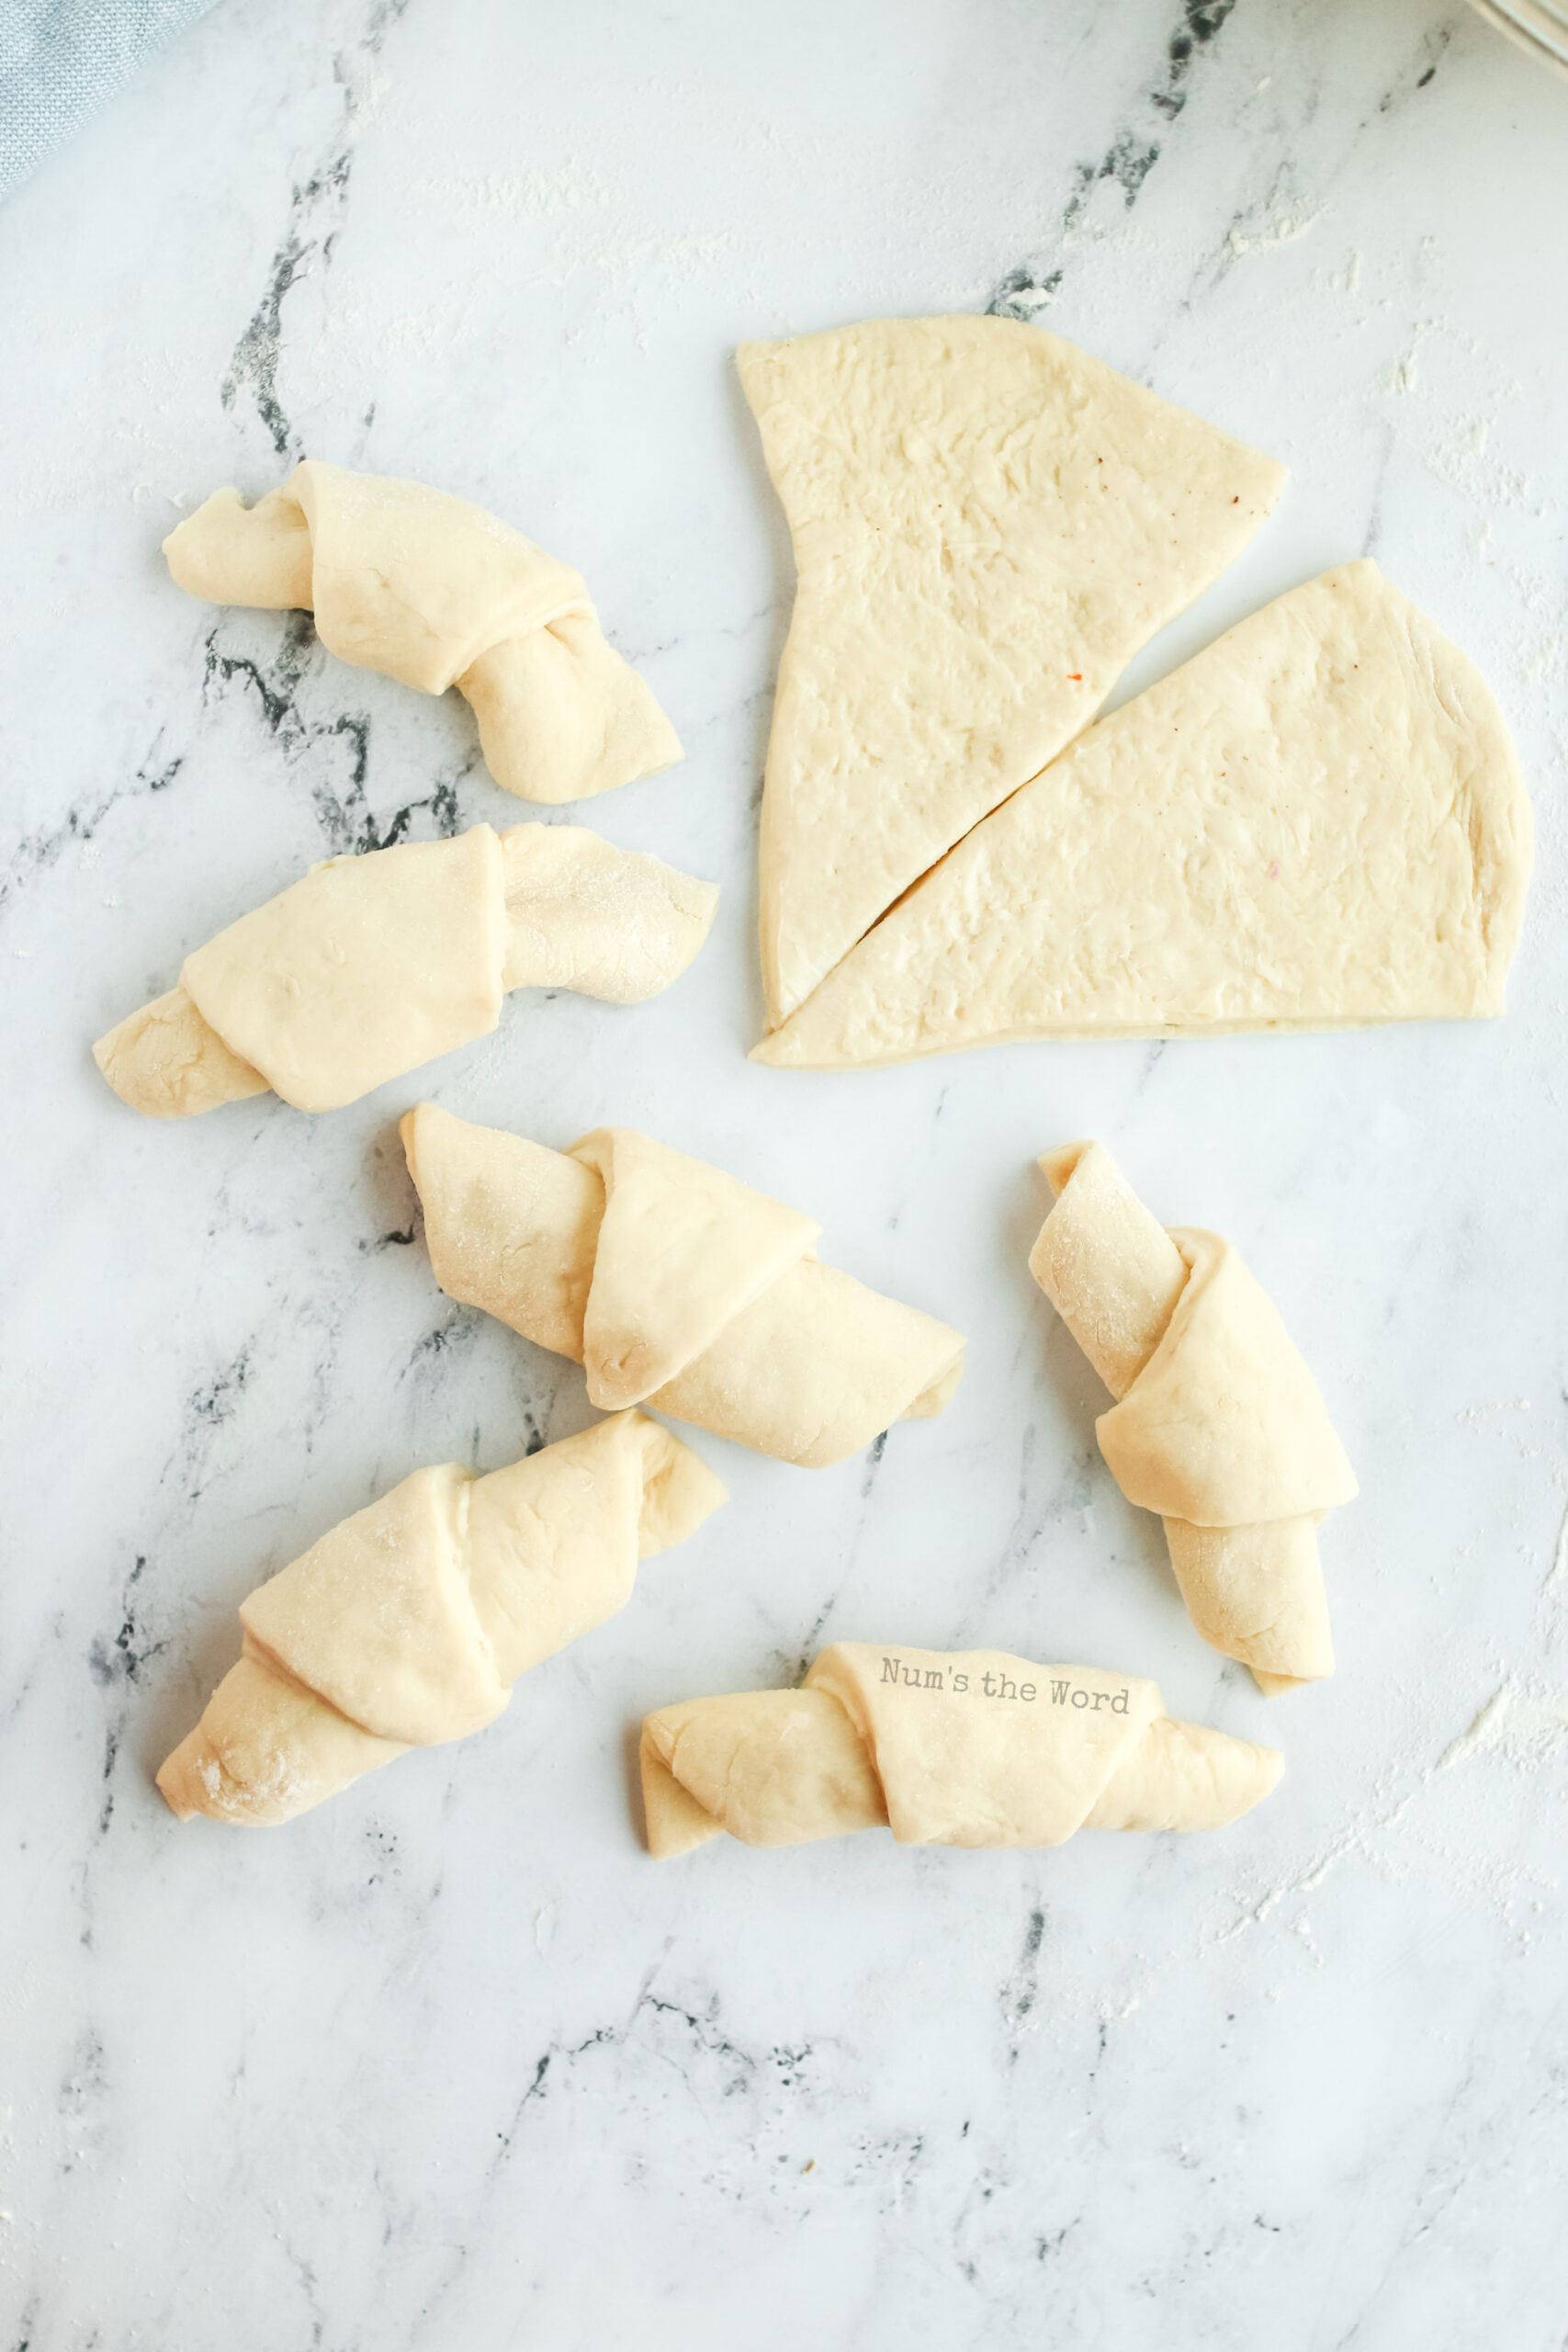
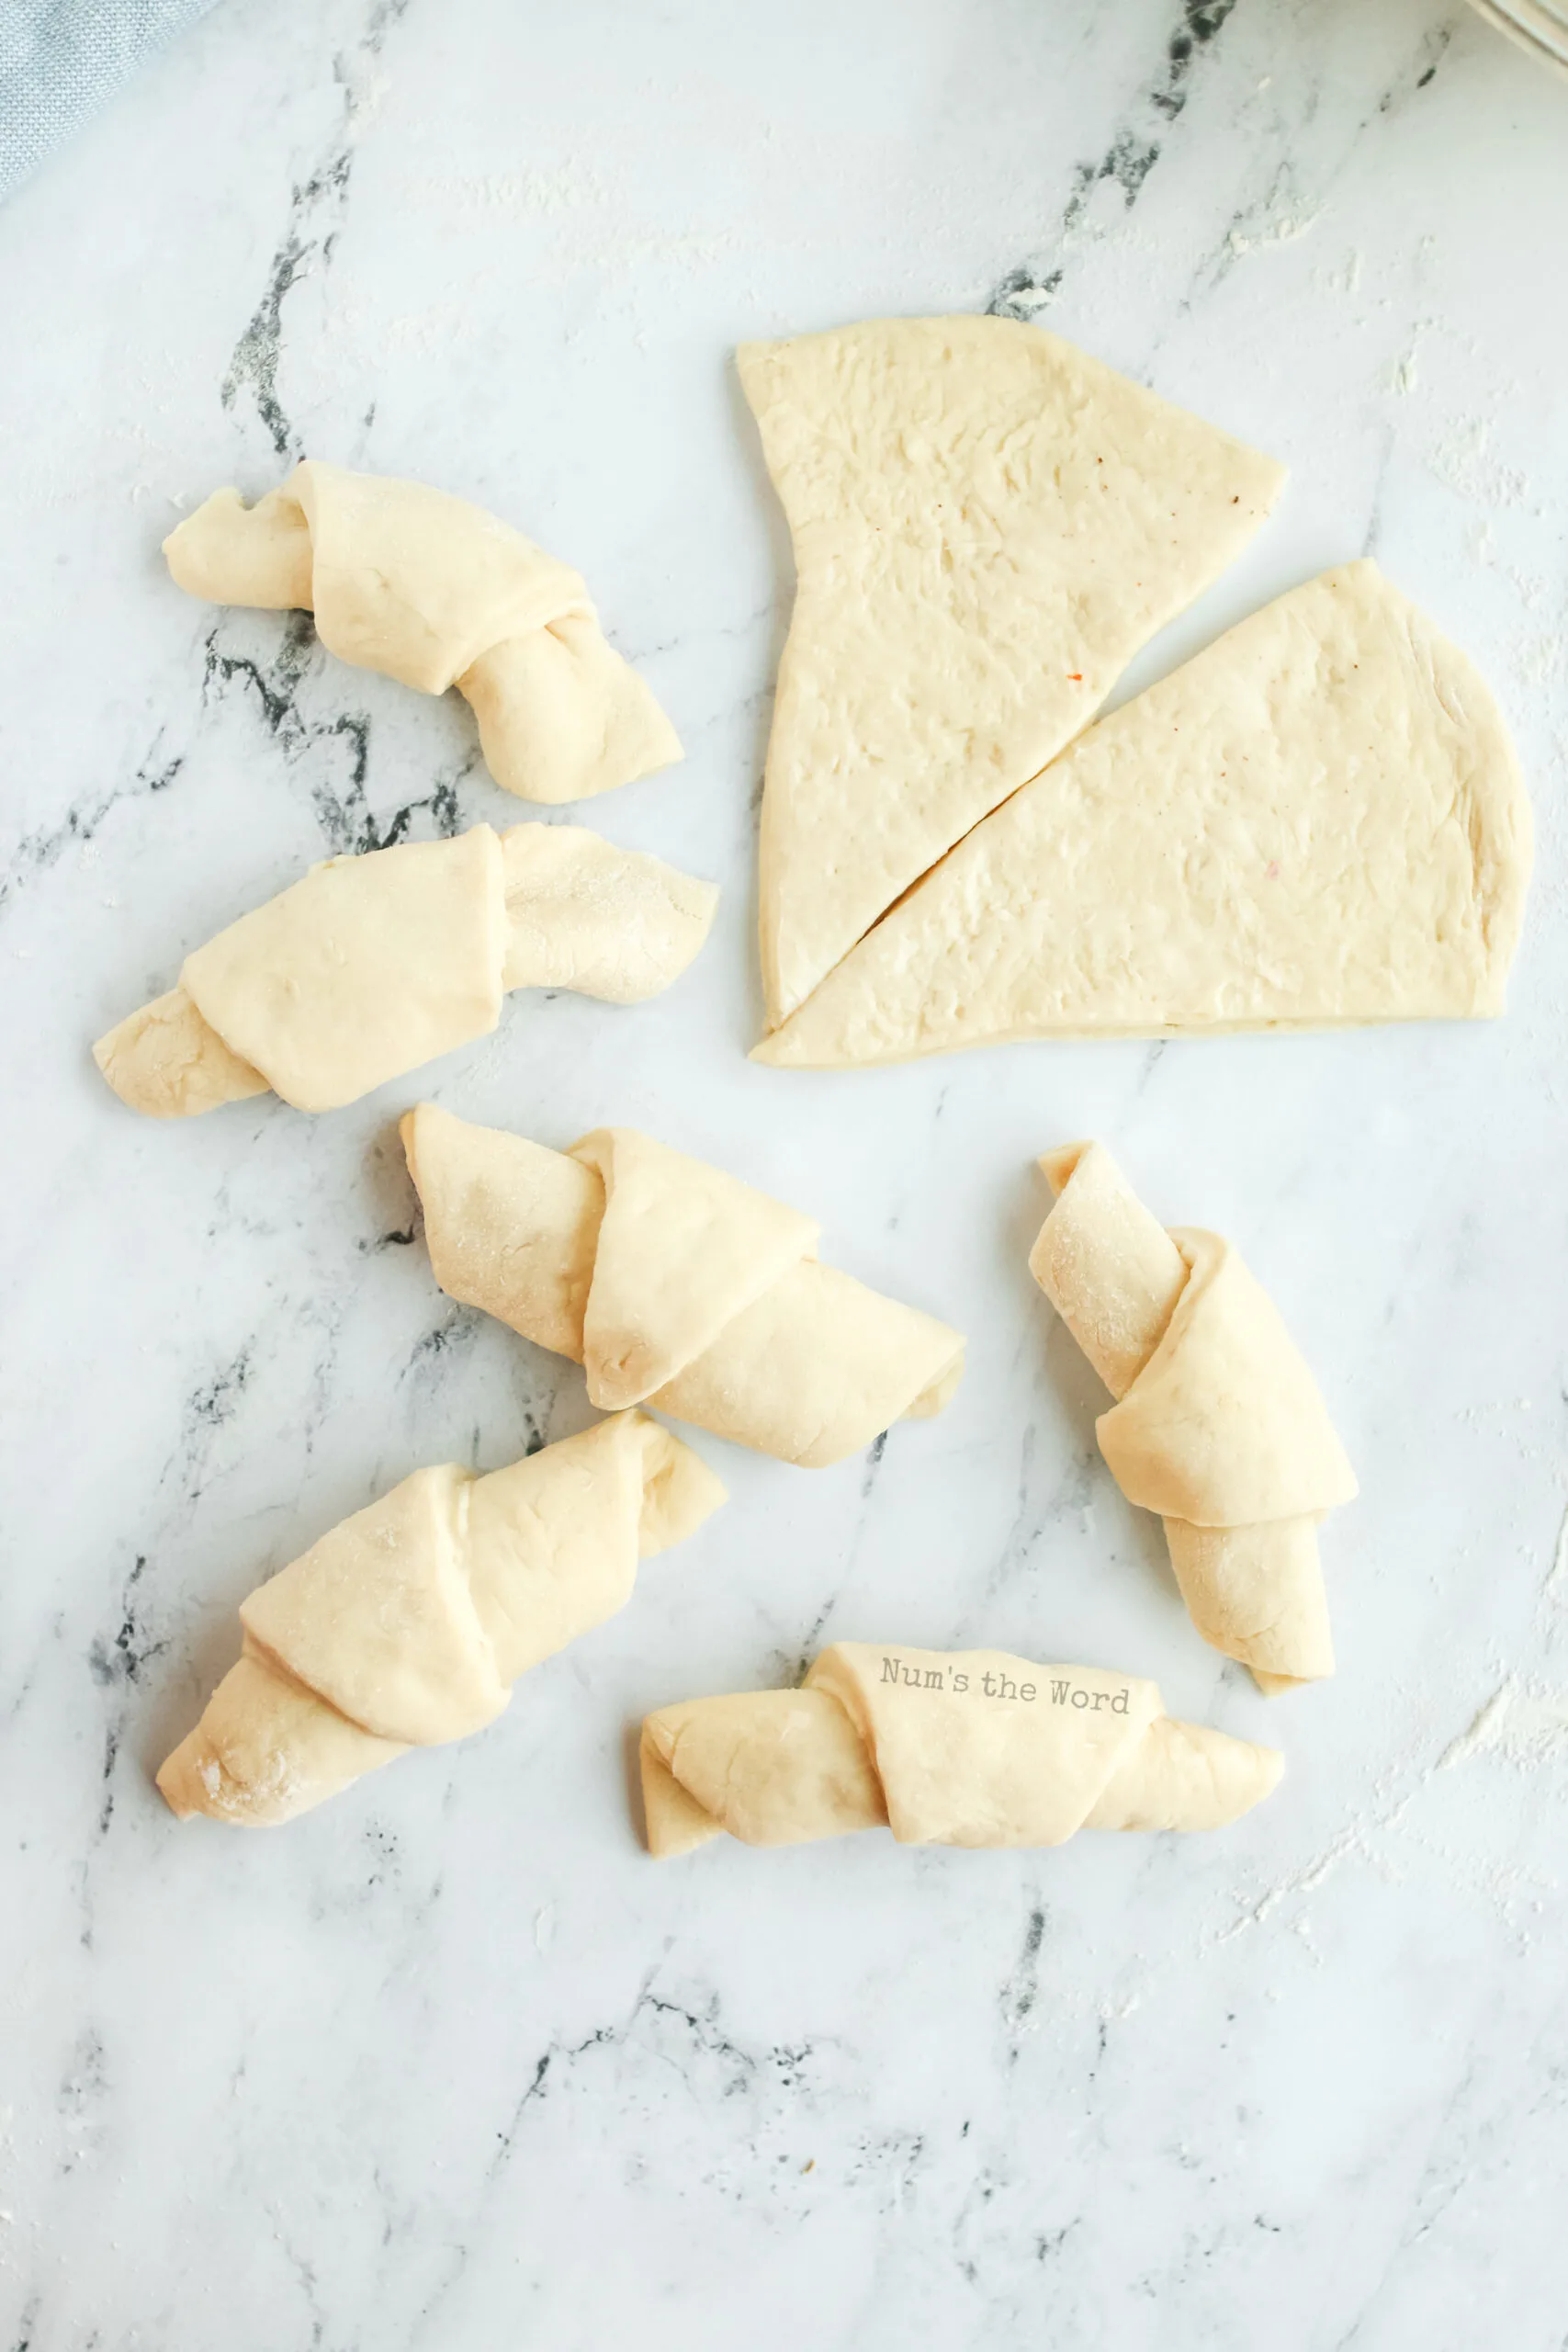
- Cut: Roll it all out like a pizza and then cut it like one too. I find it so much easier to do it like that than trying to cut triangles out of rectangular shape.
- Shape: Roll up the dinner rolls, starting at the fat side and ending on the narrow side. Or let go and let your kids come up with their own fun ways of rolling. This is my kids other favorite part. What kids don’t like helping to make bread?! And eating it of course.
- Cook: You know your oven best. Rolls should be a golden brown. Once done, slather those little puppies with butter.
- Eat: No waiting time. Okay, maybe wait until your tongue won’t hurt if you eat it, but seriously, your entire house is gonna smell like a bakery. Just see how long you can keep the hungry horde out of the kitchen while these are cooking!

Can You Freeze Crescent Rolls?
Since this is making such a big batch, it may be of use to know: you can freeze them! While that almost never happens in my house, mostly because we eat them WAY too fast for that, you can definitely freeze and eat later.
Allow the rolls to cool completely after cooking. Freeze on a tray for 2 hours, then toss them into a freezer safe bag for long term freezer storage.
They should last about a month in your freezer. Freezer burn is a real issue for bread though so any longer than that, I can’t vouch for how good they are going to taste.
Can You Freeze Crescent Roll Dough?
Here’s another option. One that I actually do use much more often. Mostly because it keeps my kids from eating all the rolls for breakfast, lunch, and dinner.
- Follow the recipe exactly as stated up to the shaping of the dough.
- Place shaped dough onto a pan and flash freeze in the freezer for about an hour. Then move them to a freezer friendly container.
- When you are ready to cook them, take them out of the freezer, place them in a pan, and let them rise for about 4-5 hours. Cook according to directions.
Pro Tip: Write the instructions on the bag so you won’t need to look it up on the day of cooking.
They will last about a month in your freezer and taste much better than if you cook them first.

Can I Shape These Rolls into Other Shapes?
Yes you can! We love the crescent roll shape as it’s fun to eat, but any shape will work great with this roll recipe!


More Bread Side Dishes You’ll Love…
- Green Tomato Bread
- Ham and Cheese Biscuits
- Banana Yeast Bread
- Bisquick Cheddar Garlic Biscuits
- Pumpkin Bread Rolls
- Potato Rolls
- 2 Ingredient Biscuits
- Oatmeal Bread
- Basic Focaccia Recipe
- Sweet Potato Rolls Recipe
- Maple Syrup Cornbread
- Oatmeal Molasses Bread
- Old Fashioned Biscuits
- Mashed Potato Bread
These Homemade Crescent Rolls are soft, golden little morsels of buttery heaven. When I left my childhood home, THIS was the one recipe that came with me. I can’t wait for you to try them.
Homemade Crescent Rolls

These Homemade Crescent Rolls are fluffy, flavorful and fun to eat. Skip the store bought ones and make this tried and true family recipe!
Ingredients
- 2 packages rapid rise yeast (or 4 1/2 teaspoons)
- 2 cups warm water
- 2 Tablespoons + 1/2 cup sugar, divided
- 2 cups warm milk
- 1/2 cup vegetable oil
- 2 eggs
- 1 Tablespoon salt
- 10 cups all-purpose flour (or more)
- 1 cup room temperature butter
- 1 stick cold butter
- Cooking spray
Instructions
- Mix yeast with warm water and 2 Tablespoons of sugar.
- Cover with a clean kitchen towel and allow yeast to proof for 5 minutes
- Heat milk until medium warm (not hot as it will kill your yeast).
- Add milk, eggs, sugar, salt and oil to proofed yeast mixture. Mix until incorporated.
- Mix in flour one cup at a time until dough pulls away from sides of bowl. (Dough should be slightly sticky.)
- Spray large bowl with cooking spray.
- Put dough into bowl turning once to coat with oil and cover with saran wrap.
- Set bowl in a warm dry place and allow dough to sit for 1 hour until dough has doubled in size.
- Once dough has doubled in size, beat dough down into bowl.
- Preheat oven to 350*F
- Sprinkle flour over a flat surface that can also be cut with a pizza cutter - not soft wood.
- Place 1/4 of dough, on floured work surface and roll in a circle as you would pizza dough.
- Butter entire dough circle with room temperature butter.
- Using a pizza cutter, slice as you would a pizza into medium slices.
- Beginning with wide side of each slice, roll towards center (narrow side) until you get a beautiful crescent roll.
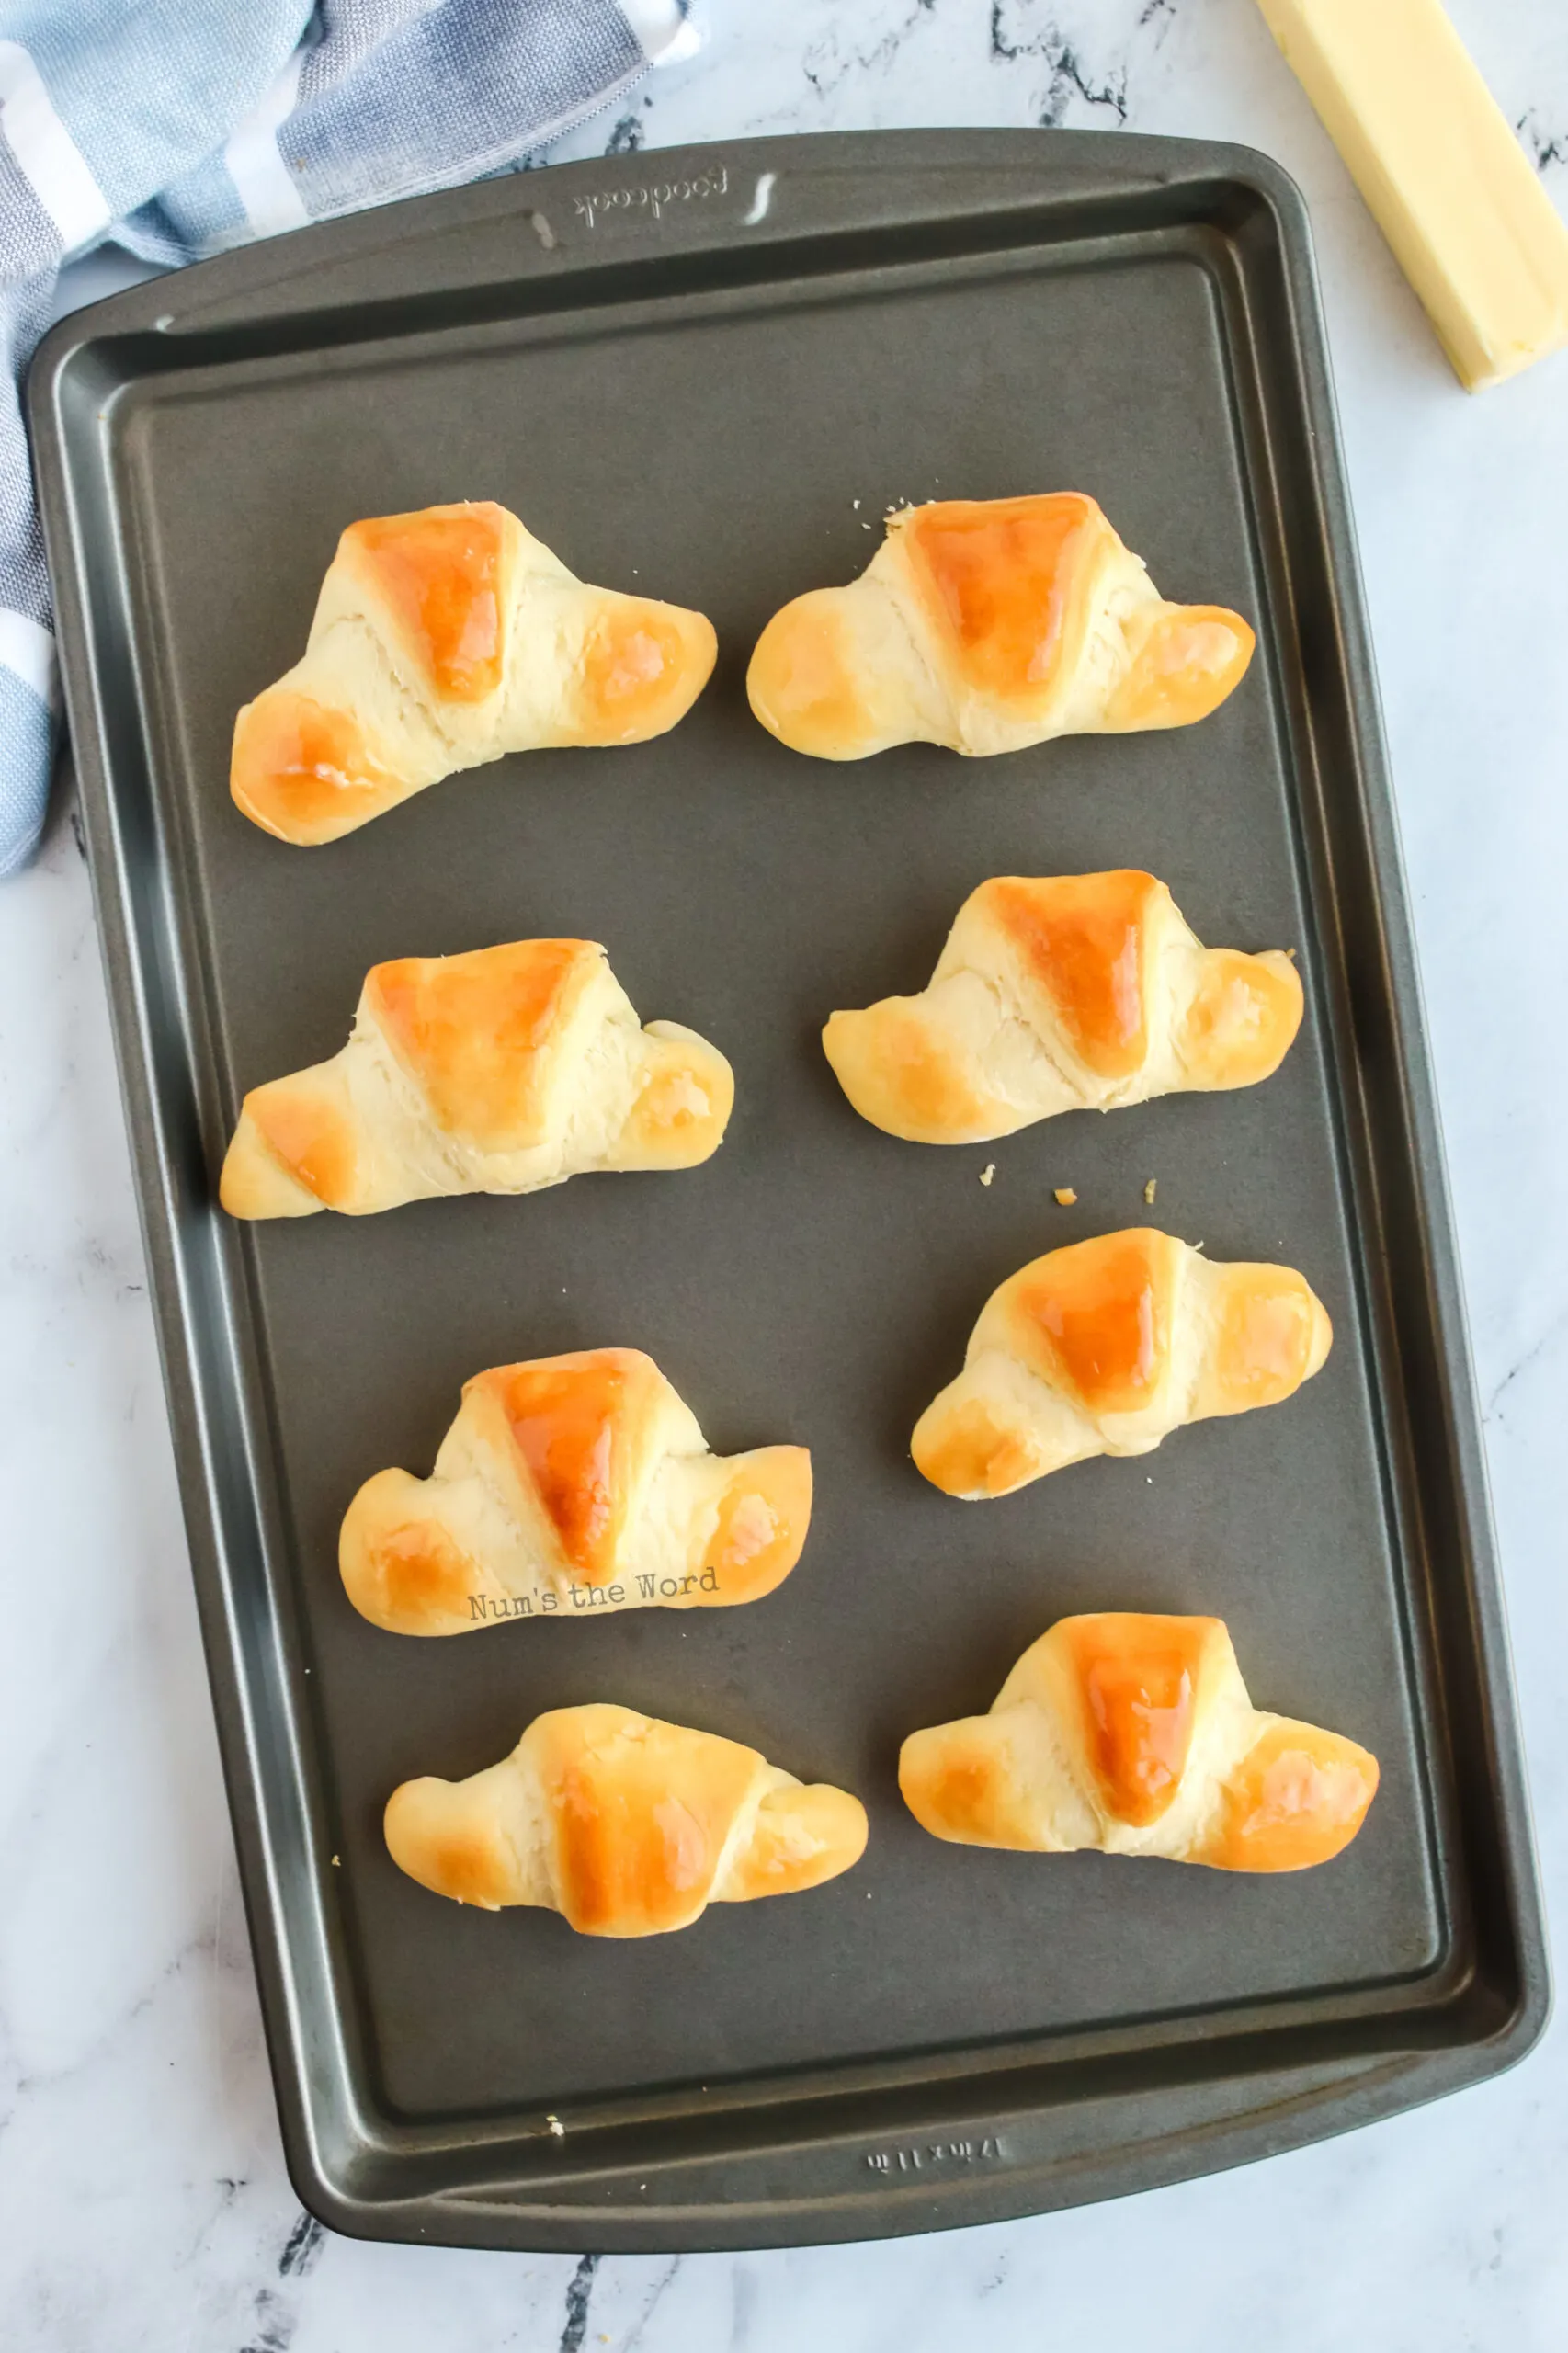
- Place roll onto a lined or sprayed baking sheet.
- Bake for 15 minutes or until rolls are golden in color.
- Once rolls are done, immediately butter tops with cold stick of butter.
- Serve immediately.
Nutrition Information:
Yield:
60Serving Size:
1Amount Per Serving: Calories: 152Total Fat: 7gSaturated Fat: 3gTrans Fat: 0gUnsaturated Fat: 3gCholesterol: 19mgSodium: 150mgCarbohydrates: 20gFiber: 1gSugar: 3gProtein: 3g
Recipe & Photos Updated: February 19, 2021
JudithIrene
Saturday 25th of January 2025
Looking forward to making these ... my late mother would make these and top them with both icing sugar and lemon curd m'mm ...
Janelle
Saturday 25th of January 2025
Judith Irene I love your comment! I have lemon curd in the fridge right now and now I'm wanting to make them with it! Great idea! Thank you for the kind comment.
Rita McKinney
Sunday 6th of August 2017
Love this recipe. Thank you.
Janelle
Wednesday 22nd of November 2017
Thank you Rita! It's my all time favorite too!
Sarah Poor
Wednesday 23rd of November 2016
Janelle, thanks for posting this recipe! I know you gave it to me years ago, but this makes it much easier to find it in a pinch!! Seriously, the best roll recipe I've ever made! They turn out amazing every time!!
Janelle
Thursday 16th of March 2017
Awe! Thanks Sarah! This will always be my favorite!
Janelle
Monday 20th of January 2014
Sarah - this made me laugh out loud. Please apologize to your husband for fooling him into thinking these were similar to those canned crescent rolls. Personally I like these MUCH MUCH more than the canned ones. It sounds like your boys also loved them. This also makes into a great loaf of bread which your kids might enjoy! Thanks for sharing your comment!
Sarah Epperson
Friday 17th of January 2014
We made the rolls tonight. Yum Yum Yum! My husband was confused at first because he was expecting a 'crescent' roll taste. Everyone loved them, especially Landon. I think he ate 3 rolls and had to be forced to try the rest of his dinner (chicken and creamed spinach). However, I did not have to force him to try the sauteed apples. ;) He gobbled those up in 2 seconds. Anyways, the rolls were delicious. I will definitely be making them again in the future!