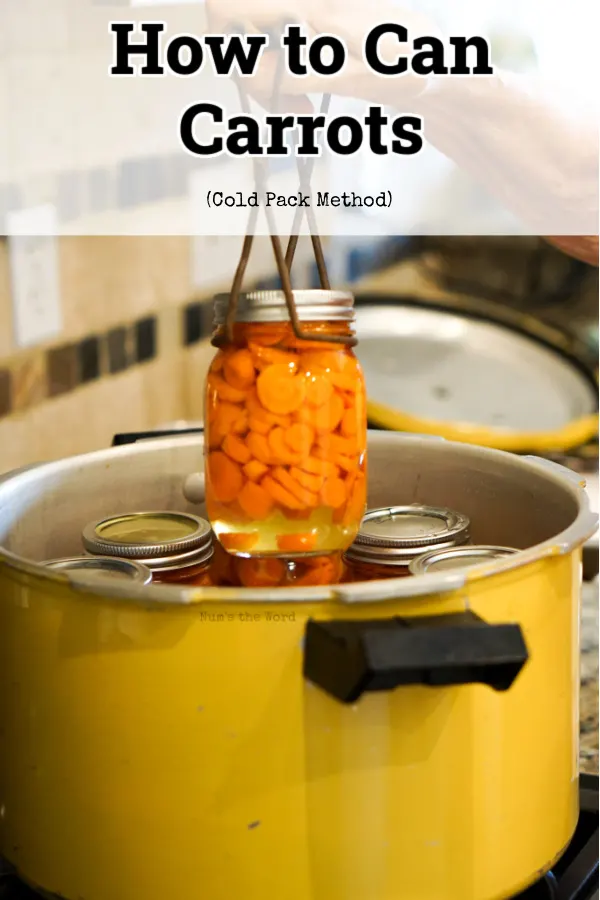
Learning How to Can Carrots can be a scary endeavor if you don’t know what you’re doing. Don’t worry! With this step-by-step guide WITH photos, you’ll be able to master the secret to canning carrots in a single day with excellent results!

Have you ever wondered how to can carrots? I certainly have! As with all things canning, I roped my Mother-in-Law to whip out the pressure cooker and give me a lesson on canned carrots. I was intimated at first, but realized it was actually quite easy.
The biggest tip, was to watch the pressure levels. If we kept it at the right pressure, for the right amount of time, then we’d get great results with zero injuries! Don’t worry, Liz has been canning for almost 80 years and has shared her tips, tricks and wisdom with us in this simple tutorial on how to can carrots!
If you love canning, check out this tutorial for How to Can Green Beans & How to Can Tomatoes.

Step 1: Prepare Your Carrots
This means either pulling them straight from your garden or grabbing a bag or two from your local grocery store. We decided to buy a large bag from our local club store.
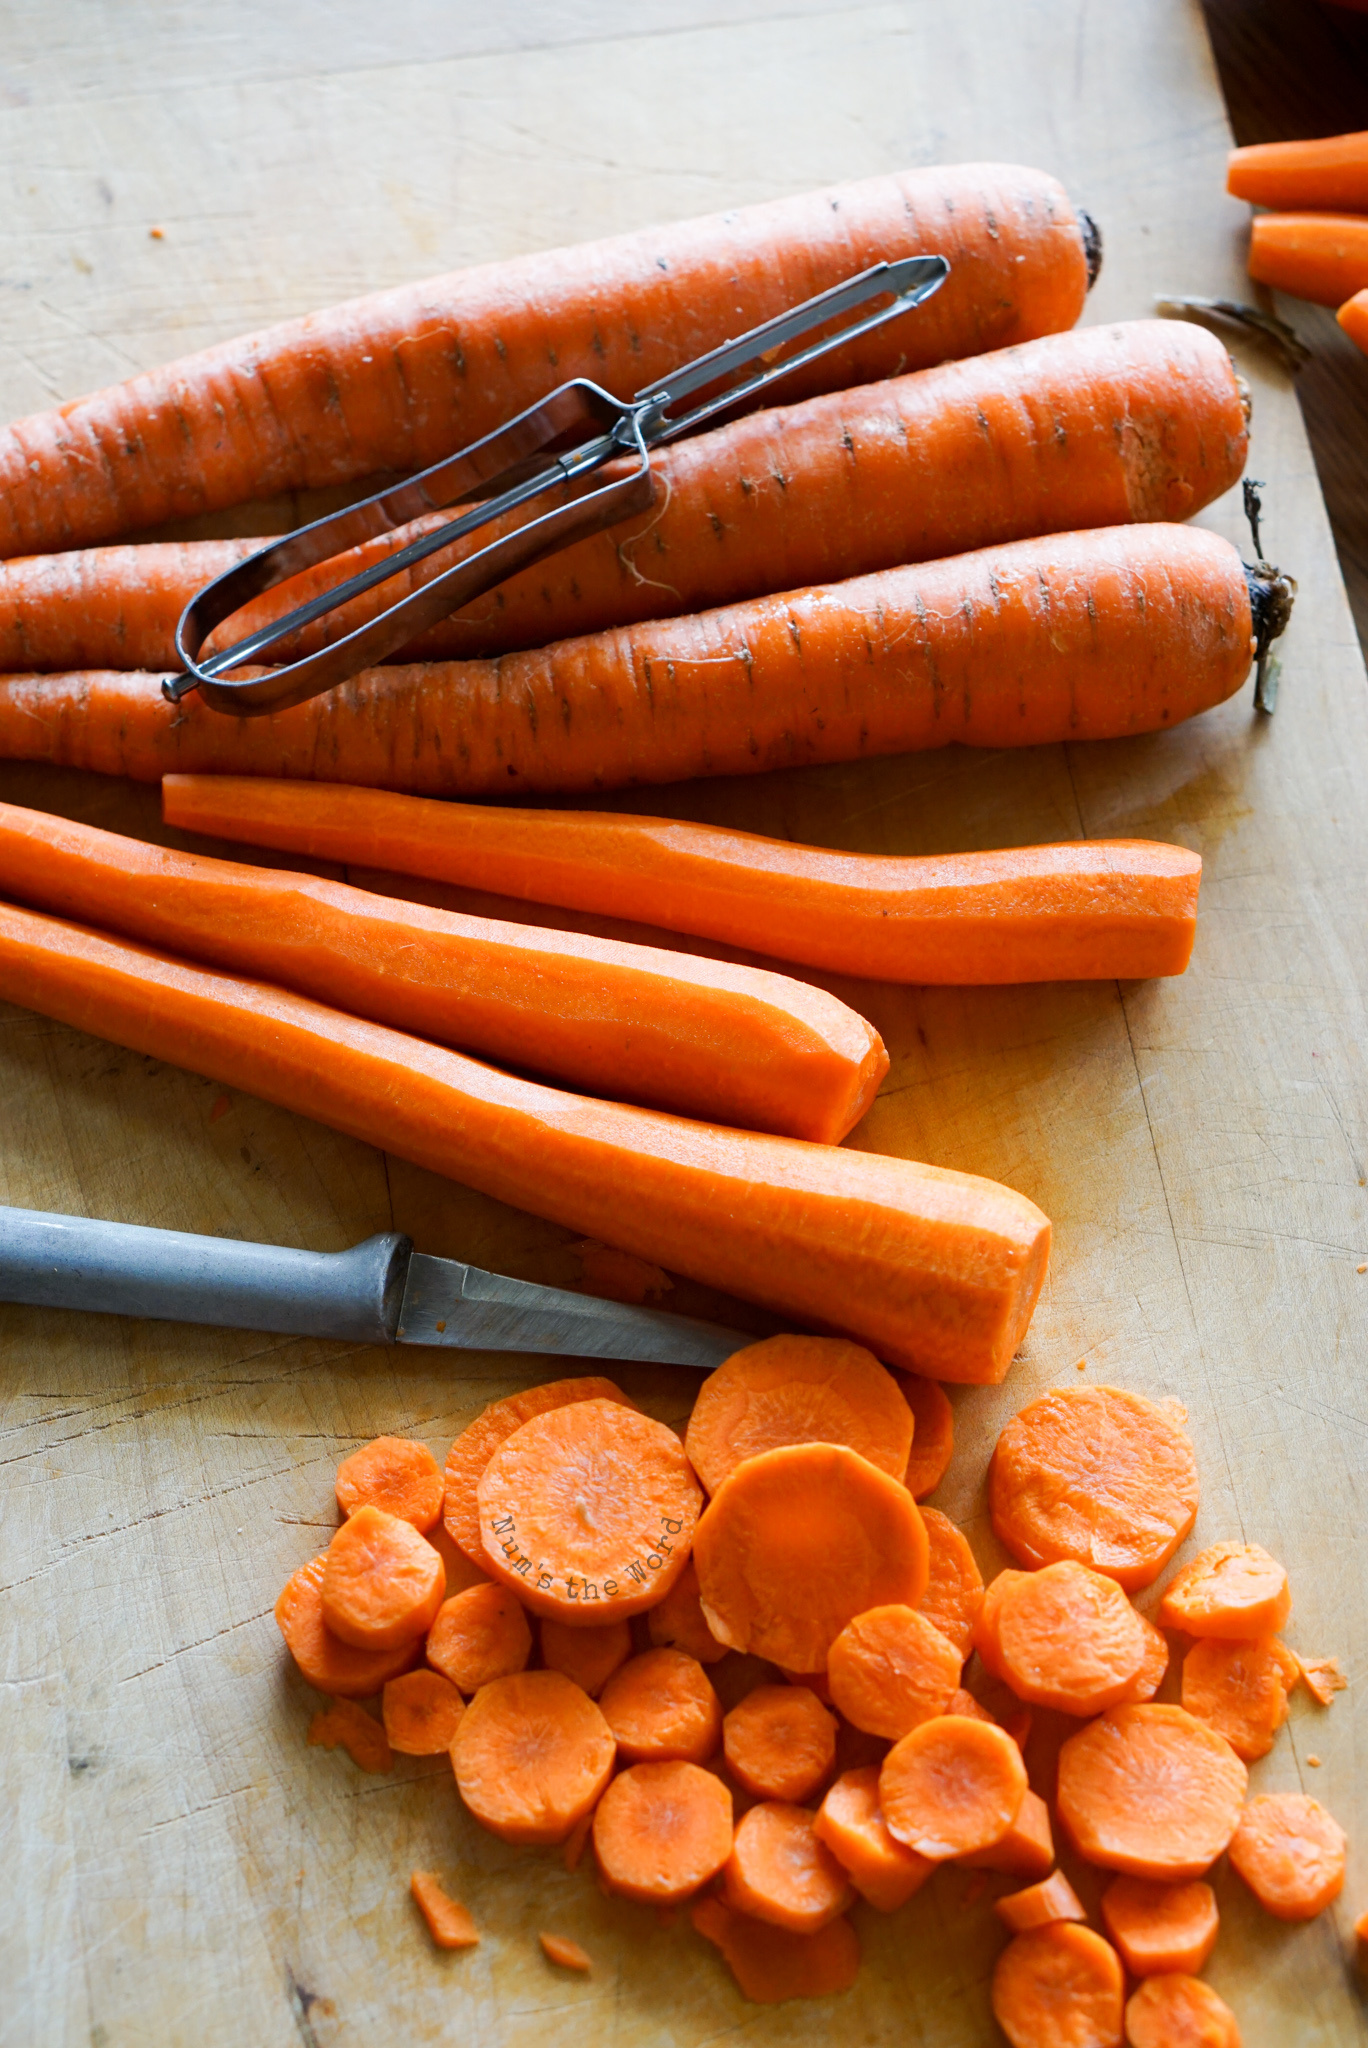
- Wash your carrots and remove any dirt or debris.
- Peel your carrots. The carrot skins are more bitter which is why we peel them. This however is not required. If you want to to keep the thin skin on, that’s ok too.
- Cut your carrots. You can rough chop them in big chunks, circle pennies or sticks.
Pro Tip: Think about what you’re going to want to make with these canned carrots in the future. Soups? Mashed? Casseroles? Whatever you decide, it’s easier to cut them to size now, than later!

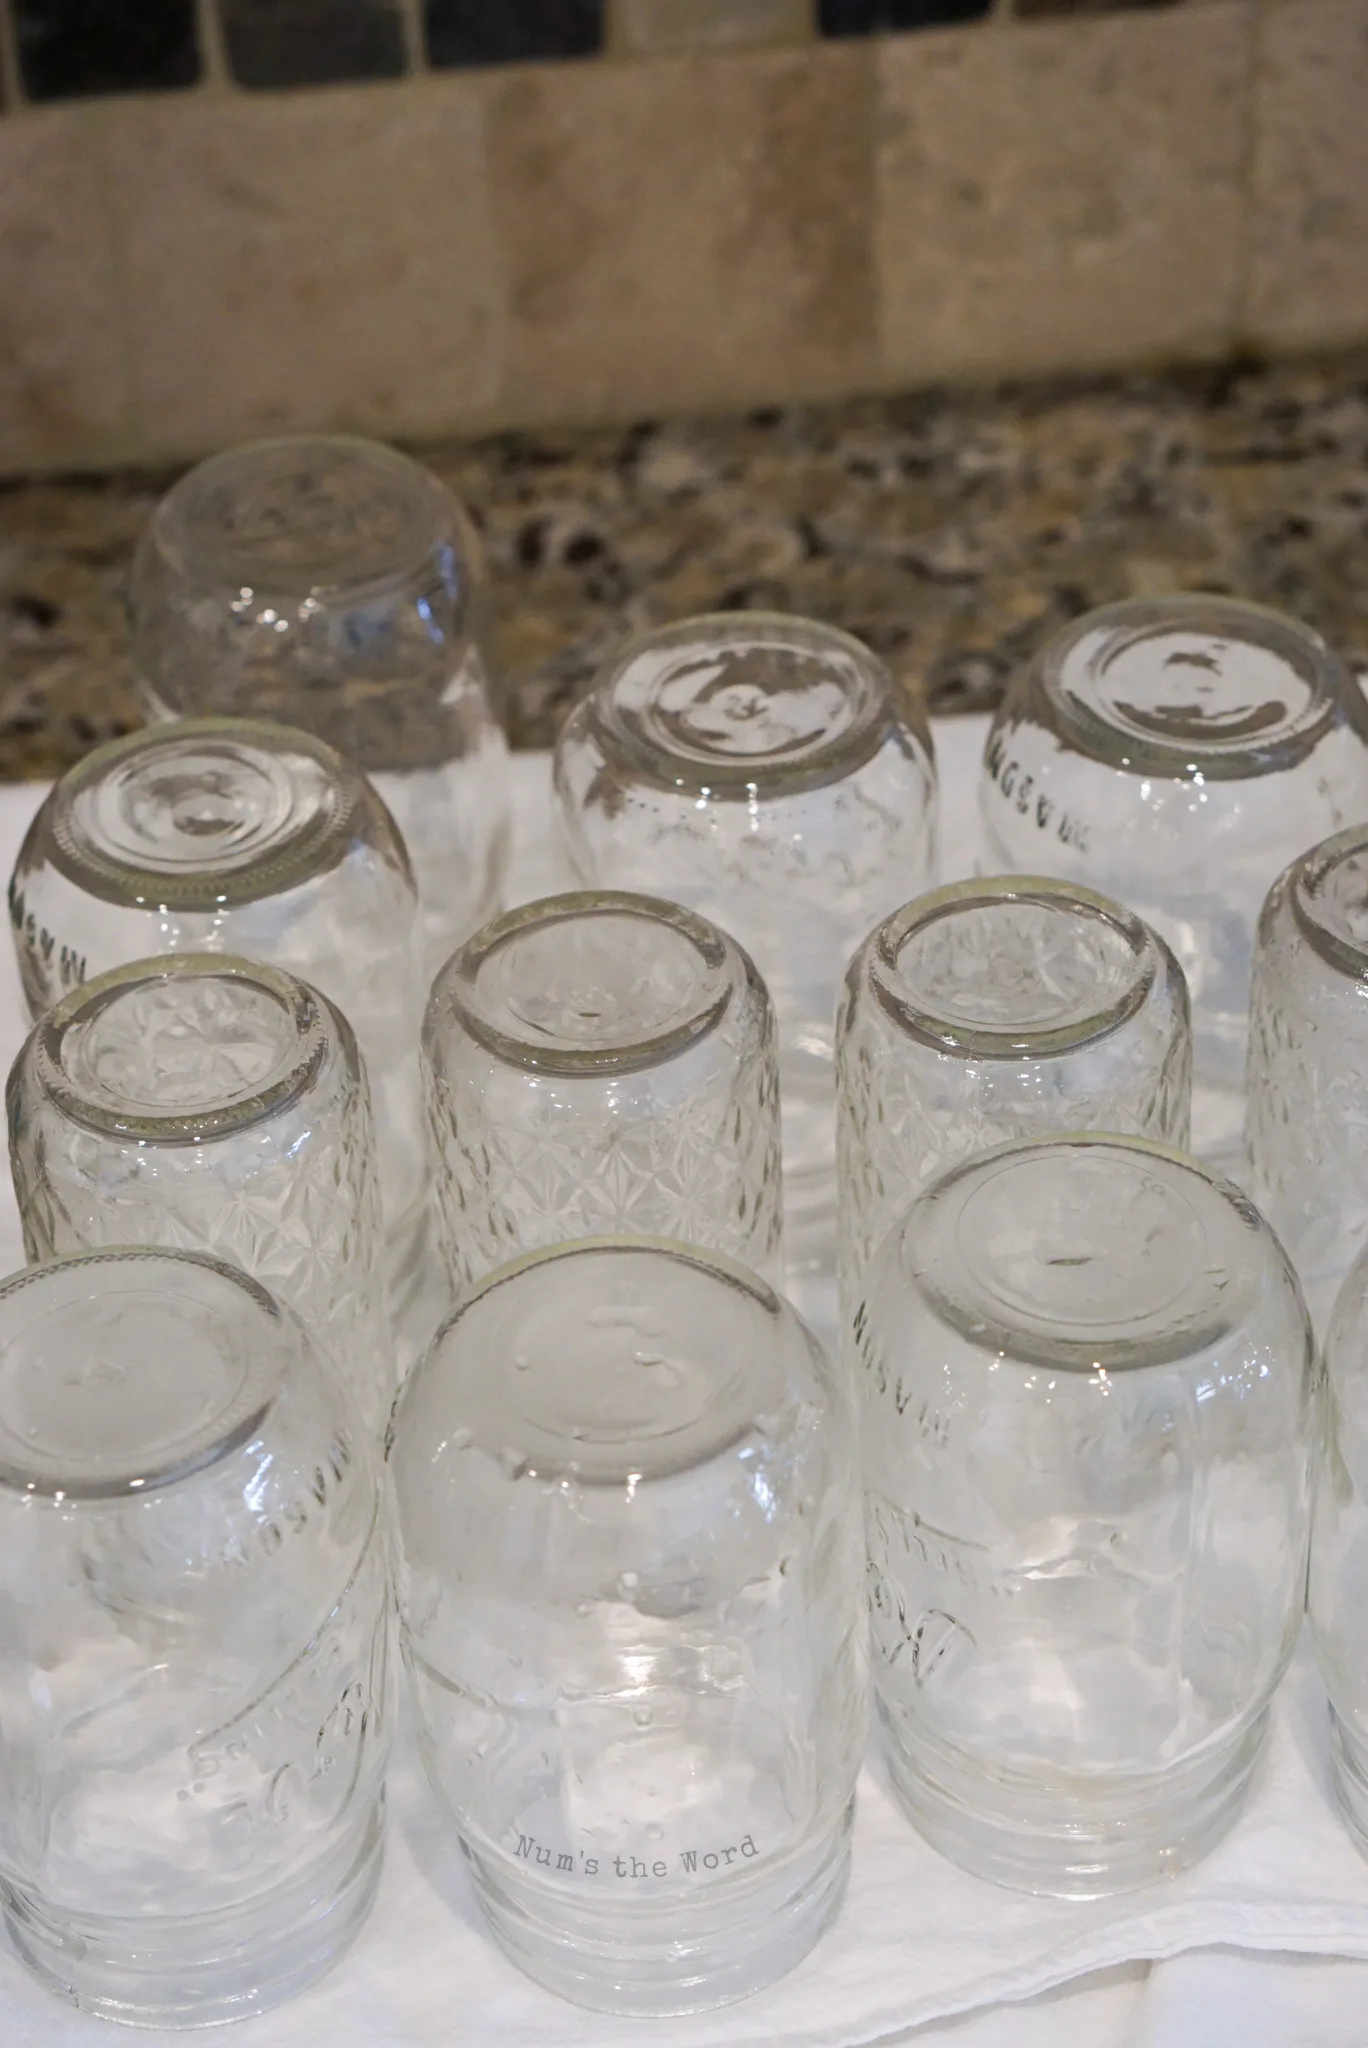
Step 2: Prepare Your Jars
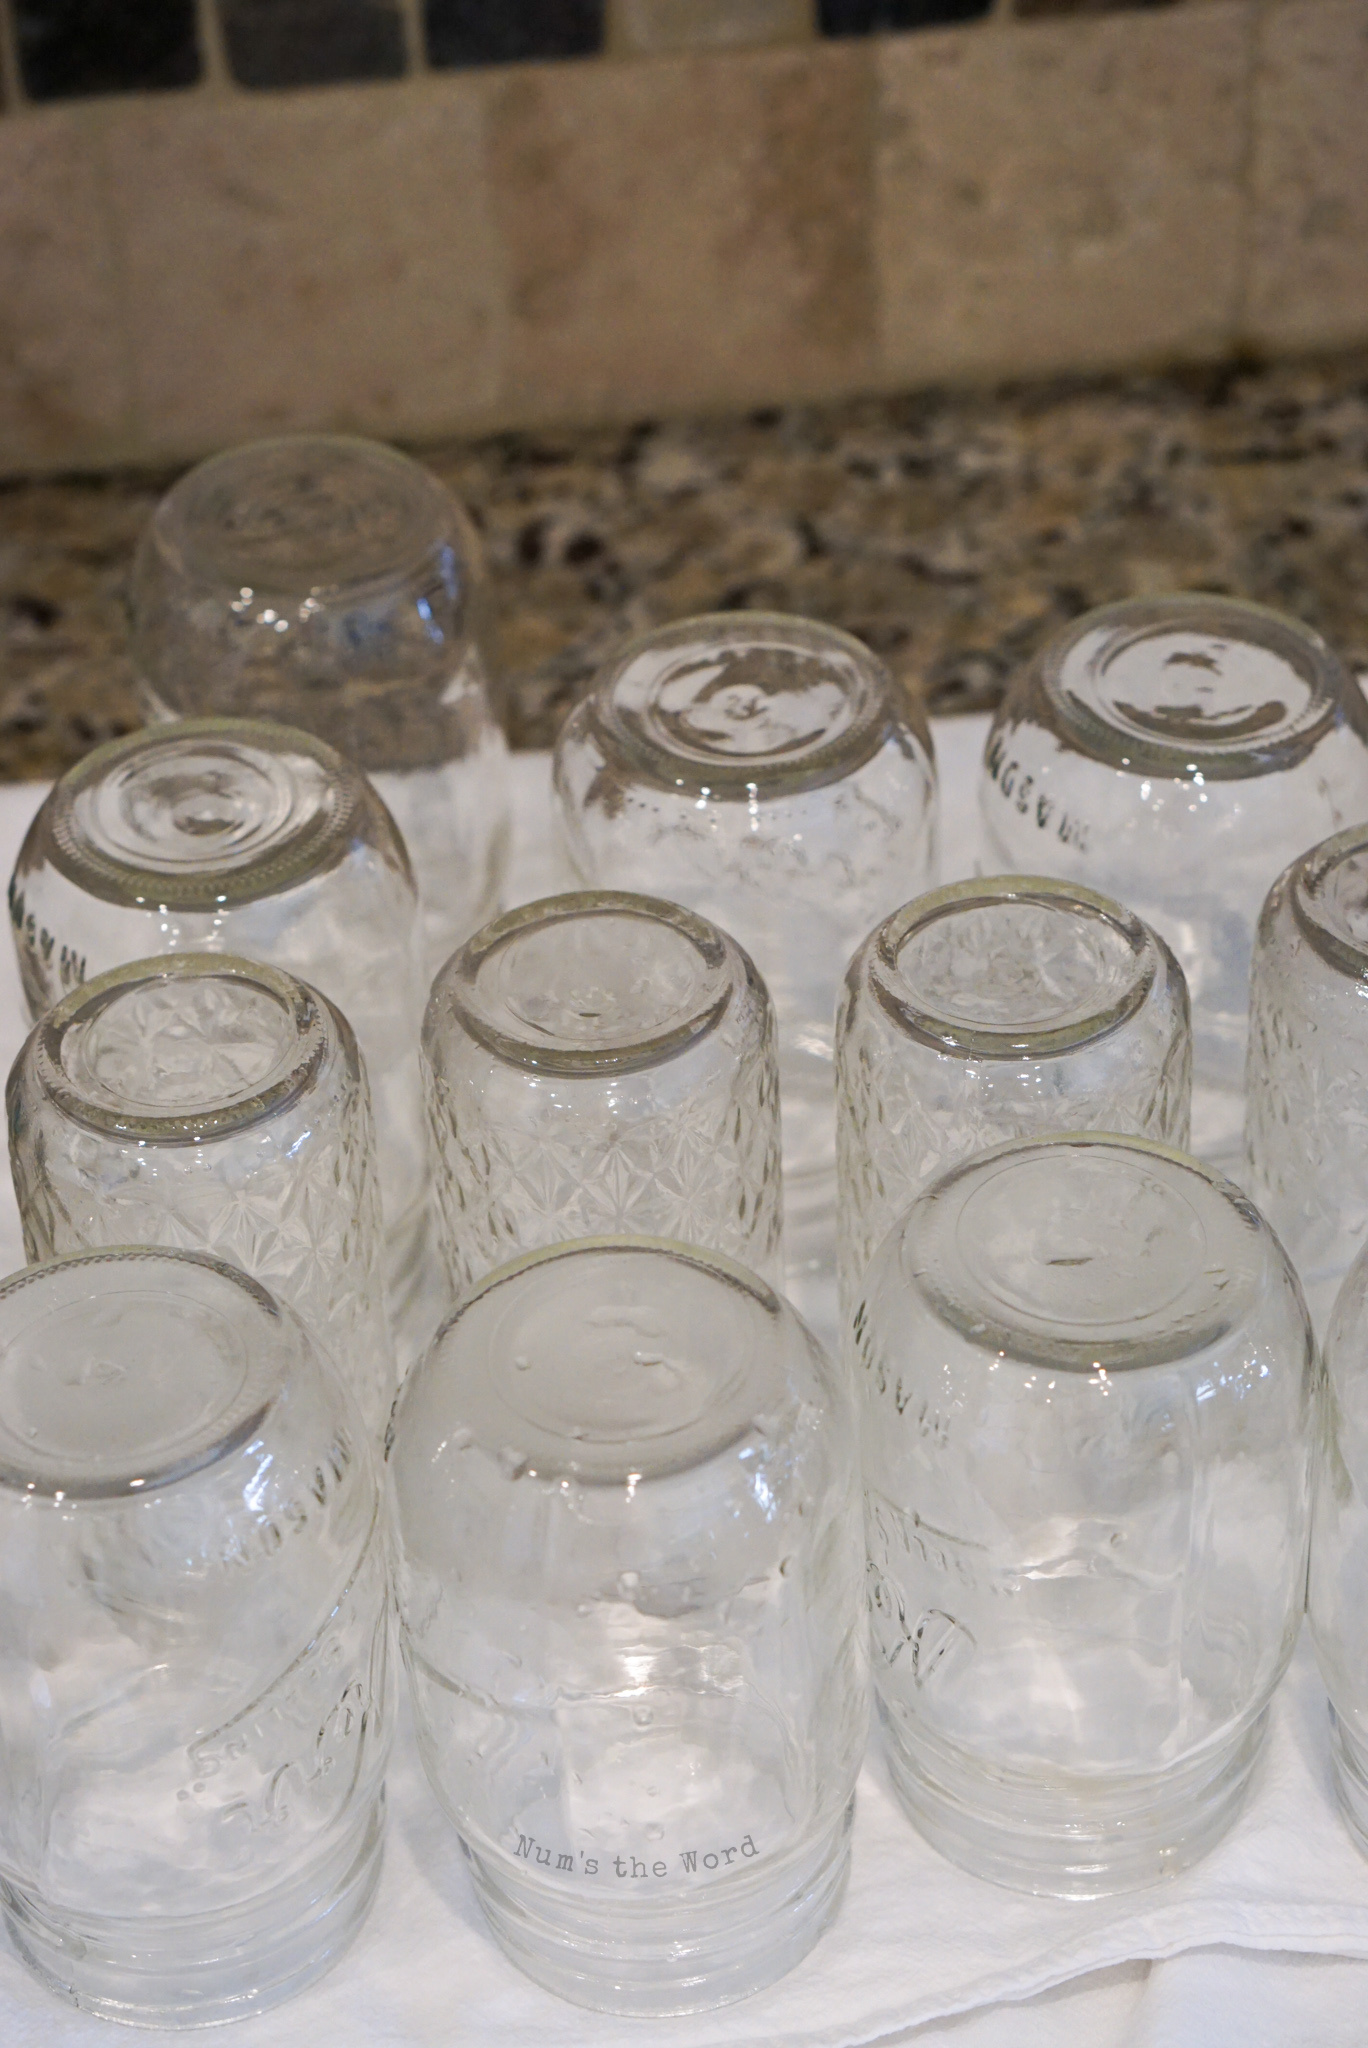
You’ll want clean sterile jars for canning your carrots. Whether your jars are new from the store or have been in storage collecting a little dust, it’s time to get them ready. Simply give them a rinse in really hot water and then boil them in a pot of water for 3 minutes. Let them dry on a non fluffy towel – like a tea towel – upside down.
Pro Tip: Use a pair of tongs to remove them from the hot water so they don’t burn you.
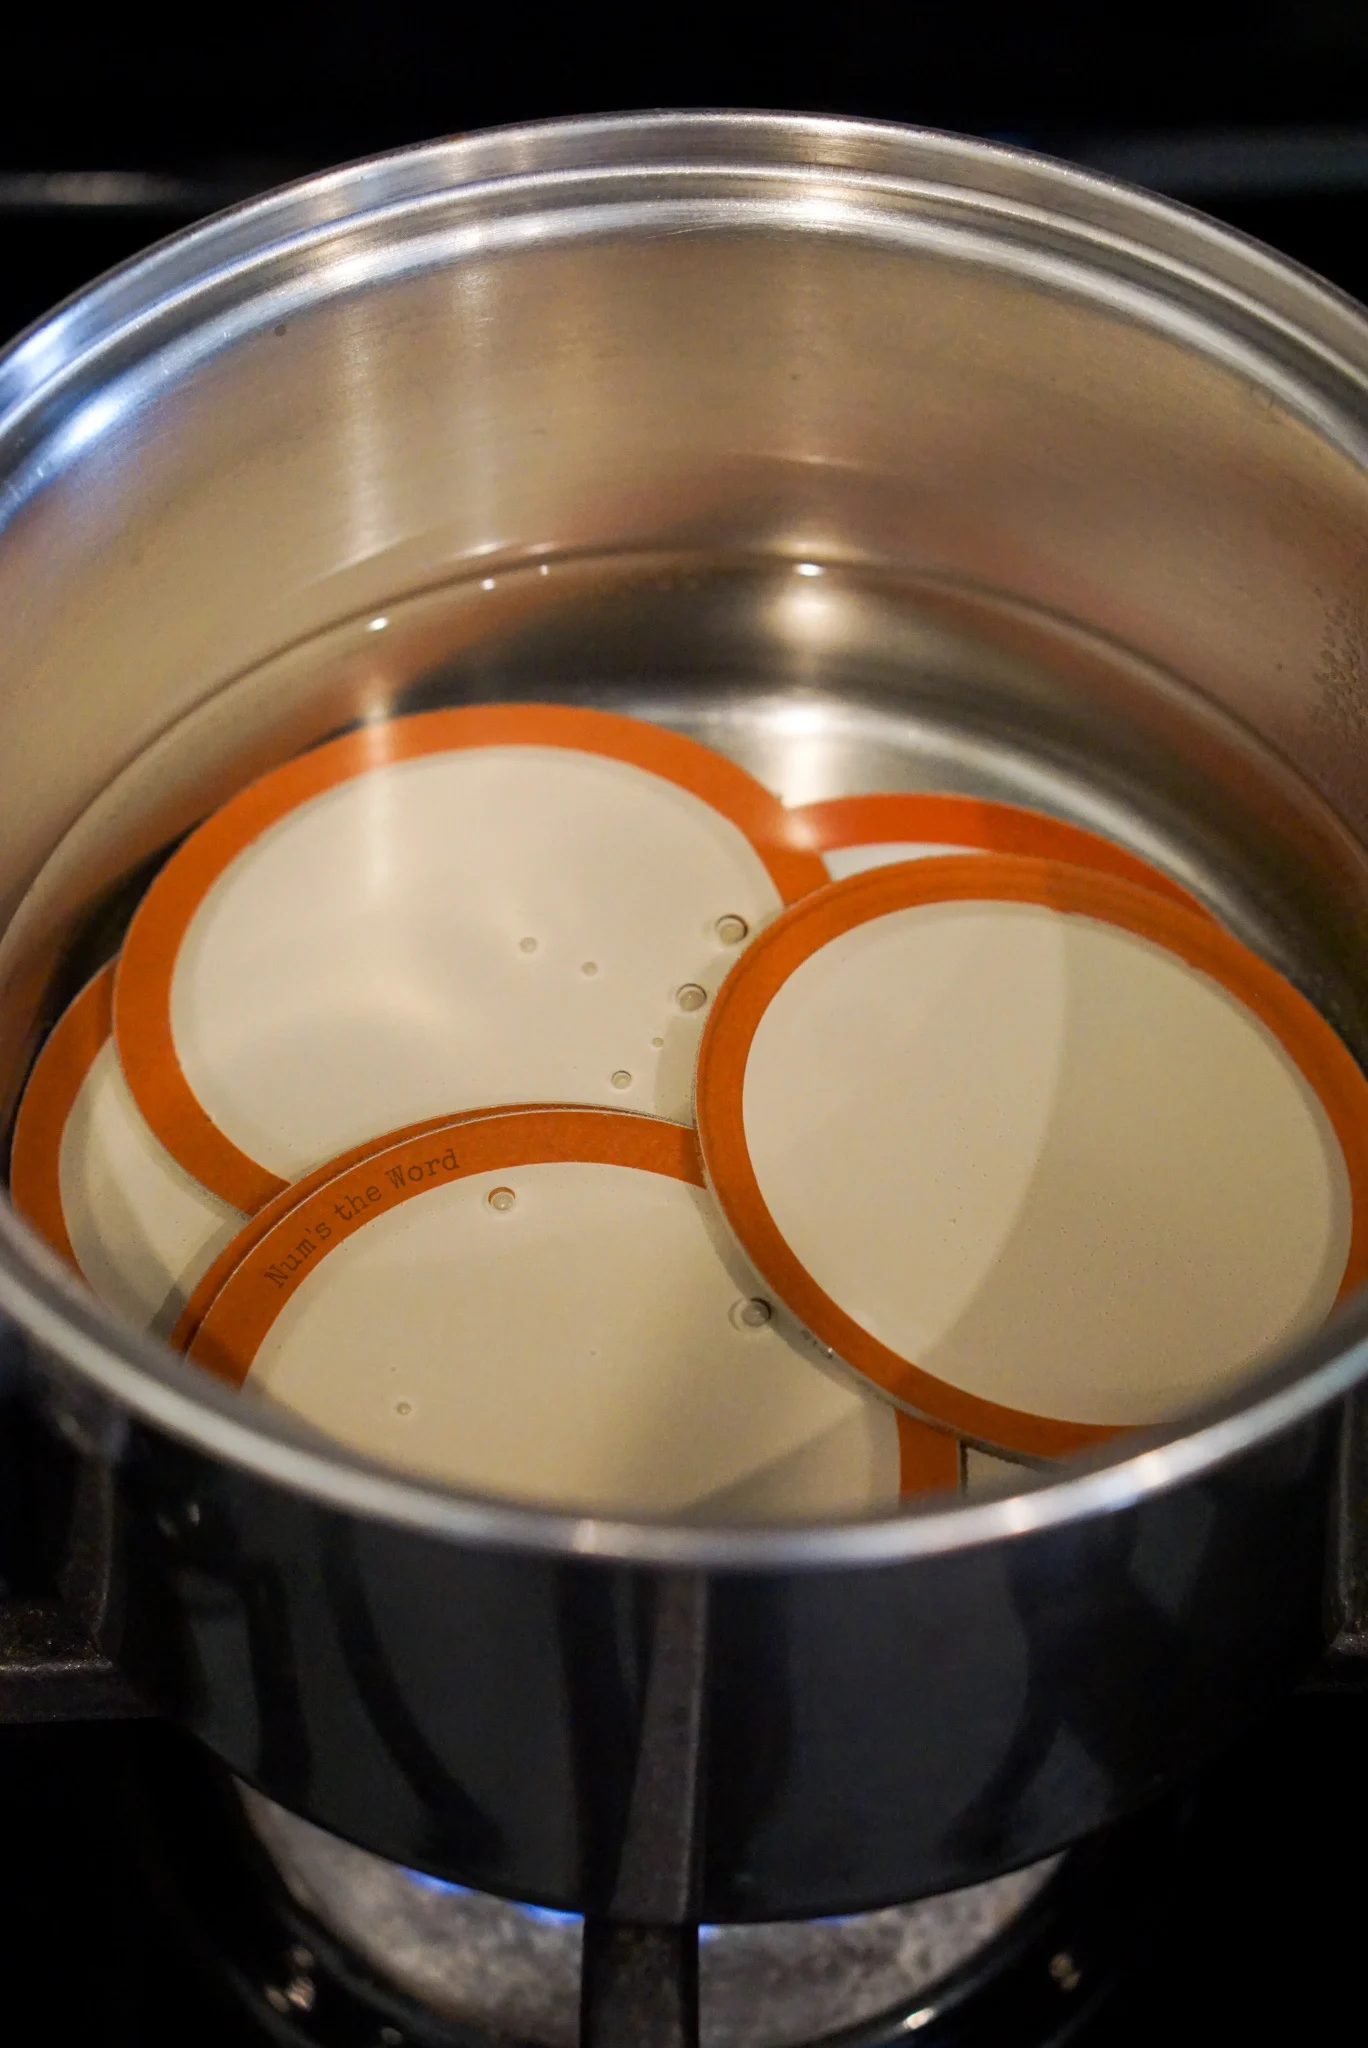
Step 3: Prepare Your Lids
Did you know that you can’t reuse lids? Not the screw part, but the actual sealing lids. They are a one time use only item and will need to be tossed or repurposed into a craft after use. Each time you can, no matter what you can, you’ll need new lids.
These too will need to be sterilized. So toss them into a small pot of water and bring to a boil. Once they reach a boil, turn off the heat, spread them around and leave them in the pot until ready to use later.
Pro Tip: Lids can be purchased by themselves. No need to buy new jars too. They will be in the same section as canning supplies and jars are found at your local store.

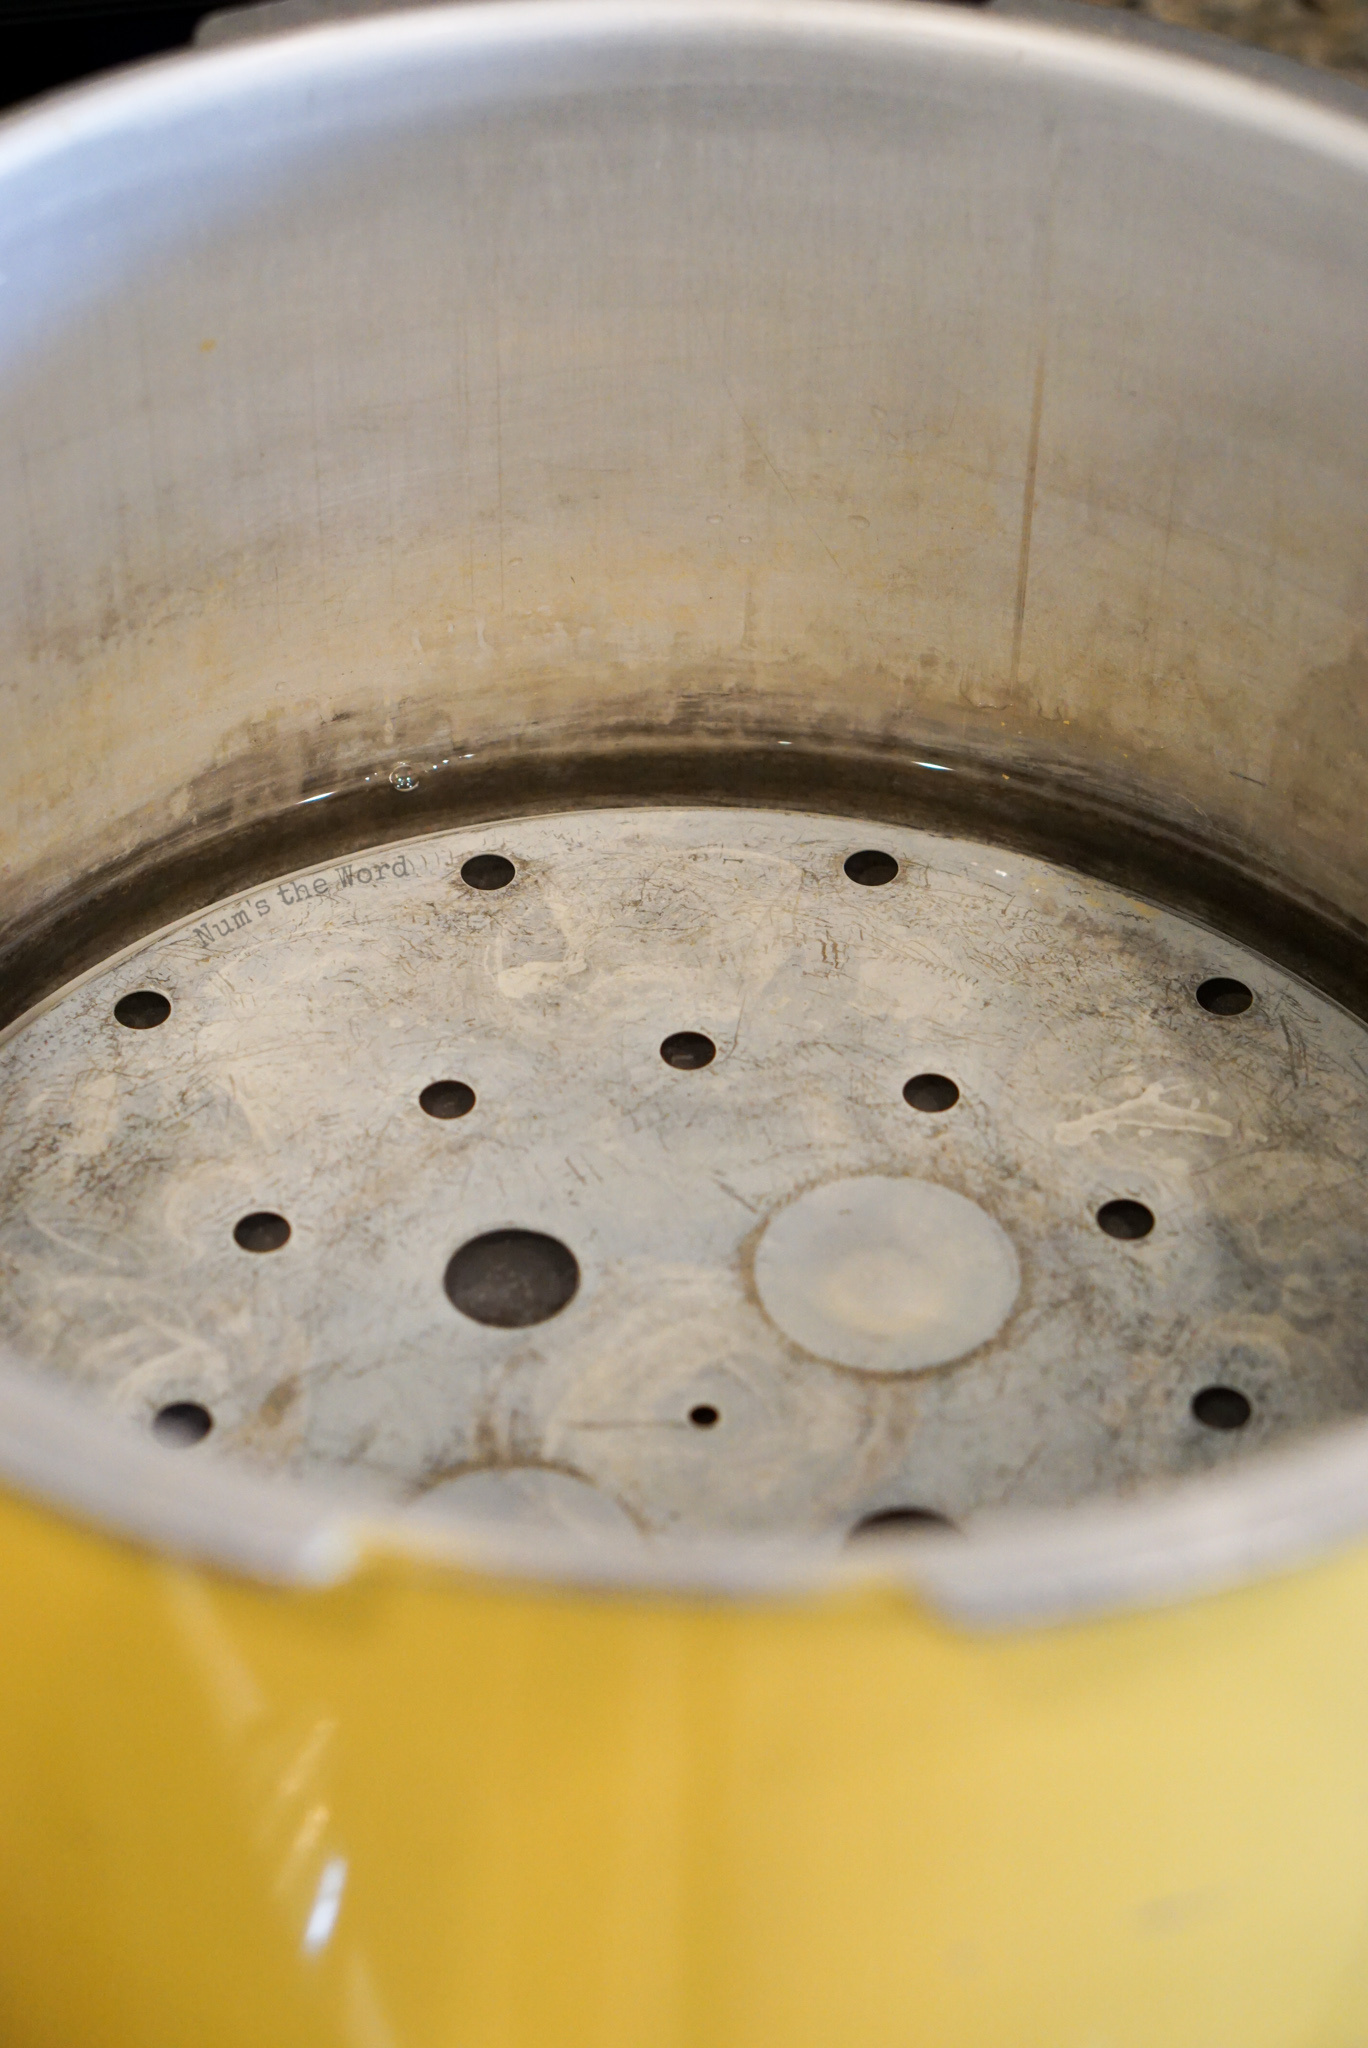
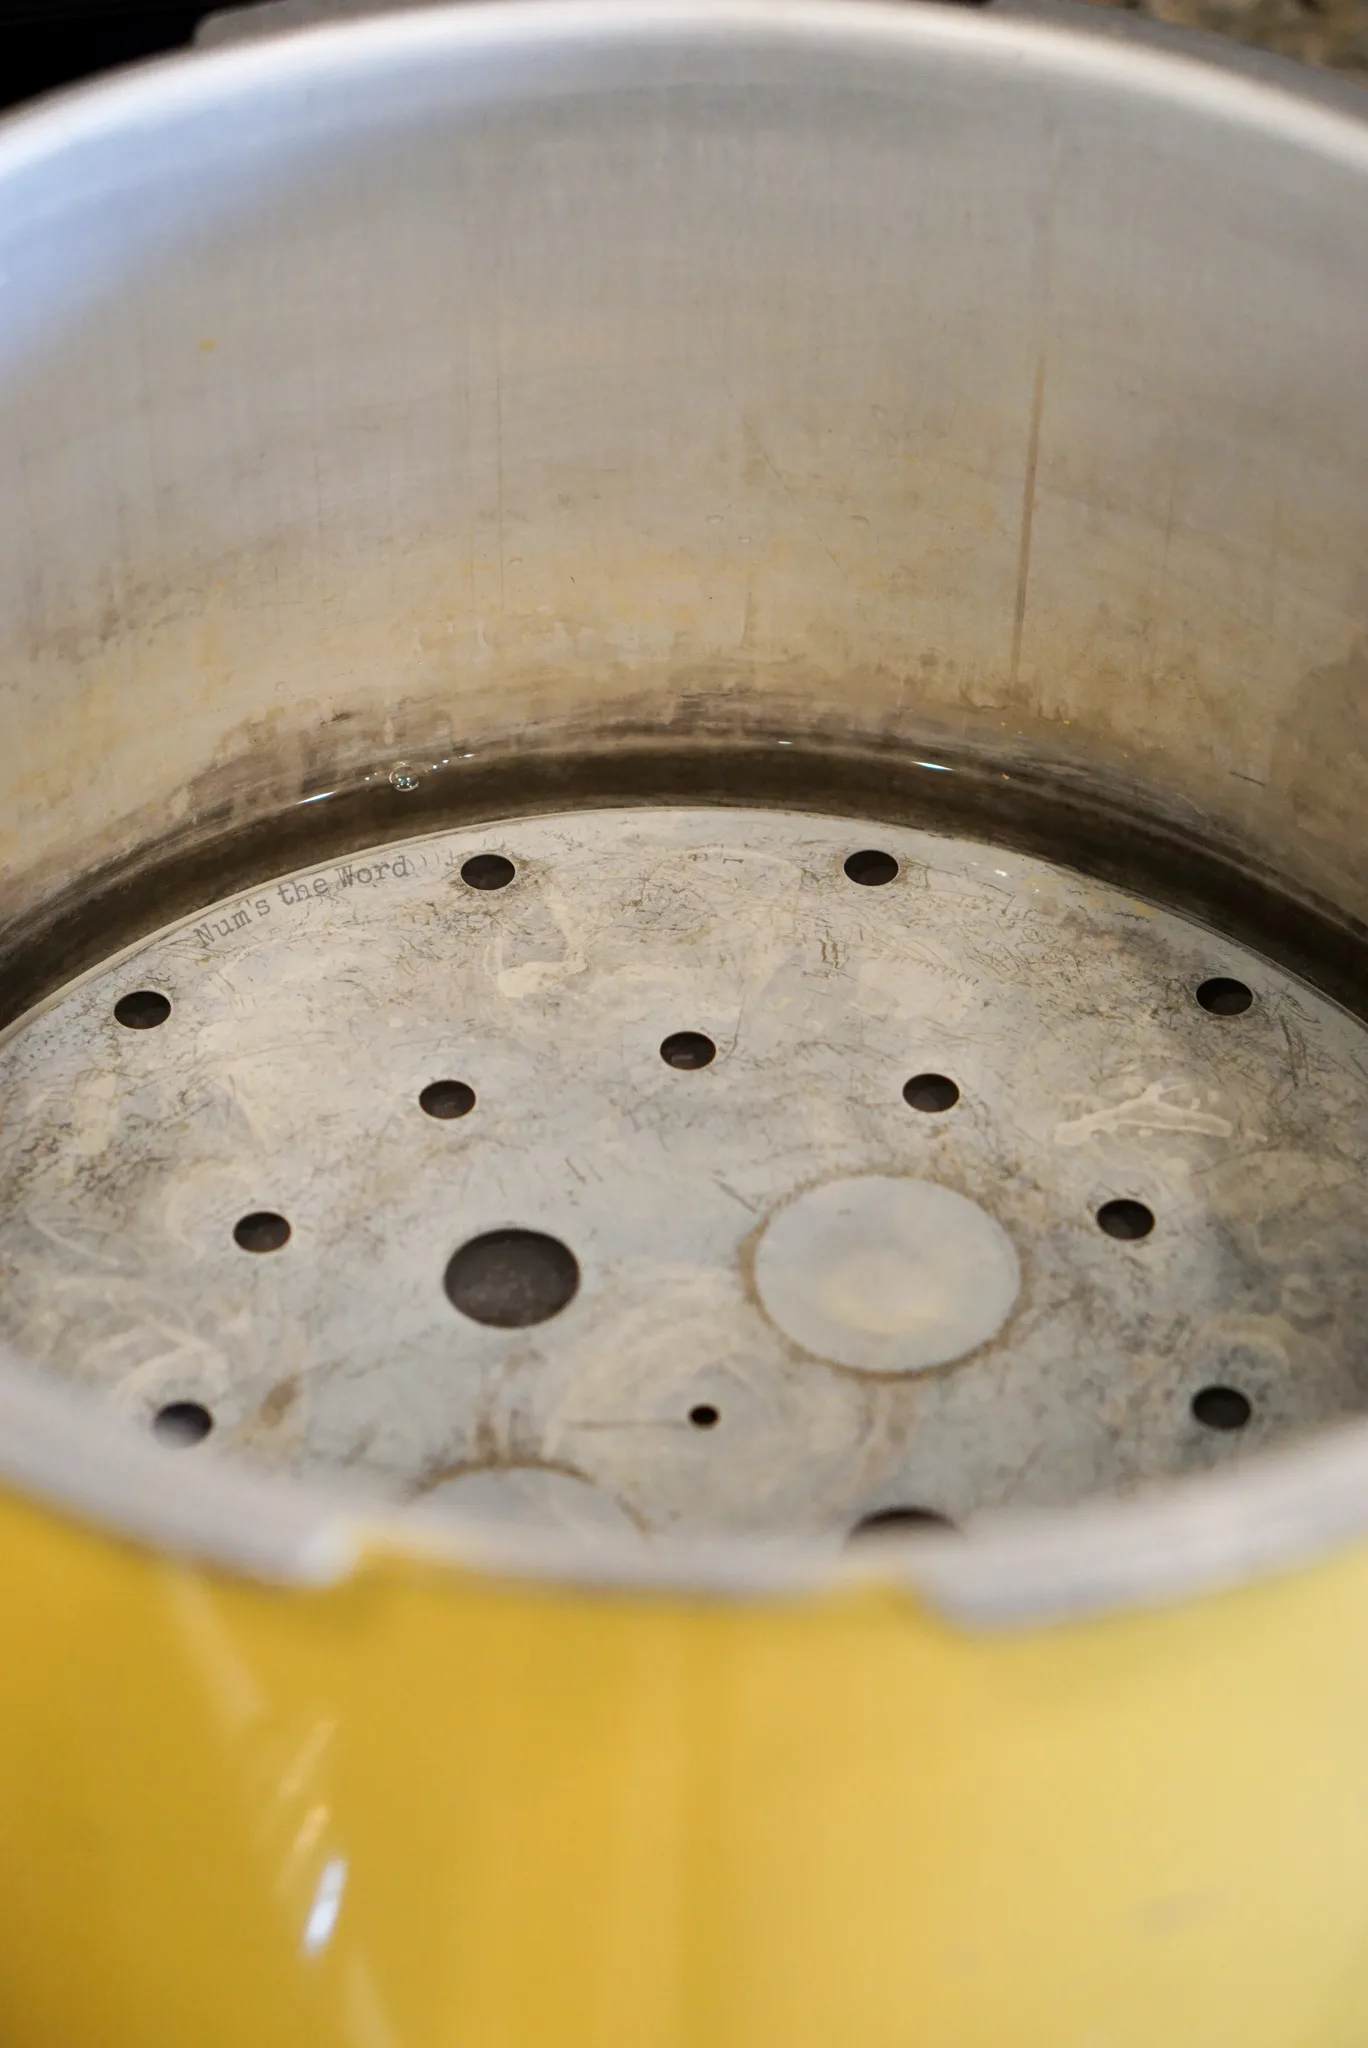
Step 4: Prepare Pressure Cooker
No need to panic yet. This is an easy step. Place canning bottom and 2 quarts of water into the pressure cooker and bring to a boil.
While the water is coming to a boil, it’s time to prepare your jars. I always love when you can do two steps at once and save time!
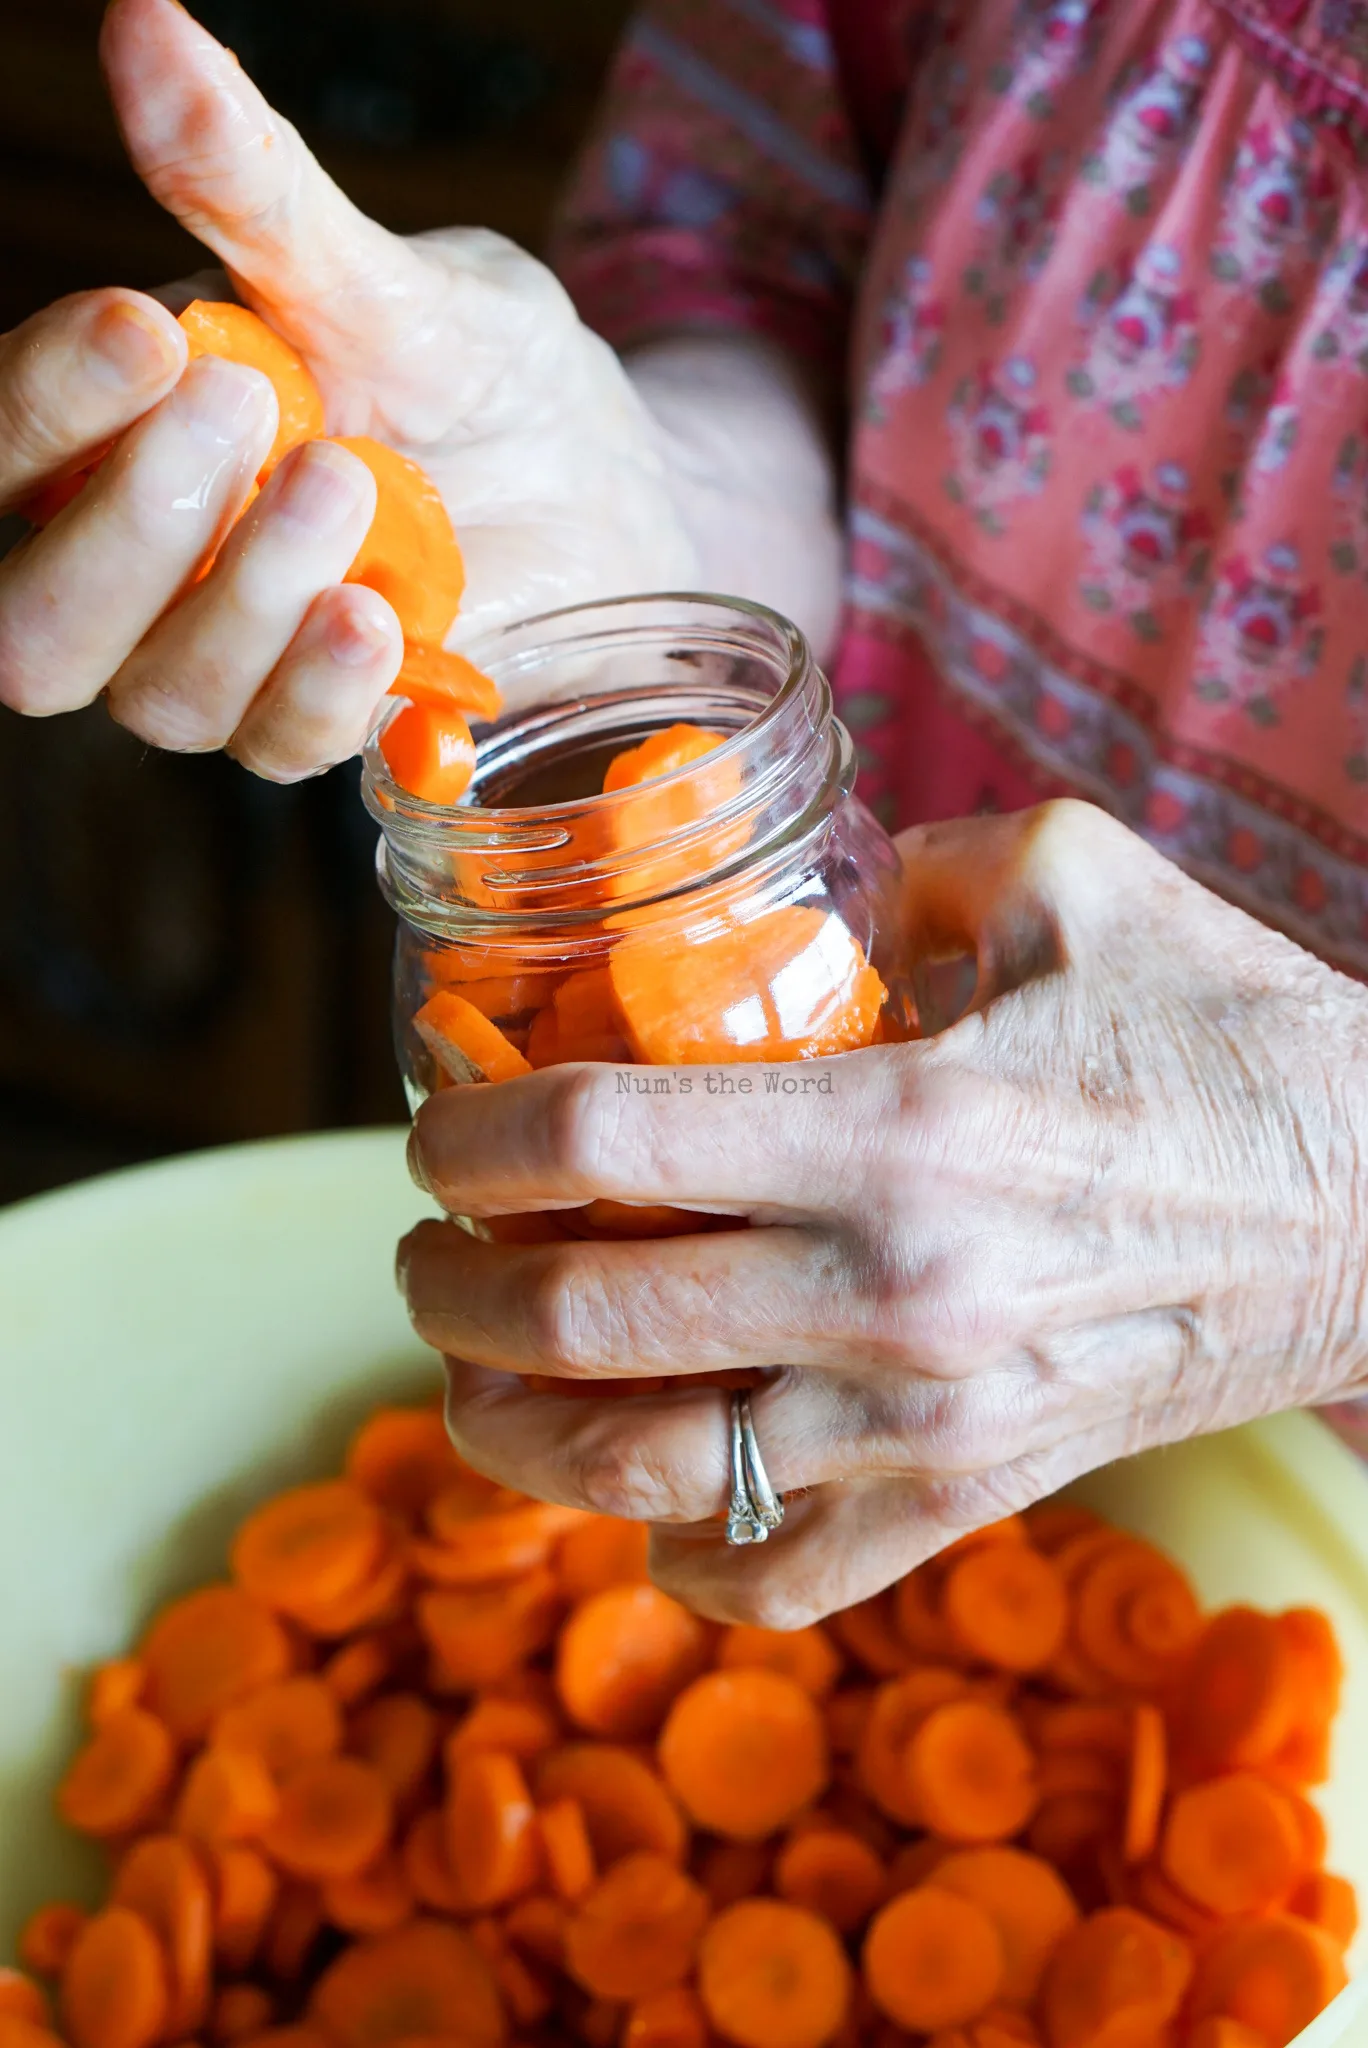
Step 5: Fill Jars with Carrots
Now that we’ve done all the prep work, it’s time to fill our jars. No matter what size or shape you chose, fill up your jar now. Give your jar a few gentle taps with the palm of your hand to help the carrots settle to the bottom. Add more carrots if needed.
You should fill them until they reach the neck of the bottle. Filling to the very tip top of the rim is too full.
Pro Tip: Do not slam the jars on the counter to tap them. This may cause the jars to crack.

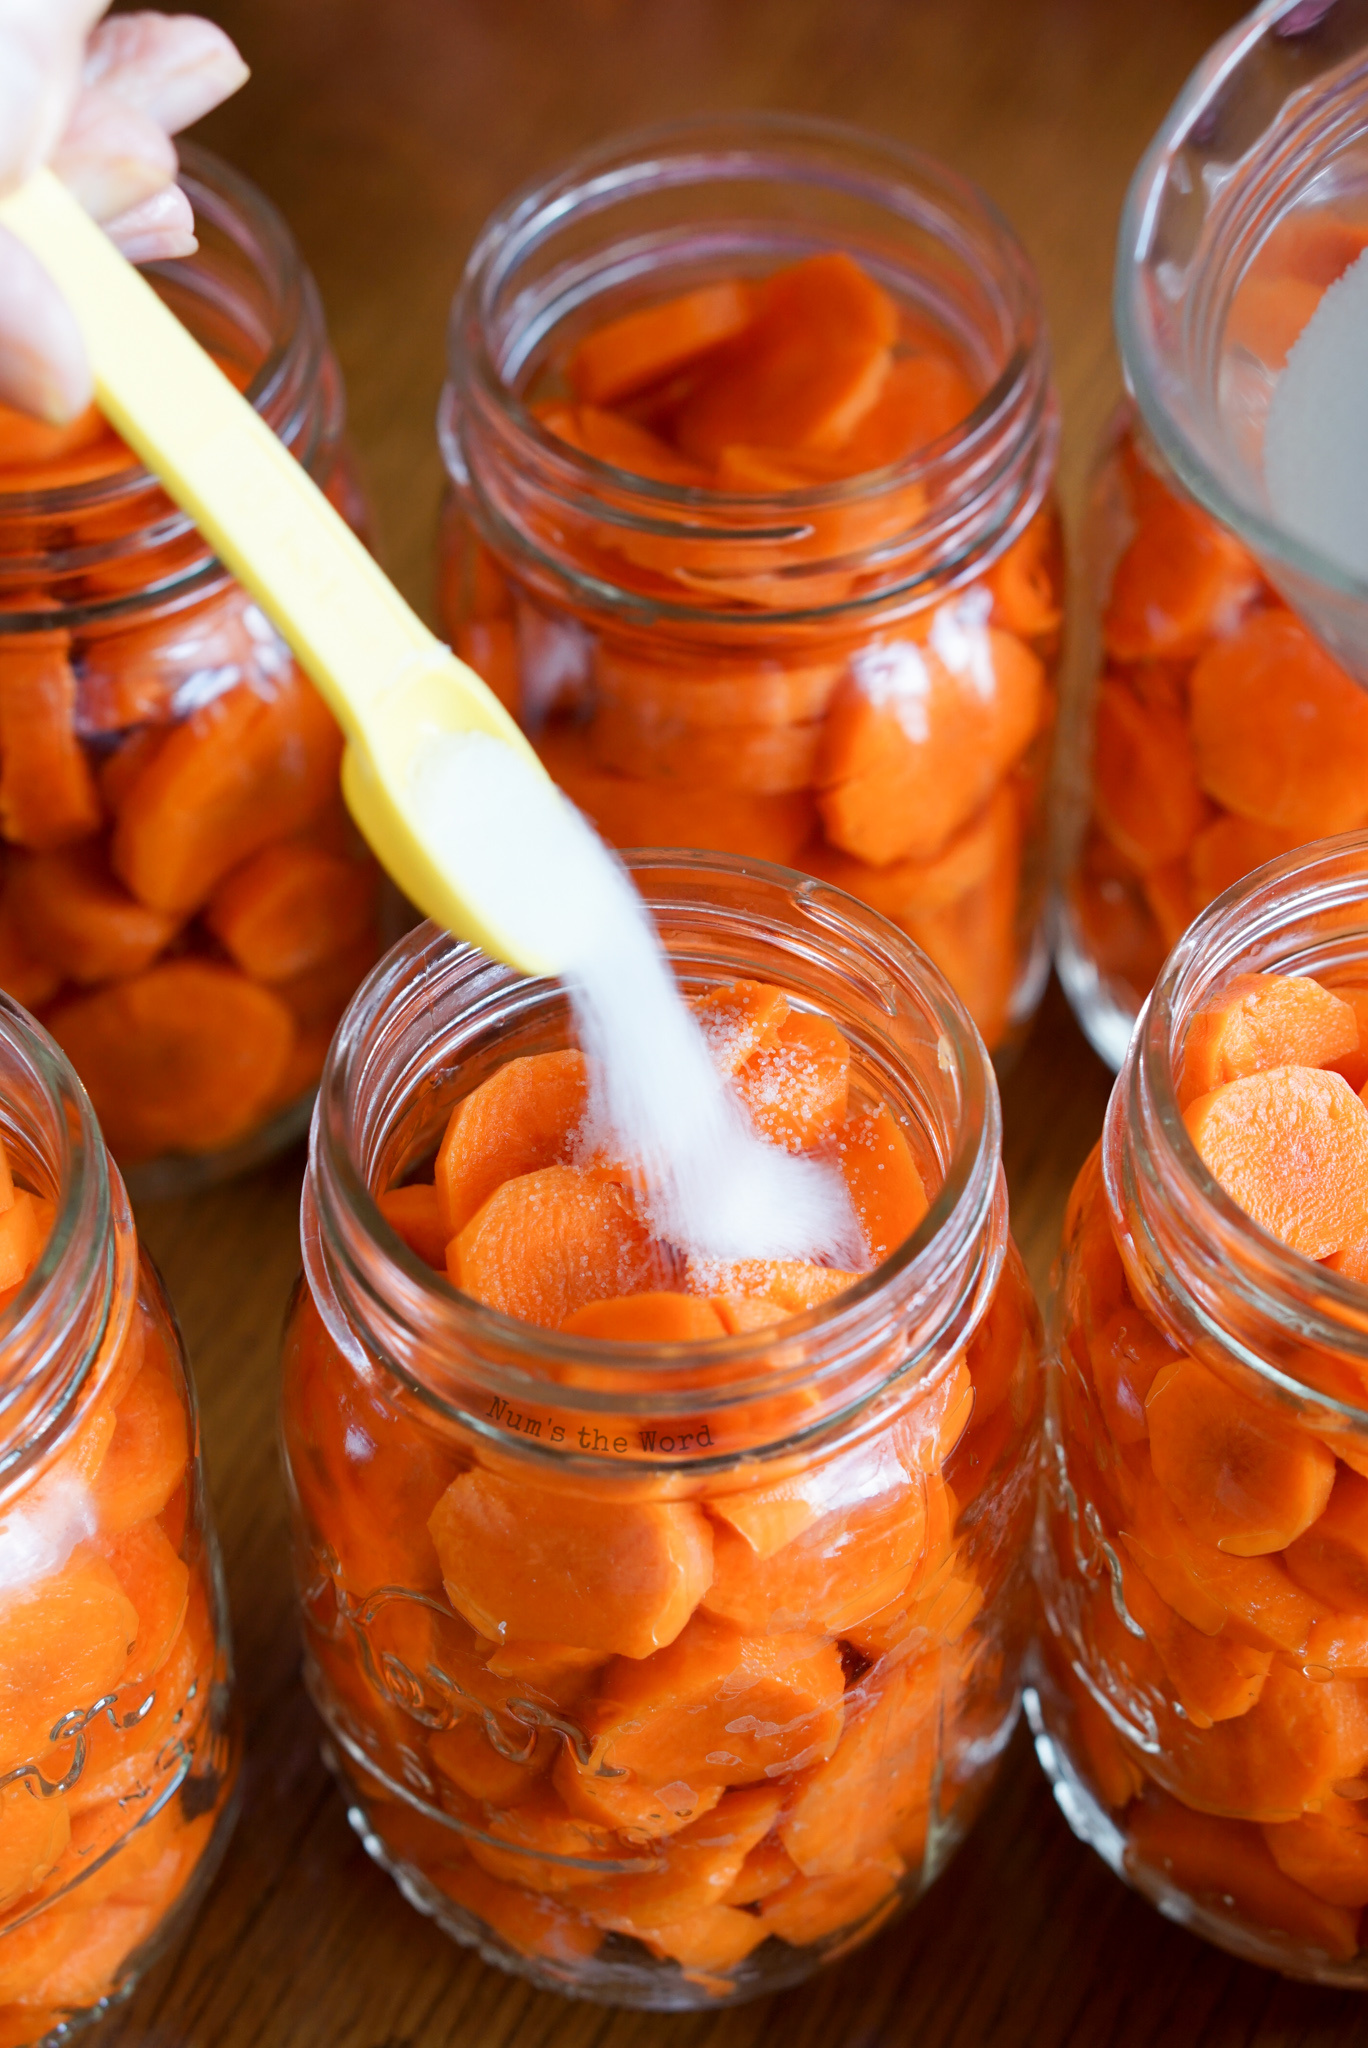
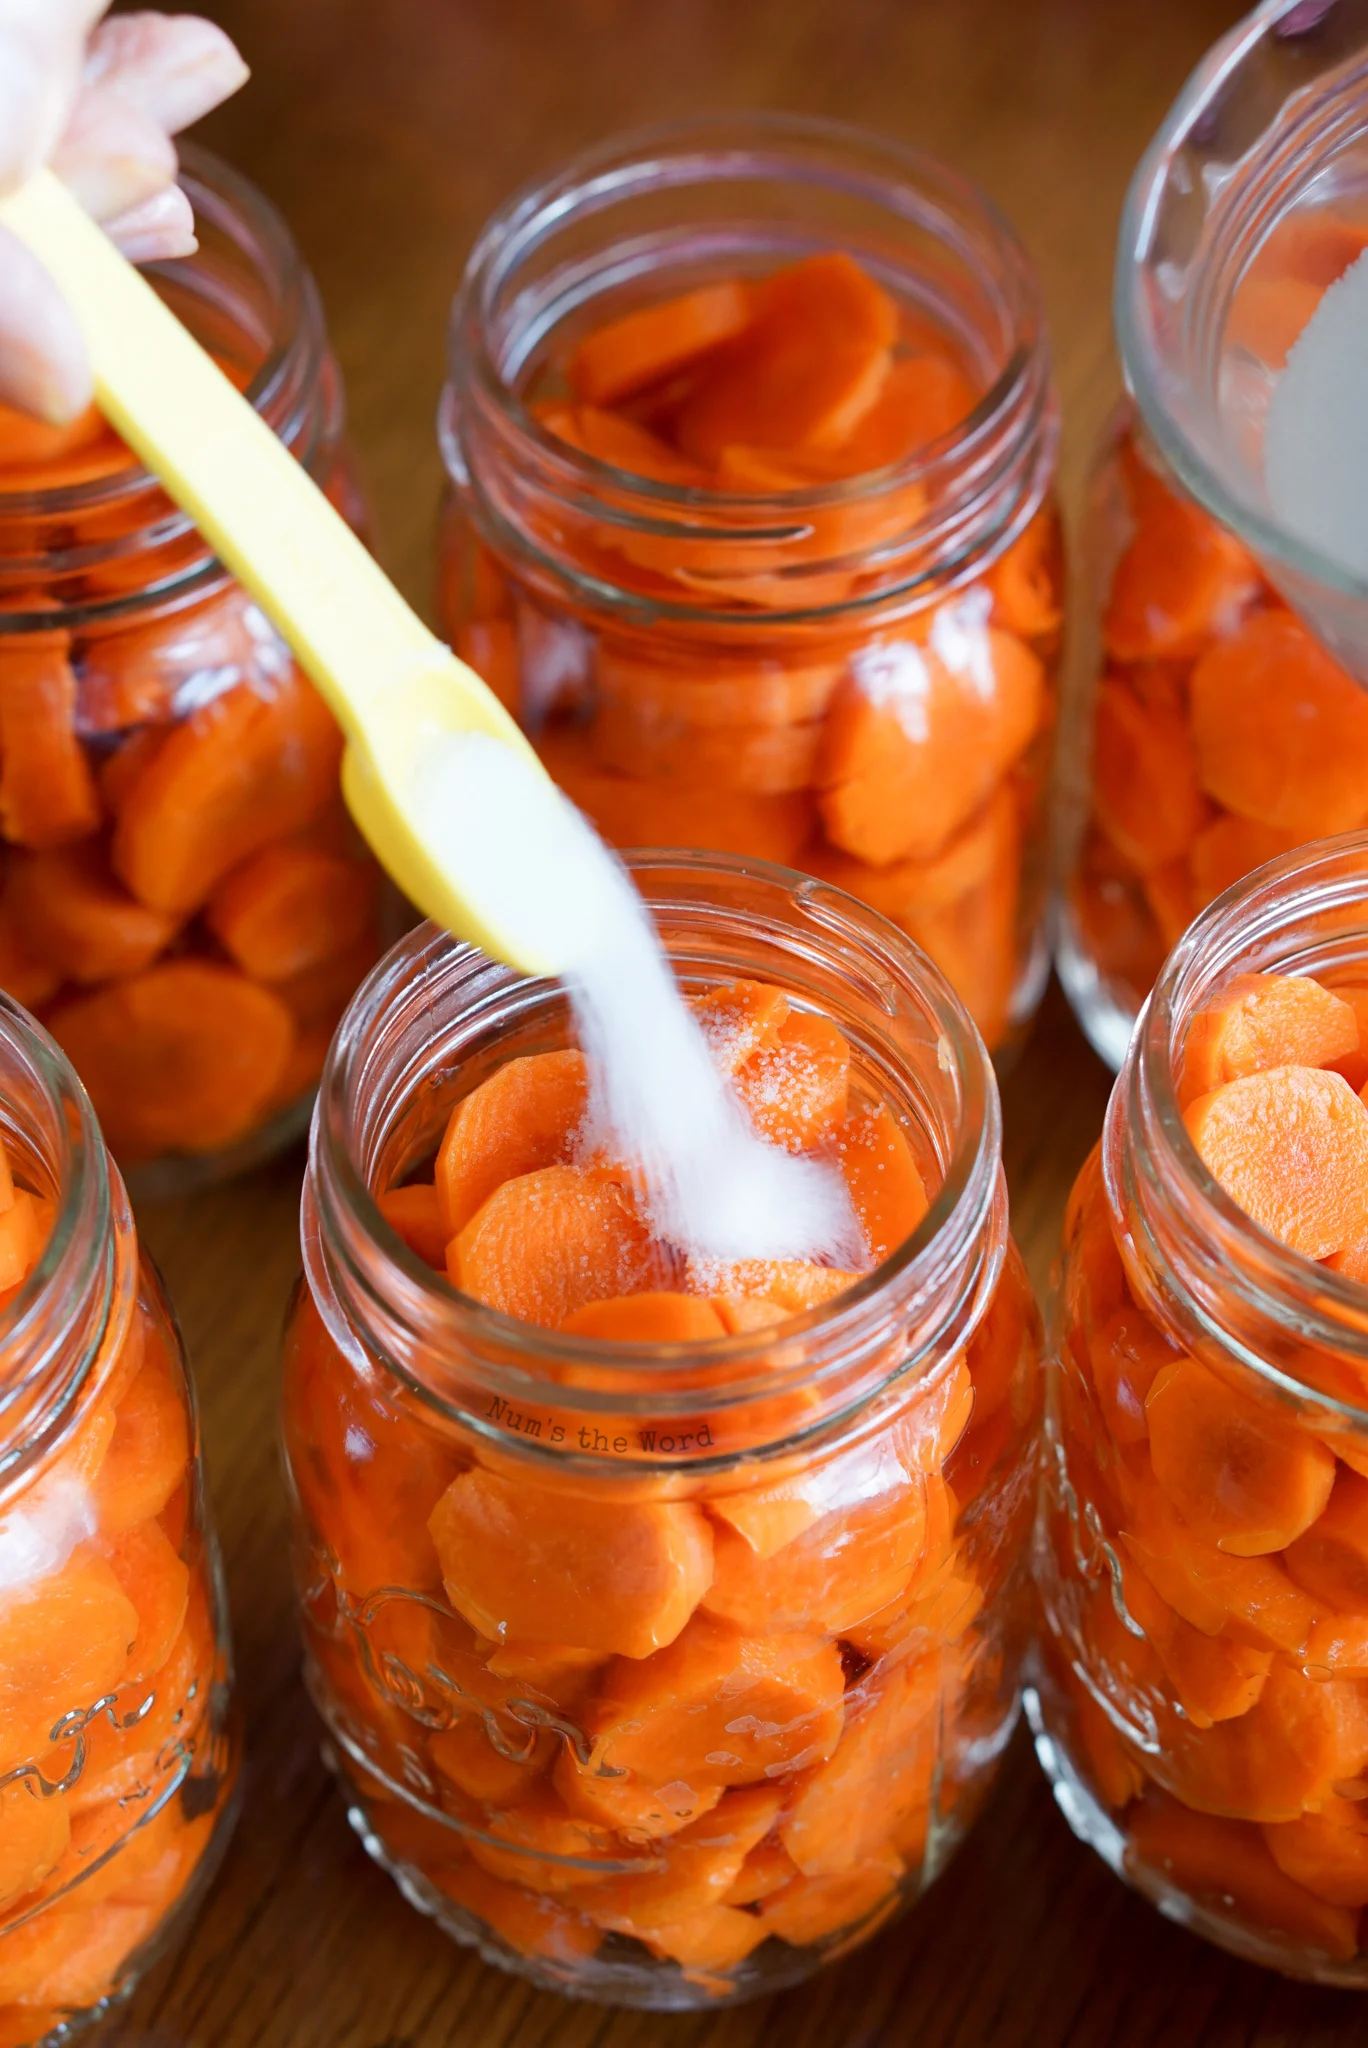
Step 6: Add Pickling Salt
Before you skip this step, you should know that pickling salt is different than table salt. It’s a special variety of salt that doesn’t contain iodine or any anti caking products. It’s easy to find in your local grocery stores canning section and really should not be substituted for any other salt.
You’ll want to add 1/2 teaspoon of pickling salt to each prepared pint jar and 1 teaspoon pickling salt to each prepared quart jar.
Can you use other salts for canning? Yes, but you don’t want to. I say yes because technically you can.
However the water in the jars will get cloudy or turn a gray/purple color. Which definitely makes your canned goods look terrible.
If you just can’t get your hands on pickling salt, as a last resort you could use pure sea salt that has nothing extra added to it.
Pro Tip: Pickling salt does not mean it will pickle your carrots. It’s simply the name of the salt. It’s really a canning salt with a silly name. If you want to pickle something, it’s the spices and juice added to your vegetable that will give it the pickling flavor.
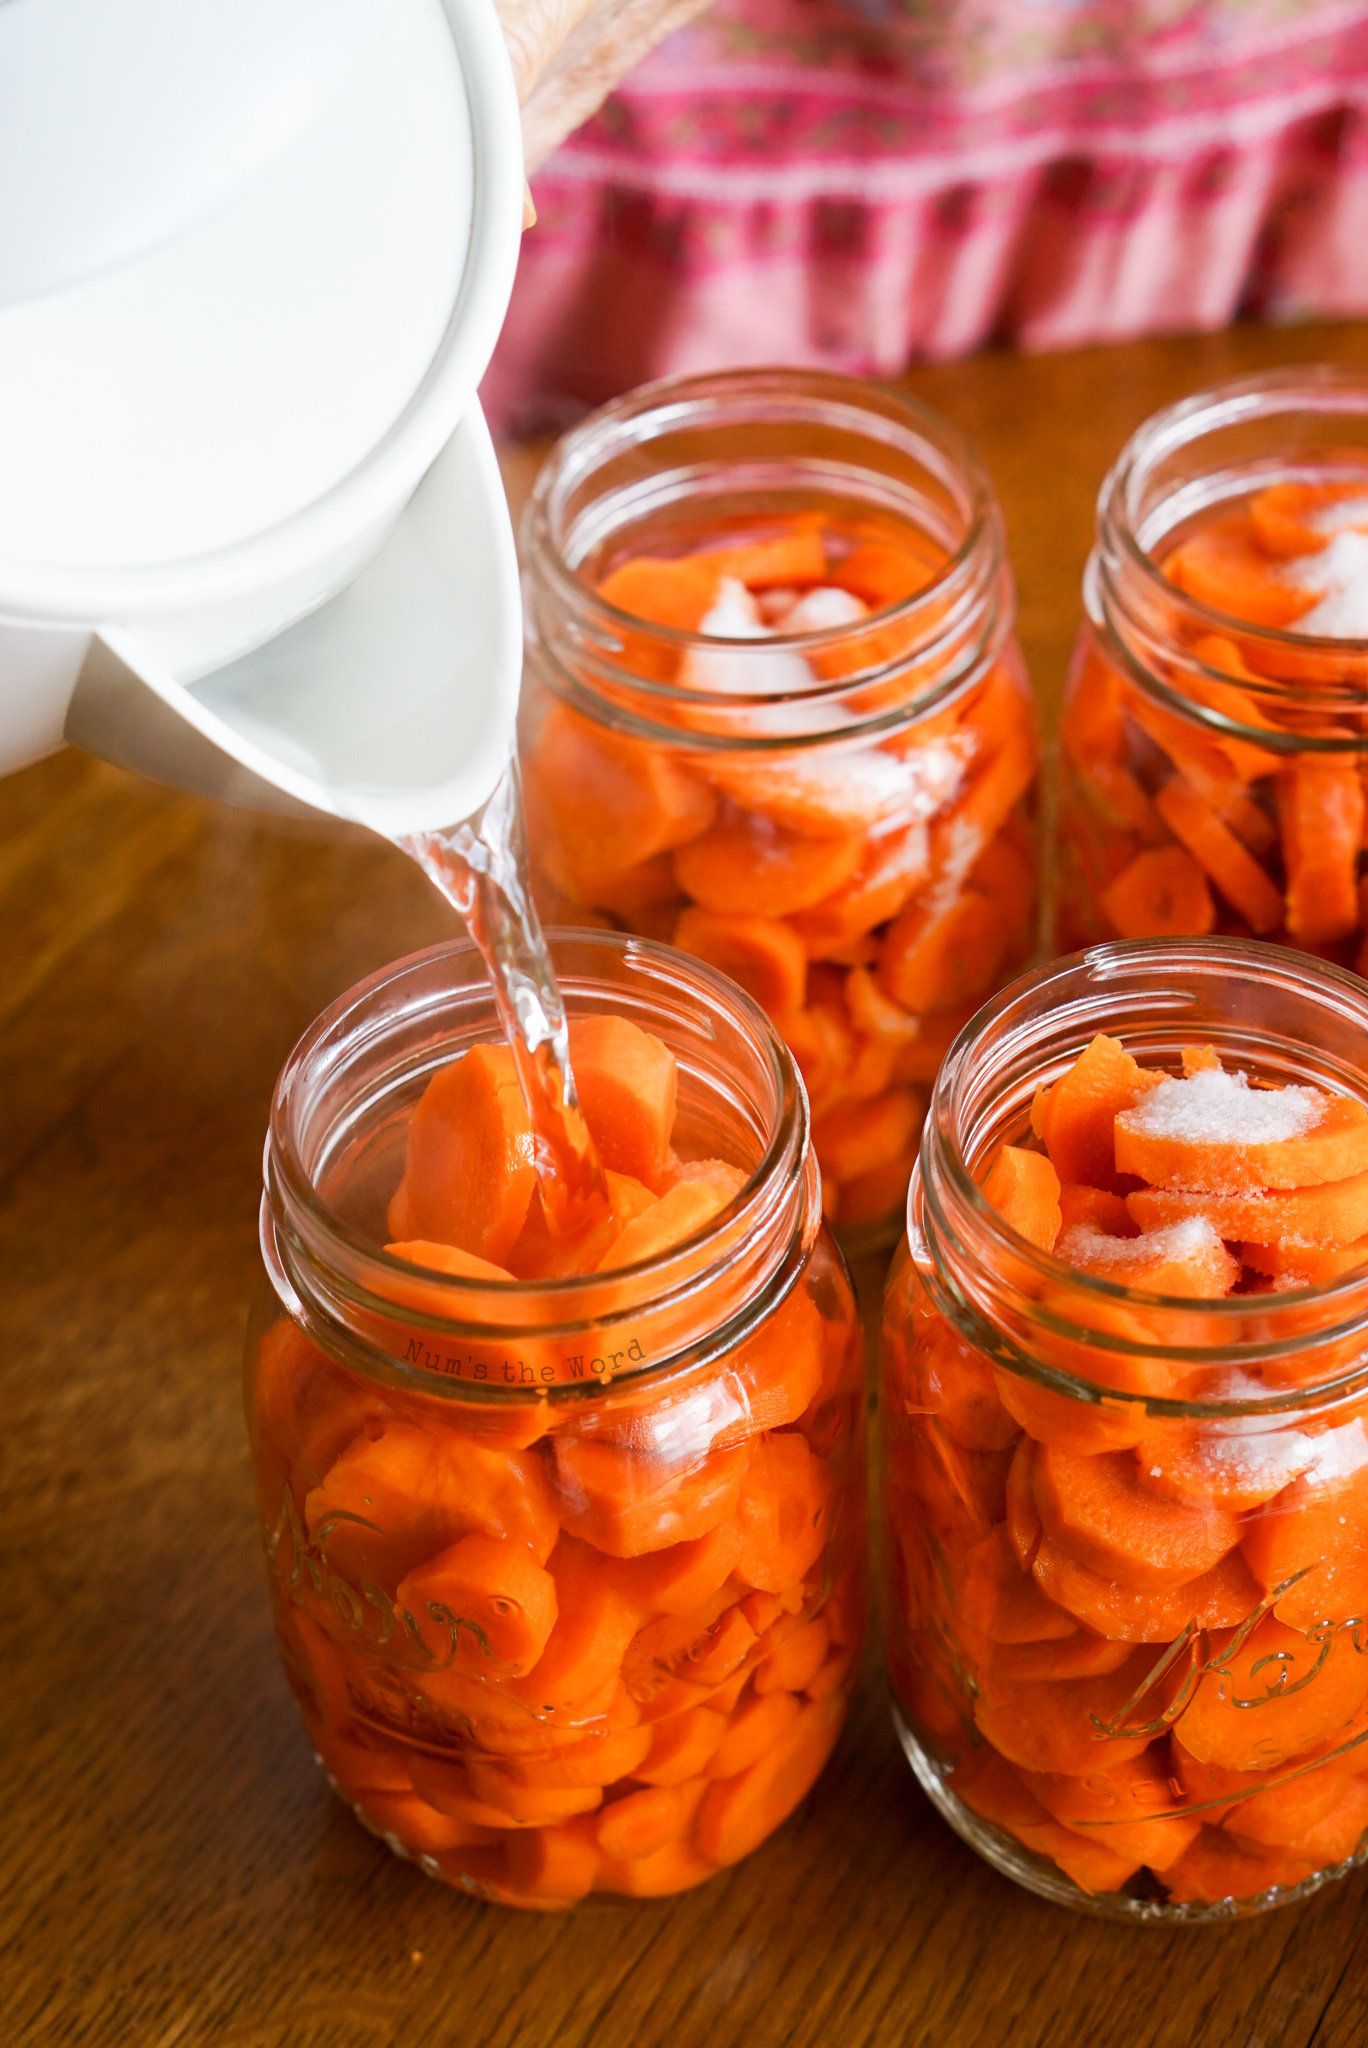
Step 7: Add Hot Water to Each Filled Jar
If you have an electric kettle, this step is a breeze. Otherwise fill up a large liquid measuring cup or a pot of water and cook it until it’s boiling. Once your water is boiling, gently pour the hot water into each of the ready jars. Pour until the water reaches the neck, not the tip top of each jar.
Depending on how many jars you are canning this may take a few batches of heating up water.
After Jars are filled, take a knife and gently run it down the inside sides of each jar to remove any air bubbles trapped between the carrots.

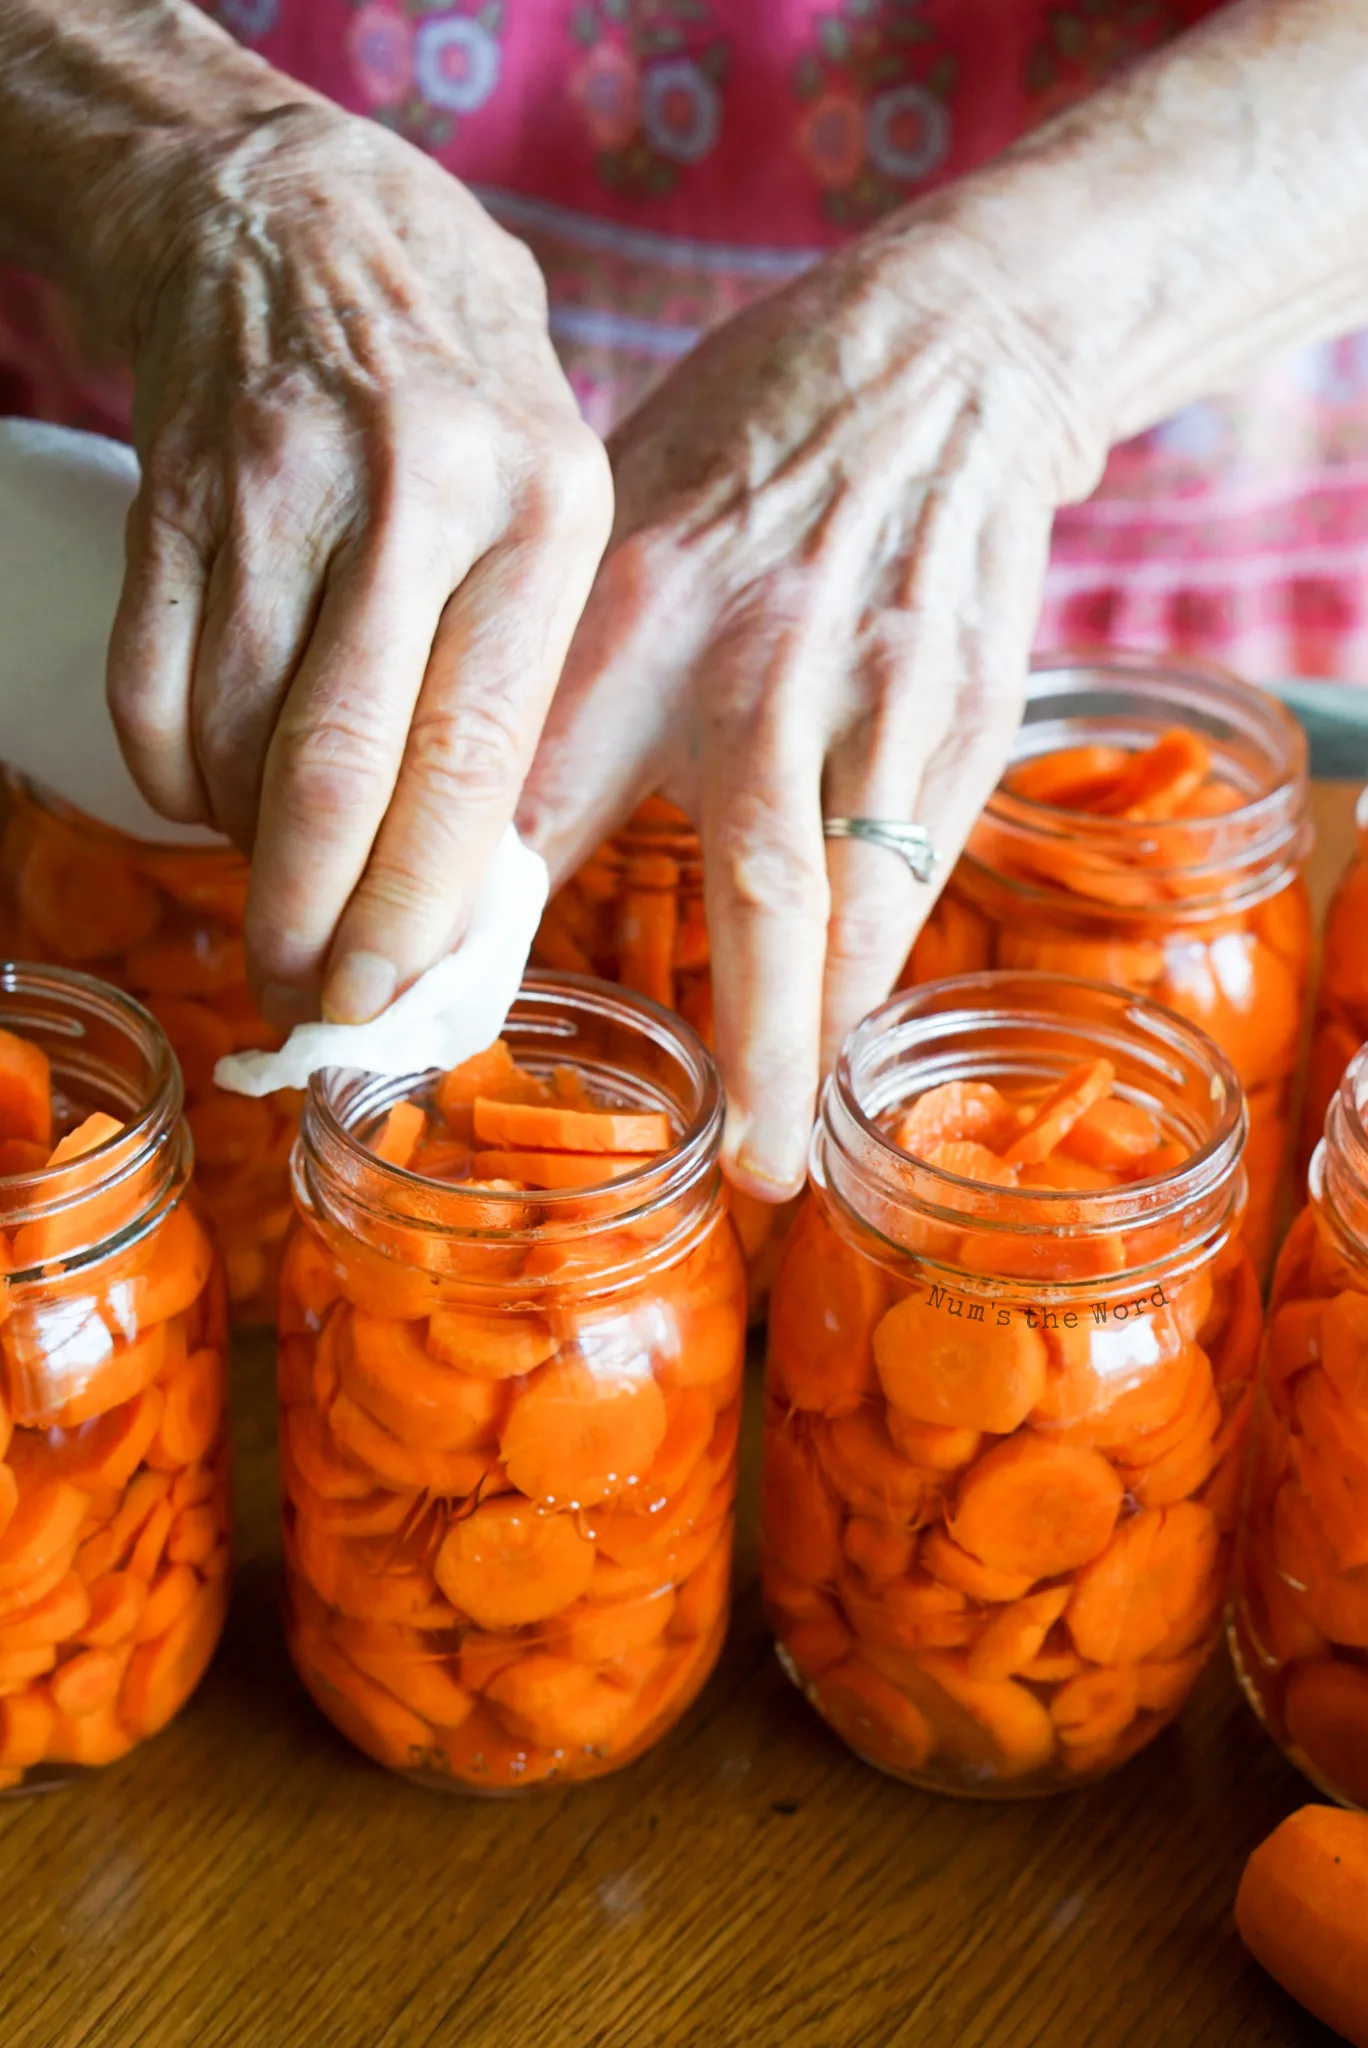
Step 8: Clean the Rims of Your Jars
This step might seem a bit silly, since we already know the jars are clean. However it’s a VITAL step in the canning process. As you place your carrots and salt in each jar, residue or salt crystals can get on the rim, some of which you can’t even see. Any imperfections in the rim of your jar, or even a single salt crystal, and your lids wont properly seal.
To make this step easy, we simply wet a paper towel or a wash cloth with water and wipe down each rim.

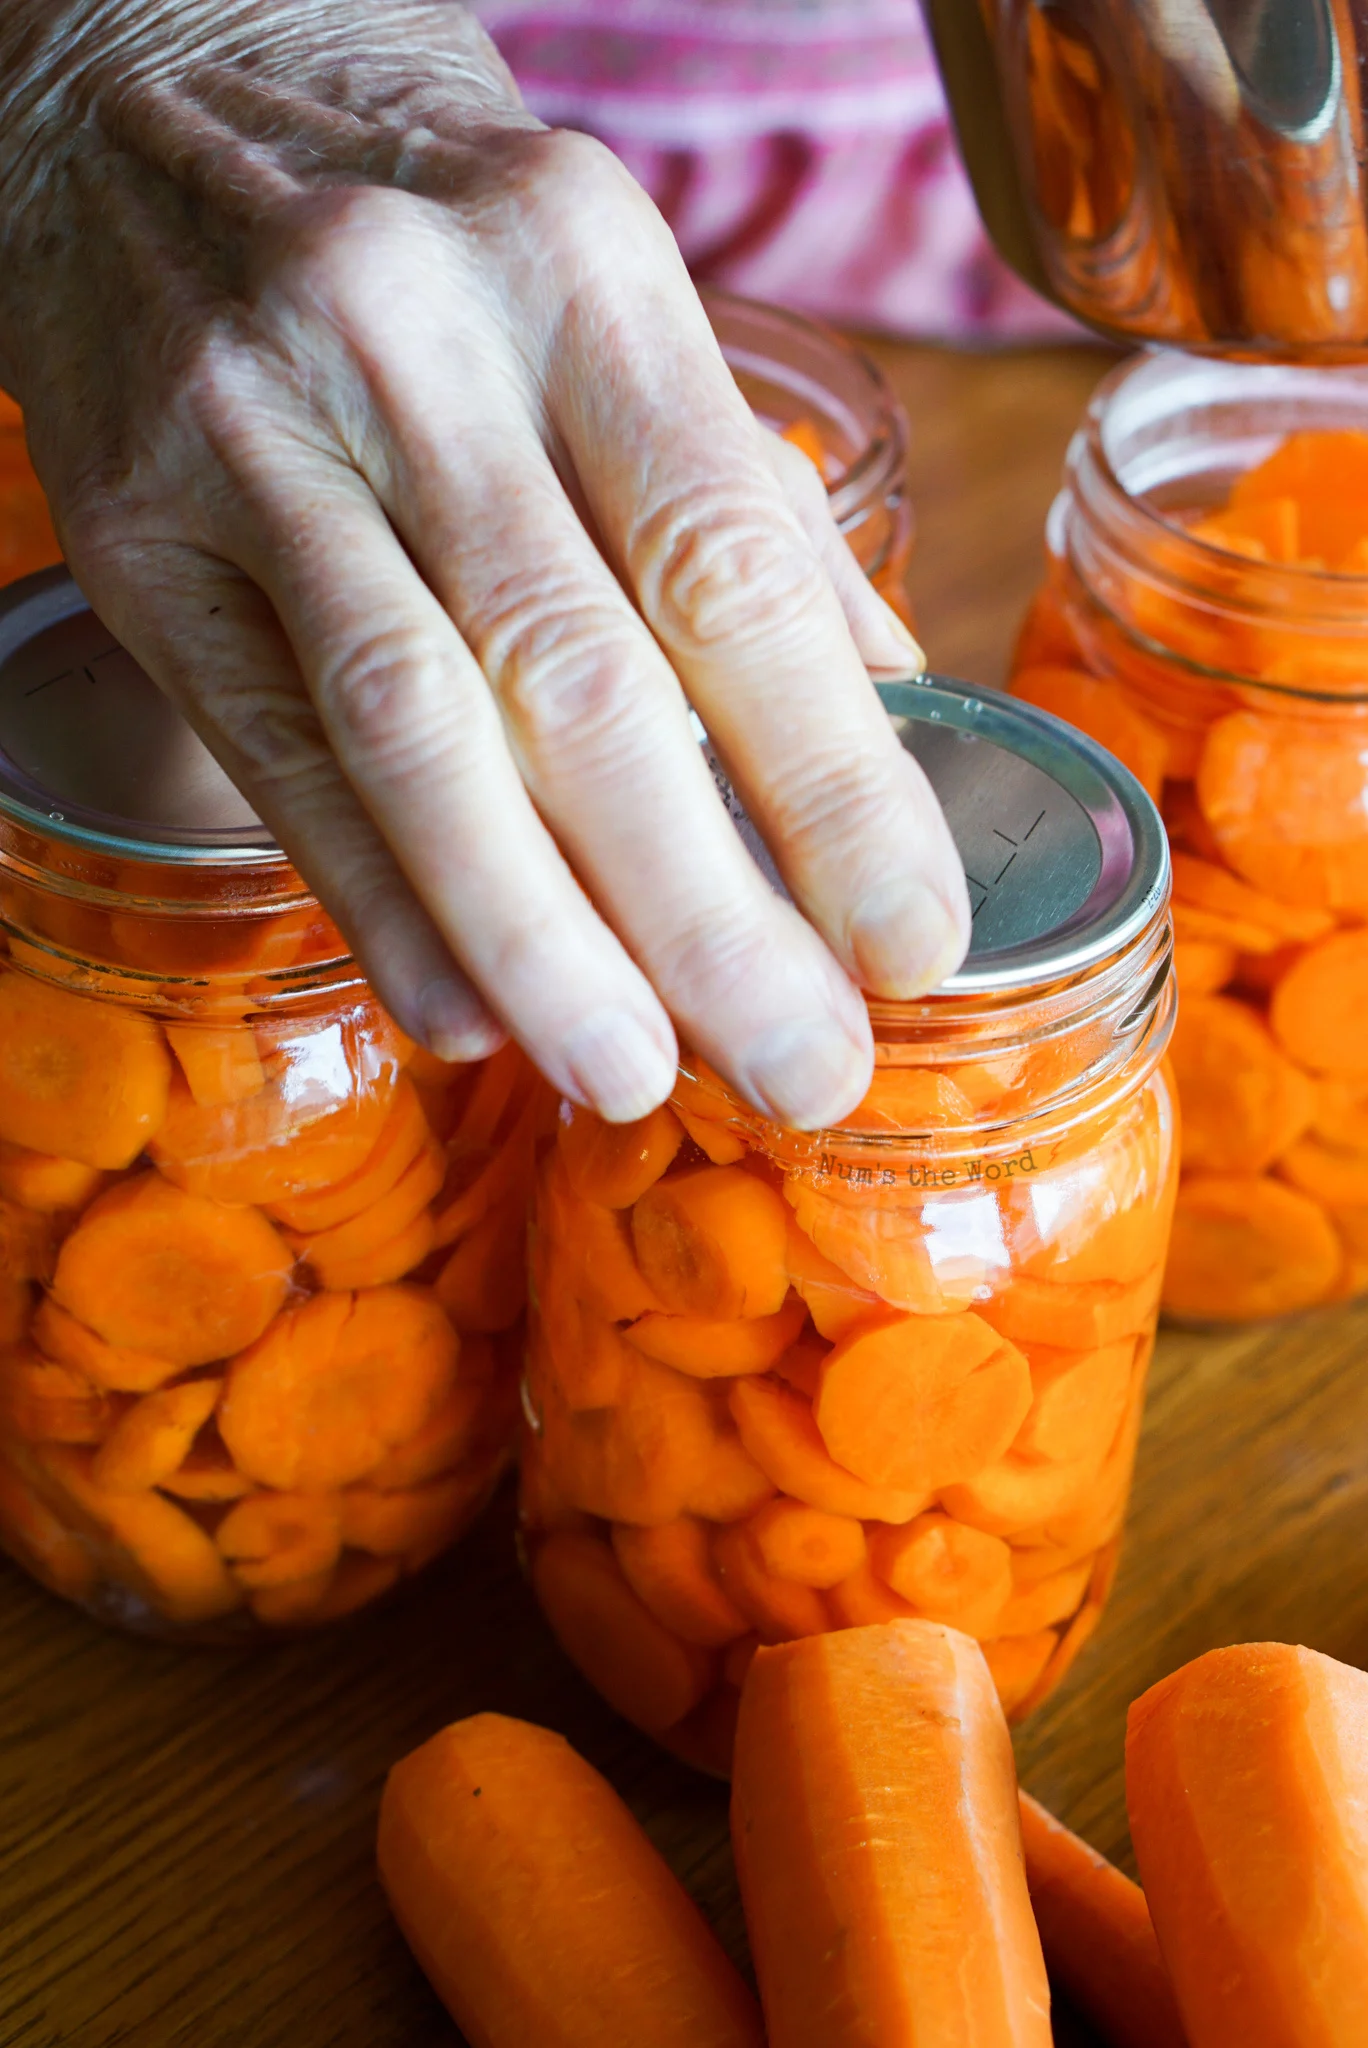
Step 9: Place Lids on Each Jar
Now that your rims are clean, it’s time to remove those hot lids from the water and place on top of each jar. As you pull each lid out, give it a gentle shake to remove some of the excess water and then lay a lid on top of each prepared jar.

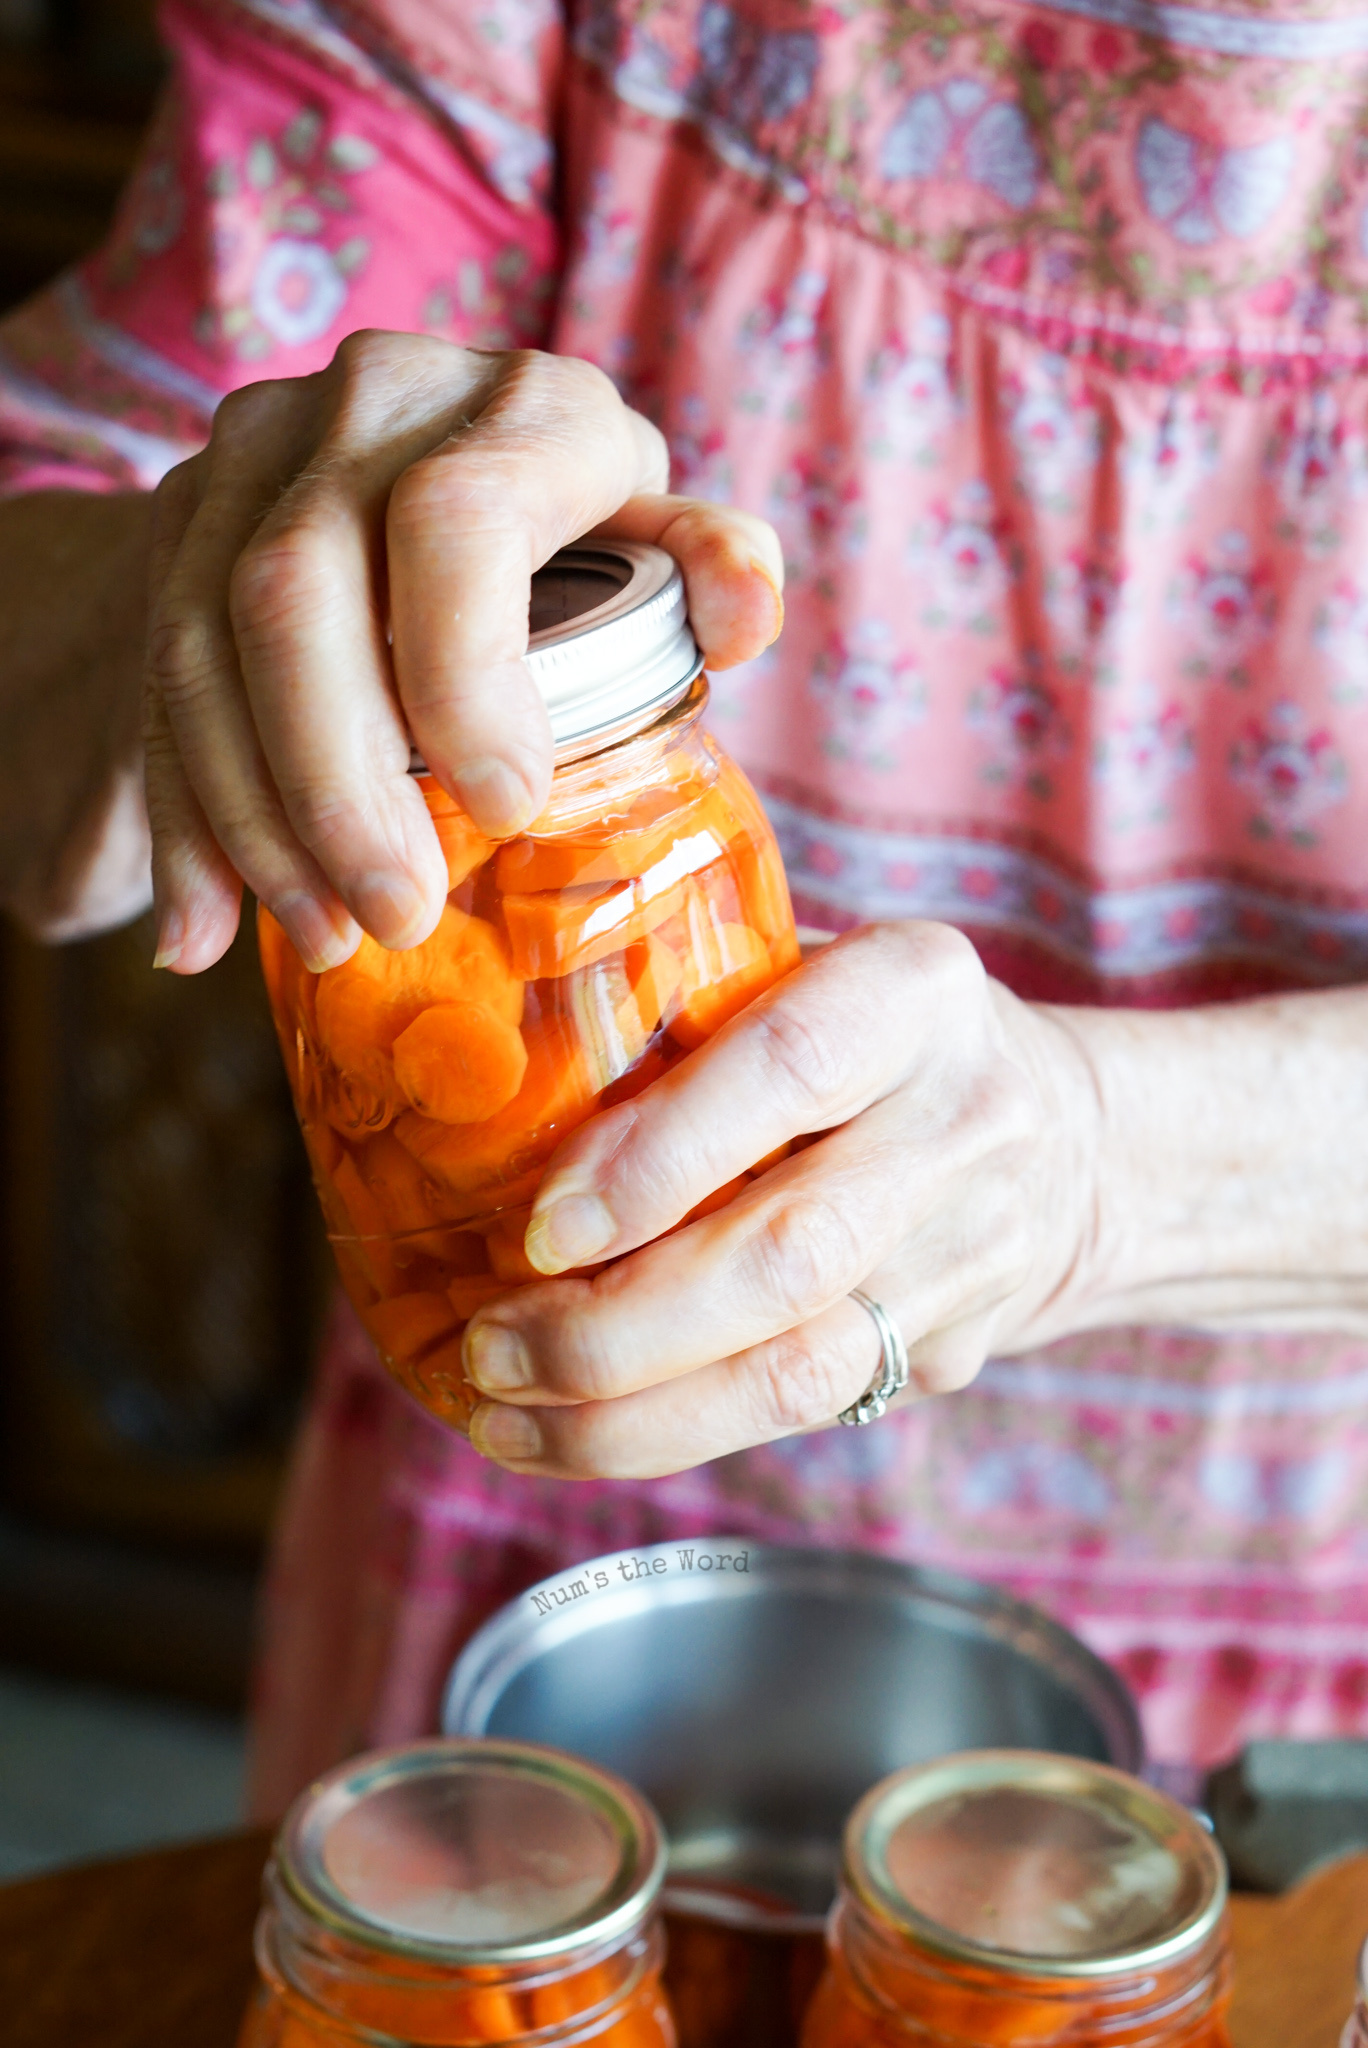
Step 10: Place Rings on Each Jar
I told you this was going to be a step by step tutorial on pressure canning carrots. And that means STEP BY STEP. Now’s the time to twist on your rings over the rims for each jar. Put them on tight but not so tight you can’t get it off again.
Your goal here is to have them on tight enough that water wont seep out of your jars during the pressure canning process. Just remember that when the entire canning process is over, you’ll have to remove the rings.

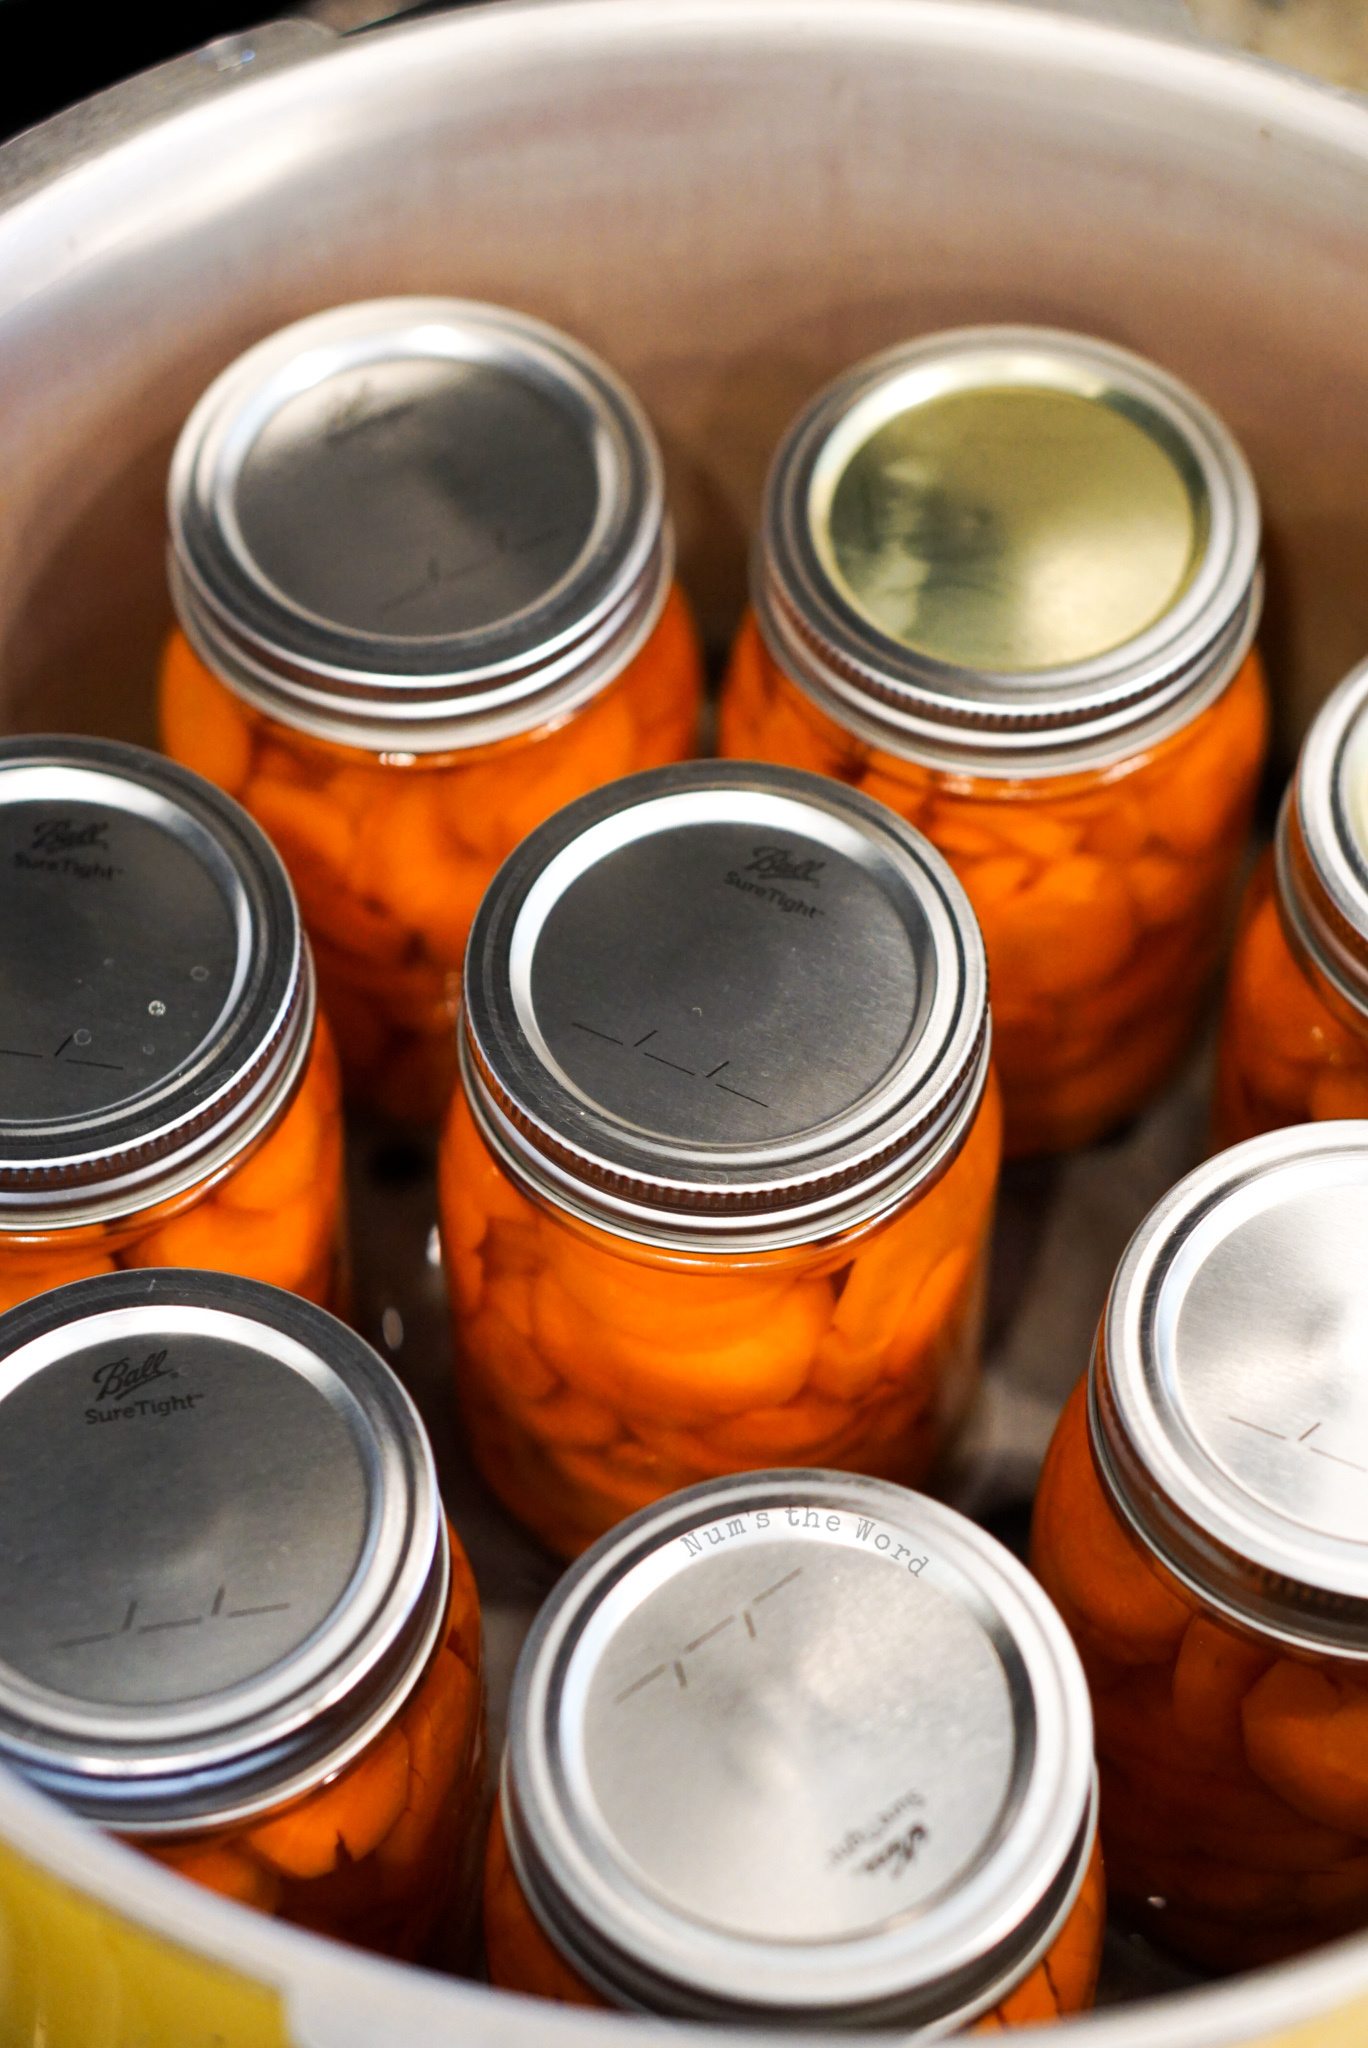
Step 11: Place prepared jars in pressure canner.
The size of your canner will determine how many jars you can cook per batch. The key aspect to placing them in your pressure canner is to not over pack it. They can be close to each other, but you do NOT want them to touch. Keep 1/4 inch or so spaced apart from each other during the canning process.
We can fit 8 pint jars per batch and 6 quart jars per batch. Do not mix jars. All jars in pressure cooker must be same size as the length of cook time varies based on jar size.
As per Step 4, you should have 2 quarts of water already in the pressure canner and your jars will go in that water. It’s really not that much water so they should in no way be swimming in it.

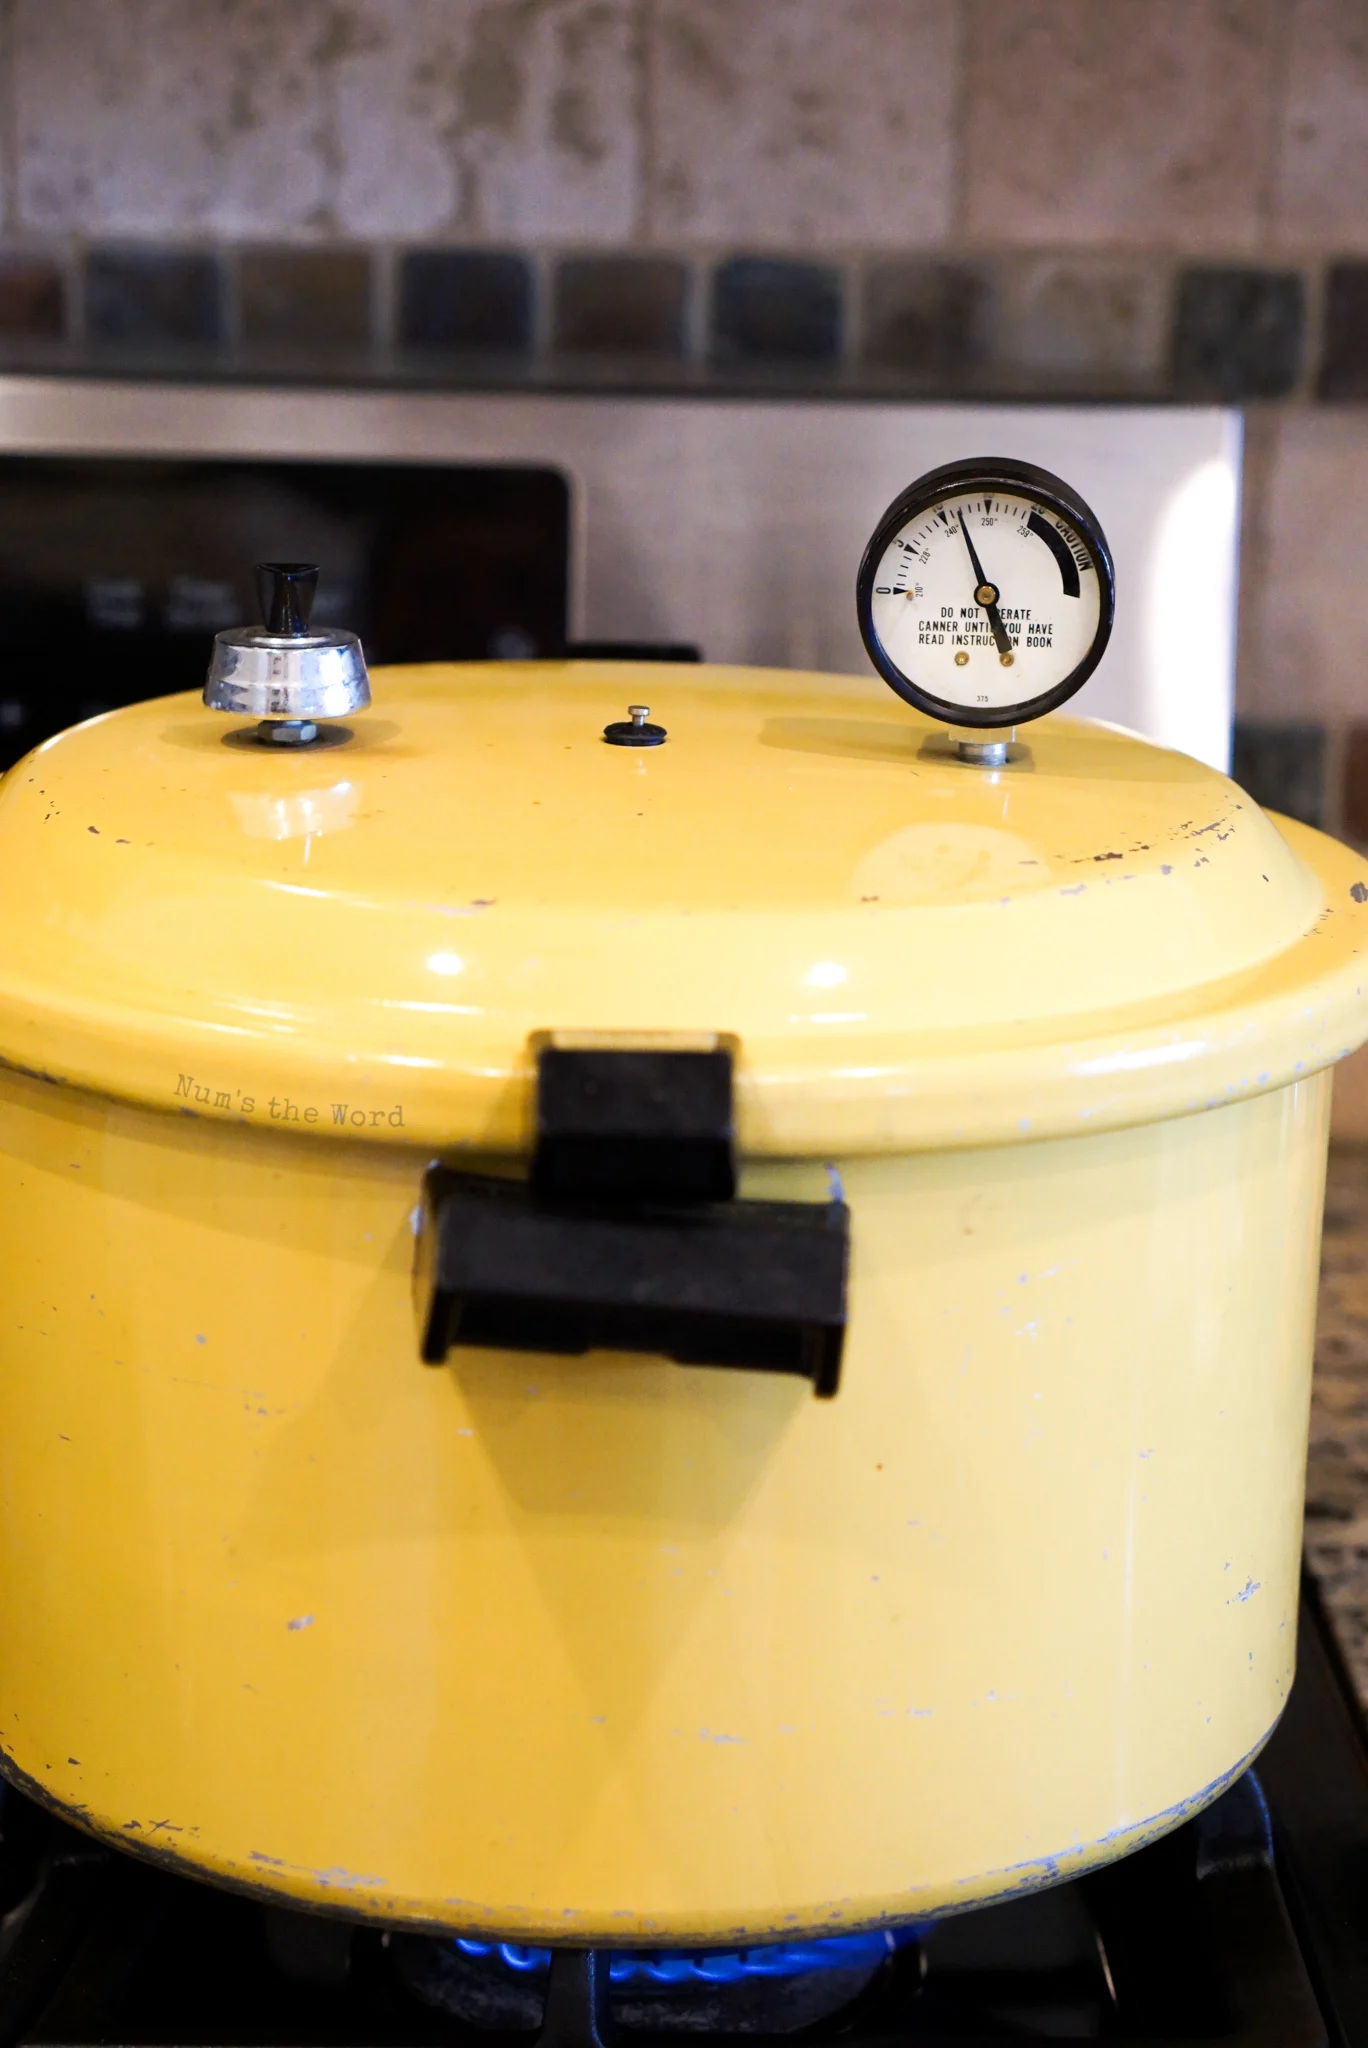
Step 12: Place Lid on Pressure Canner and Cook
This is the MOST IMPORTANT part of pressure canning, so read carefully. If you follow these directions you wont have any issues.
- Go pee. Get a snack. Grab a chair and place it in the kitchen next to the stove. Do whatever you need to do because once you start this step you MUST stay in the kitchen and not leave. Don’t answer the door, the phone or read a book. It’s GO time now.
- Place your lid on your pressure cooker and turn it so that it locks into place.
- Turn your stove to a medium temperature.
- Once steam starts pouring out the top spout (3 – 5 minutes) place your weight on top of the left valve. (the little bell looking thing on the left of the photo)
- Steam will start to come out of the middle, don’t panic. It will stop after a few minutes.
- Watch your pressure valve and let it raise to 10 pounds (the doohickey on the right side of the photo). Going 1 or 2 over is fine but our goal is to keep it as close to 10 pounds a possible. This may require you to raise or lower your stove temperature.
- If cooking pint jars, cook for 25 minutes at 10 pounds. If cooking quart jars, cook for 30 minutes at 10 pounds.
Pro Tip: If you’ve canned before, and are comfortable, you can fill the next batch of carrots in your jars while these ones are cooking. Just stay in the kitchen and keep an eye on your pressure.

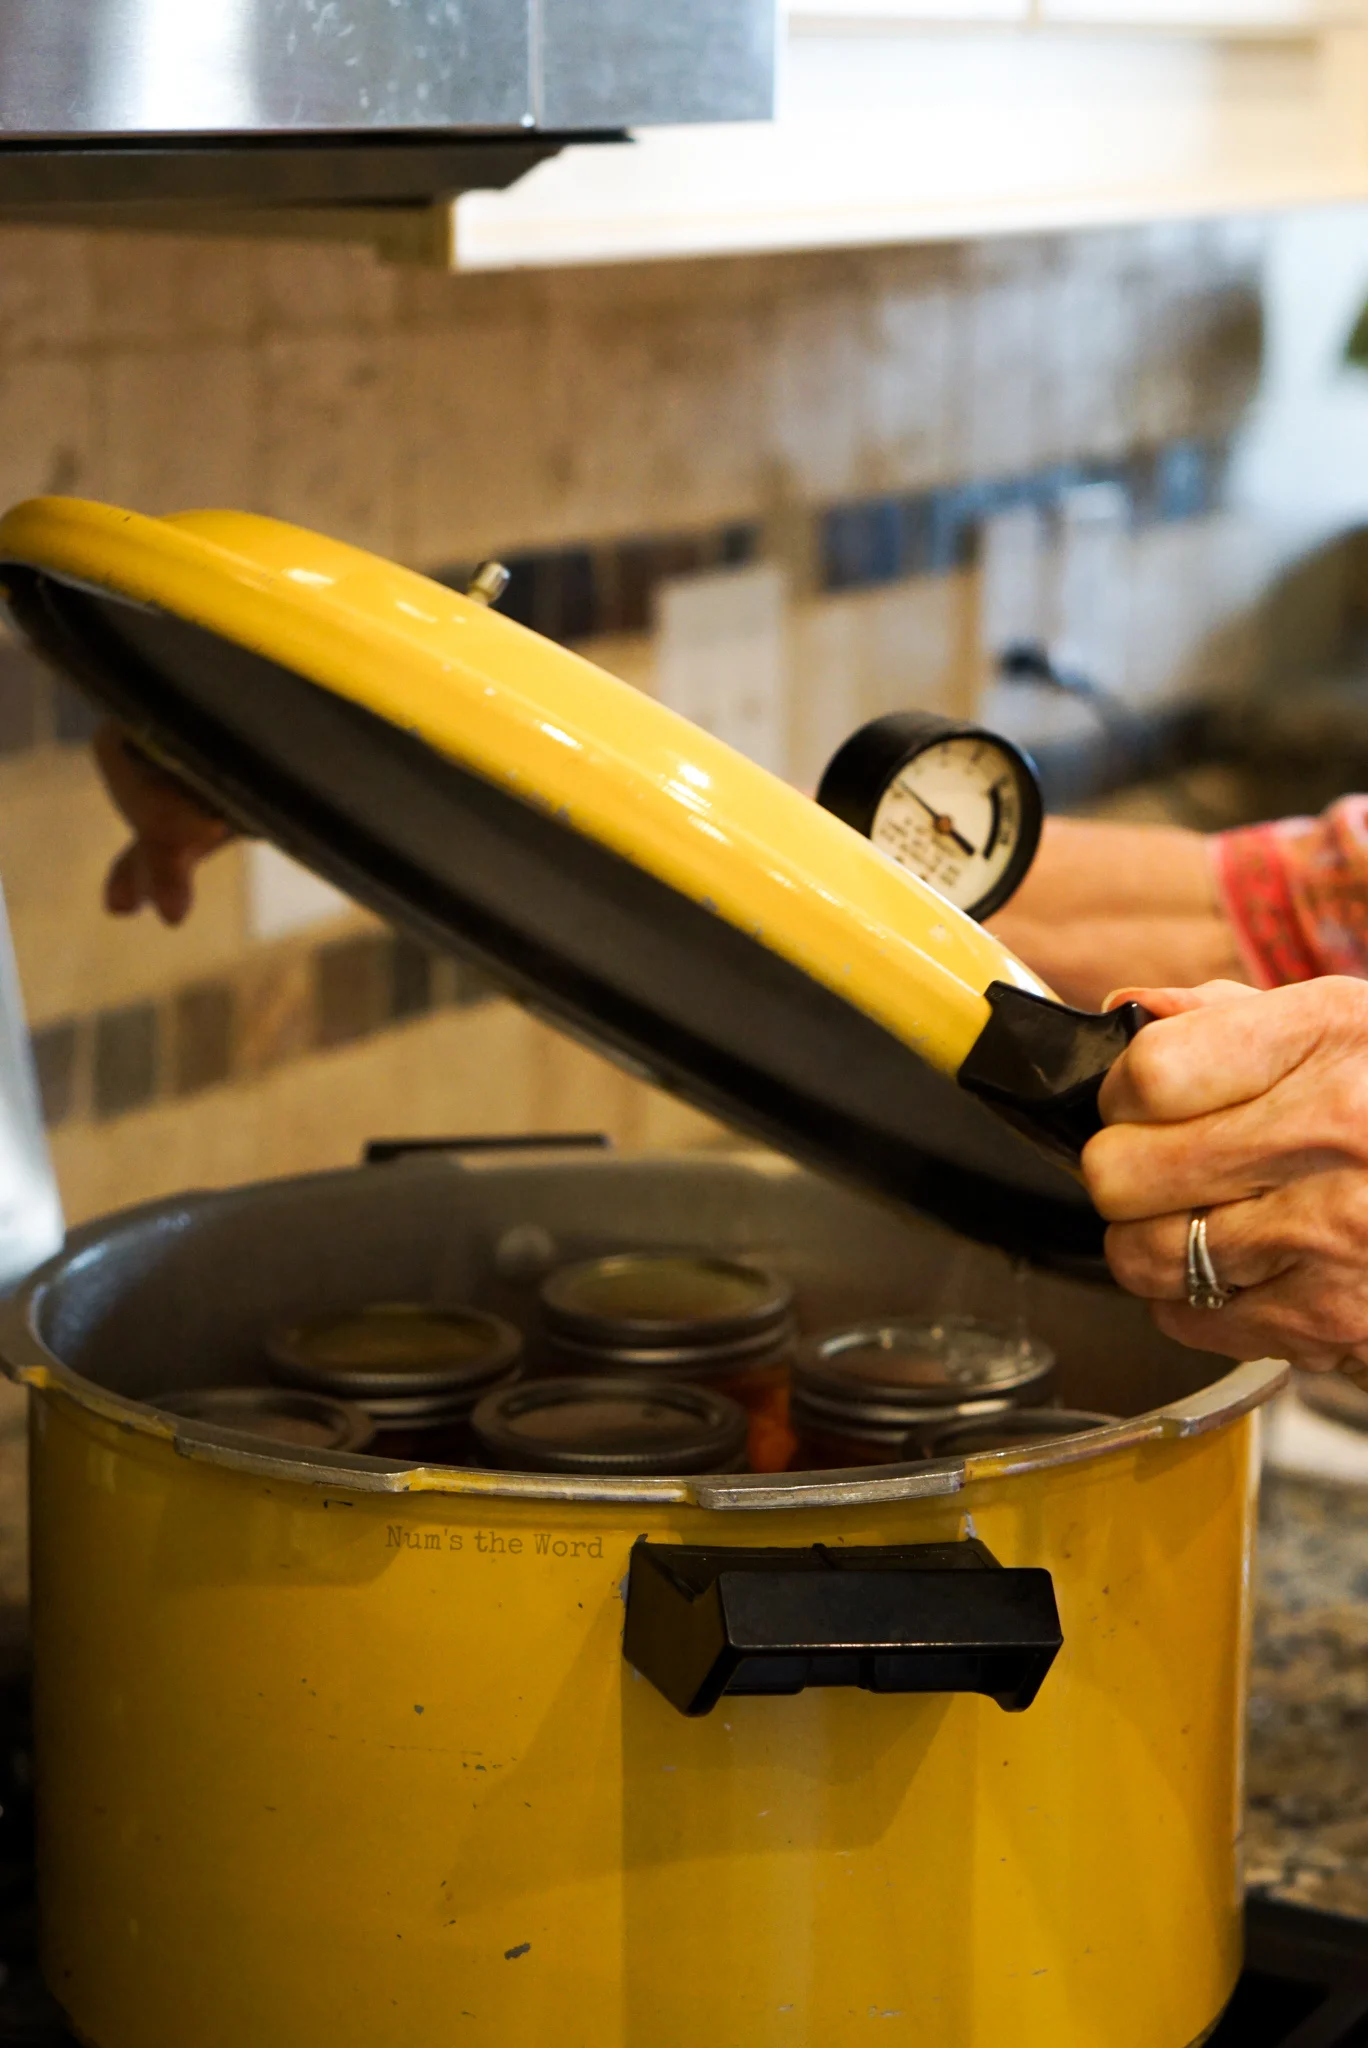
Step 13: Turn off Stove and Remove Lid
This may sound like a silly step, but trust me if done incorrectly you can seriously injure yourself and your home.
- Turn off your stove.
- DO NOT OPEN THE LID!!!
- As the heat source is turned off, your pressure will decrease on your valve. You CANNOT open your pressure cooker until the pressure is at 0, otherwise serious injury could incur.
- Once pressure valve reaches 0, remove canning weight from top of lid.
- CAREFULLY twist lid and open AWAY FROM YOU. A blast of HOT air could spew out and we in no way want you to get blasted by it. So ALWAYS ALWAYS open lids AWAY from you.

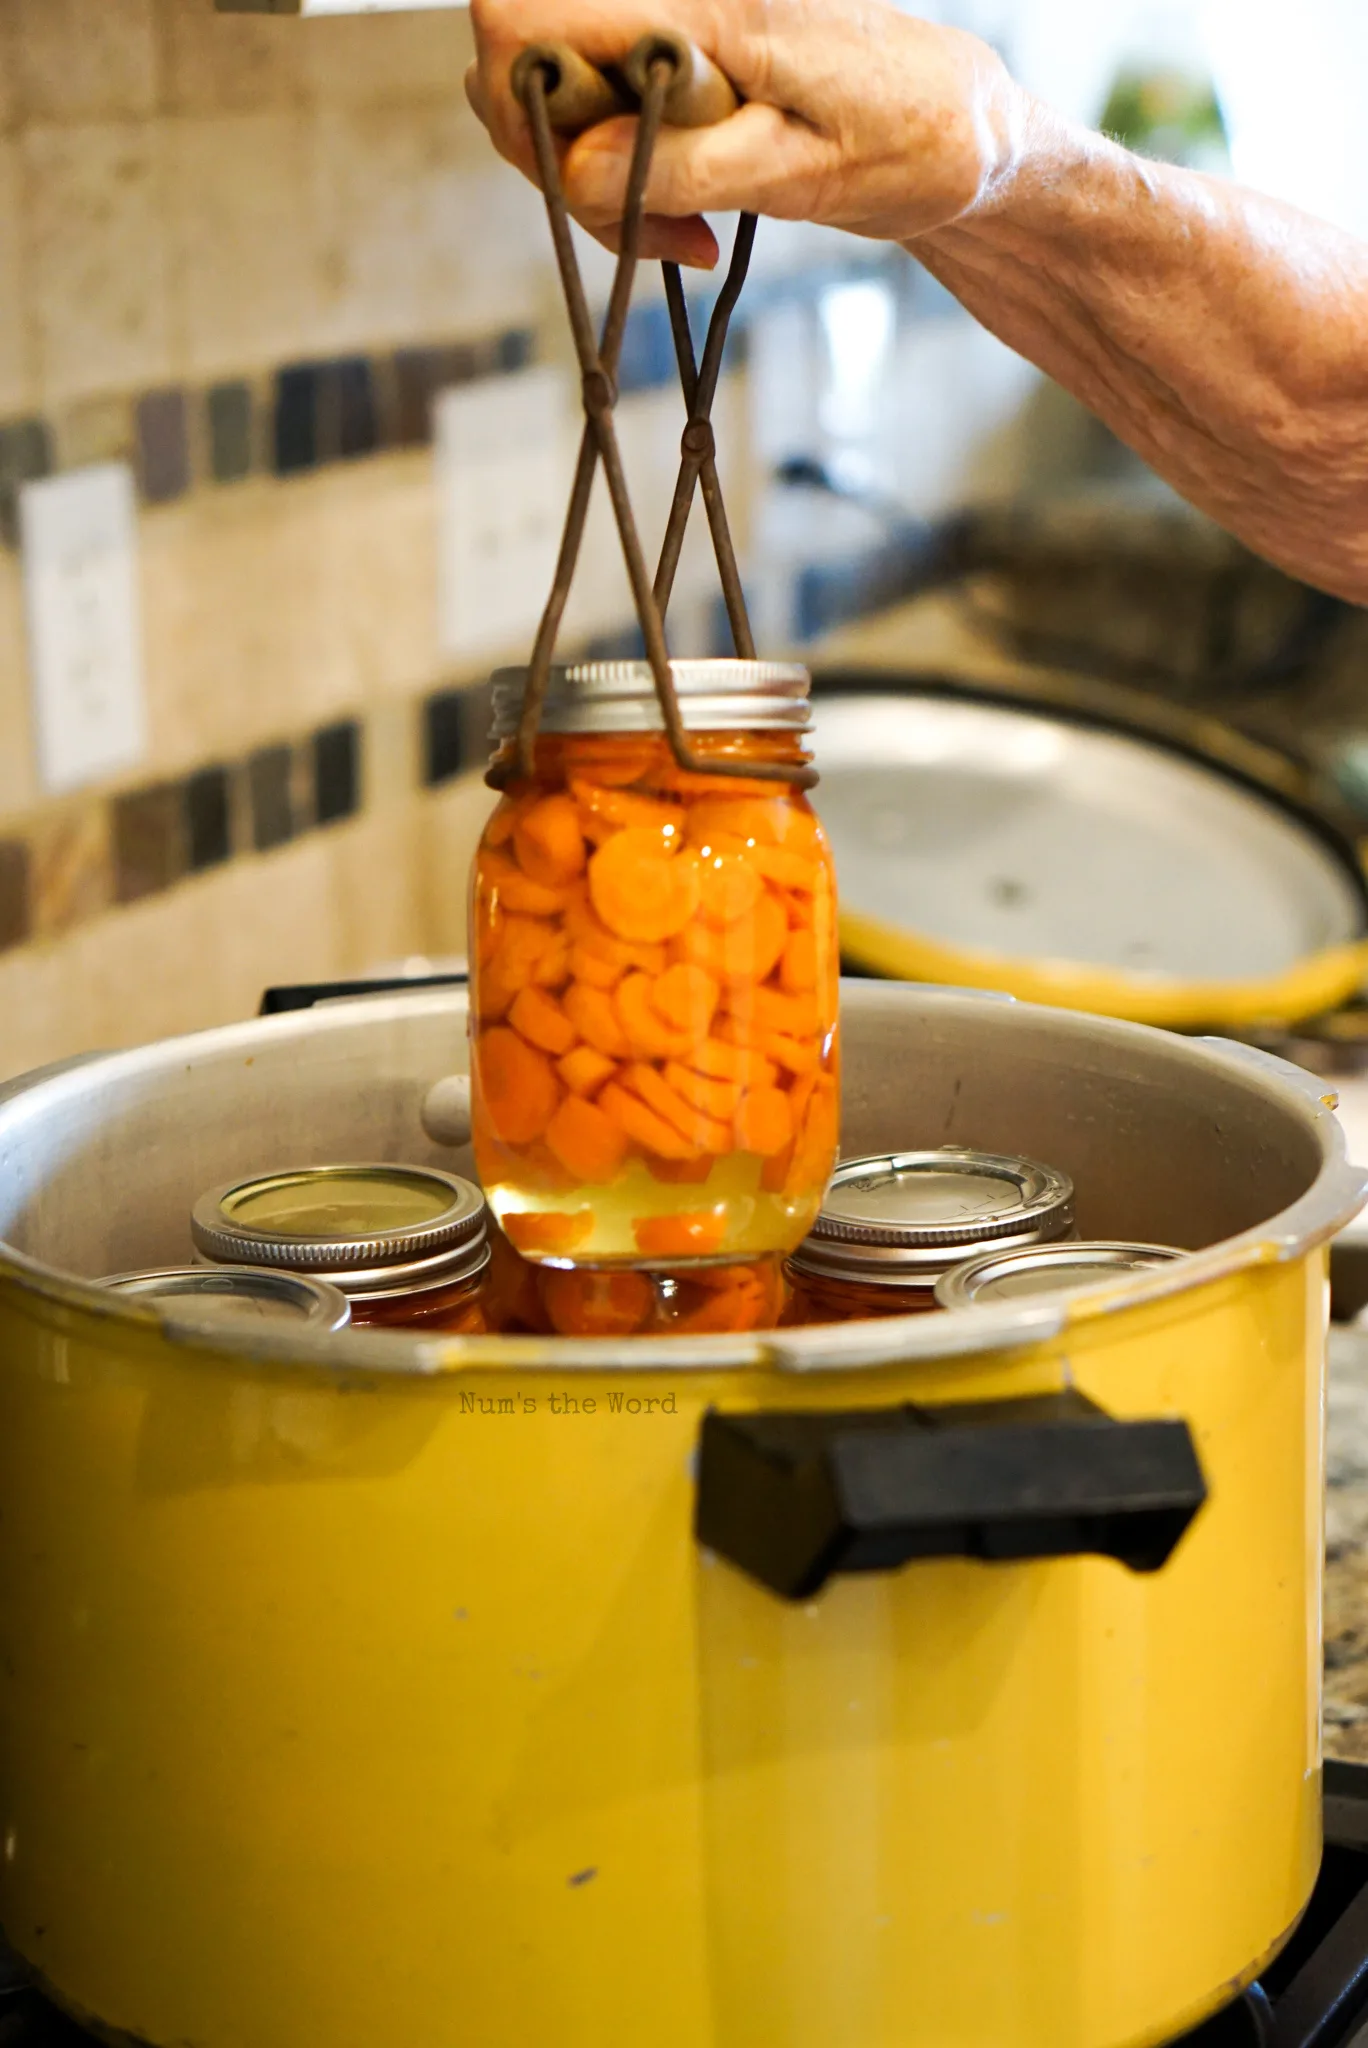
Step 13: Remove Jars from Pressure Canner
Believe it or not, the tool needed is called a ‘canning jar lifter’. Yep. They made it pretty obvious what the tool is used for. You’ll need one of those so you don’t burn yourself.
These jars are BLAZING hot so you do not in any way want to touch them. Using your canning jar lifter, carefully remove each jar from the pressure canner.
Depending on the type of counters you have, you may be able to place the jars directly on a clean cloth right on your counters or you may need a trivet and a cookie sheet to hold your jars until coo to the touch. If your counters are not able to hold heat, do not place them directly on your counters.
Sometime between 5 minutes and 12 hours of removing them from the pressure canner, you should hear a popping noise from each jar. This sound means you’ve done everything right! The popping sound is your jar lids sealing themselves to the jars.
After 12 hours, check each lid. If you can press on the lid and it goes down, that means something went wrong and the jar did not seal itself and that jar will need to be refrigerated and eaten/used within 5 days. This rarely happens, but it does happen.
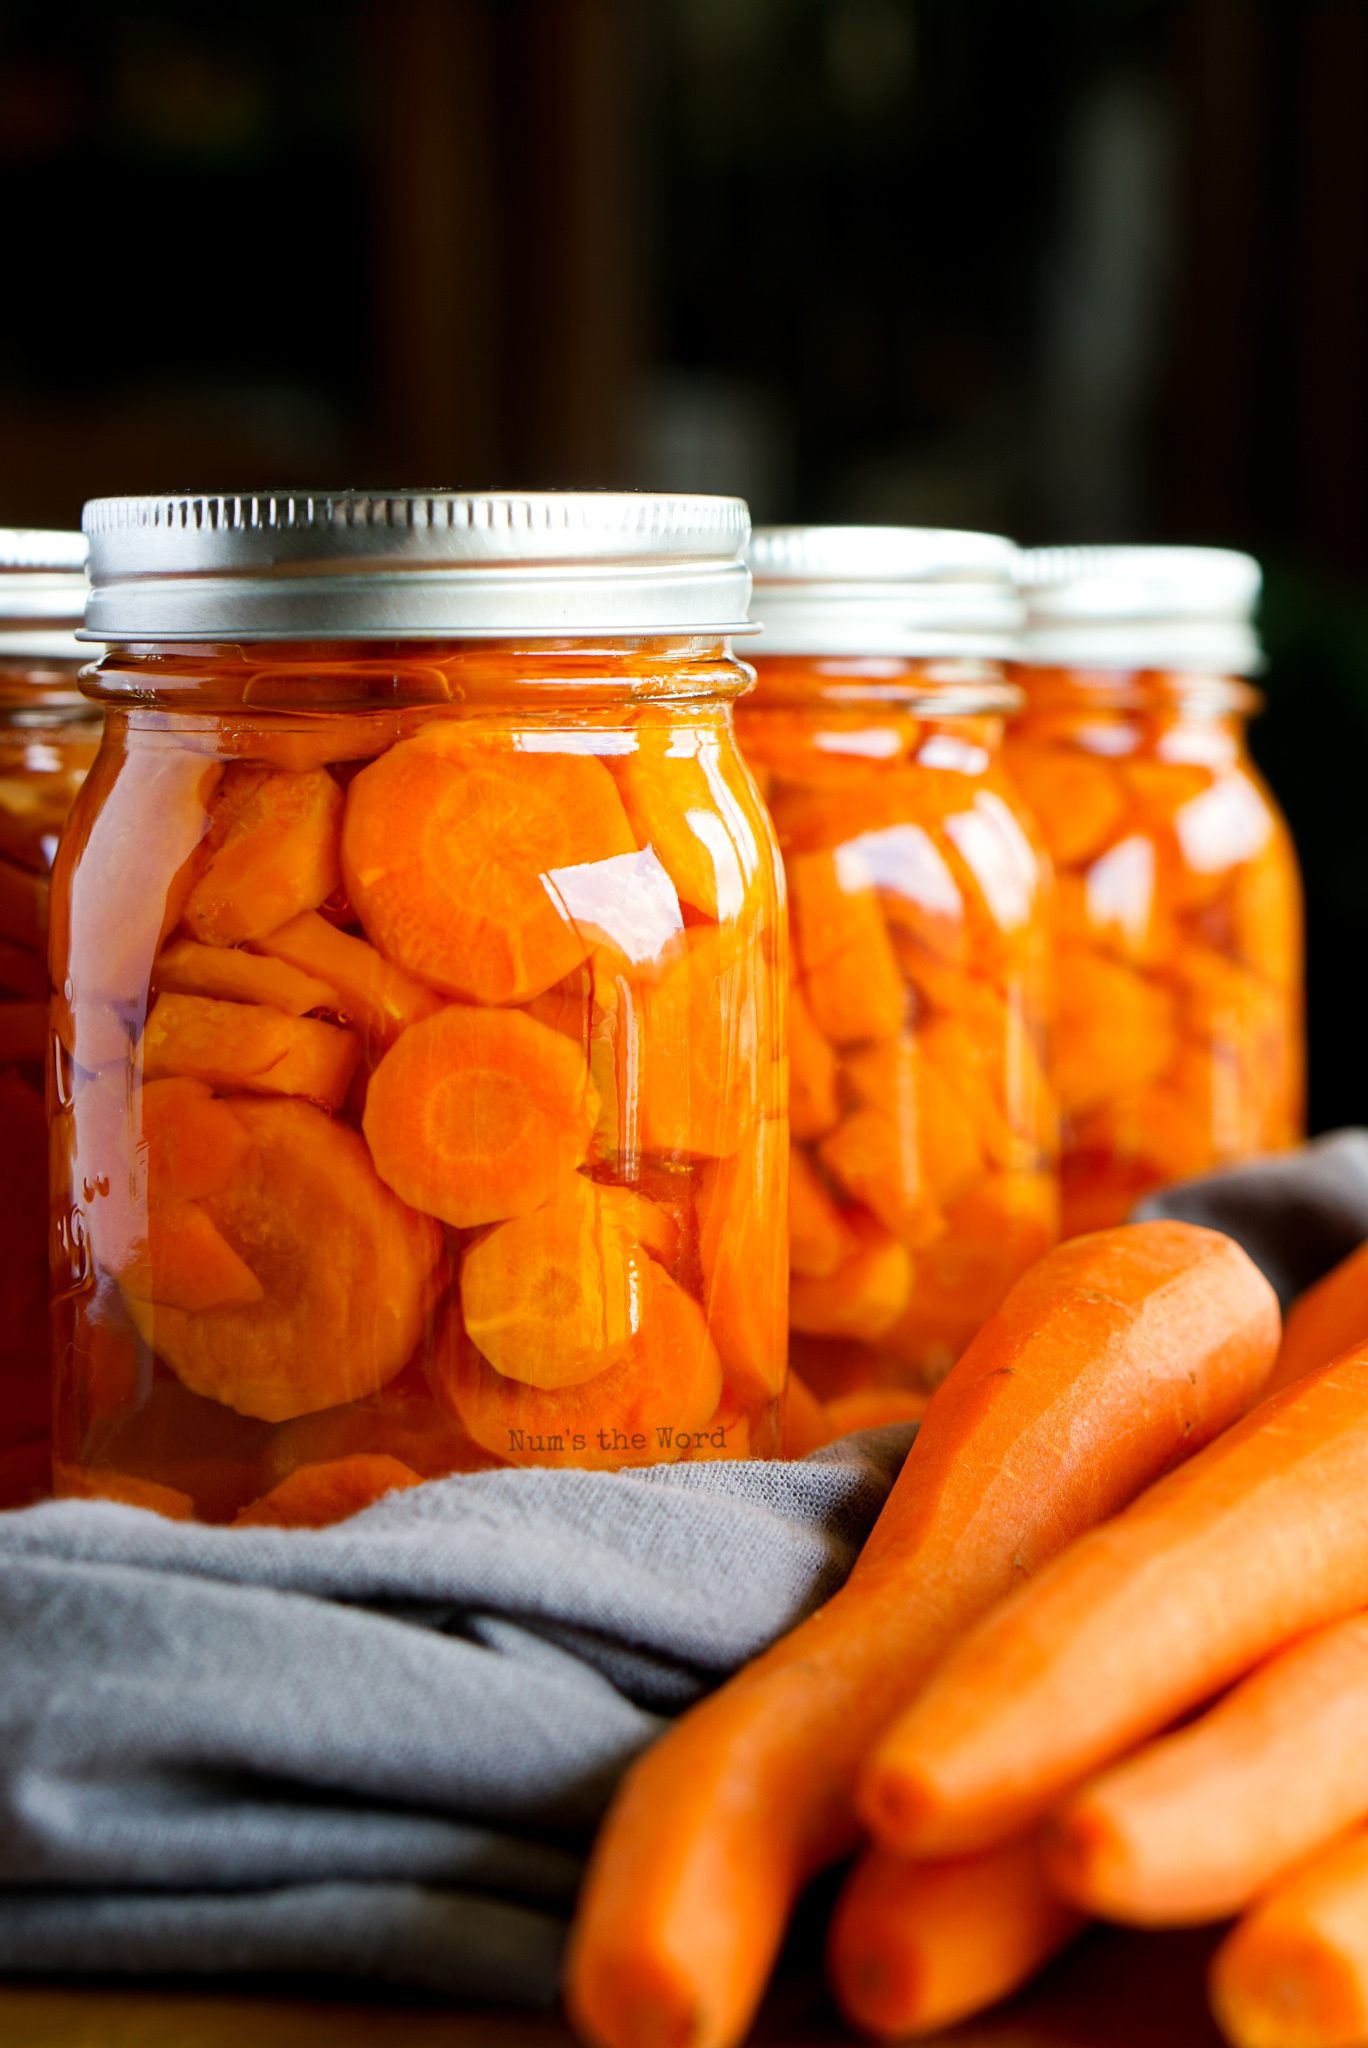
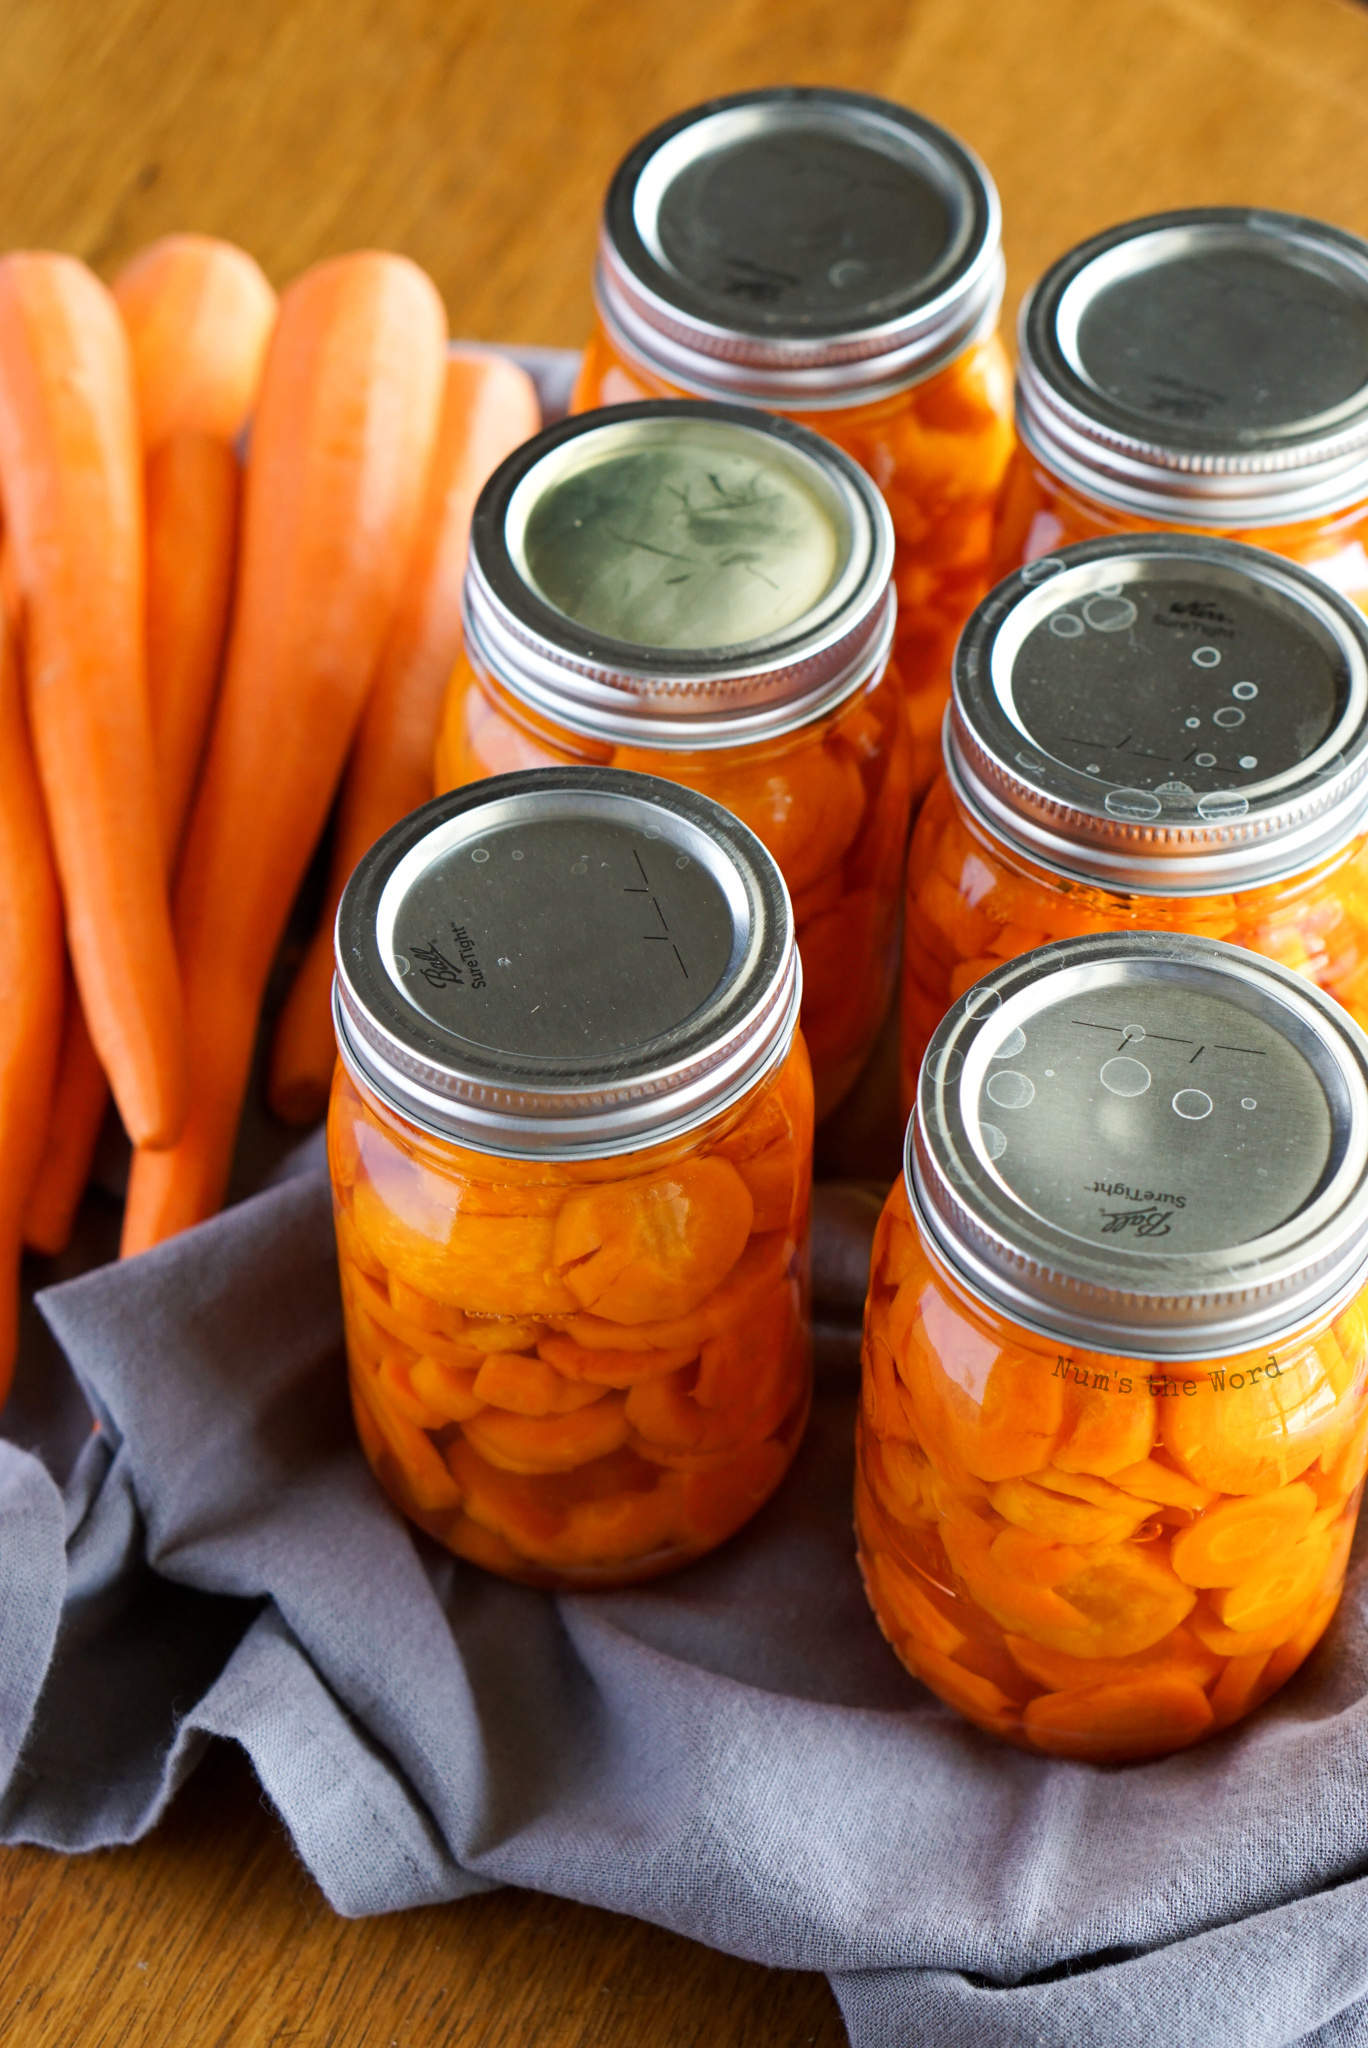
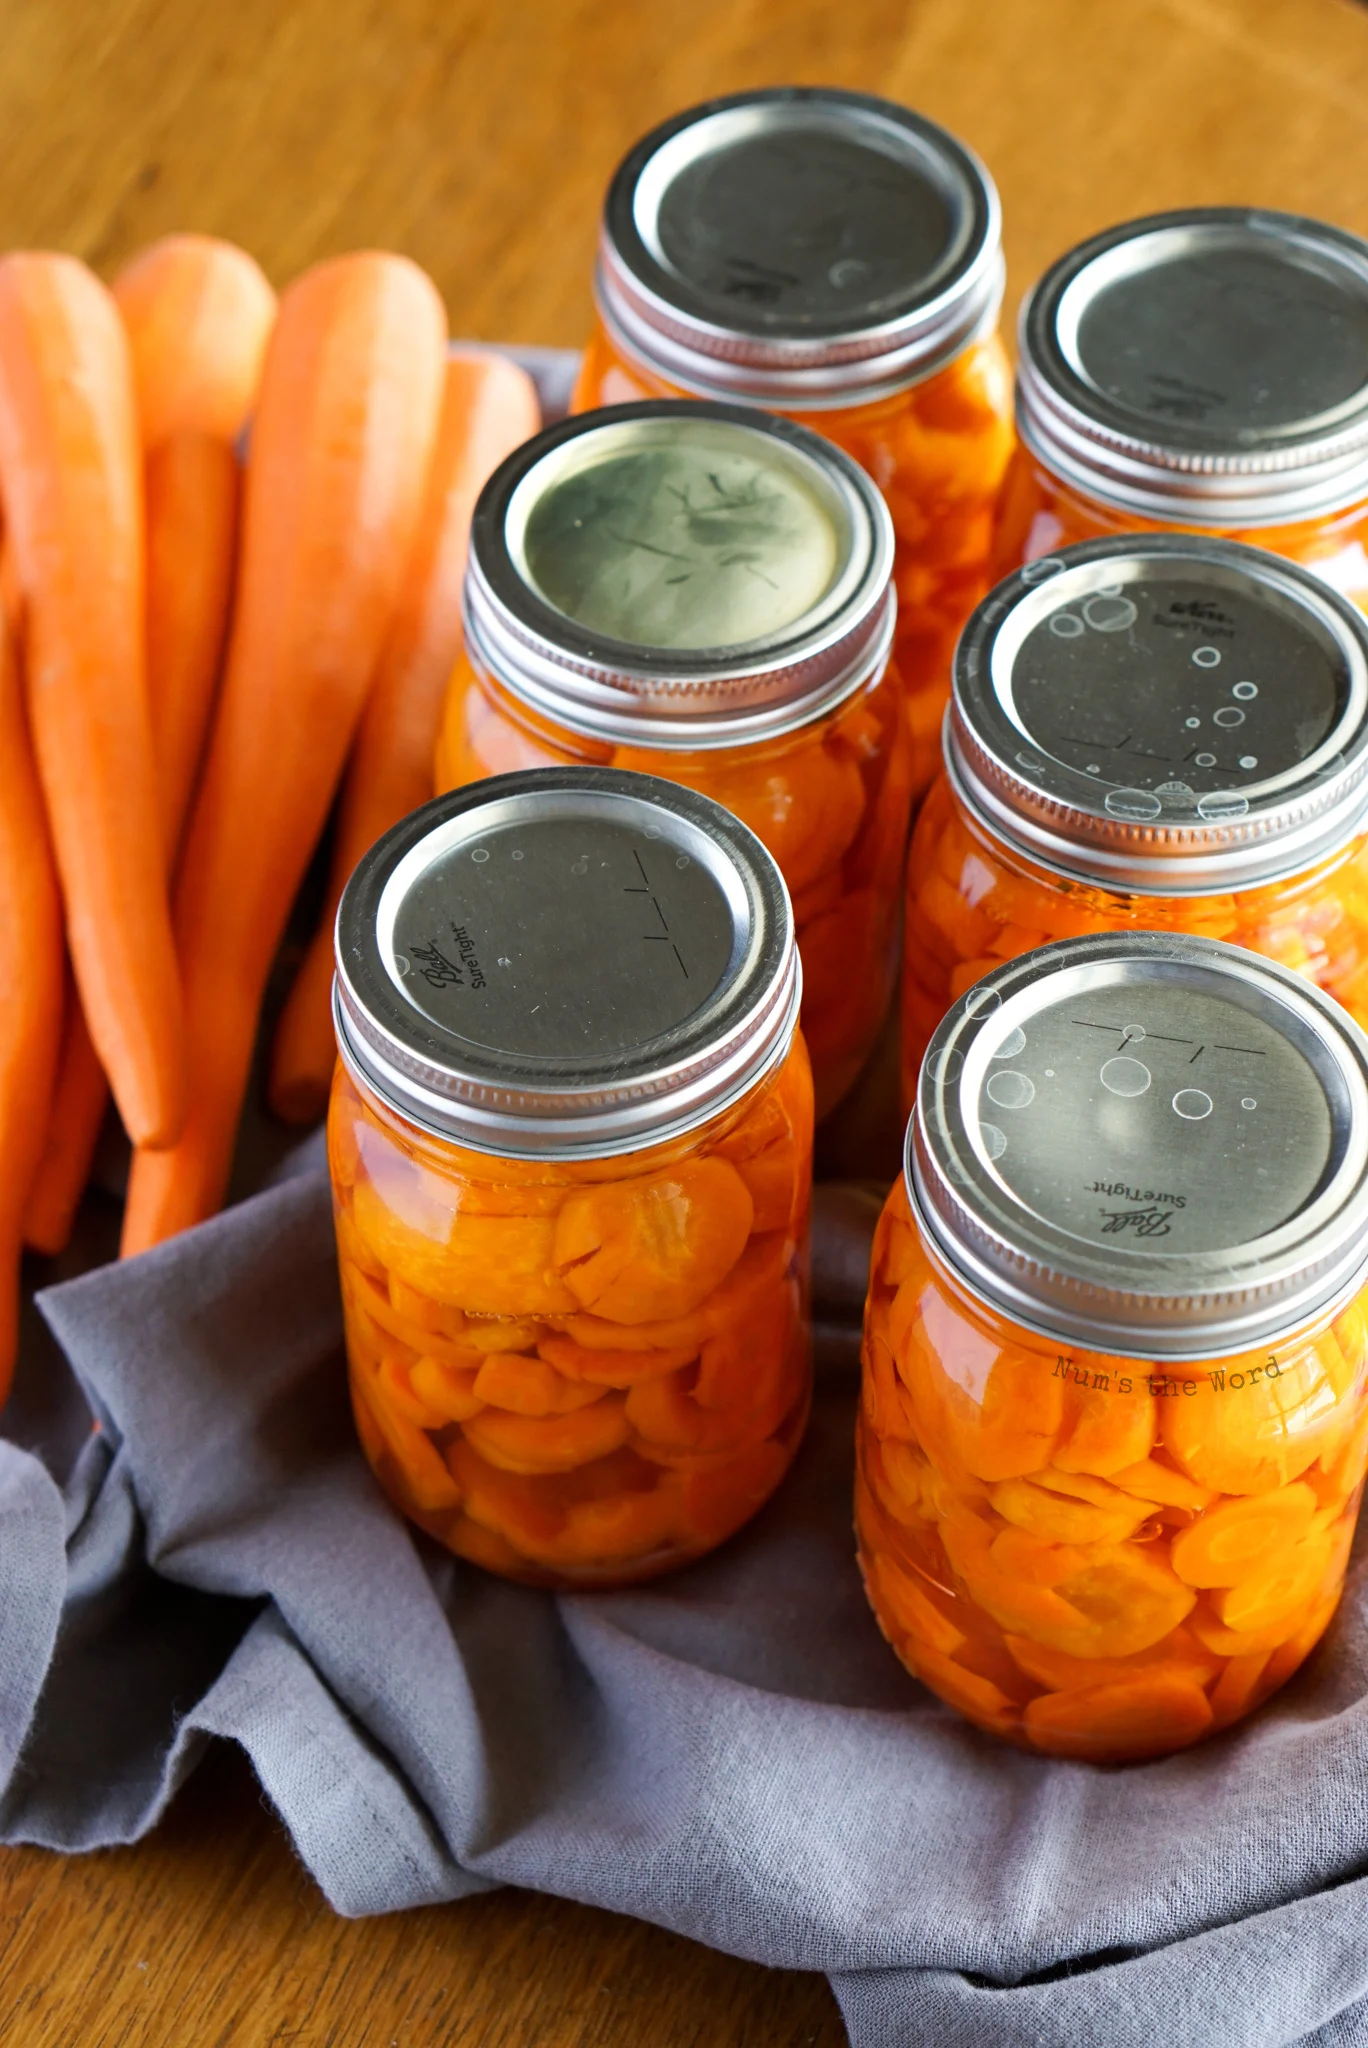
The rest of the jars that do not budge when pressing on the lid, mean they are sealed tight and can be stored for long term storage.

How Long Can I Store Home Canned Carrots?
Believe it or not, canned carrots can last up to 5 years! So make sure to write the date you canned them on the lids of each jar! To make it even easier, write the “expiration date” on the carrots too! Something like: New: 4/14/21 Exp: 4/14/26. That way you wont have to remember or look up how long they are good for!
Can Animals Eat Carrots?
Each animal is different so let’s break it down individually.
Dogs can eat carrots, including the leafy tops, cooked or raw.
Cats can eat carrots. It’s preferred to give them cooked carrots to prevent choking.
Bearded Dragons can have carrots cooked or raw.
Guinea Pigs can have raw carrots up to twice a week.
Hamsters can eat raw carrots, but not too many. Small portions are best.
What can I make with Canned Carrots?
- Chicken Pot Pie
- Creamy Chicken and Rice Soup
- Carrot Casserole
- Shepherd’s Pie
- Cauliflower Cheese Soup
- Black Bean Soup with Bacon
- Cheeseburger Soup
- Ham Bone Vegetable Soup
- Irish Egg Rolls
- Crock Pot Beef Stew
- Turkey Noodle Soup
Learning to can your own vegetables can be intimidating. However you don’t need to fret with this easy step by step guide on How to Can Carrots. It really is easier than you think and canned carrots will last up to 5 years on your shelf! Perfect to do as a family or with a group of friends!
How to Can Carrots


Learning How to Can Carrots can be a scary endeavor if you don't know what you're doing. Don't worry! With this step-by-step guide WITH photos, you'll be able to master the secret to canning carrots in a single day with excellent results!
Ingredients
- Whole Carrots
- Pickling Salt
- Water
Instructions
- Wash your carrots and remove any dirt or debris.
- Peel your carrots. The carrot skins are more bitter which is why we peel them. This however is not required. If you want to to keep the thin skin on, that’s ok too.
- Cut your carrots. You can rough chop them in big chunks, circle pennies or sticks.
- Rinse your jars and then boil them in a pot of water for 3 minutes. Let dry upside down on a kitchen towel.
- In a small pot, boil your new lids and set aside.
- Fill your pressure cooker with 2 quarts of water and bring to a boil.
- Fill your jars with your carrots. Give it a good tap after filled and continue to add until full up to the neck.
- Add 1/2 teaspoon of pickling salt to each filled pint jar and 1 teaspoon pickling salt to each quart jar.
- Fill each jar with boiling water.
- Wipe rim of each jar with a clean cloth or paper towel.
- Place a prepared lid on each jar.
- Screw a ring on each jar nice and tight.
- Place prepared jars in the pressure canner. Make sure each jar doesn't touch.
- Place lid on the pressure canner and turn heat to medium.
- After 3 - 5 Minutes, place weight on to canner and bring canner to 10 pounds, adjusting stove temperature as needed.
- Cook at 10 pounds for 25 minutes for pint jars and 30 minutes for quart jars. Keep your pressure cooker as close to 10 pounds as you could.
- After the appropriate time, turn stove off and let canner depressurize.
- Once pressure reaches 0, turn lid and open AWAY FROM YOU.
- Remove jars with a canning jar lifter and set on a cooling rack or cookie sheet to cool.
- Sometime between 5 minutes and 12 hours you should hear popping coming from the jars. This is the lids sealing themselves shut. After 12 hours, check each lid. If you press down on the top of the lid and it moves, the jar did not seal. Place these jars in the fridge and eat within 5 days. This is RARE, but does happen.
- Write the date on each lid and store for up to 5 years.