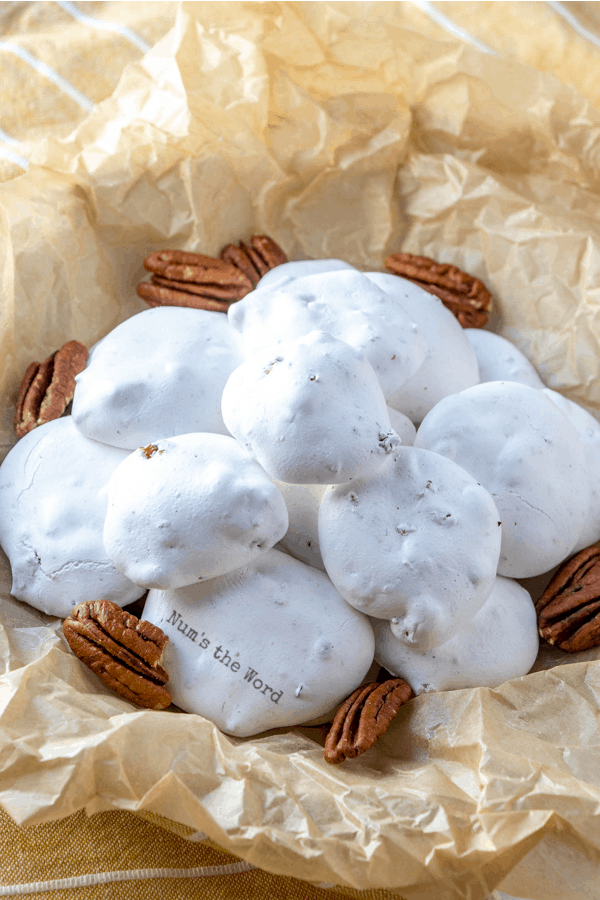
Learn the story of Jesus Christ’s death and Resurrection with these Resurrection Cookies with story! This is a hands on interactive experience for you and your children to learn the Easter story!


What could be better than a sweet treat that comes with a story? These scripture cookies are a wonderful way to spend time with your children and learn the story of the resurrection of Jesus Christ.
Making this resurrection cookies recipe with scripture is a great way to spend the day before Easter and remember the true meaning behind the holiday. These cookies are simple to make, and come with a special meaning. By keeping your children engaged with the story, they are more likely to remember it and understand it’s true meaning.
The entire process of making the Easter resurrection cookies goes along with a specific scripture scavenger hunt. Simply read the instructions and explanations below and you’ll have a wonderful memorable experience learning about the resurrection of Jesus Christ with your children.
What are Resurrection Cookies?
These cookies come with a story. It’s an interactive search of the scriptures in which each scripture will tell you of an ingredient to add to the bowl. Each ingredient corresponds to an event or moment in the Crucifixion of Jesus Christ.
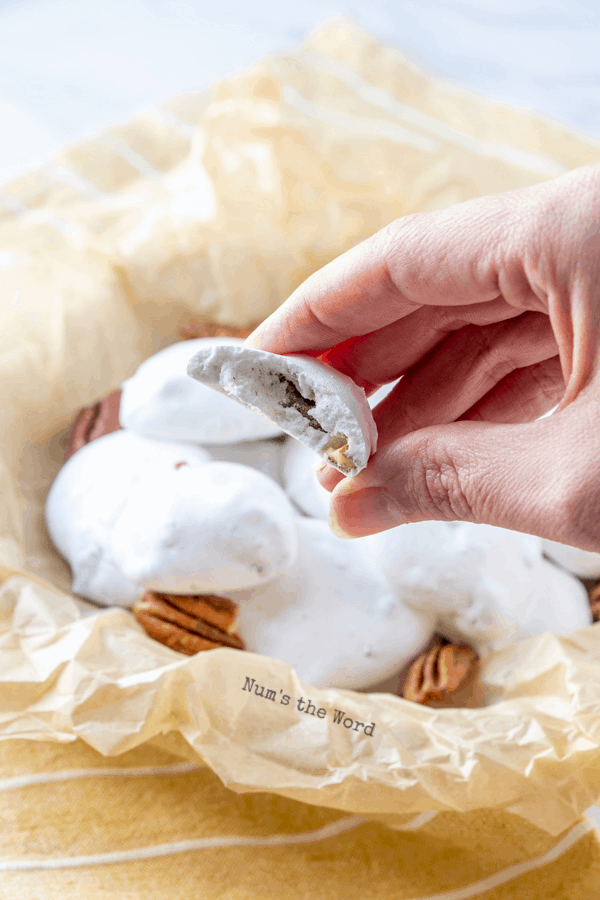
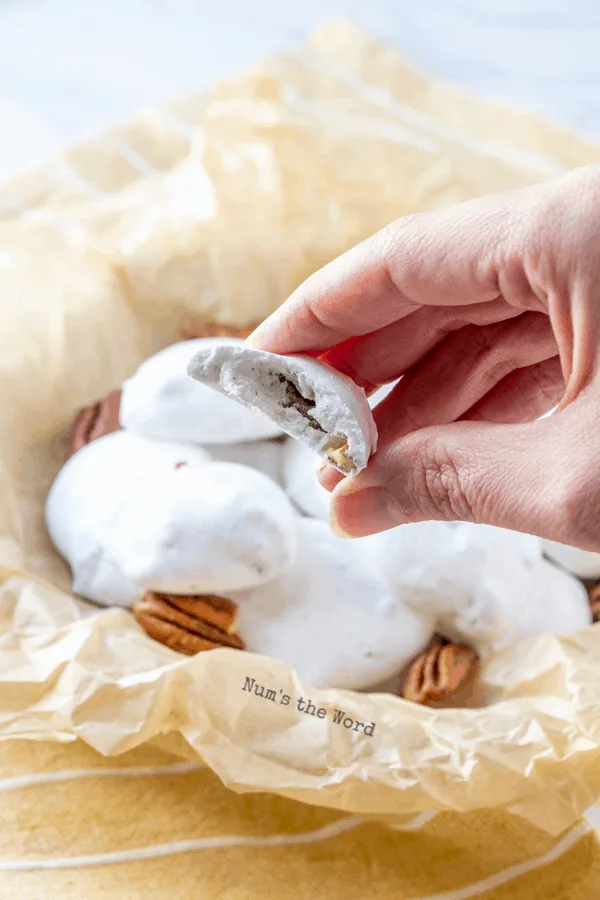
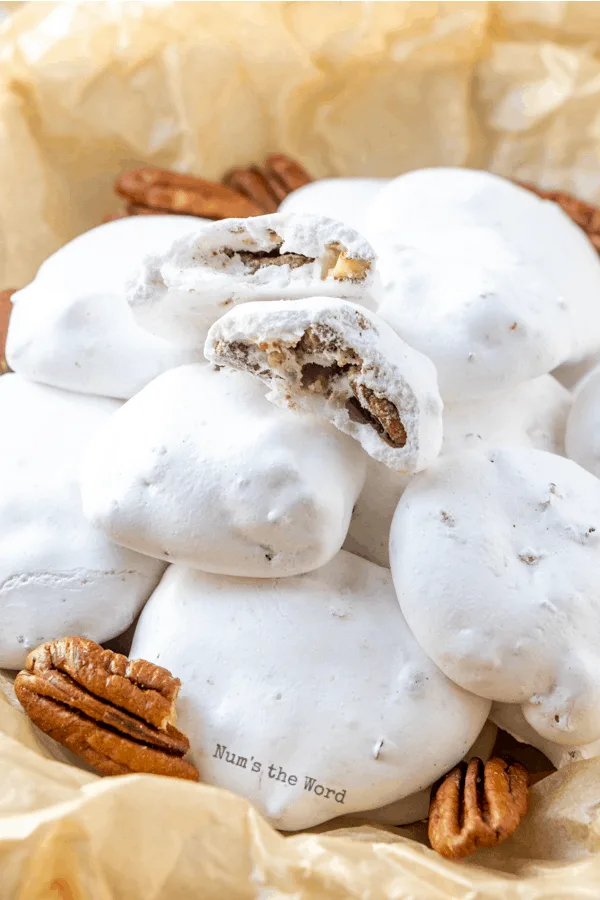
At the end, you’ll put your cookies in the oven, go to bed, and the next day you’ll find hollow pockets in each cookie to represent the empty tomb when Jesus Christ was resurrected.
It’s a fun interactive way to teach your children, or yourselves, the story of Christ’s crucifixion and resurrection.


How to make Resurrection Cookies:
- Step 1: Have your ingredients on hand and ready to go as well as a bible.
- Step 2: Follow the list of scriptures. Read each one, discuss each one, and the add the corresponding ingredient into the bowl.
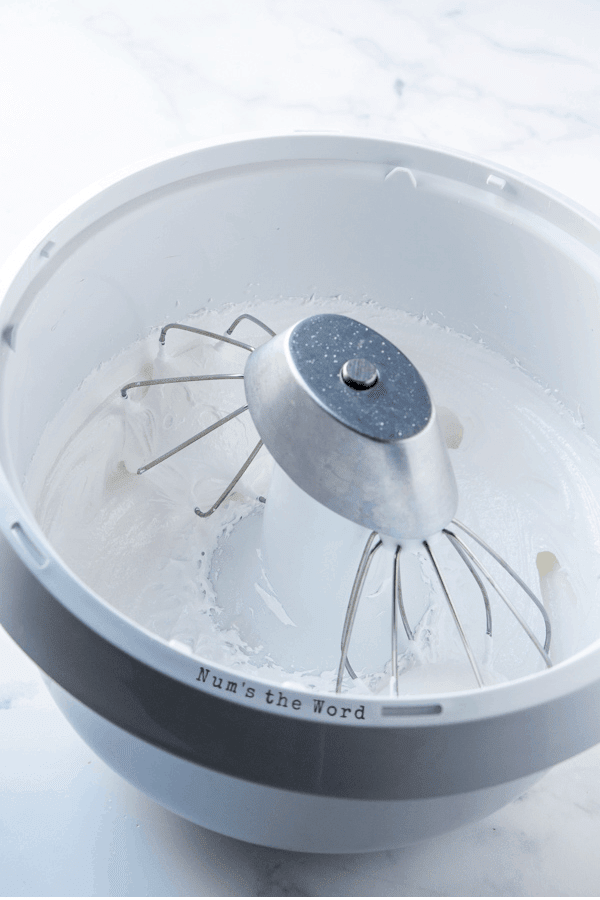
- Step 3: Mix. This is a Meringue Cookie so you want to whip as much air into your meringue as possible. The more air you whip, the emptier the tomb when baking.
- Step 4: Place unbaked cookies in the oven, turn the oven off and go to sleep. The next morning when you wake up, your cookies will be cooked and ready to eat.
Because the story is the reason behind this creation, I am going to take you step by step through the preparation process of making this resurrection cookies recipe with scripture. Each ingredient has a meaning, and all combines to create resurrection cookies. Follow along!

Resurrection Cookies with Scripture:
→ Printable version below. ←
Ingredients Needed:
- 1 cup whole pecans
- 1 teaspoon vinegar
- 3 egg whites
- ¼ teaspoon salt
- 1 cup white sugar
-
- Preheat oven to 300*F. Prepare 2 cookie sheets with a liner or nonstick foil. Set aside.
- To begin, read John 19:1-3.
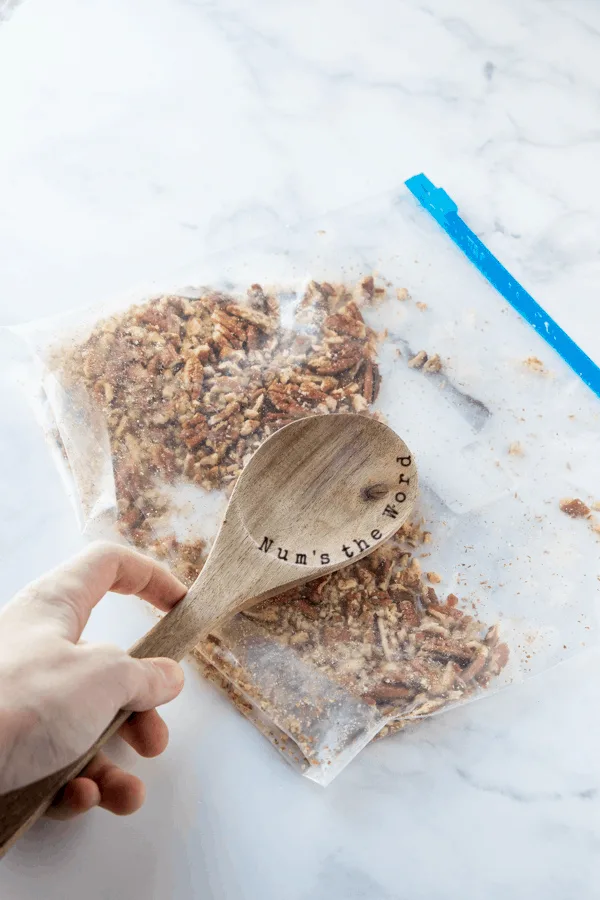
- Have your children place 1 cup of pecans in a zipper baggie and let children beat them with their hands, a wooden spoon or even a rolling pin to break them into small pieces. Once they have done this, Explain that after Jesus was arrested, he was beaten by the roman soldiers.

- Read John 19: 28-30.
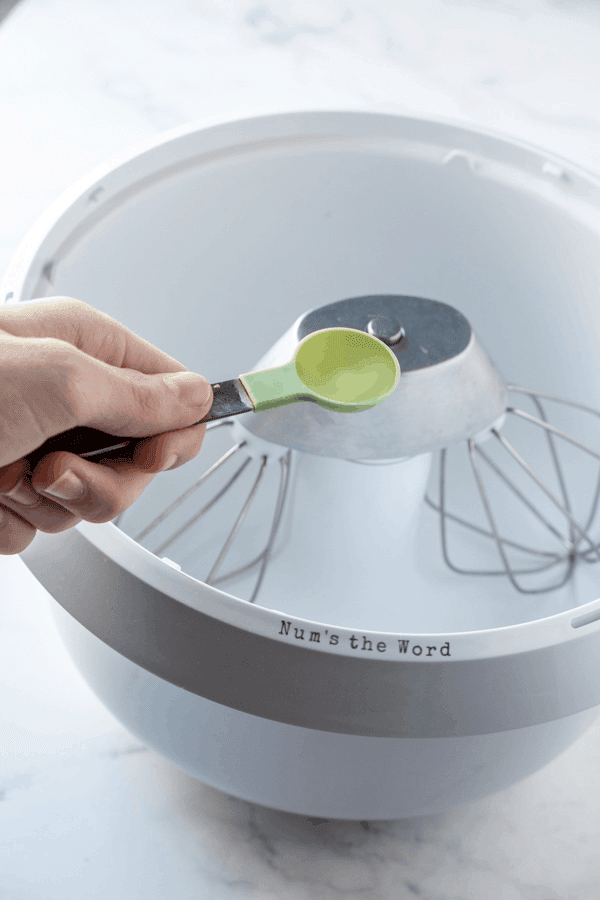
- Next, let the children smell the vinegar. Put 1 teaspoon of vinegar into the mixing bowl. Continue by explaining that when Jesus was thirsty on the cross, He was given vinegar to drink.

- Read John 10: 10-11.
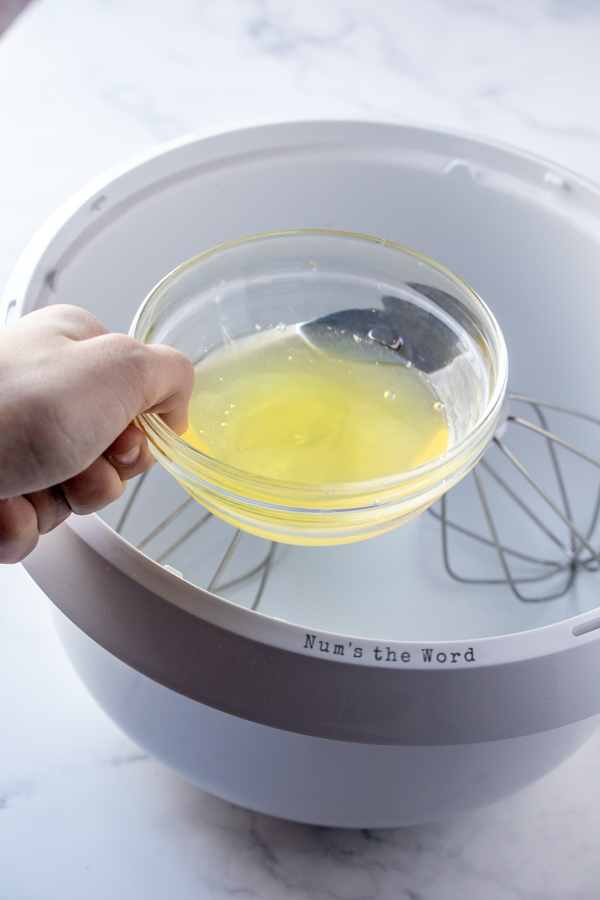
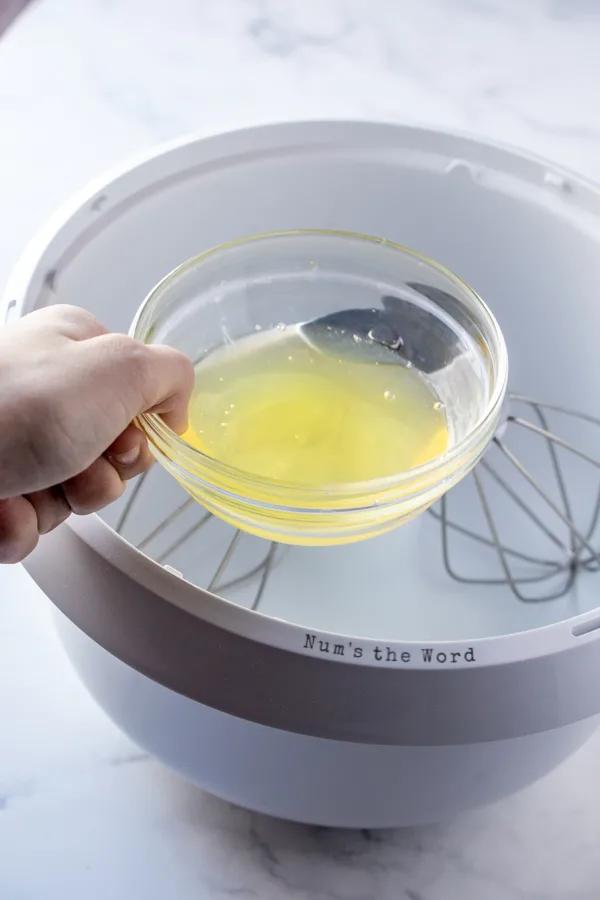
- Add egg whites to the vinegar. Eggs represent life and have become a very prominent symbol during the Easter season. Explain that Jesus gave His life to give us life.
- Read Luke 23:27.
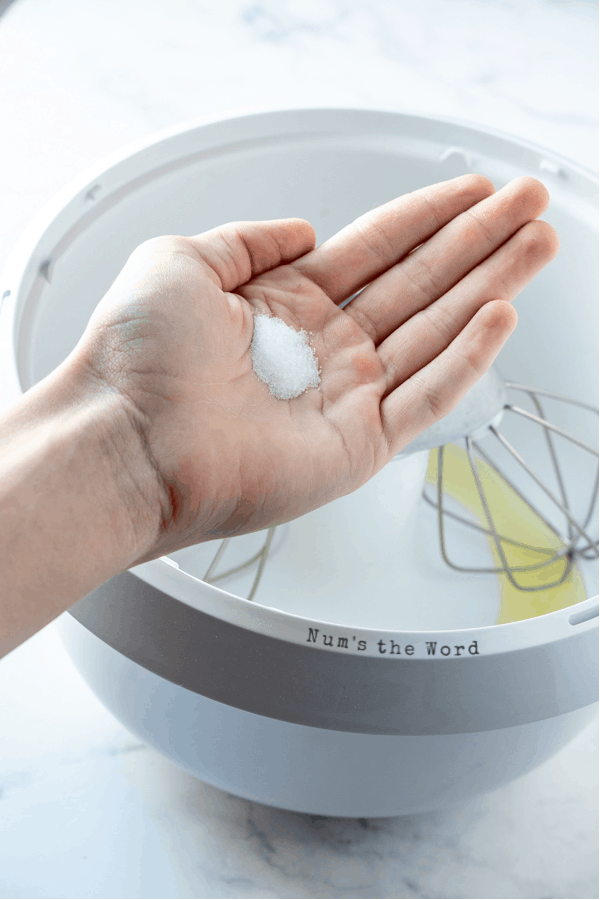
- Sprinkle a small pinch of salt into each child’s hand. Let them taste the salt and brush the rest into the bowl. Explain that this represents the salty tears shed by Jesus’ followers, and the bitterness of our own sin.

- Read: Psalm 34:8 and John 3:16.
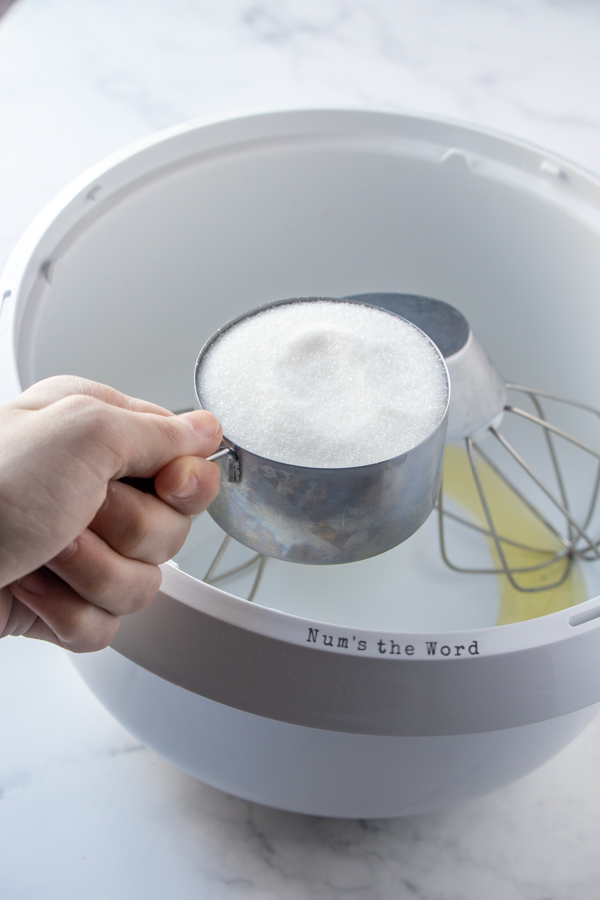
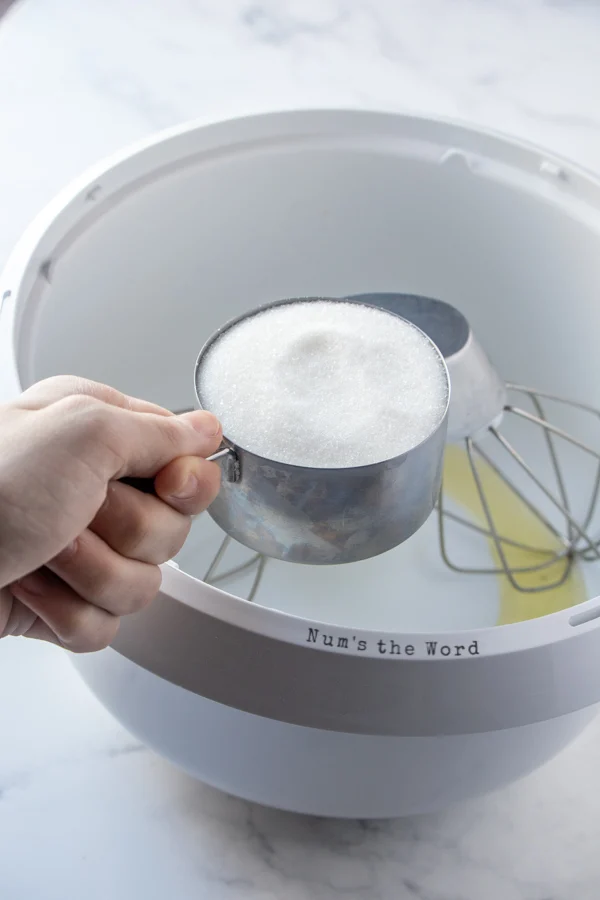
- Now, add 1 cup of sugar. Explain that the sweetest part of the story is that Jesus died because he loves us. He wants us to know Him.
- Read Isaiah 1:18 and John 3:1-3.
- Beat with a mixer on high speed until stiff peaks form approximately 11 – 15 minutes. Explain that the color white represents the purity in God’s eyes and those whose sins have been cleansed by Jesus.

- Read Matthew 27:57-60.
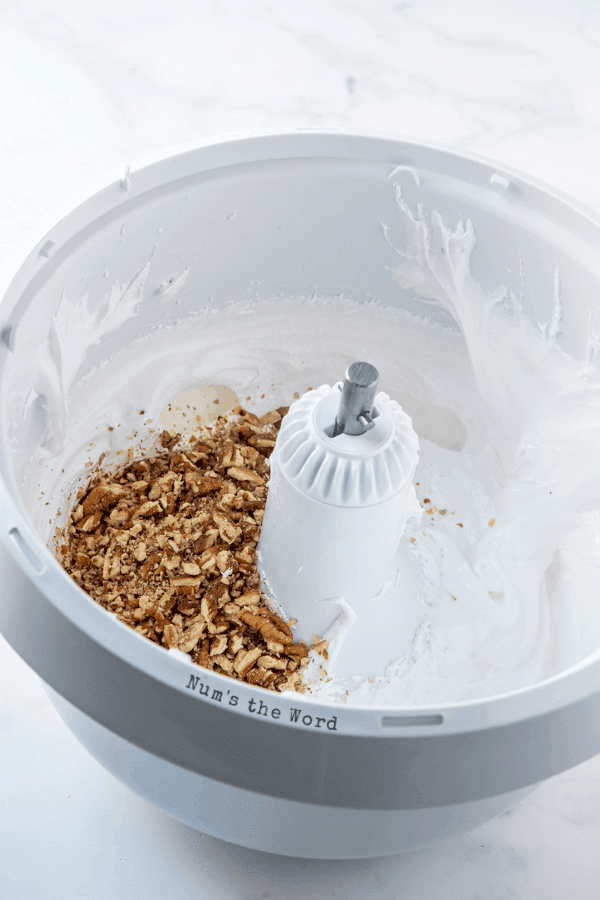
- Fold in broken nuts. Here, you will begin to form and create the Easter resurrection cookies by dropping by teaspoonful onto a lined cookie sheet. Explain that each mound represents the rocky tomb where Jesus’ body was laid.

- Read Matthew 27: 65-66.
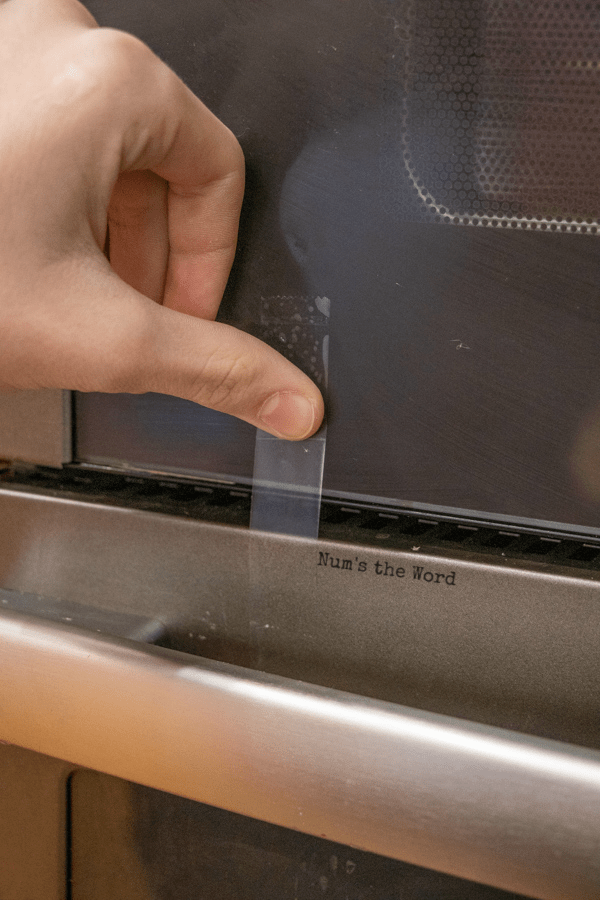
- Put the cookies into the oven. Close the door and turn the oven OFF. Give each child a piece of tape and seal the oven door shut. Explain how in this part of the Easter story, that Jesus’ tomb was sealed.

- Now, get ready for bed. Explain to the children that they may feel sad to leave the cookies in the oven overnight. Jesus’ followers were in despair when the tomb was sealed.
- Before finally going to bed, read John 16: 20 and 22.
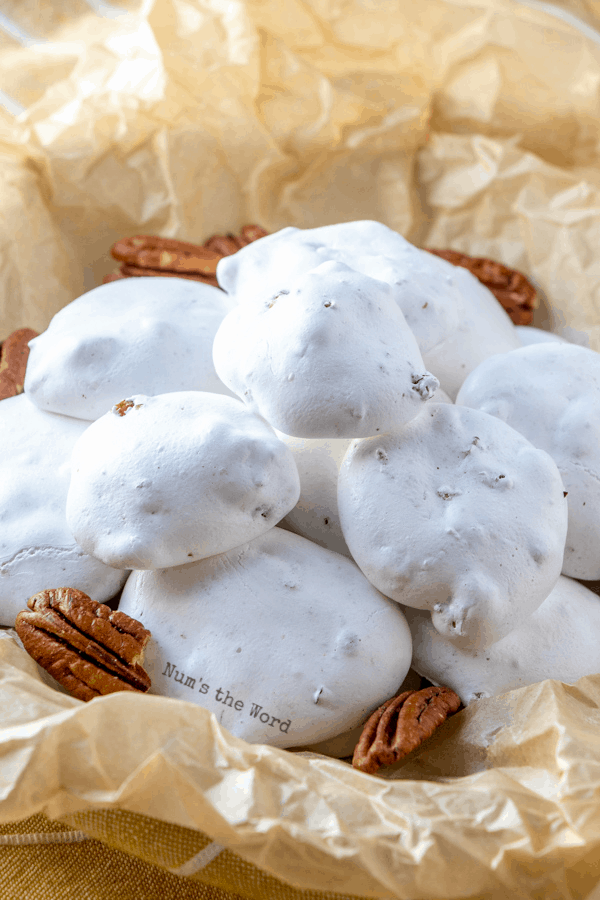
On resurrection morning, open the oven and give everyone a cookie! Notice the cracked surface and take a bite. The cookies are hollow! Just like on the first Resurrection day, Jesus’ followers were amazed to find the tomb open and empty.
This Resurrection Cookie recipe with scripture perfectly reflects this. Conclude this journey of having created empty tomb cookies by reading Matthew 28: 1-9.
How long do resurrection cookies bake:
To go with the story of the resurrection of Christ, resurrection cookies are baked overnight. They are left overnight in a warm oven that has been preheated but then turned off once the cookies are inside.
This allows them to rise slowly, and allows your children to wait and have a new way to appreciate the story. If making this during the day I’d say leave them in the oven for 3 – 4 hours, ideally until the oven is cool.

How to resurrect stale cookies:
A quick and foolproof way to bring stale cookies back to life is to place them on a paper towel in the microwave next to a small glass of water. Just heat them up for 10-20 seconds, and they should taste fresh again.
This works with all sorts of cookies, not just with these Easter Resurrection Cookies.
Resurrection cookies with chocolate chips:
If you would prefer to make this Resurrection Cookie recipe without nuts, you could instead use chocolate chips or a chocolate bar. When you would have the children take the pecans and smash them, substitute the nuts for chocolate chips or chocolate bar and let them break them into smaller pieces.
If, on the other hand, you would prefer to keep the nuts while adding a little chocolate, you could do half the amount of nuts and substitute the rest with chocolate chips!
Easter Brunch Recipes You’ll Love:
Easter Dinner Recipes You’ll Love:
Easter Side Dish Recipes You’ll Love:
- Mac and Cheese with Ritz Crackers
- Creamed Corn Casserole
- Delicious Rolls
- Candied Carrots
- Carrot Casserole

Easter Resurrection Cookies
Learn the story of Jesus Christ's death and Resurrection with these Resurrection Cookies with story! This is a hands on interactive experience for you and your children to learn the Easter story!
Ingredients
- 1 cup whole pecans
- 1 teaspoon white vinegar
- 3 egg whites
- 1/4 teaspoon salt
- 1 cup white sugar
Instructions
- Preheat oven to 300*F.
- Prepare two cookie sheets with a liner or nonstick foil. Set aside.
- Read John 19:1-3.
- Have you children place one cup of pecans in a zipper baggie and let children beat them with their hands, a wooden spoon or even a rolling pin to break them into small pieces. Once they have done this, Explain that after Jesus was arrested, he was beaten by the roman soldiers.
- Read John 19: 28-30.
- Next, let the children smell the vinegar. Put 1 teaspoon of vinegar into the mixing bowl. Continue by explaining that when Jesus was thirsty on the cross, He was given vinegar to drink.
- Read John 10:10-11.
- Add egg whites to the vinegar. Eggs represent life and have become a very prominent symbol during the Easter season. Explain that Jesus gave His life to give us life.
- Read Luke 23:27.
- Sprinkle a small pinch of salt into each child’s hand. Let them taste the salt and brush the rest into the bowl. Explain that this represents the salty tears shed by Jesus’ followers, and the bitterness of our own sin.
- Read Psalm 34:8 and John 3:16. Now, add 1 cup of sugar.
- Explain that the sweetest part of the story is that Jesus died because he loves us. He wants us to know Him.
- Read Isaiah 1:18 and John 3:1-3.
- Beat with a mixer on high speed until stiff peaks form approximately 11 – 15 minutes. Explain that the color white represents the purity in God’s eyes and those whose sins have been cleansed by Jesus.
- Read Matthew 27:57-60.
- Fold in broken nuts. Here, you will begin to form and create the Easter resurrection cookies by dropping by teaspoonful onto a lined cookie sheet. Explain that each mound represents the rocky tomb where Jesus’ body was laid.
- Read Matthew 27: 65-66.
- Put the cookies into the oven. Close the door and turn the oven OFF. Give each child a piece of tape and seal the oven door shut. Explain how in this part of the Easter story, that Jesus’ tomb was sealed.
- Now, get ready for bed. Explain to the children that they may feel sad to leave the cookies in the oven overnight. Jesus’ followers were in despair when the tomb was sealed.
- Before finally going to bed, read John 16: 20 and 22.
- On resurrection morning, open the oven and give everyone a cookie! Notice the cracked surface and take a bite. The cookies are hollow! Just like on the first Resurrection day, Jesus’ followers were amazed to find the tomb open and empty.
- The next morning, while eating your cookies, read Matthew 28: 1-9.
Notes
The stiffer and fluffier your meringue is, the puffier your cookies which will result in more air trapped in baking to create a bigger empty tomb effect.
Nutrition Information:
Yield:
30Serving Size:
1Amount Per Serving: Calories: 52Total Fat: 3gSaturated Fat: 0gTrans Fat: 0gUnsaturated Fat: 2gCholesterol: 0mgSodium: 23mgCarbohydrates: 7gFiber: 0gSugar: 7gProtein: 1g
Sharing the story of Christ giving His life with your children in an active way is sure to create lasting memories. Resurrection cookies take you step by step through important scriptures that detail how He was treated, and how He was risen.
The tastes, smells, and visuals are sure to stick with your children, and enhance their appreciation of Him and this story. Resurrection cookies with scripture are a great way to celebrate this important Easter season.
Darlene Mory
Sunday 27th of February 2022
Just tried the resurrection cookies to see what this is like to use this Easter. They worked great. Loved the total experience. We would like to use on our church website NLFCoopersburg.com under the Children's Corner tab if possible. We would make sure to put your website with the recipe to give you the credit, but thought this would be great to get families involved over Easter.
Janelle
Wednesday 2nd of March 2022
Hi Darlene! You are so thoughtful. So when it comes to recipes I love when my readers want to share them! I'd love if you shared a photo and the link to my site or even the ingredients with a link to my site, but the full recipe with step by step instructions unfortunately isn't something that I typically give permission for. The reason behind this is because the only way I get paid for my hard work is to have someone visit my site. If you have any questions, please feel free to message me again and we can discuss. :)