f you’ve ever wondered what cooking turkey in a bag is all about, then you’re in the right place. Cooking a tender, juicy, and incredibly easy turkey is about to become a reality for you!
There are many different ways to cook turkey, but this is the easiest way to get a consistently moist and delicious turkey.
A Thanksgiving turkey is something we all look forward to, but have you ever had one for Christmas too? Both holidays work well for a delicious roast turkey. My family enjoys turkey all year round, especially a nice Sunday dinner, because roasting one in a Reynolds oven bag makes cooking a cinch!
If this is your first time, don’t worry. We have easy step by step directions to ensure your first turkey is your best turkey!
Wondering if cooking turkey in a bag is the right method for you? If you answer yes to the following question, then I can assure you it is! Do you like moist, flavorful turkey meat? Faster cooking times? Do you like minimal clean up? Let’s be real — who doesn’t?!
All joking aside, I’ve cooked quite a few turkeys and I can confidently say this is the best turkey in a bag recipe I’ve tried. This recipe is great for seasoned turkey experts as well as first-time turkey cookers.
Remember grocery stores get a little crazy during the holidays, so we recommend picking up your turkey or turkey breast early in the month and keeping it in your freezer.
We do three things to make this turkey really stand out from the boring turkey you had last year.
- We create a tasty seasoning that also acts as a dry brine. If you love a good brined turkey but don’t have time to brine one, use a dry brine!
- Let it chill. That brine will work overnight and really tenderize your turkey.
- Cook it just the right amount of time. To do this, you’ll need digital thermometer that can be left in the turkey.
What ingredients do you season the turkey with?
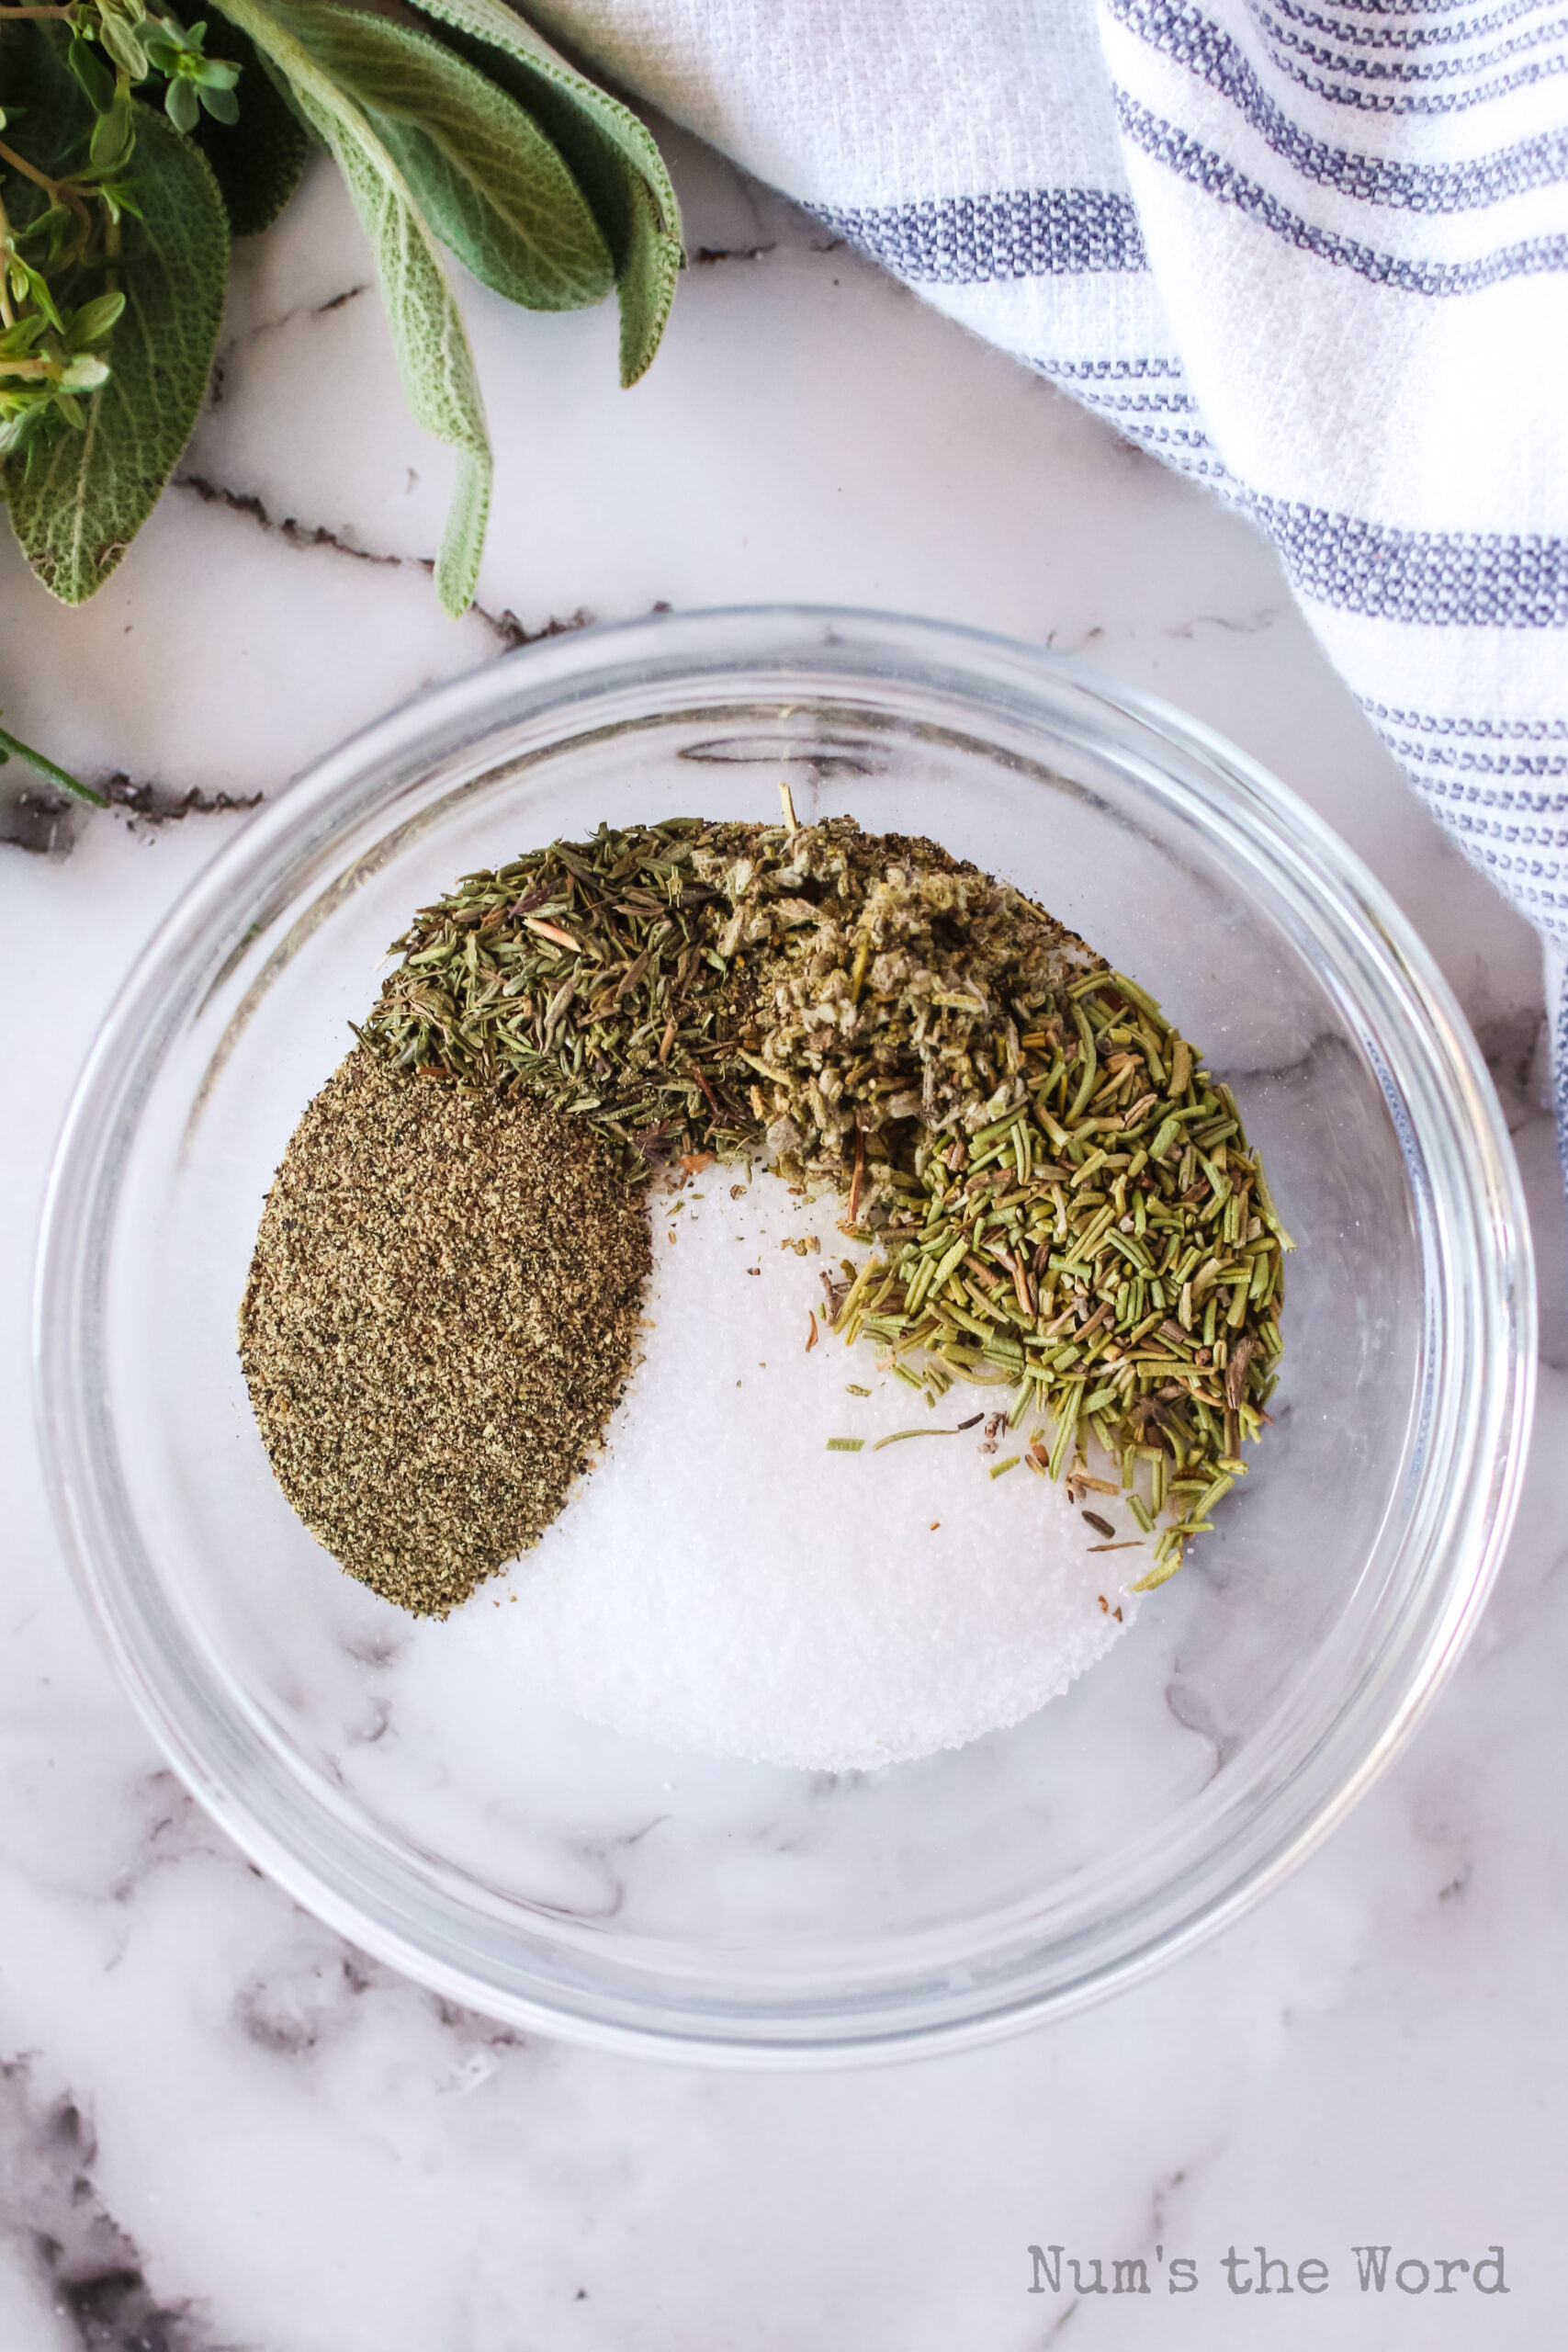
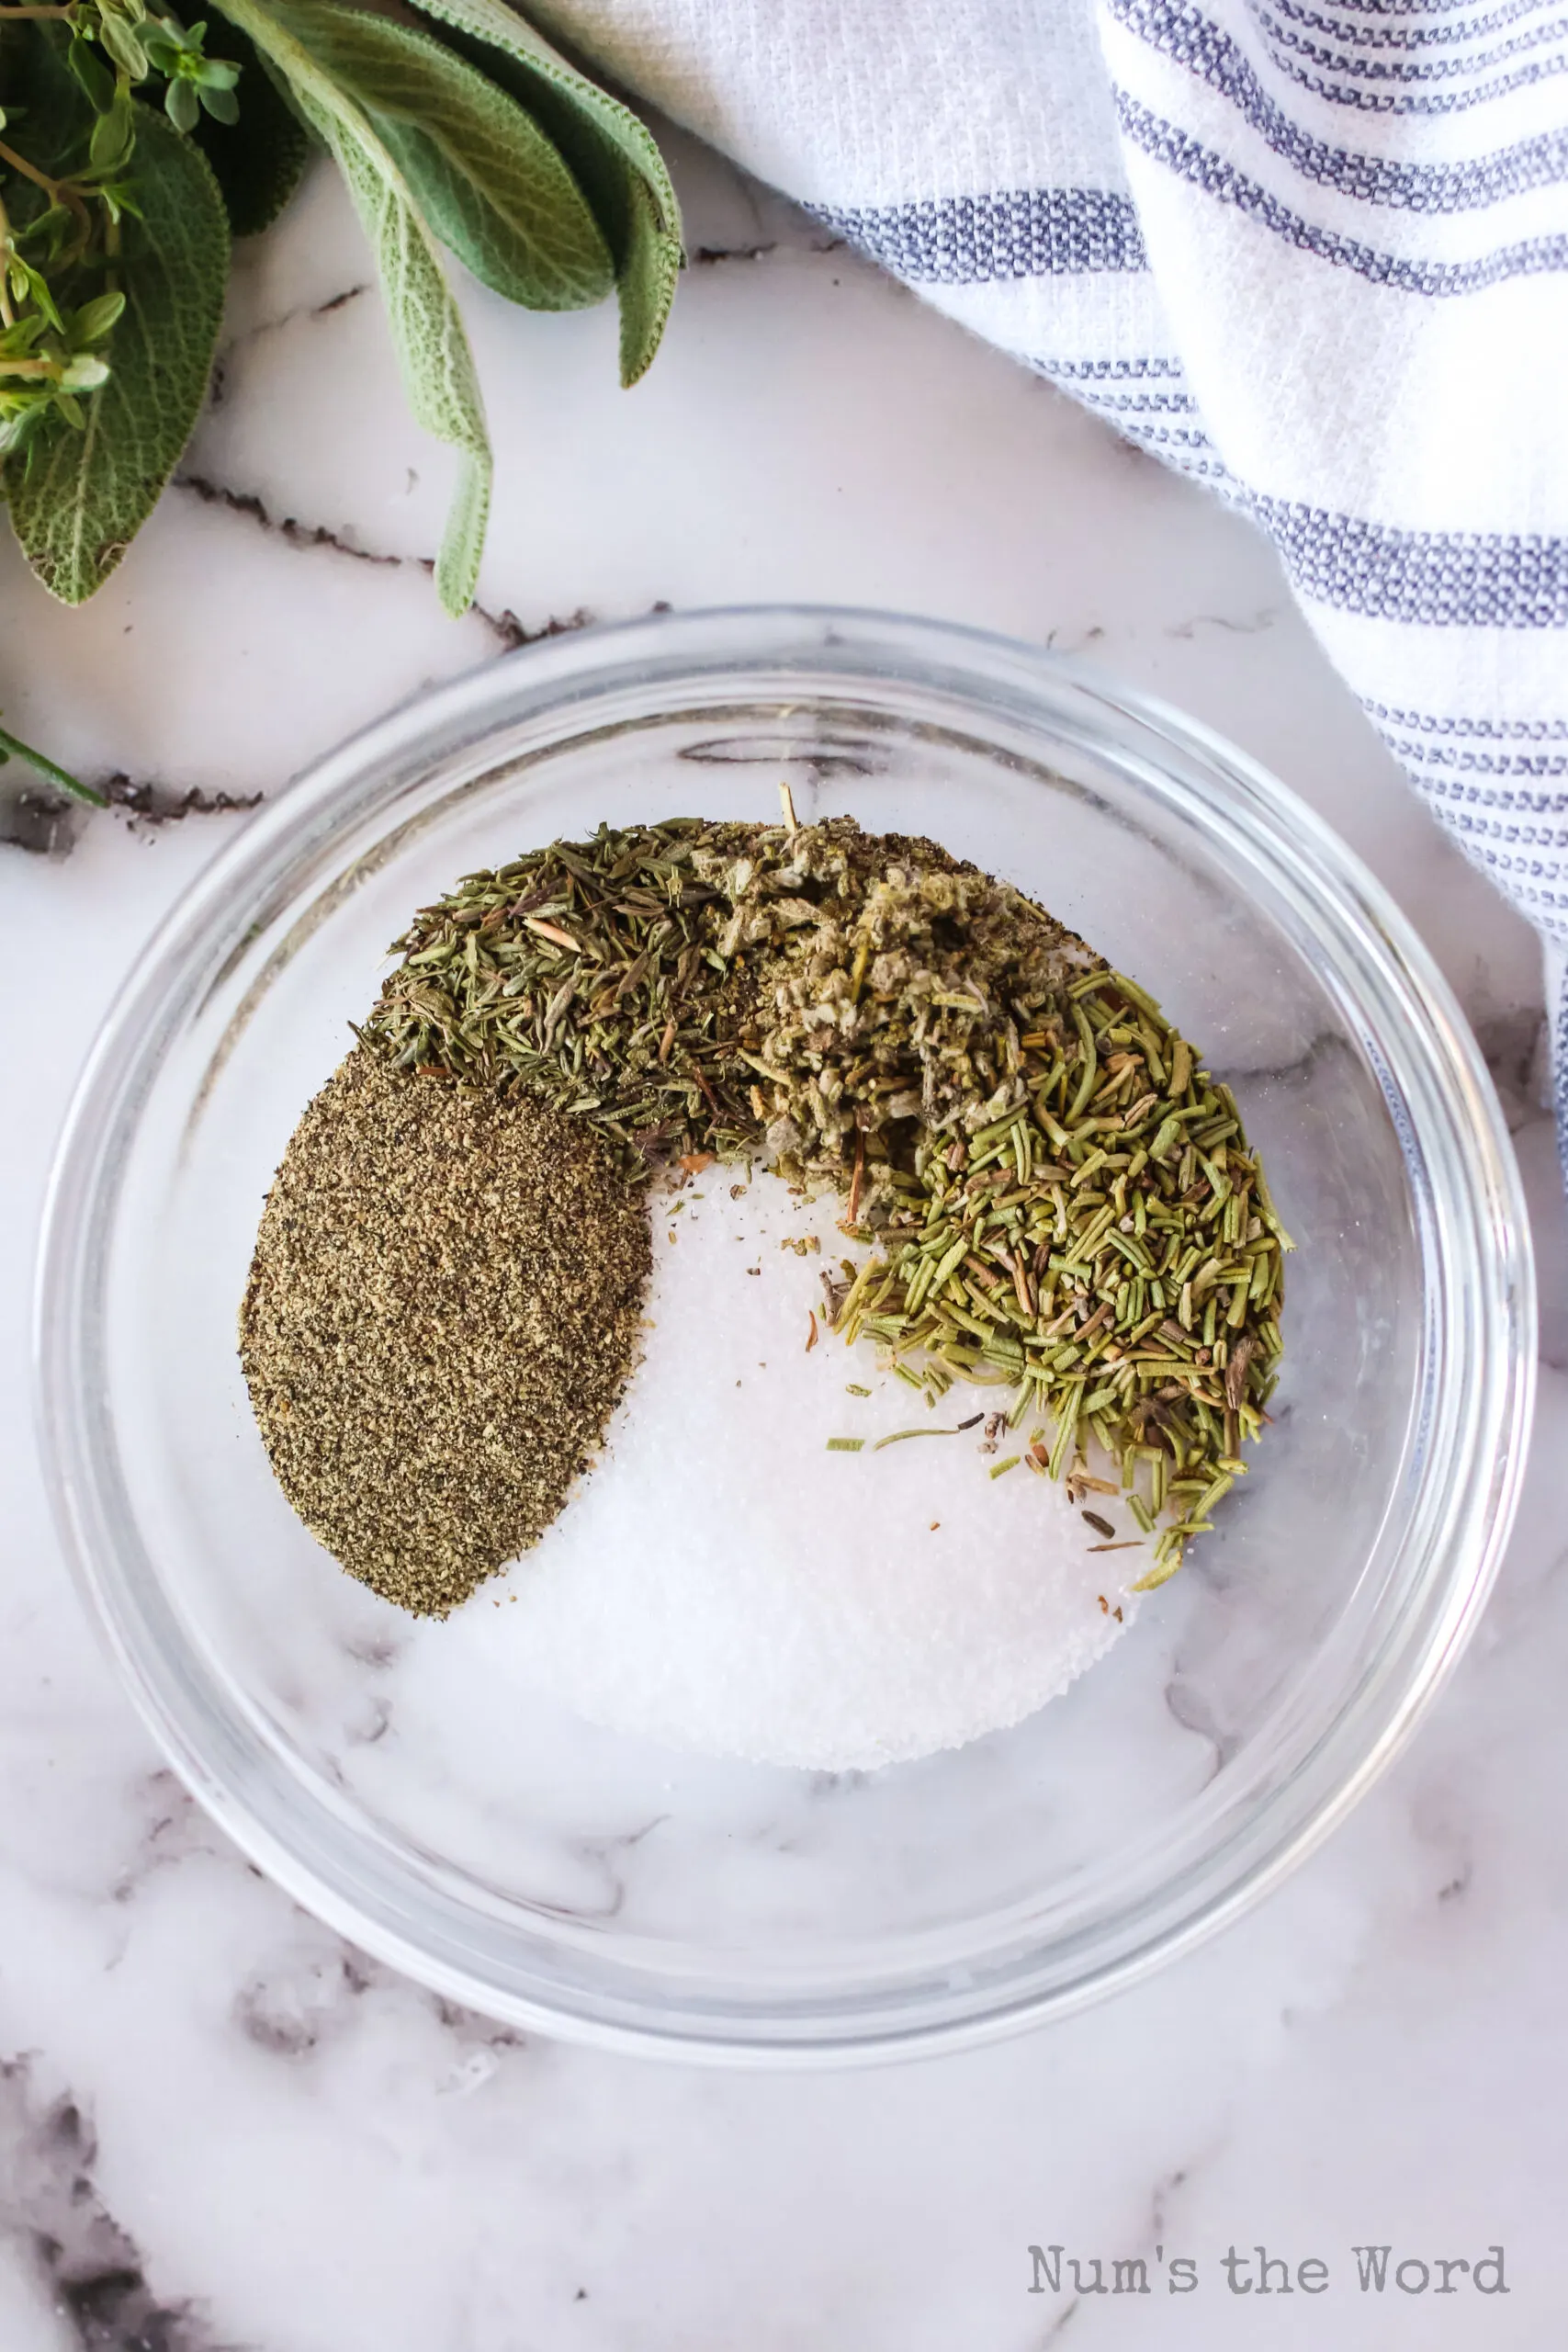
In this turkey in a bag recipe we use a dry brine. There are two types of brining — wet and dry. Both serve the same purpose: to tenderize and add flavor to the meat prior to cooking. Here are the ingredients you’ll need for the dry brine in this recipe:
- Kosher salt – salt is the main staple in any brine. The salt begins breaking down some of the proteins in the meat, giving it a jump-start in tenderizing before cooking.
- Thyme – in this recipe, we use dry ingredients for the brine. If you prefer fresh herbs, that is an option as well! Remember you’ll want a 3:1 ratio for fresh:dry ingredients.
- Sage – sage is the classic turkey herb — it’s the perfect complement for poultry!
- Rosemary – rosemary is another herb that packs a lot of wonderful, warm flavor.
- Black pepper – pepper adds a hint of spice and enhances the other flavors in your dry brine.

How to dry brine a turkey?
It’s really pretty simple to dry brine turkey, and it takes up a lot less room than a wet brine. Here are the steps:
- Dry turkey nicely to allow brine to stick.
- Combine dry brine ingredients.
- Loosen skin around the turkey breasts and create a pocket underneath.
- Rub brine mixture all over the outside, under the breast skin of the turkey, and inside the turkey cavity.
- Refrigerate uncovered.

How to cook turkey in a bag?
The hard part is already over! Once you’ve got your turkey brined and ready to cook, the rest is just as simple:
- DO NOT rinse off brine. Because we’ve dry brined our turkey, the brine becomes part of the seasoning. Because of this you also don’t want to use paper towels to dry it off either.
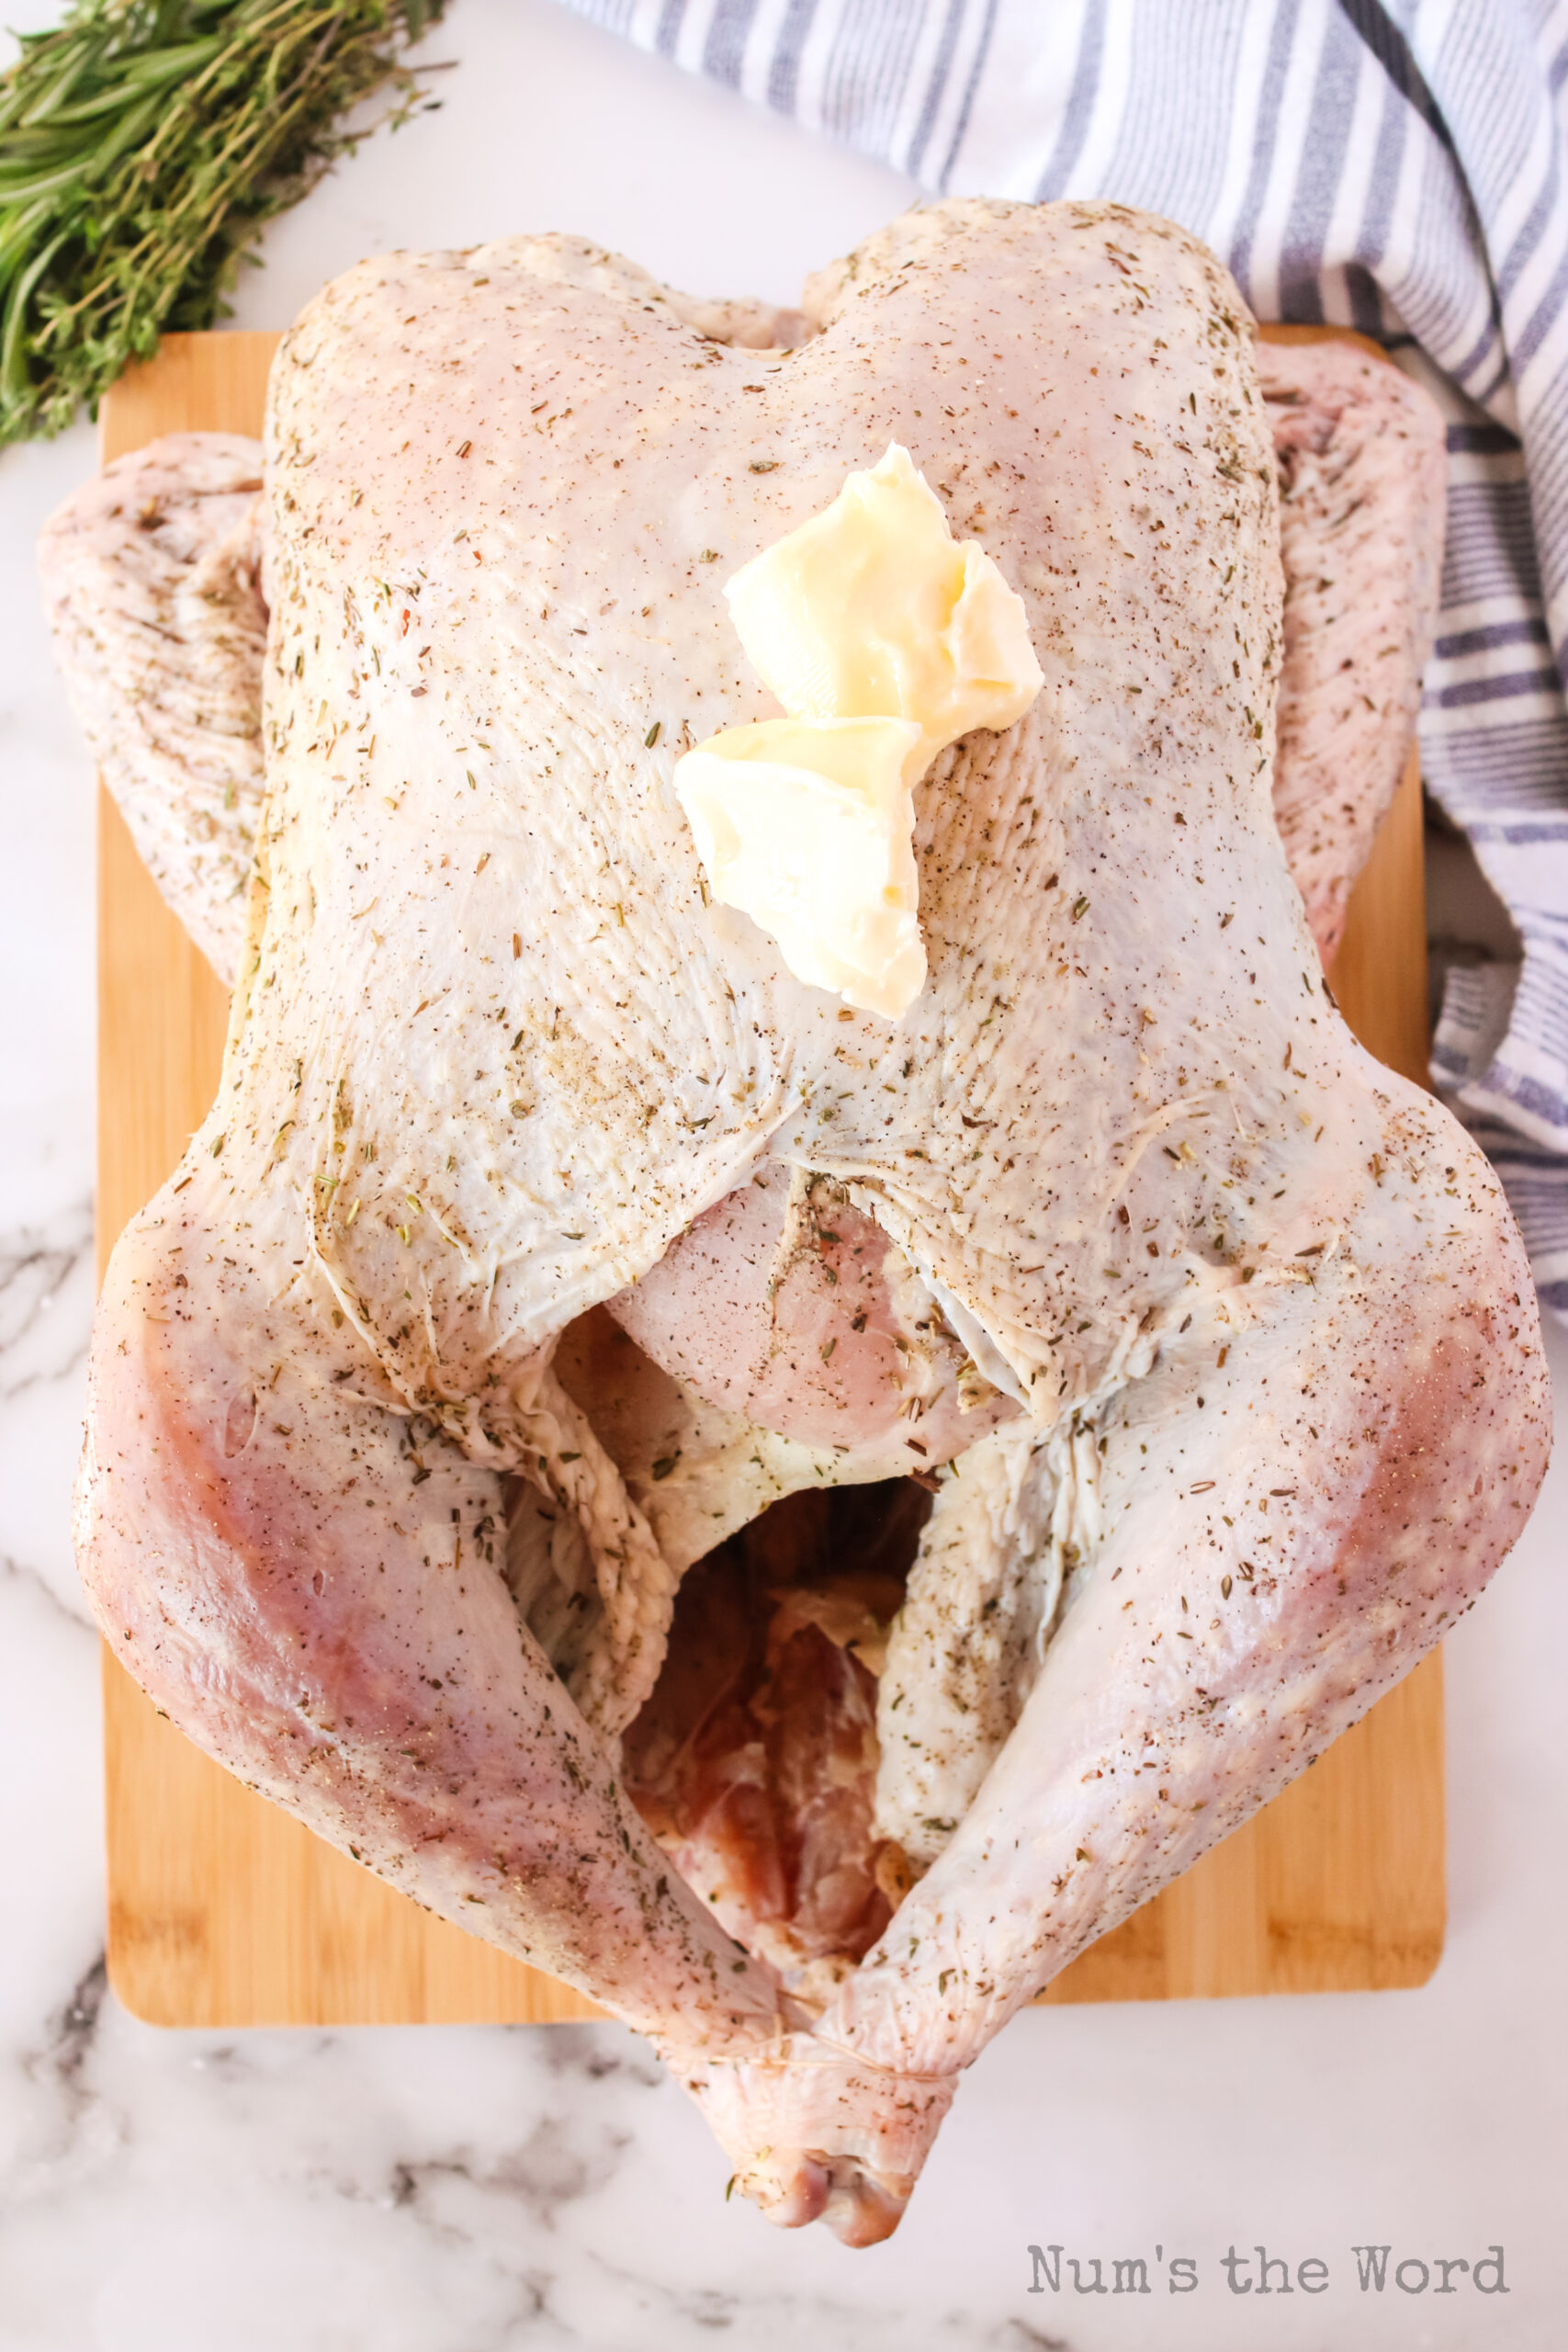
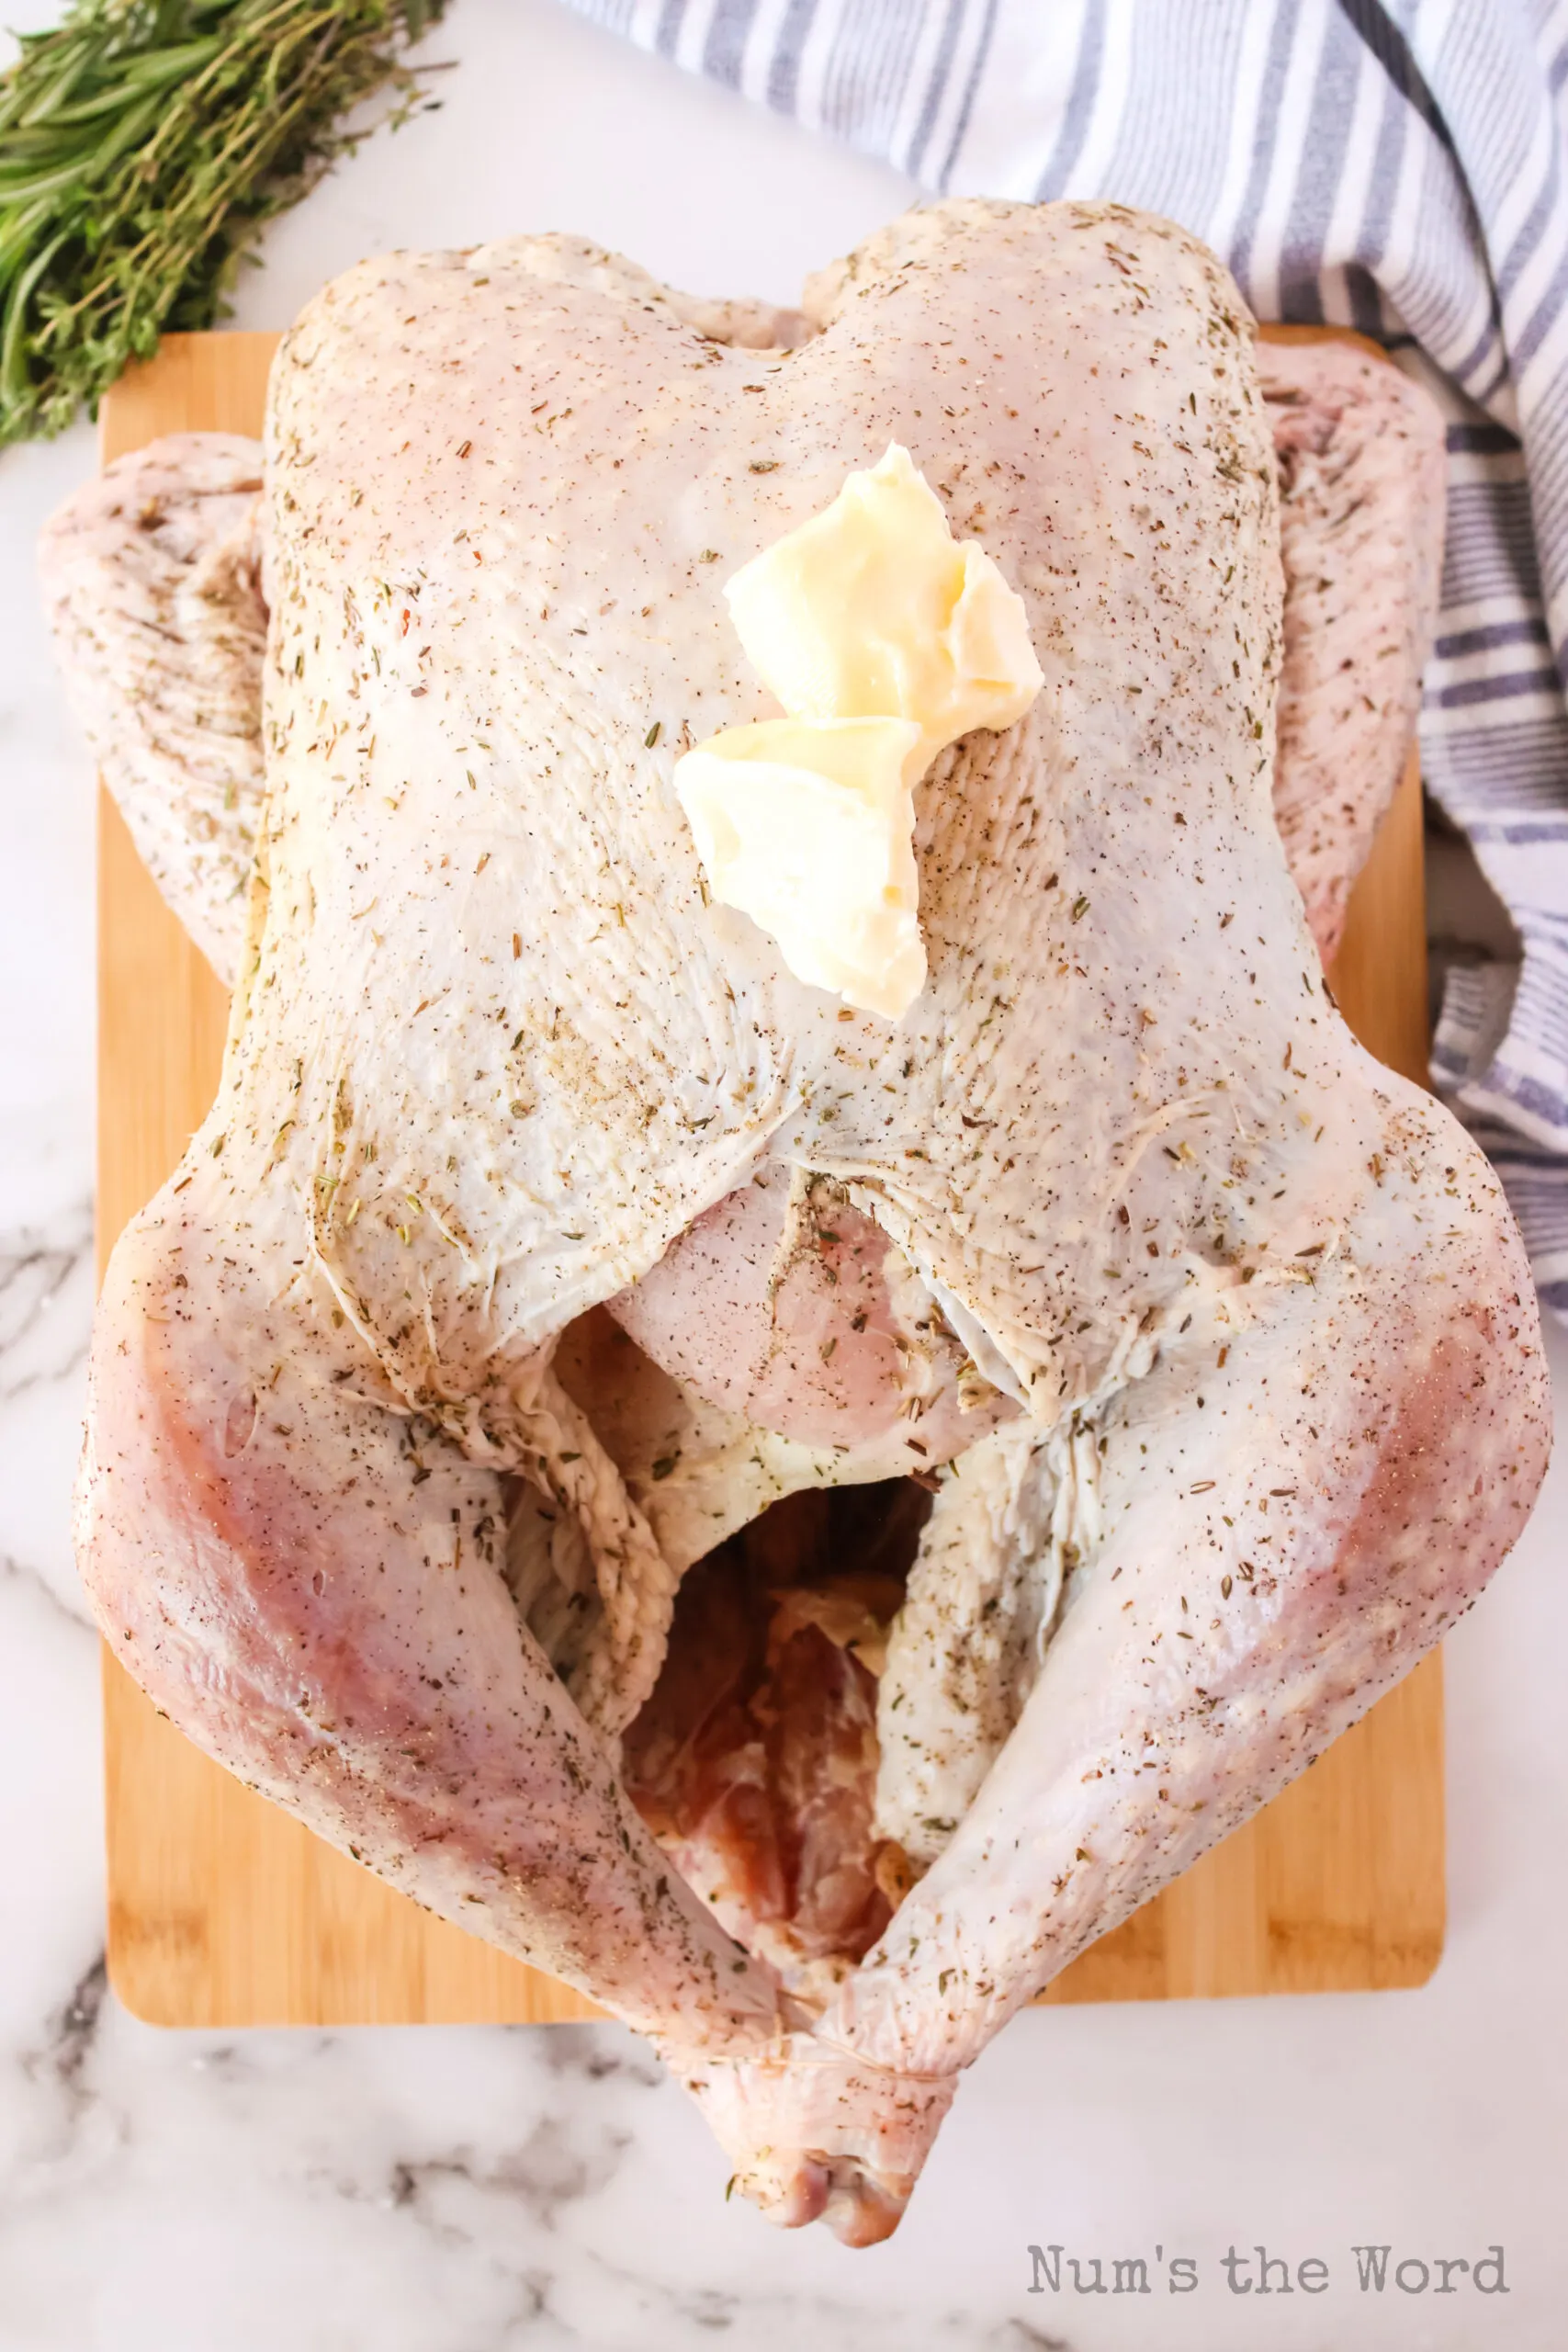
- Rub your entire turkey with butter.
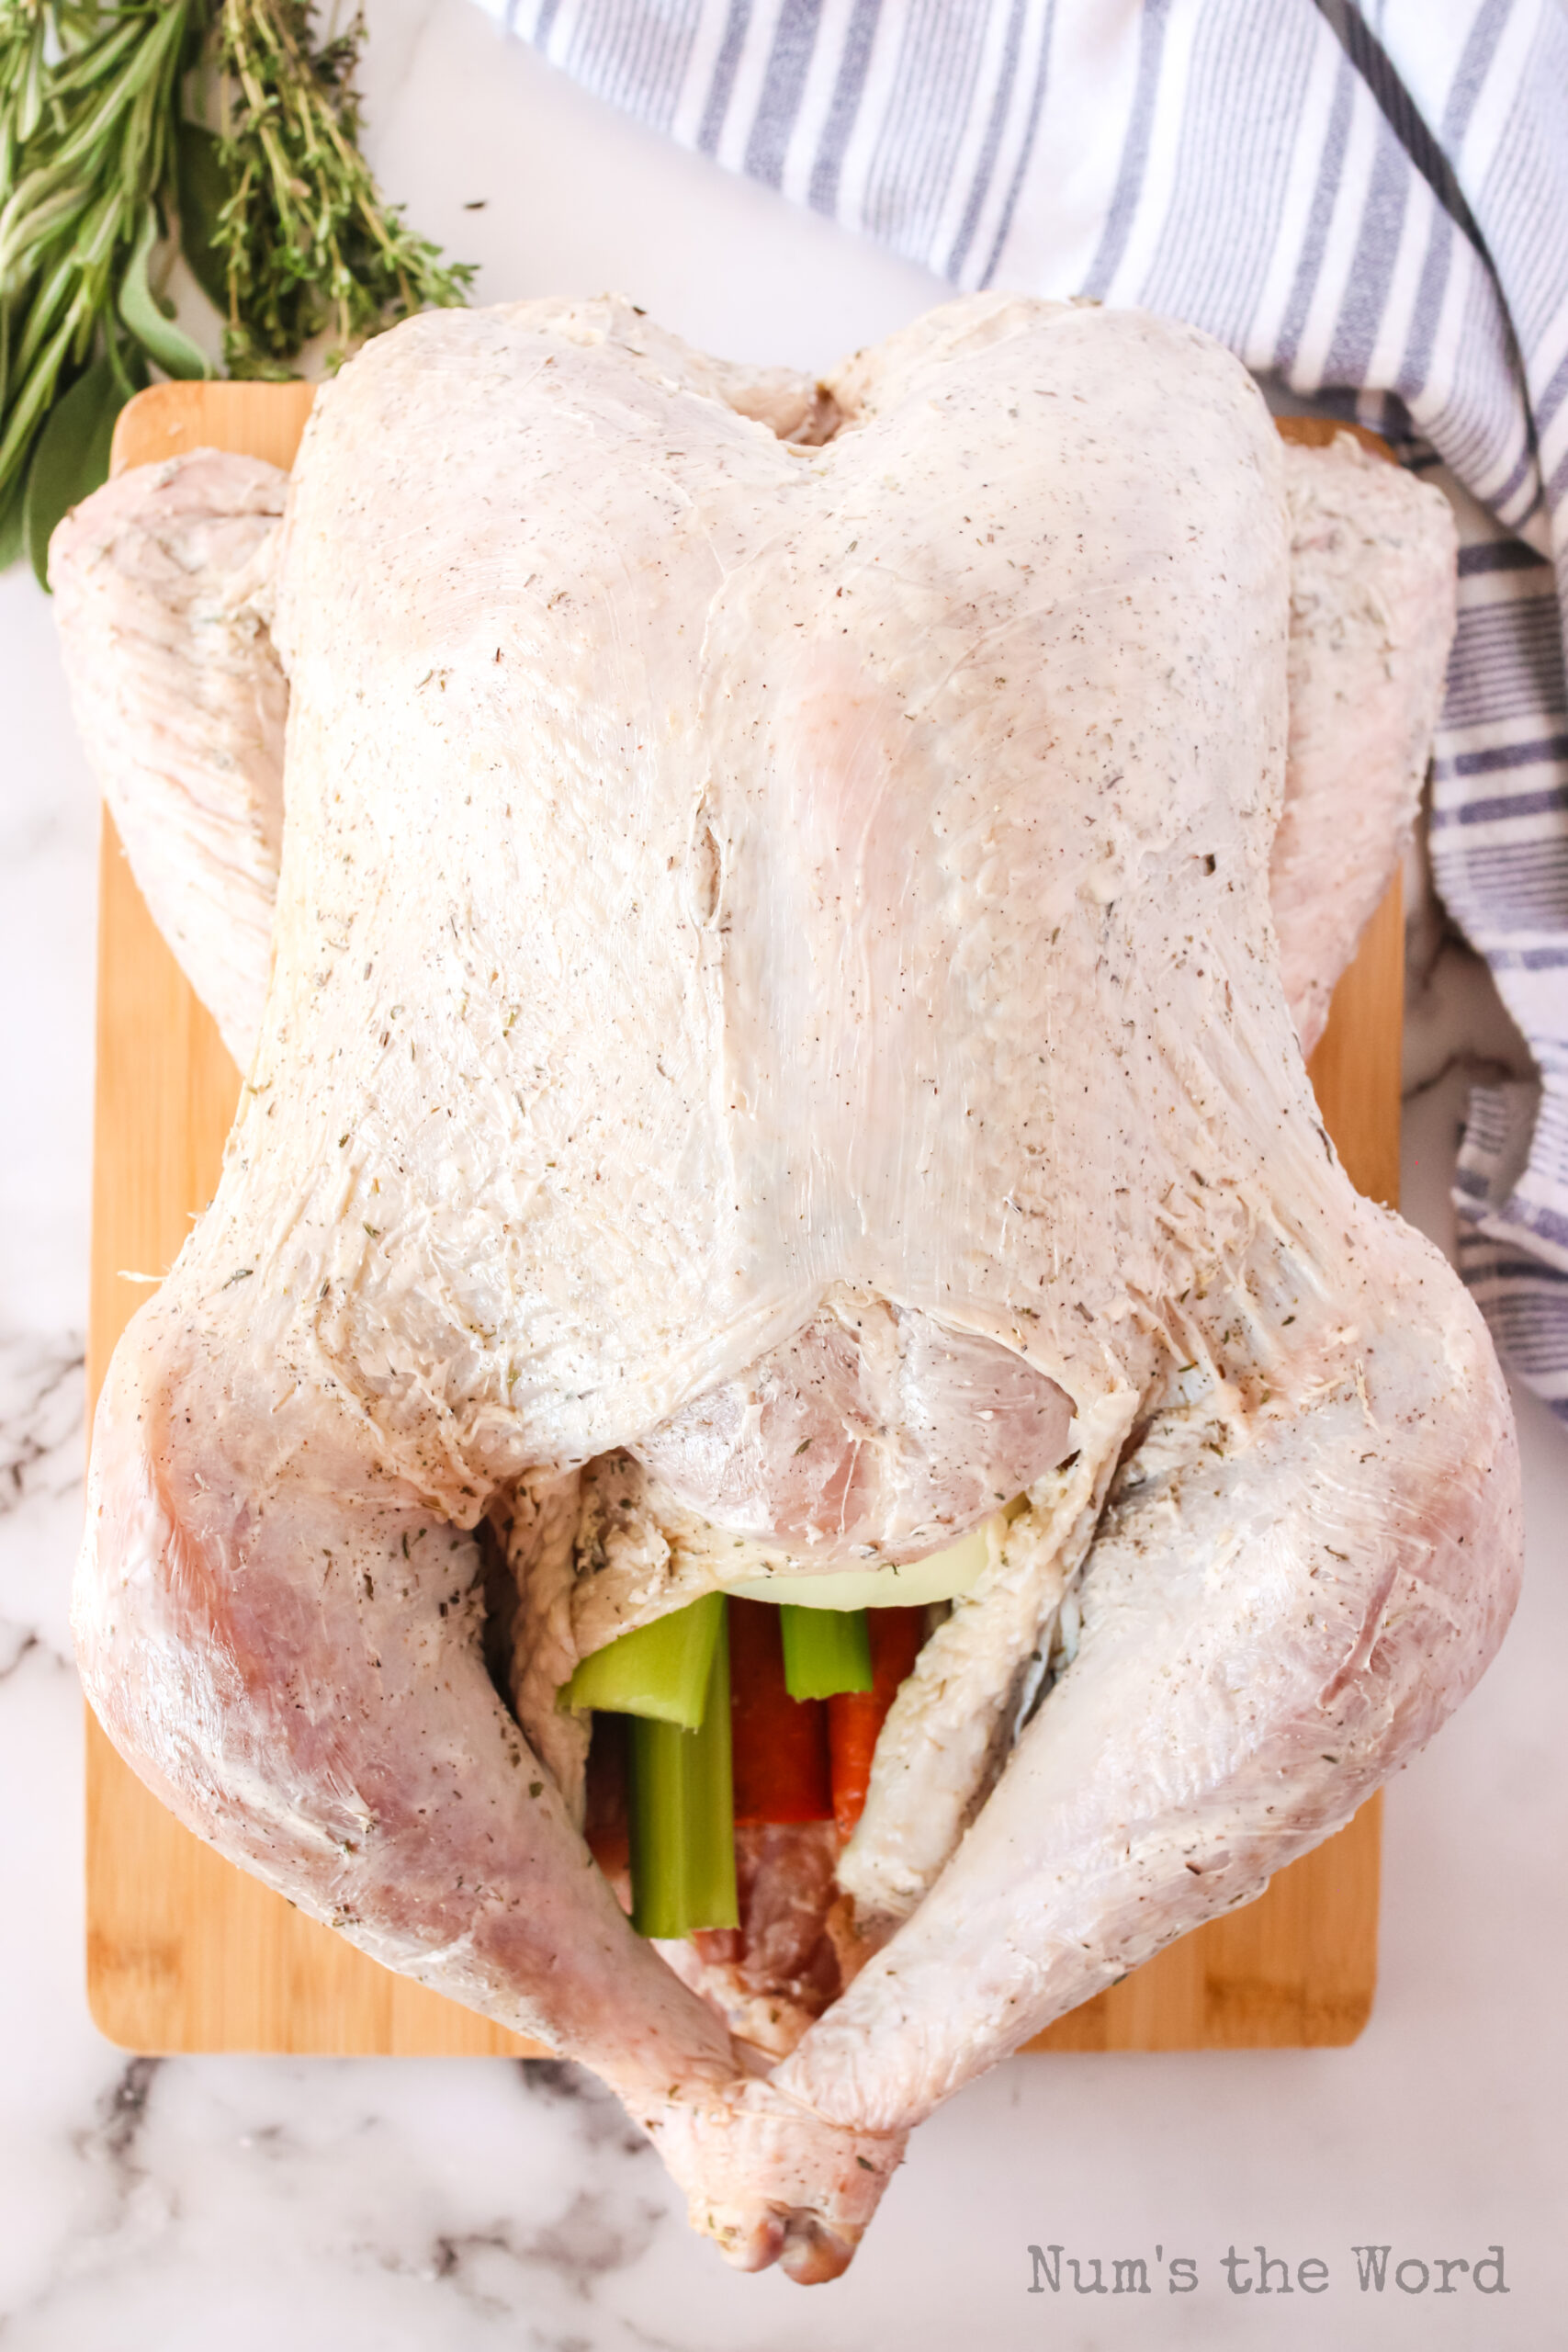
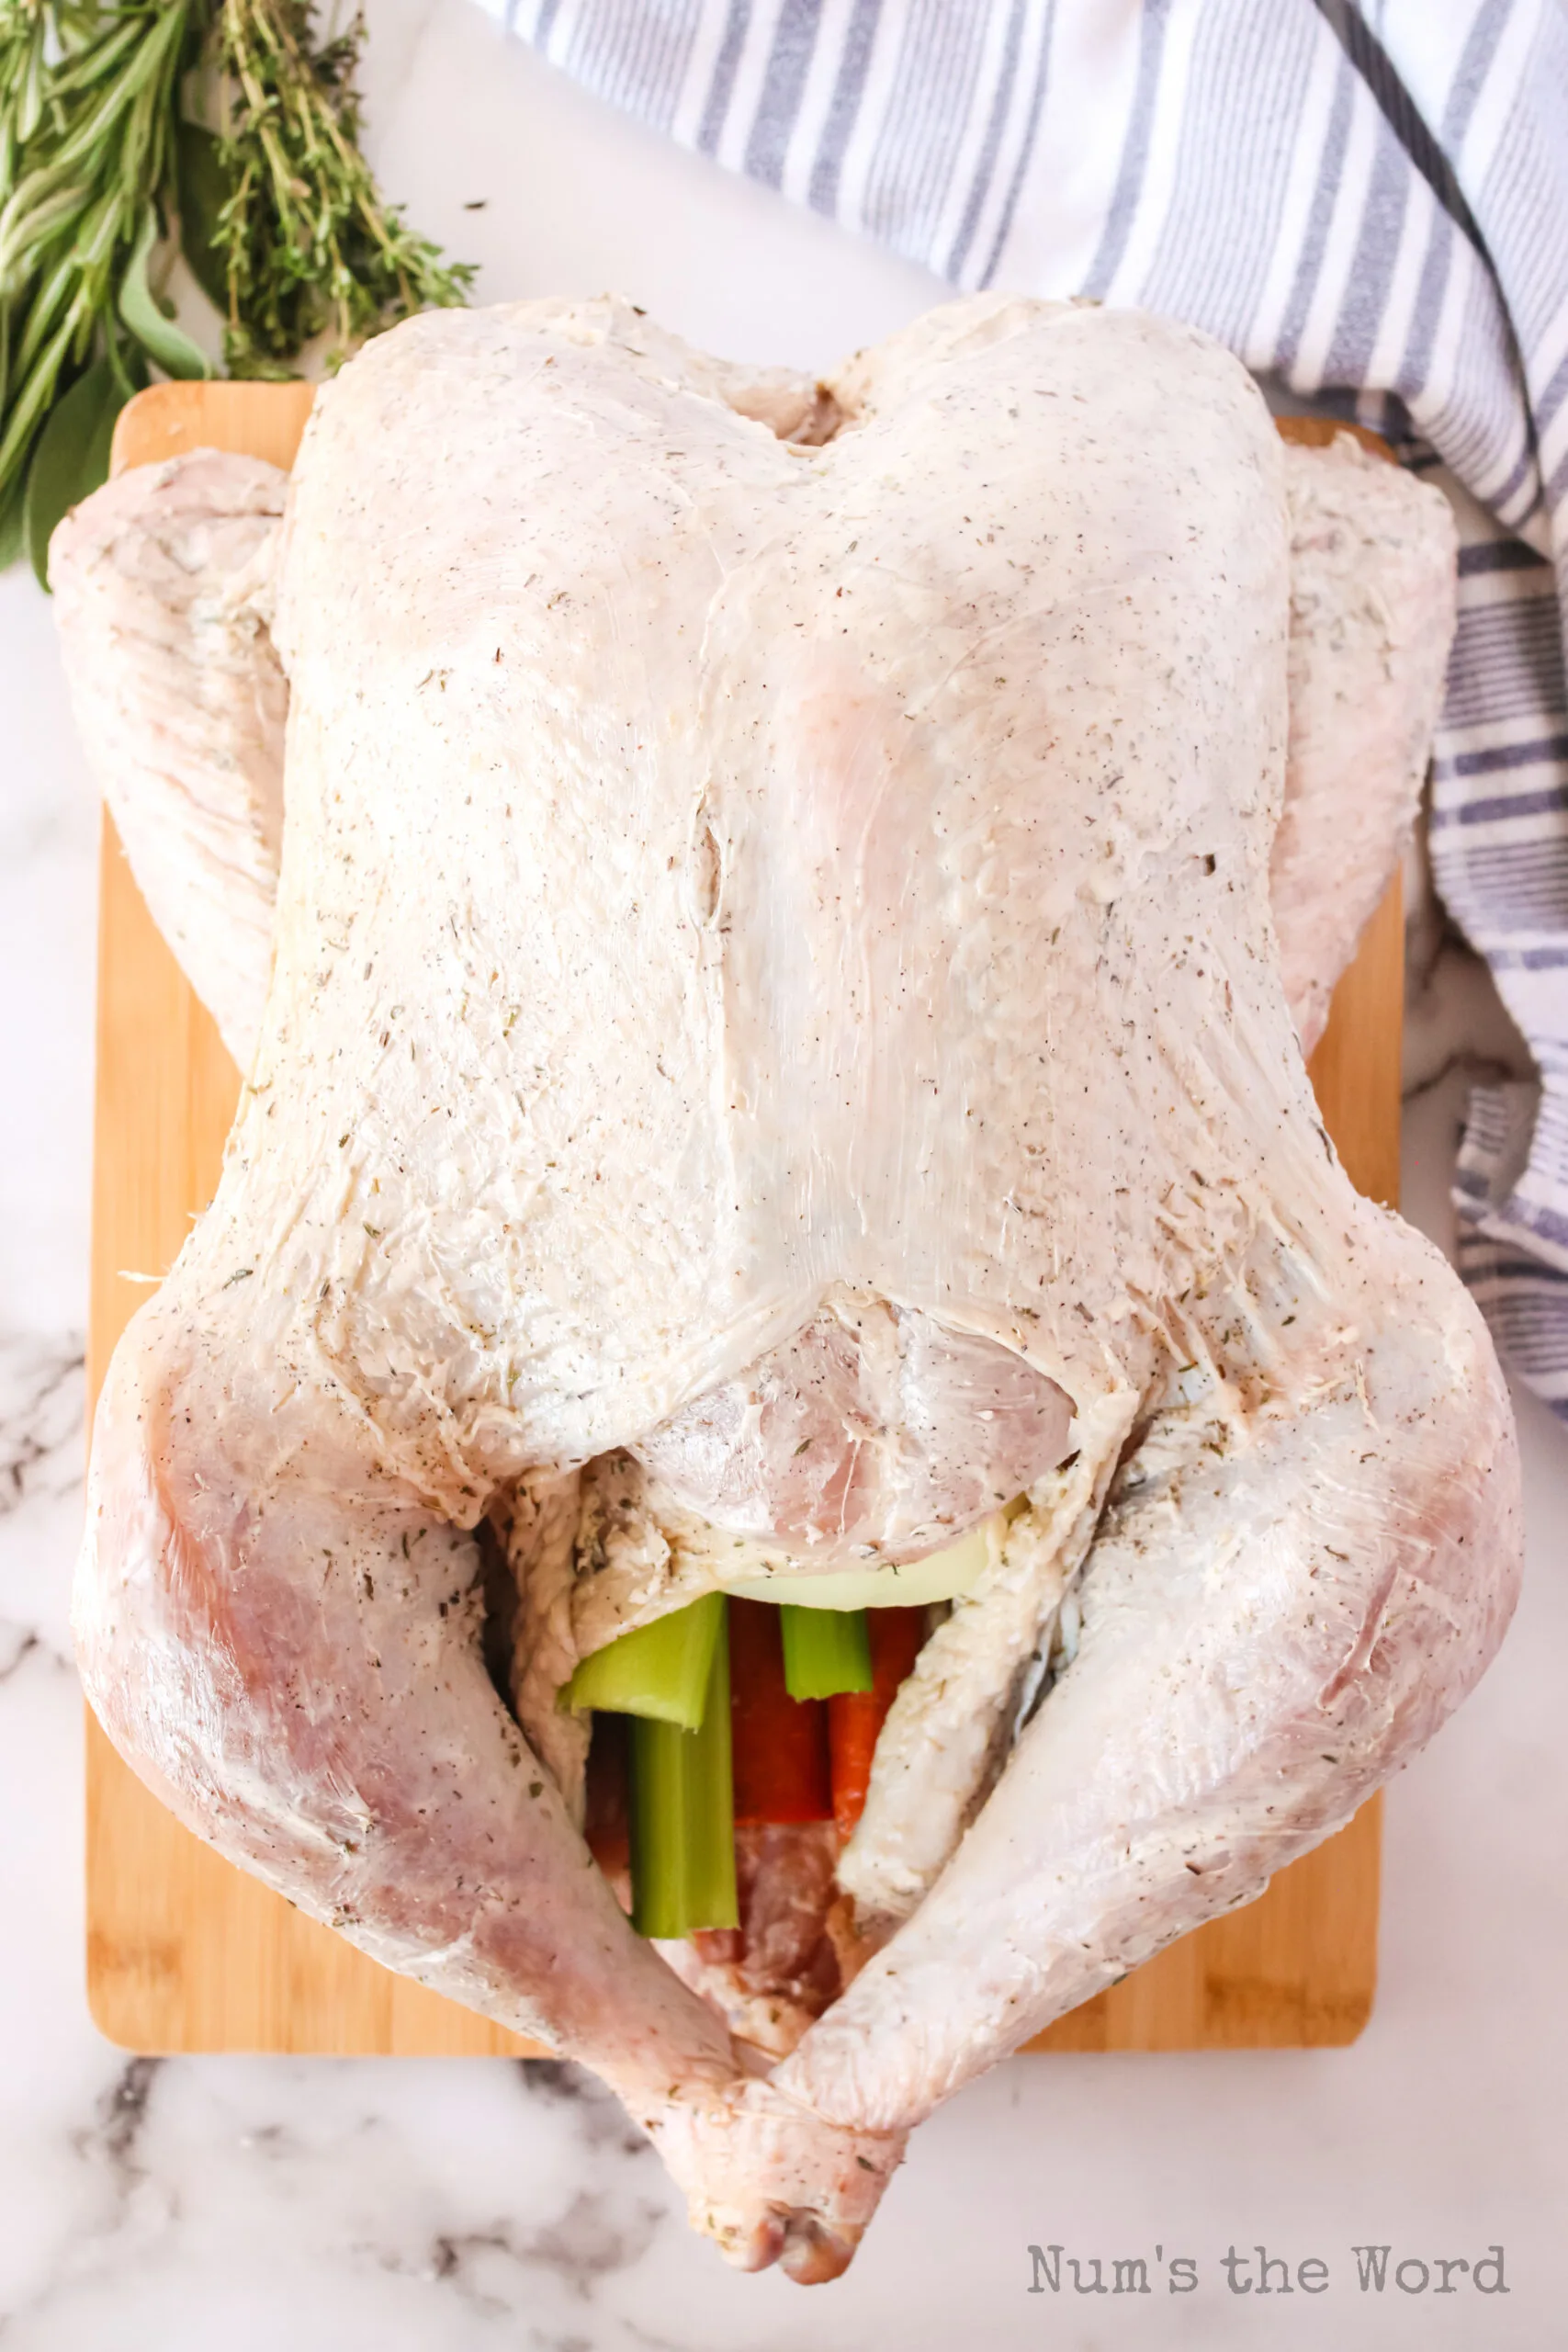
- Add veggies to the inside of the cavity of the turkey.
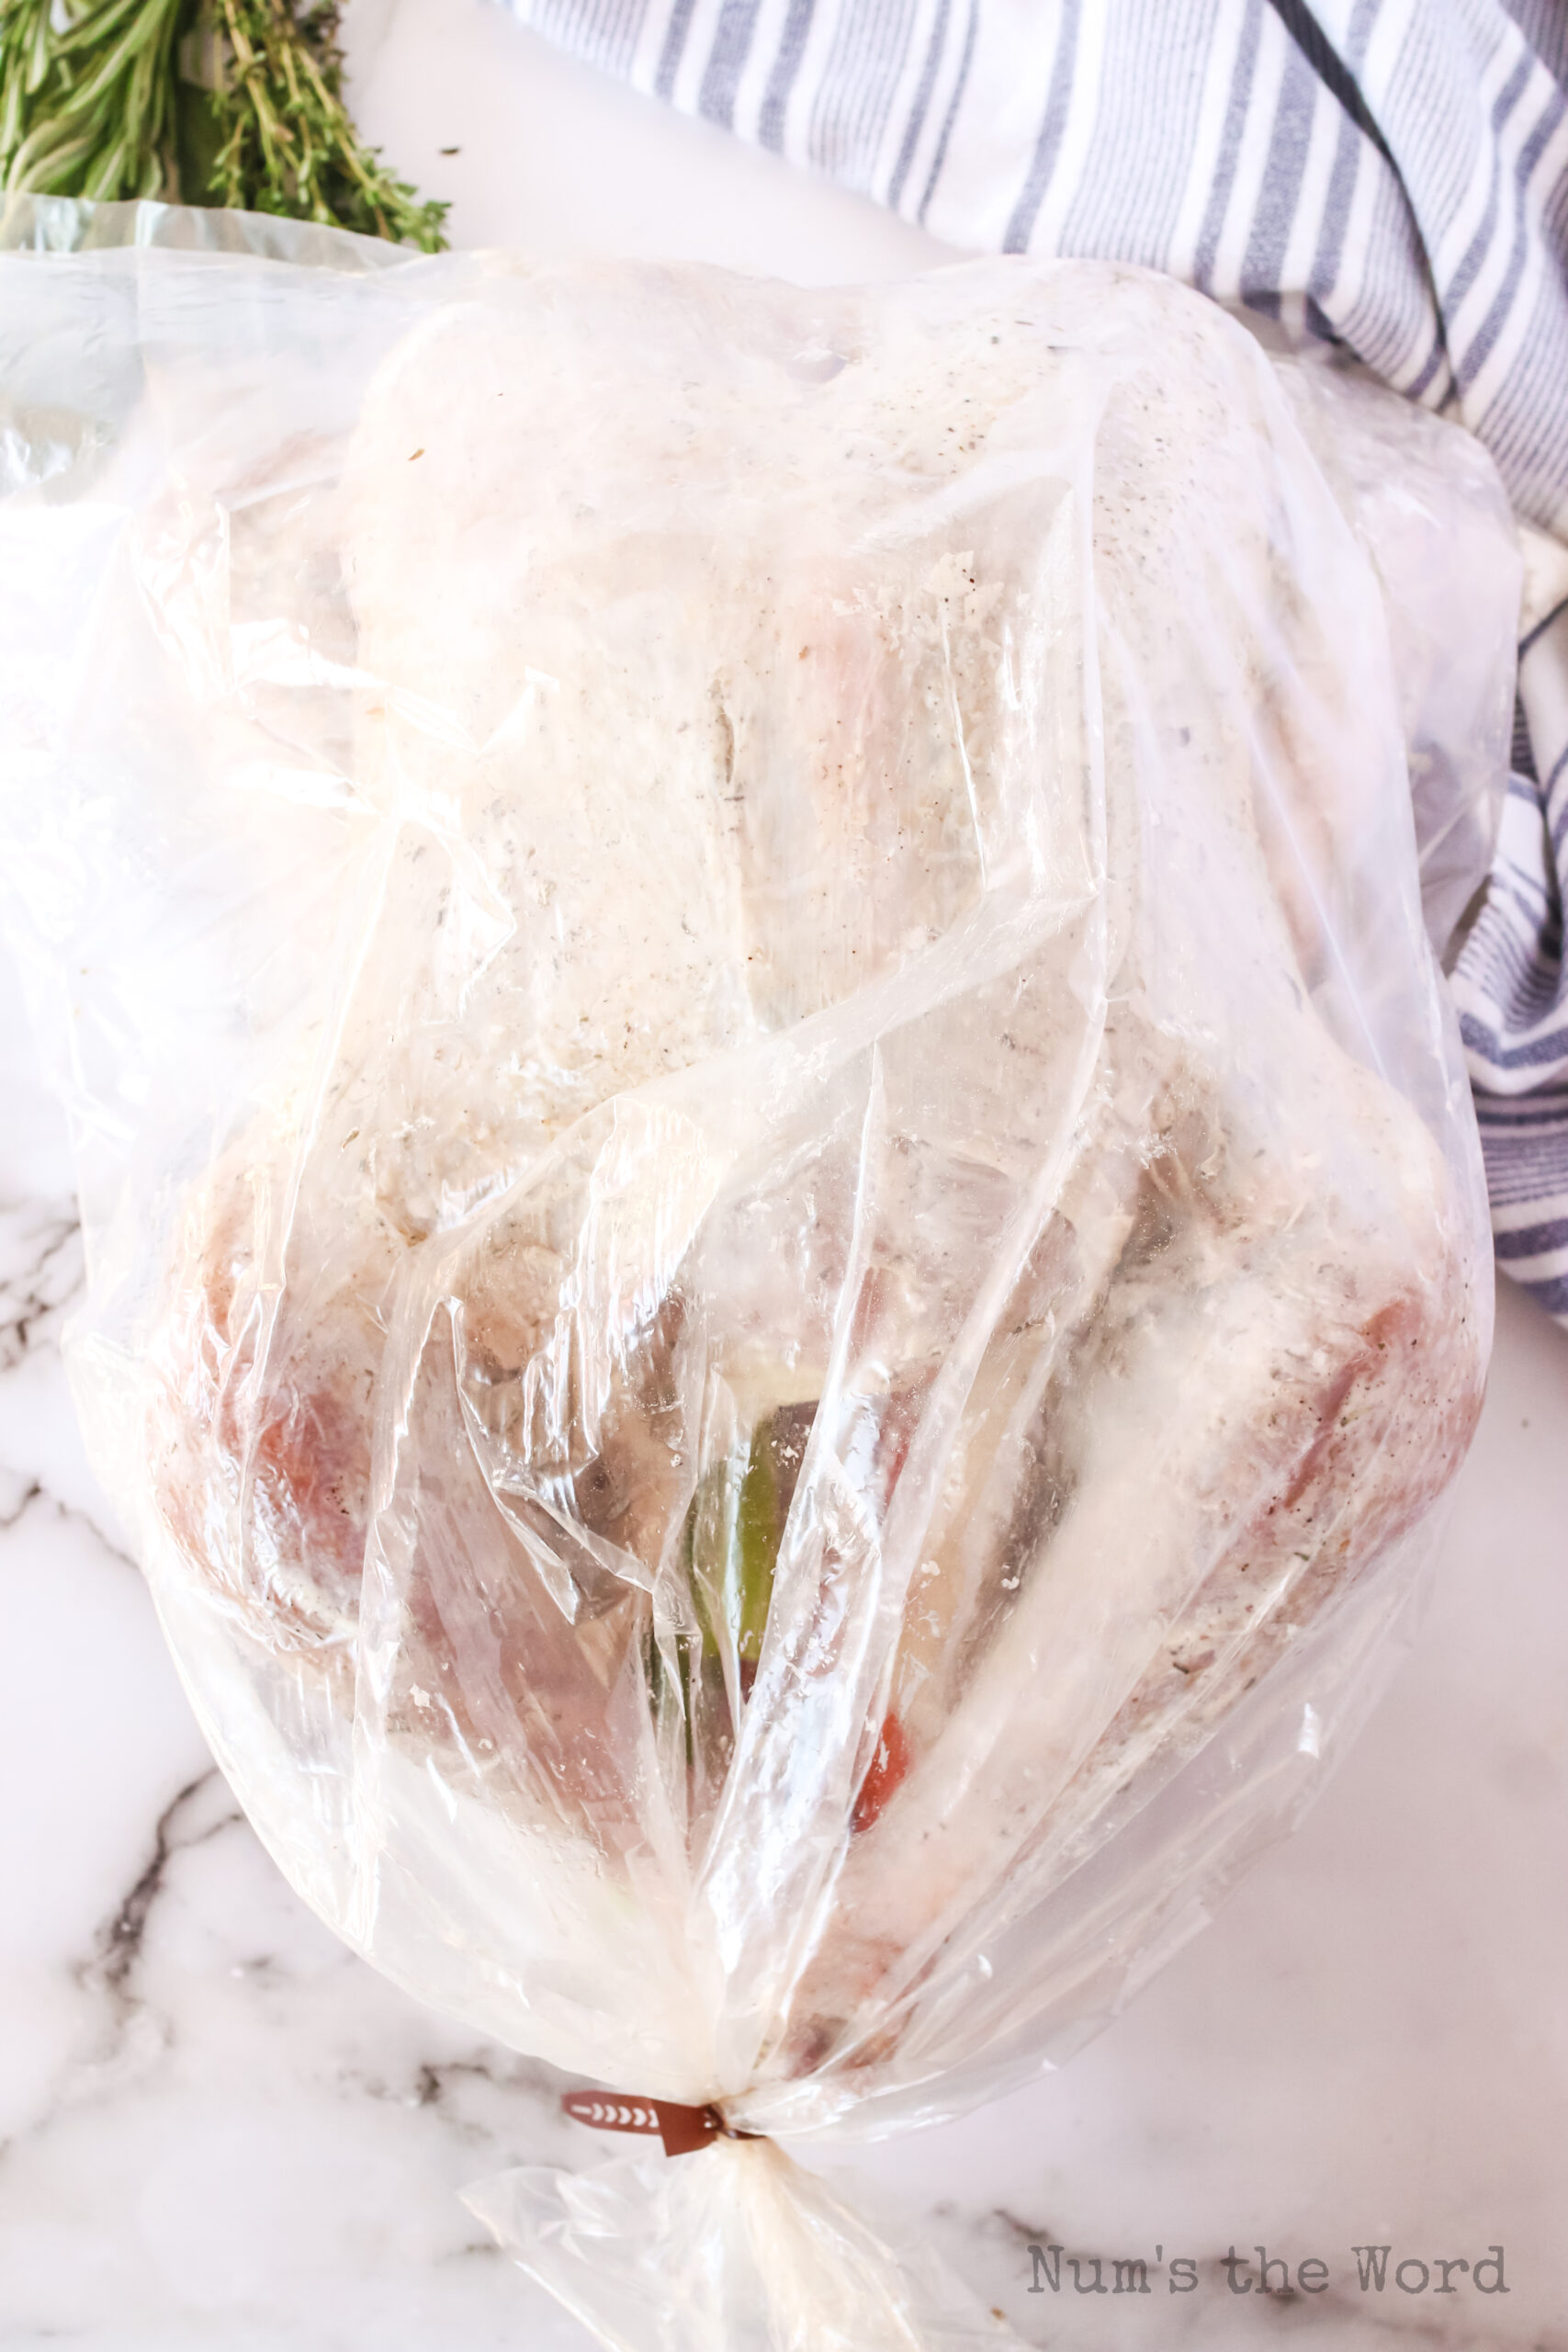
- Flour the turkey oven bag with a Tablespoon of flour.
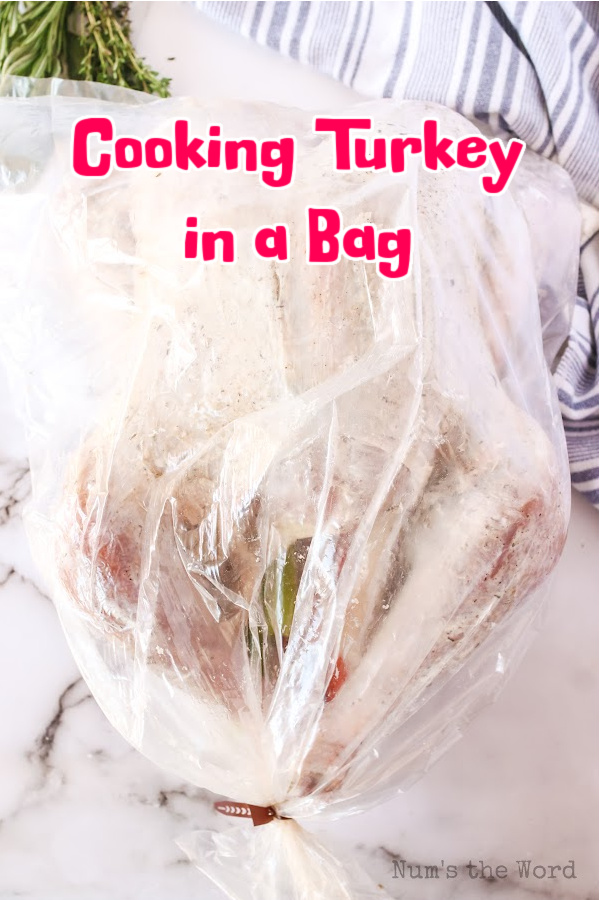
- Seal the turkey in the bag by using the nylon tie at the top of the bag.
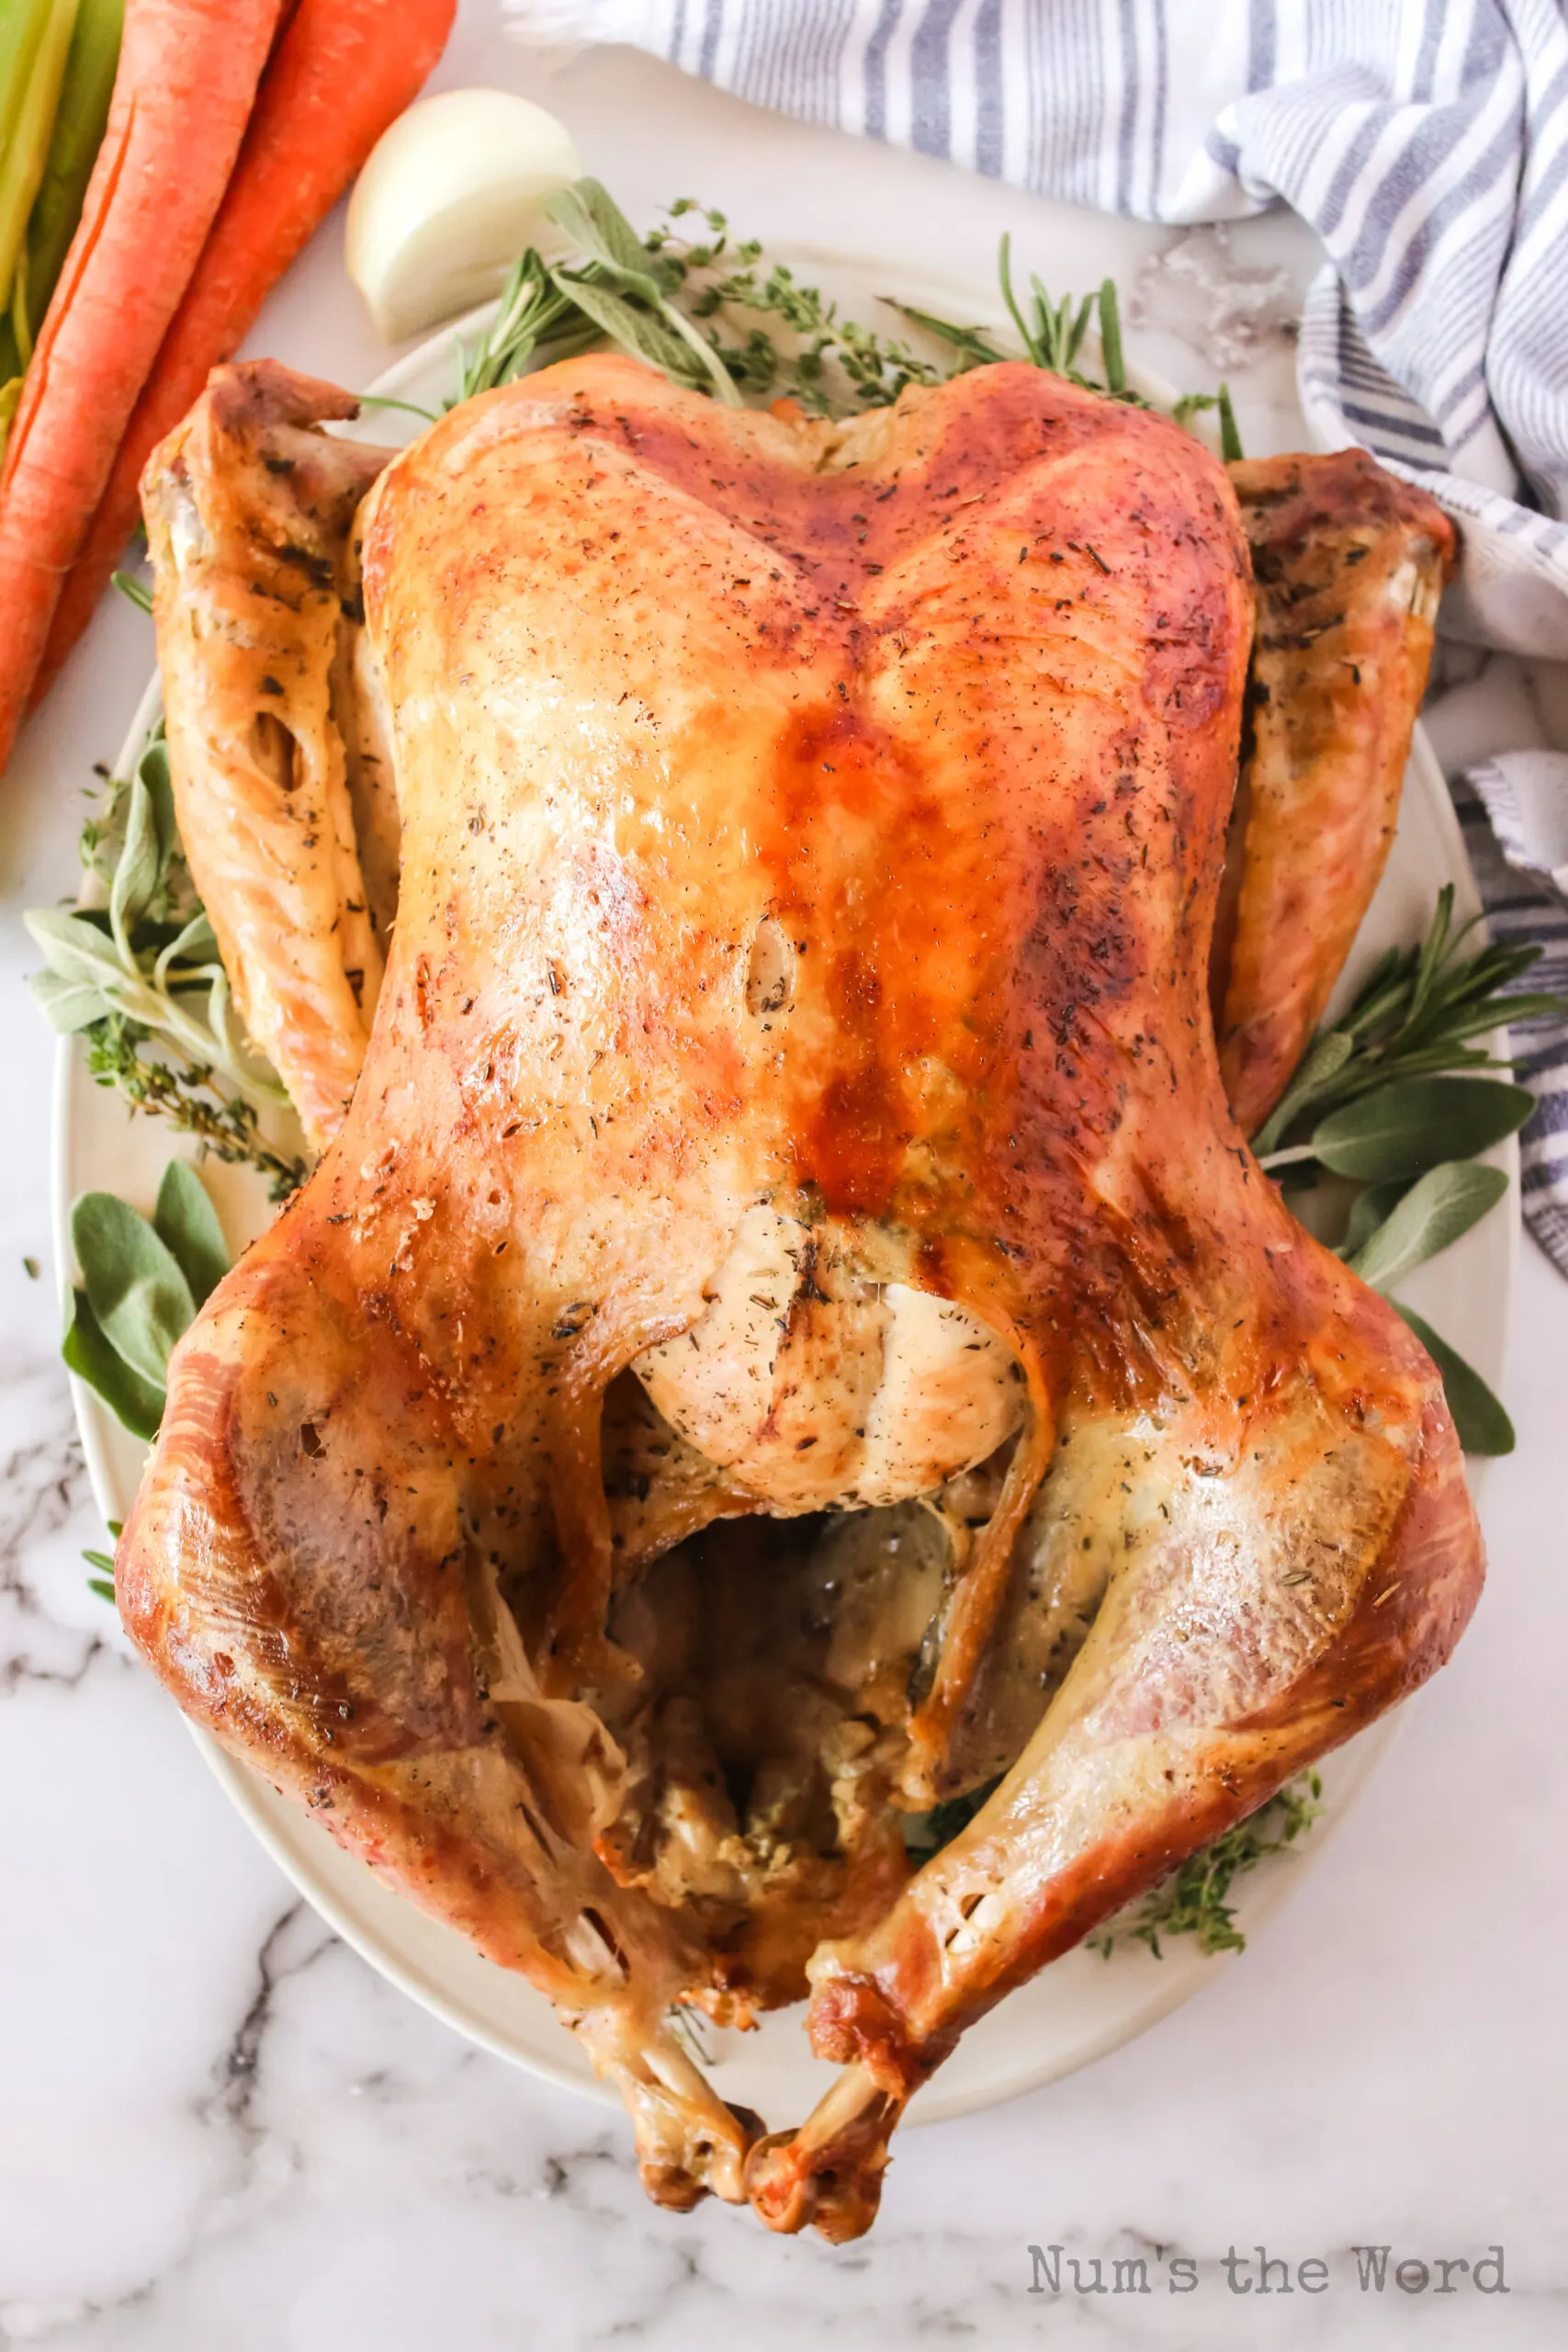
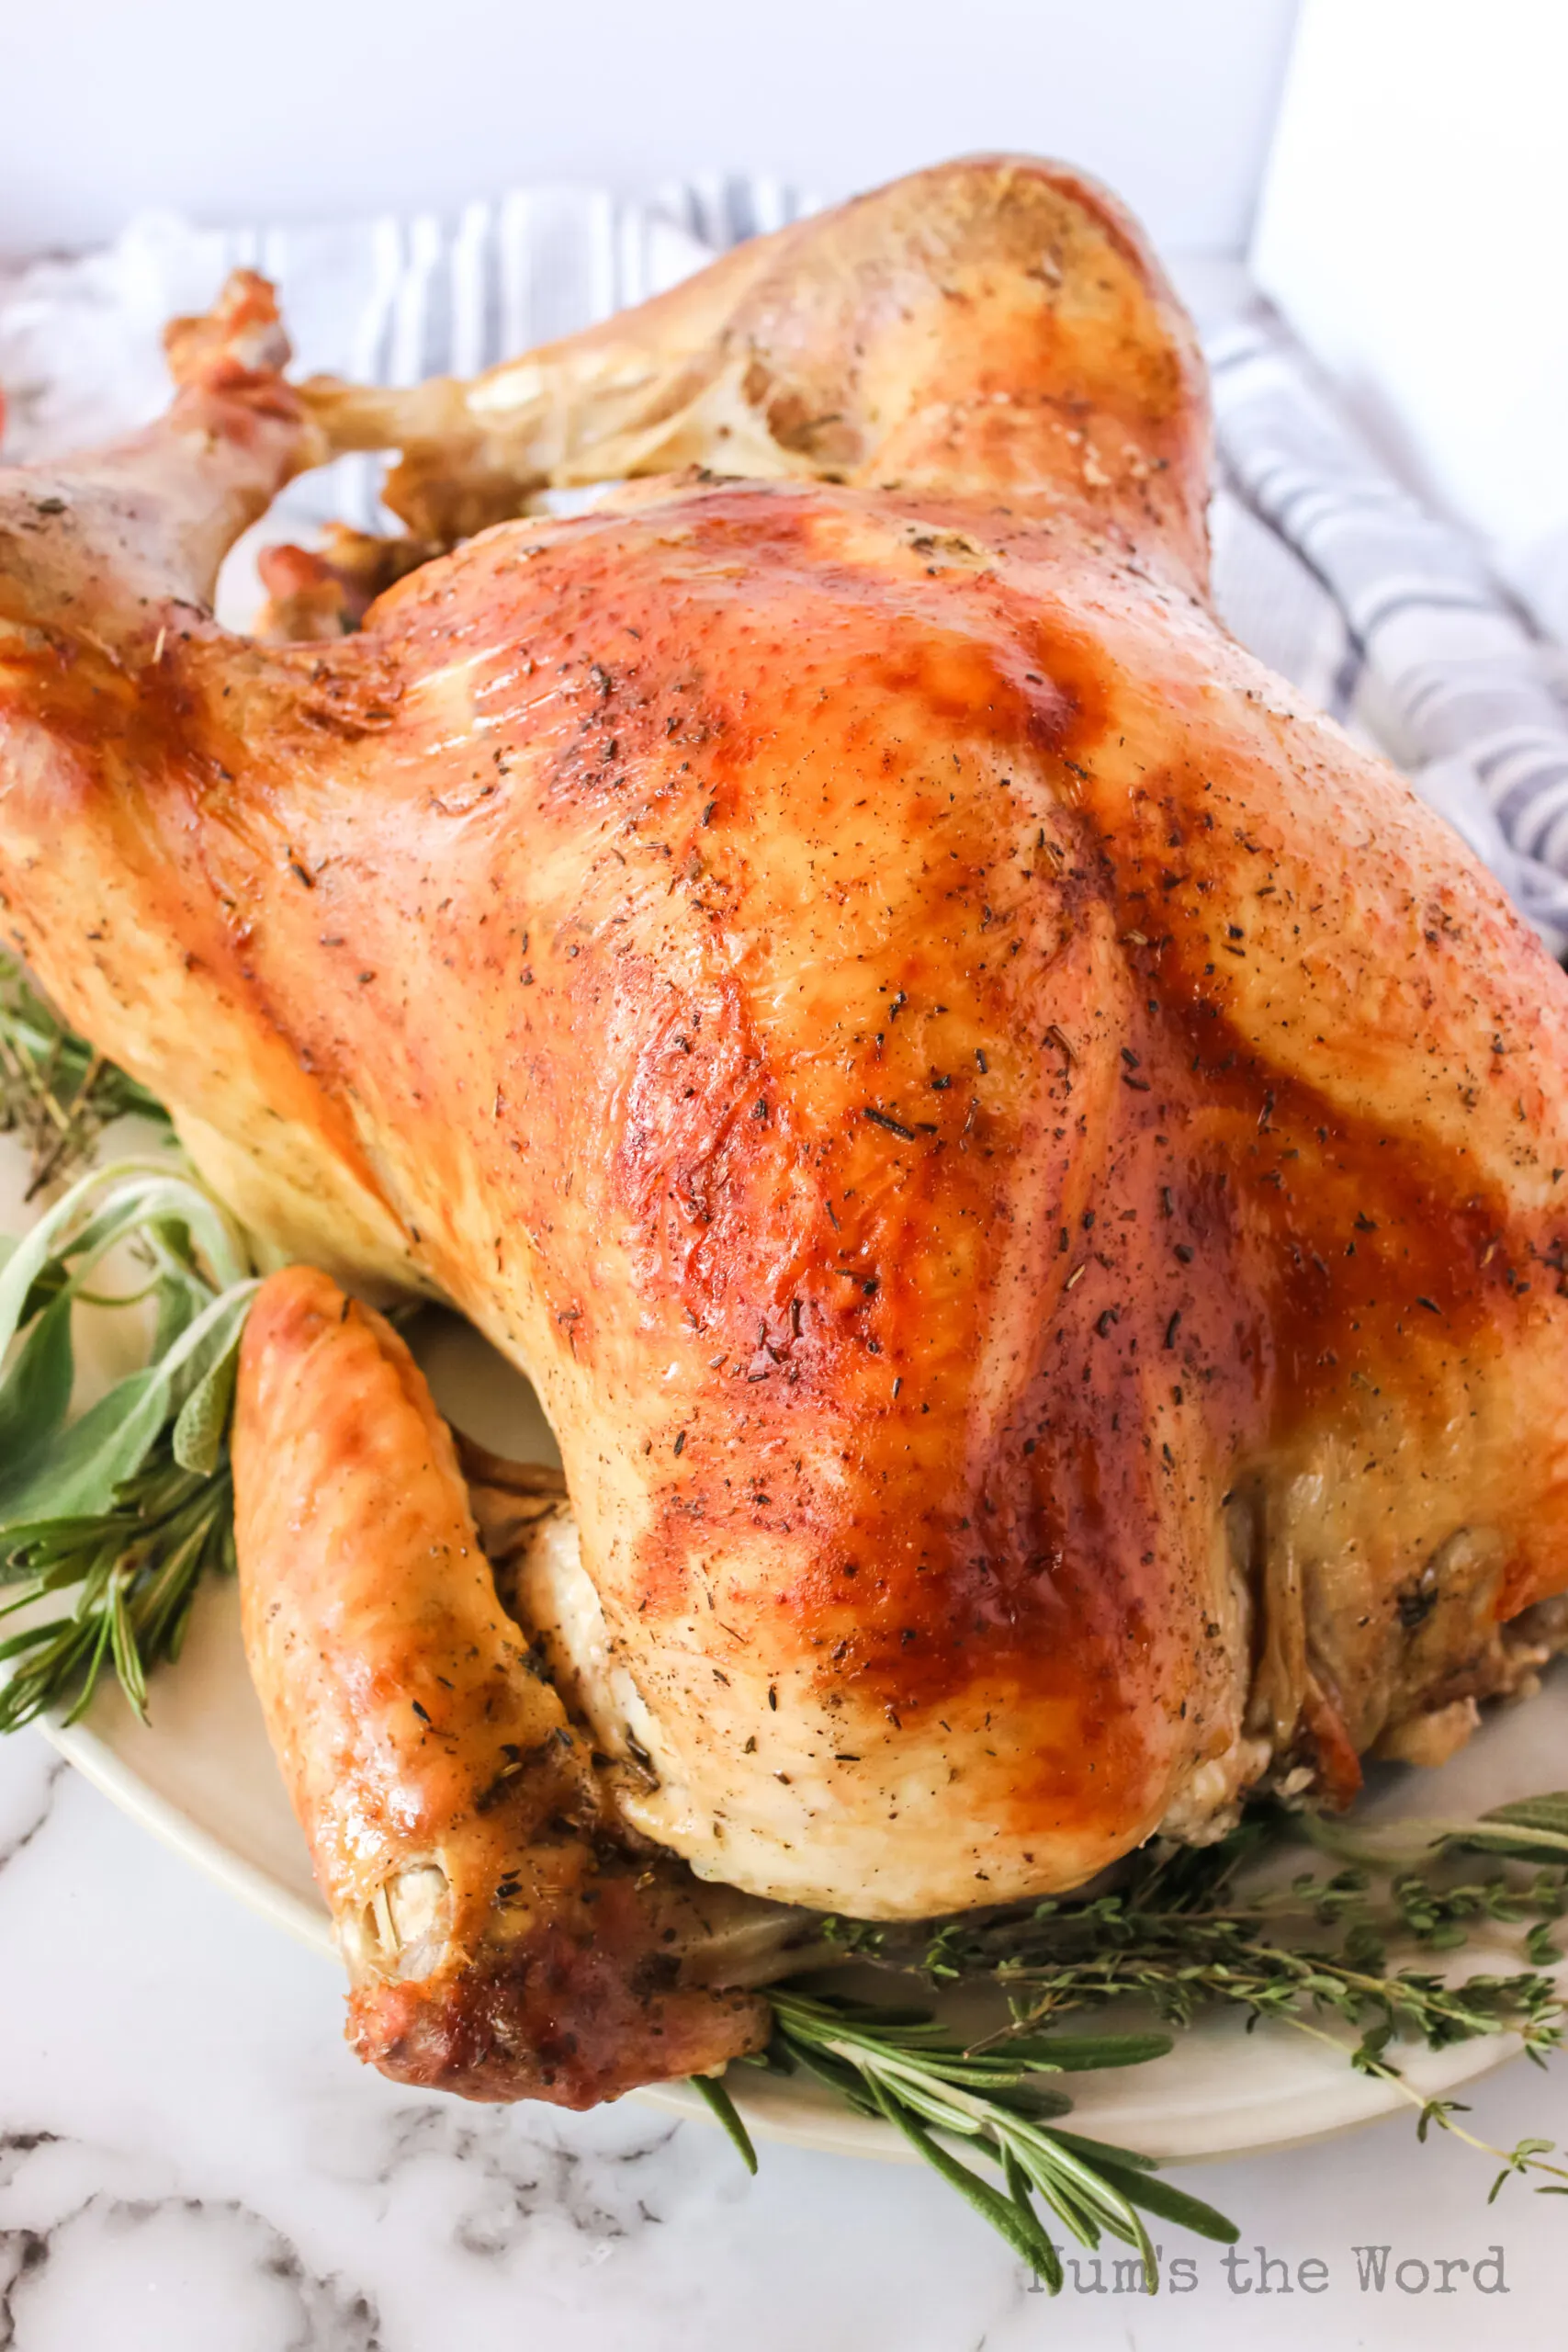
- Cook breast side up in a roasting pan!
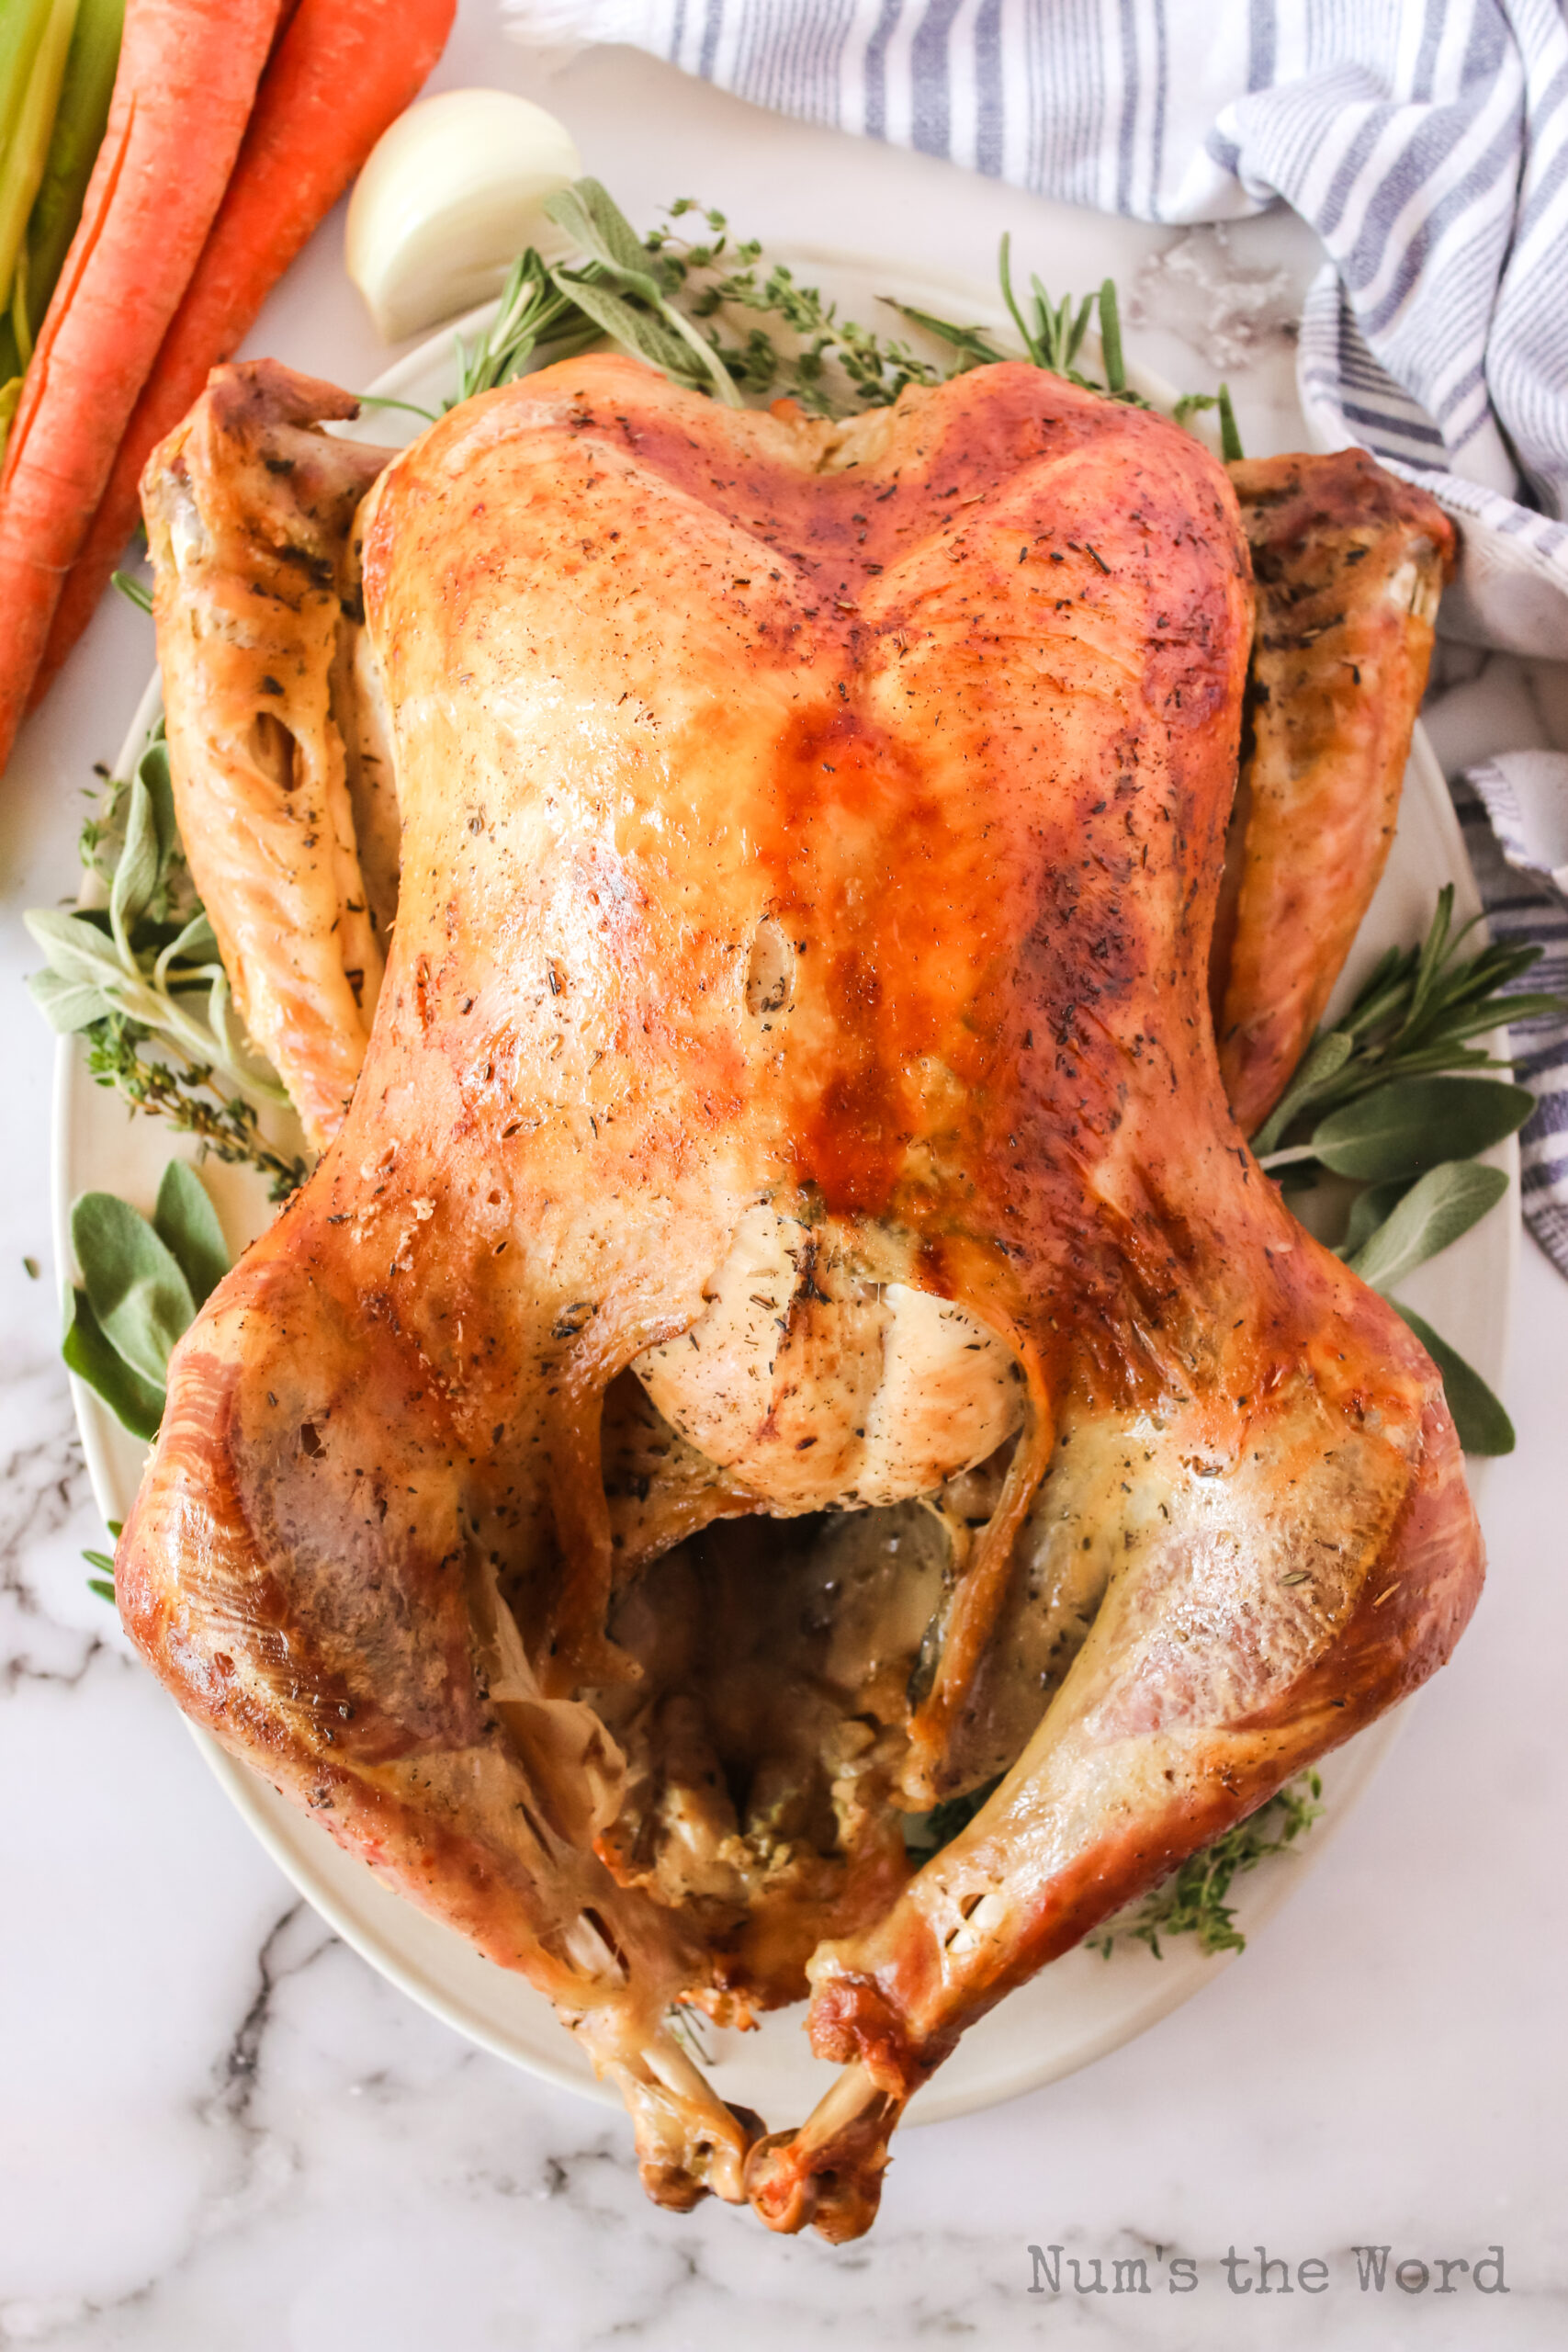
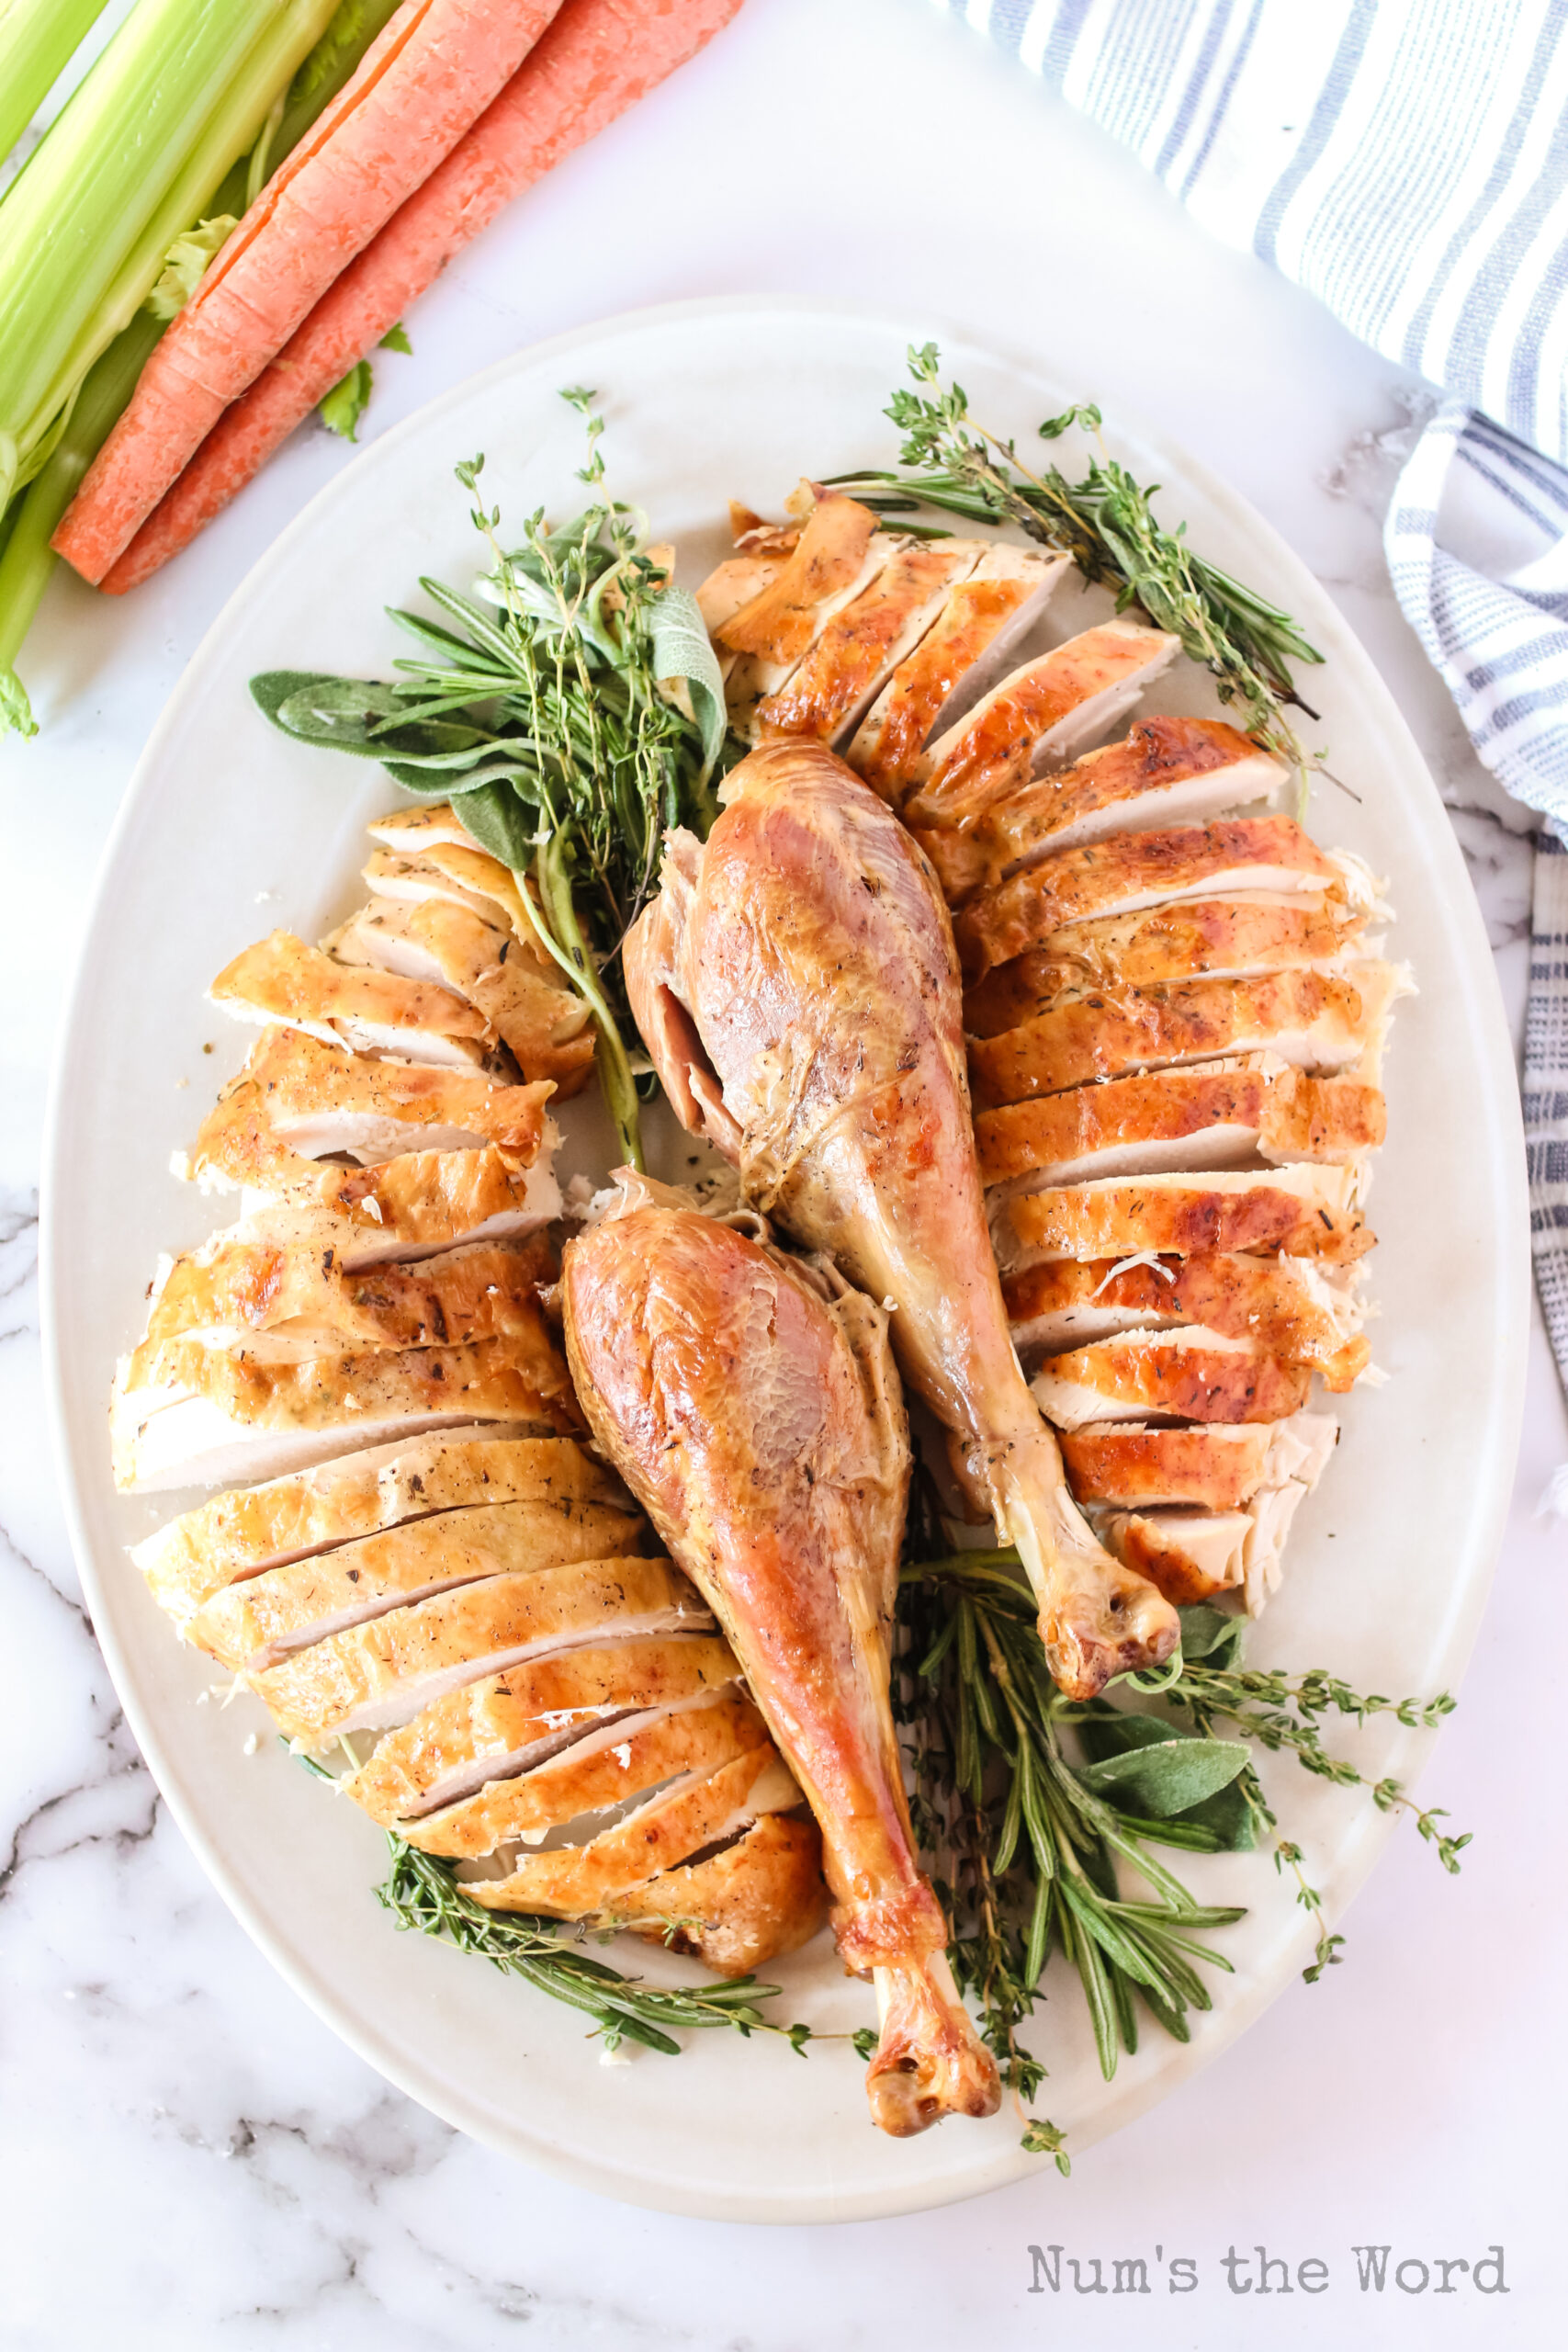
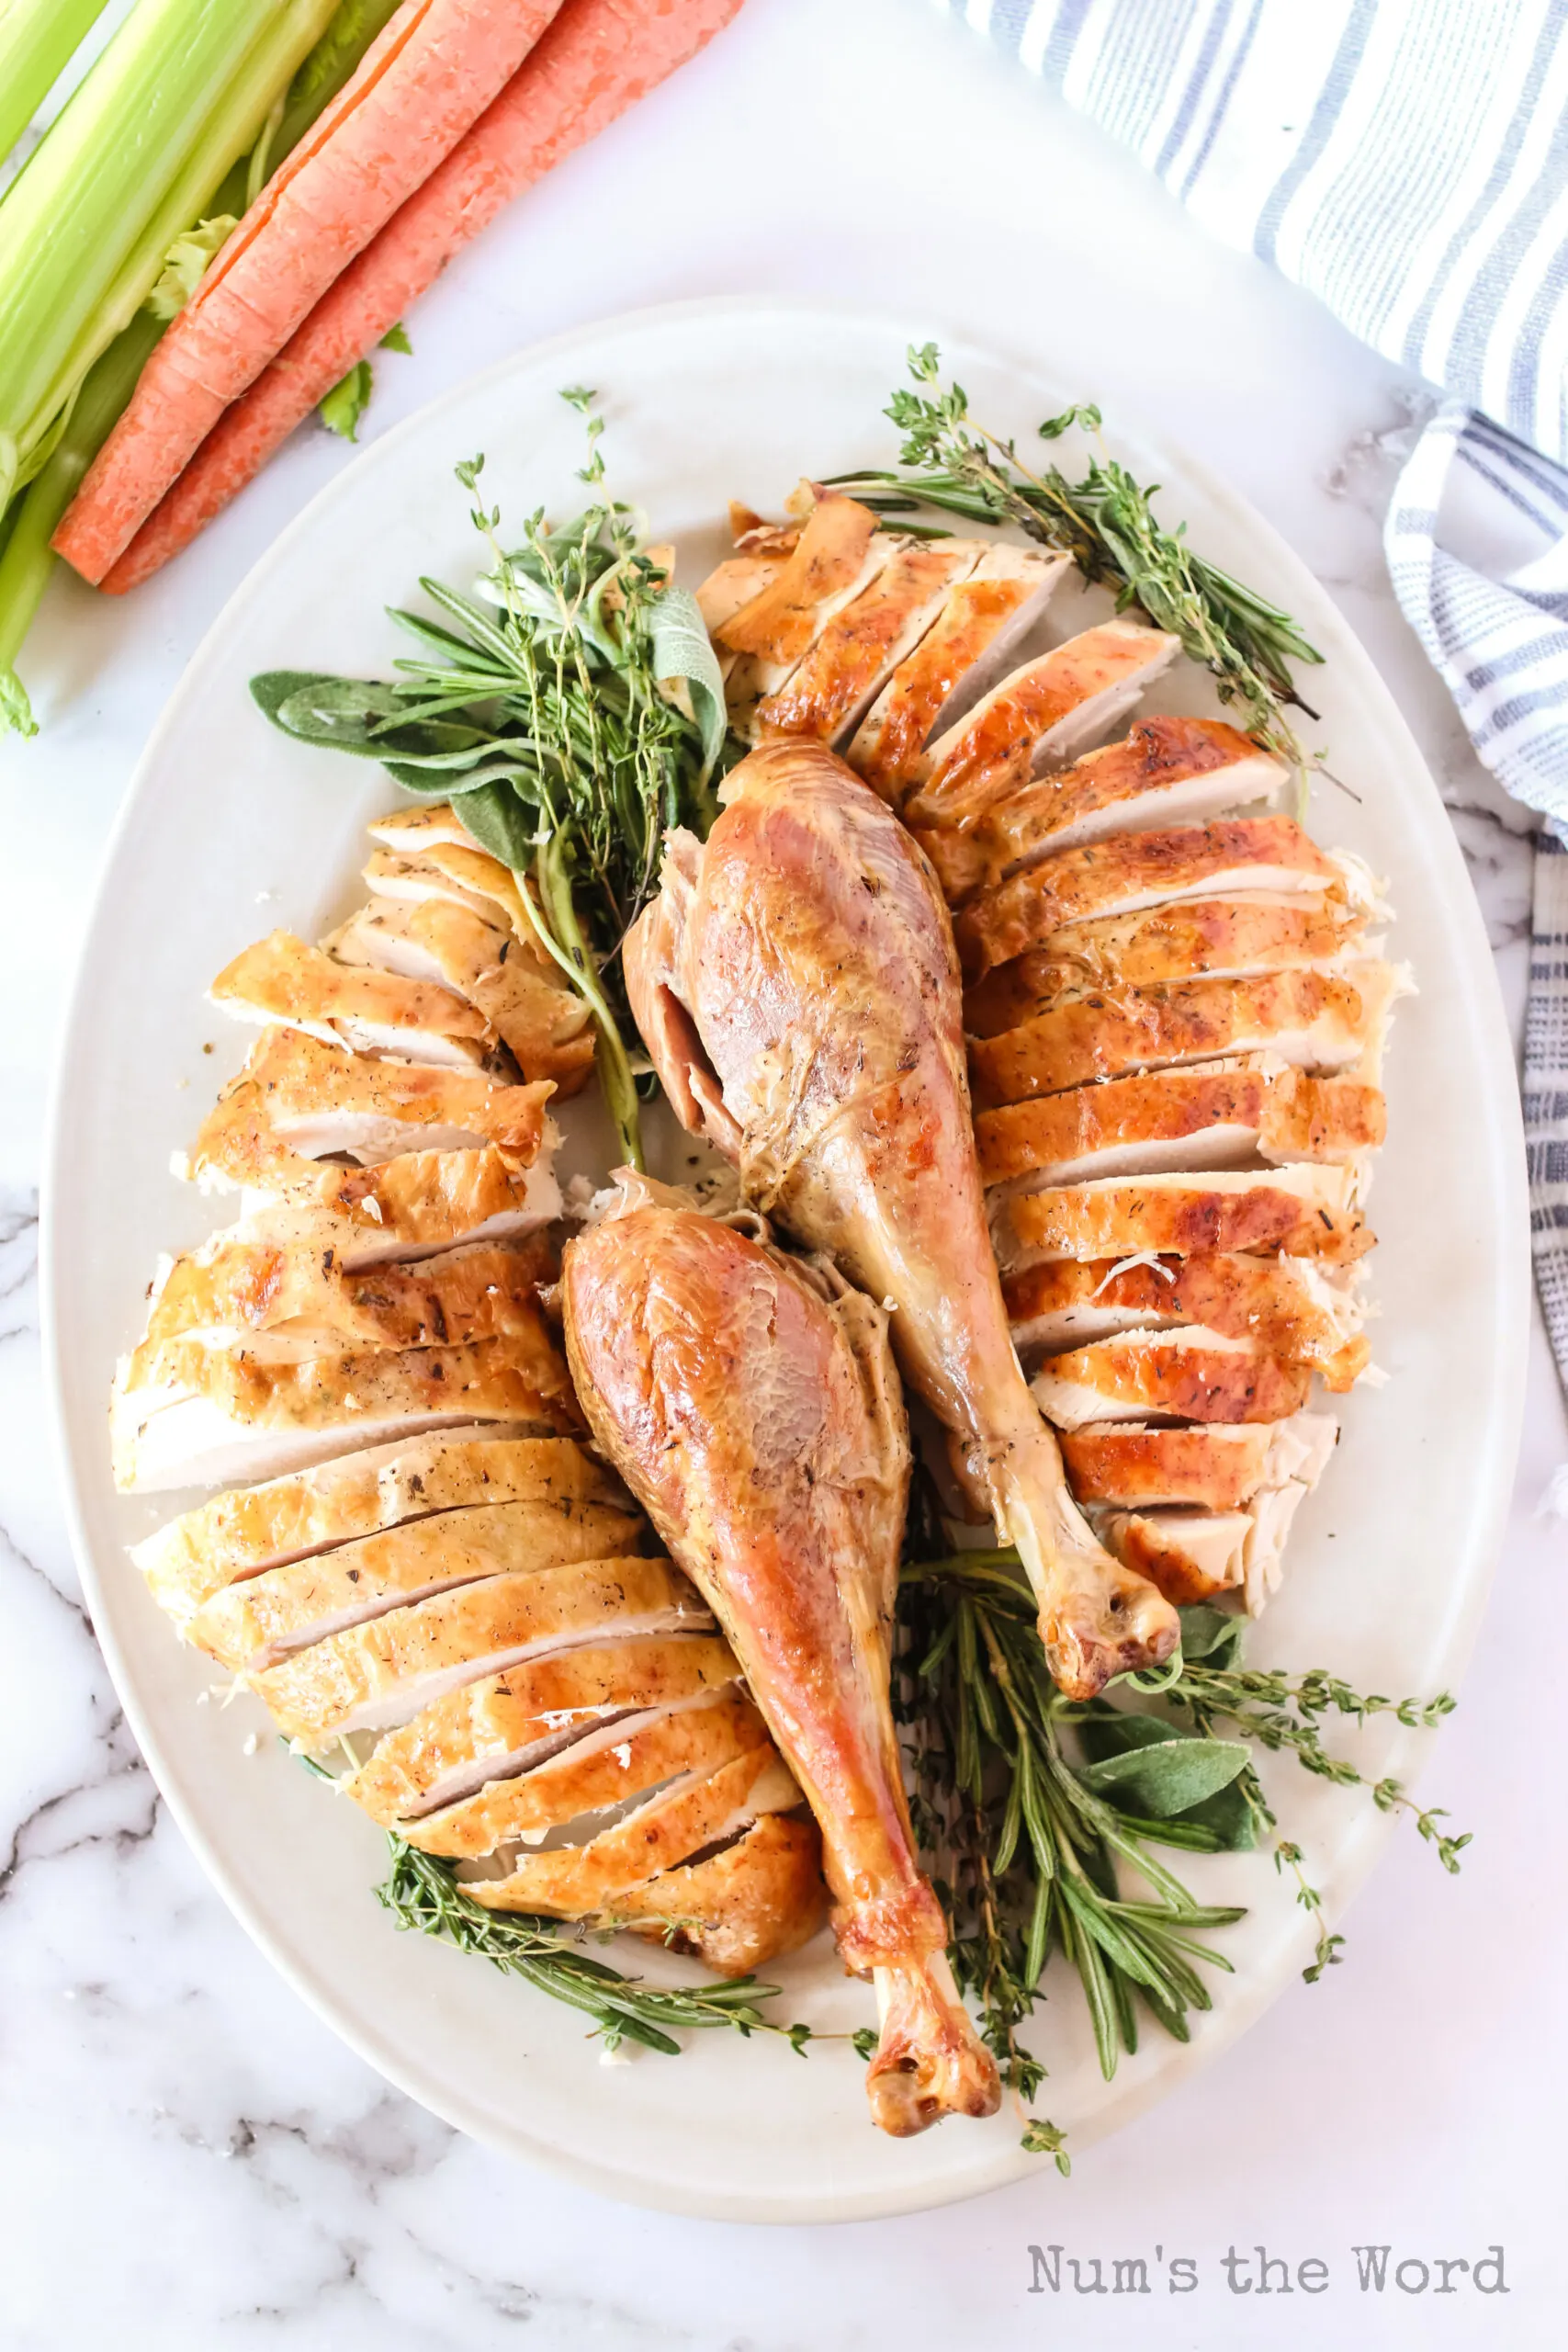
- Serve for thanksgiving dinner after letting your turkey rest for 5-10 minutes. Place it on a serving platter and enjoy!
How long to cook a turkey in a bag?
When you consider the pros and cons of cooking turkey in a bag, one of the greatest pros is that it takes less time to cook when you use an oven bag!
As usual, cooking times will vary based on the size of your bird. That’s why I always recommend using a corded digital thermometer — the kind you stick in the turkey and has a monitor outside the oven that tells you EXACTLY when the turkey is the correct temperature.
When I made a 17 pound turkey using this method, it took me 3 hours of cooking time.
Does turkey cook faster in a bag?
Yes! Turkey in a bag cooks faster. Additional pros are: easier cleanup, a more moist turkey, easier access to juices for gravy making, and more!
Do you baste a turkey in a bag?
That’s another pro when it comes to cooking turkey in a bag — you do not need to base a turkey in a bag! The bag traps the steam inside the bag, speeding up cooking time and eliminating the need for basting to keep things moist.

Do you need to brine a turkey in a bag?
Technically, you never need to brine a turkey. But I firmly believe you won’t regret adding brining to your turkey prep. Whether a wet or dry brine, you’ll find the flavor and texture MUCH improved. And not just the flavor, but you’ll have a tender turkey that is also juicy.
It’s important to remember that you should never brine your turkey longer than 48 hours. I recommend sticking to around 24 hours. If a turkey is left in the saline solution or dry brine for too long, it will begin to break the proteins in the meat down too much and give you mushy meat (eww!).
Do I need a roasting rack to cook a turkey in a bag?
No! Because all the moisture stays inside the bag, you do not need a roasting rack. However if you’d like to use one, you can! I though just put my bagged turkey in a roasting pan and bake it. It’s really a fool proof way of cooking a flavorful bird.
Where to put the digital thermometer?
Most turkeys come with their own pop out turkey thermometer. I suggest leaving that in. However right next to it, insert your instant read thermometer. This should be the thickest part of the thigh.

Can I cook a frozen turkey in a bag?
This recipe calls for a THAWED turkey before you even begin the brining process. I DO NOT recommend cooking frozen turkey, though there are some resources out there that will say it’s okay.
If you’re going to attempt, keep in mind that the cook time will be significantly longer (around 50% more). Most resources also say that you’ll want to cook frozen turkey in a bag to trap more of the heat and steam.

Leftover turkey recipes?
I’m the queen of leftover turkey recipes and leftovers reimagined! If you have leftover turkey, allow me to expand your horizons with the following turkey leftover ideas:
- Turkey and Black Bean Enchiladas
- Turkey Pot Pie
- Creamy Turkey and Rice Soup
- Turkey Noodle Casserole
- Salsa Verde Turkey Enchiladas
- Turkey Bone Broth
- Old Fashioned Turkey Soup
- Turkey Broccoli Casserole
- Turkey Lasagna
- Poppy Seed Turkey Casserole
- Turkey Crescent Rolls
- Easy Turkey Enchiladas
- Turkey Chili
- Nasi Goreng Ayam

If you’re looking for ways to best reheat leftover turkey without drying it out or negatively affecting the flavor, here are some additional ideas:
How to reheat a turkey in the oven:
Cut the turkey into uniform-size pieces and add a little extra butter or gravy on top and some stock at the bottom of the baking dish. Bake for around 30 minutes at 350 degrees.
Reheat in the microwave:
You’ll want to follow the same principles as mentioned above to maintain moisture — cut into uniform size pieces, add butter or gravy to the top, and cover. Microwave at medium heat in short bursts. This is the least-best method.
Steam heating:
This method is the least likely to dry the turkey out, but is also easy to overheat. You can use a steaming trivet on the stovetop or the pot-in-pot method in the Instant Pot using the steam function. I’ve personally had the best results with the Instant Pot pot-in-pot method with the meat covered and additional butter, gravy or broth added.
If you’re looking for the perfectly moist and easy turkey recipe for this holiday season, you’ve come to the right place! Turkey in a bag cooks faster, stays moister, has easier cleanup, and is practically fool-proof. Enjoy!
Cooking Turkey in a Bag


If you've ever wondered what cooking a turkey in a bag is all about, then you're in the right place. Cooking a tender, juicy, and incredibly easy turkey is about to become a reality for you!
Ingredients
- 17 pound turkey
- 3 Tablespoons kosher salt
- 1/2 teaspoon dried thyme
- 1/2 teaspoon dried sage
- 1/2 teaspoon dried rosemary
- 3/4 teaspoon ground black pepper
- 1/4 cup butter, room temperature
- 1 yellow onion, quartered
- 2-3 full sized carrots
- 2-3 stalks of celery
- 2 Tablespoons all-purpose flour
Instructions
- How to Dry Brine Your Turkey:
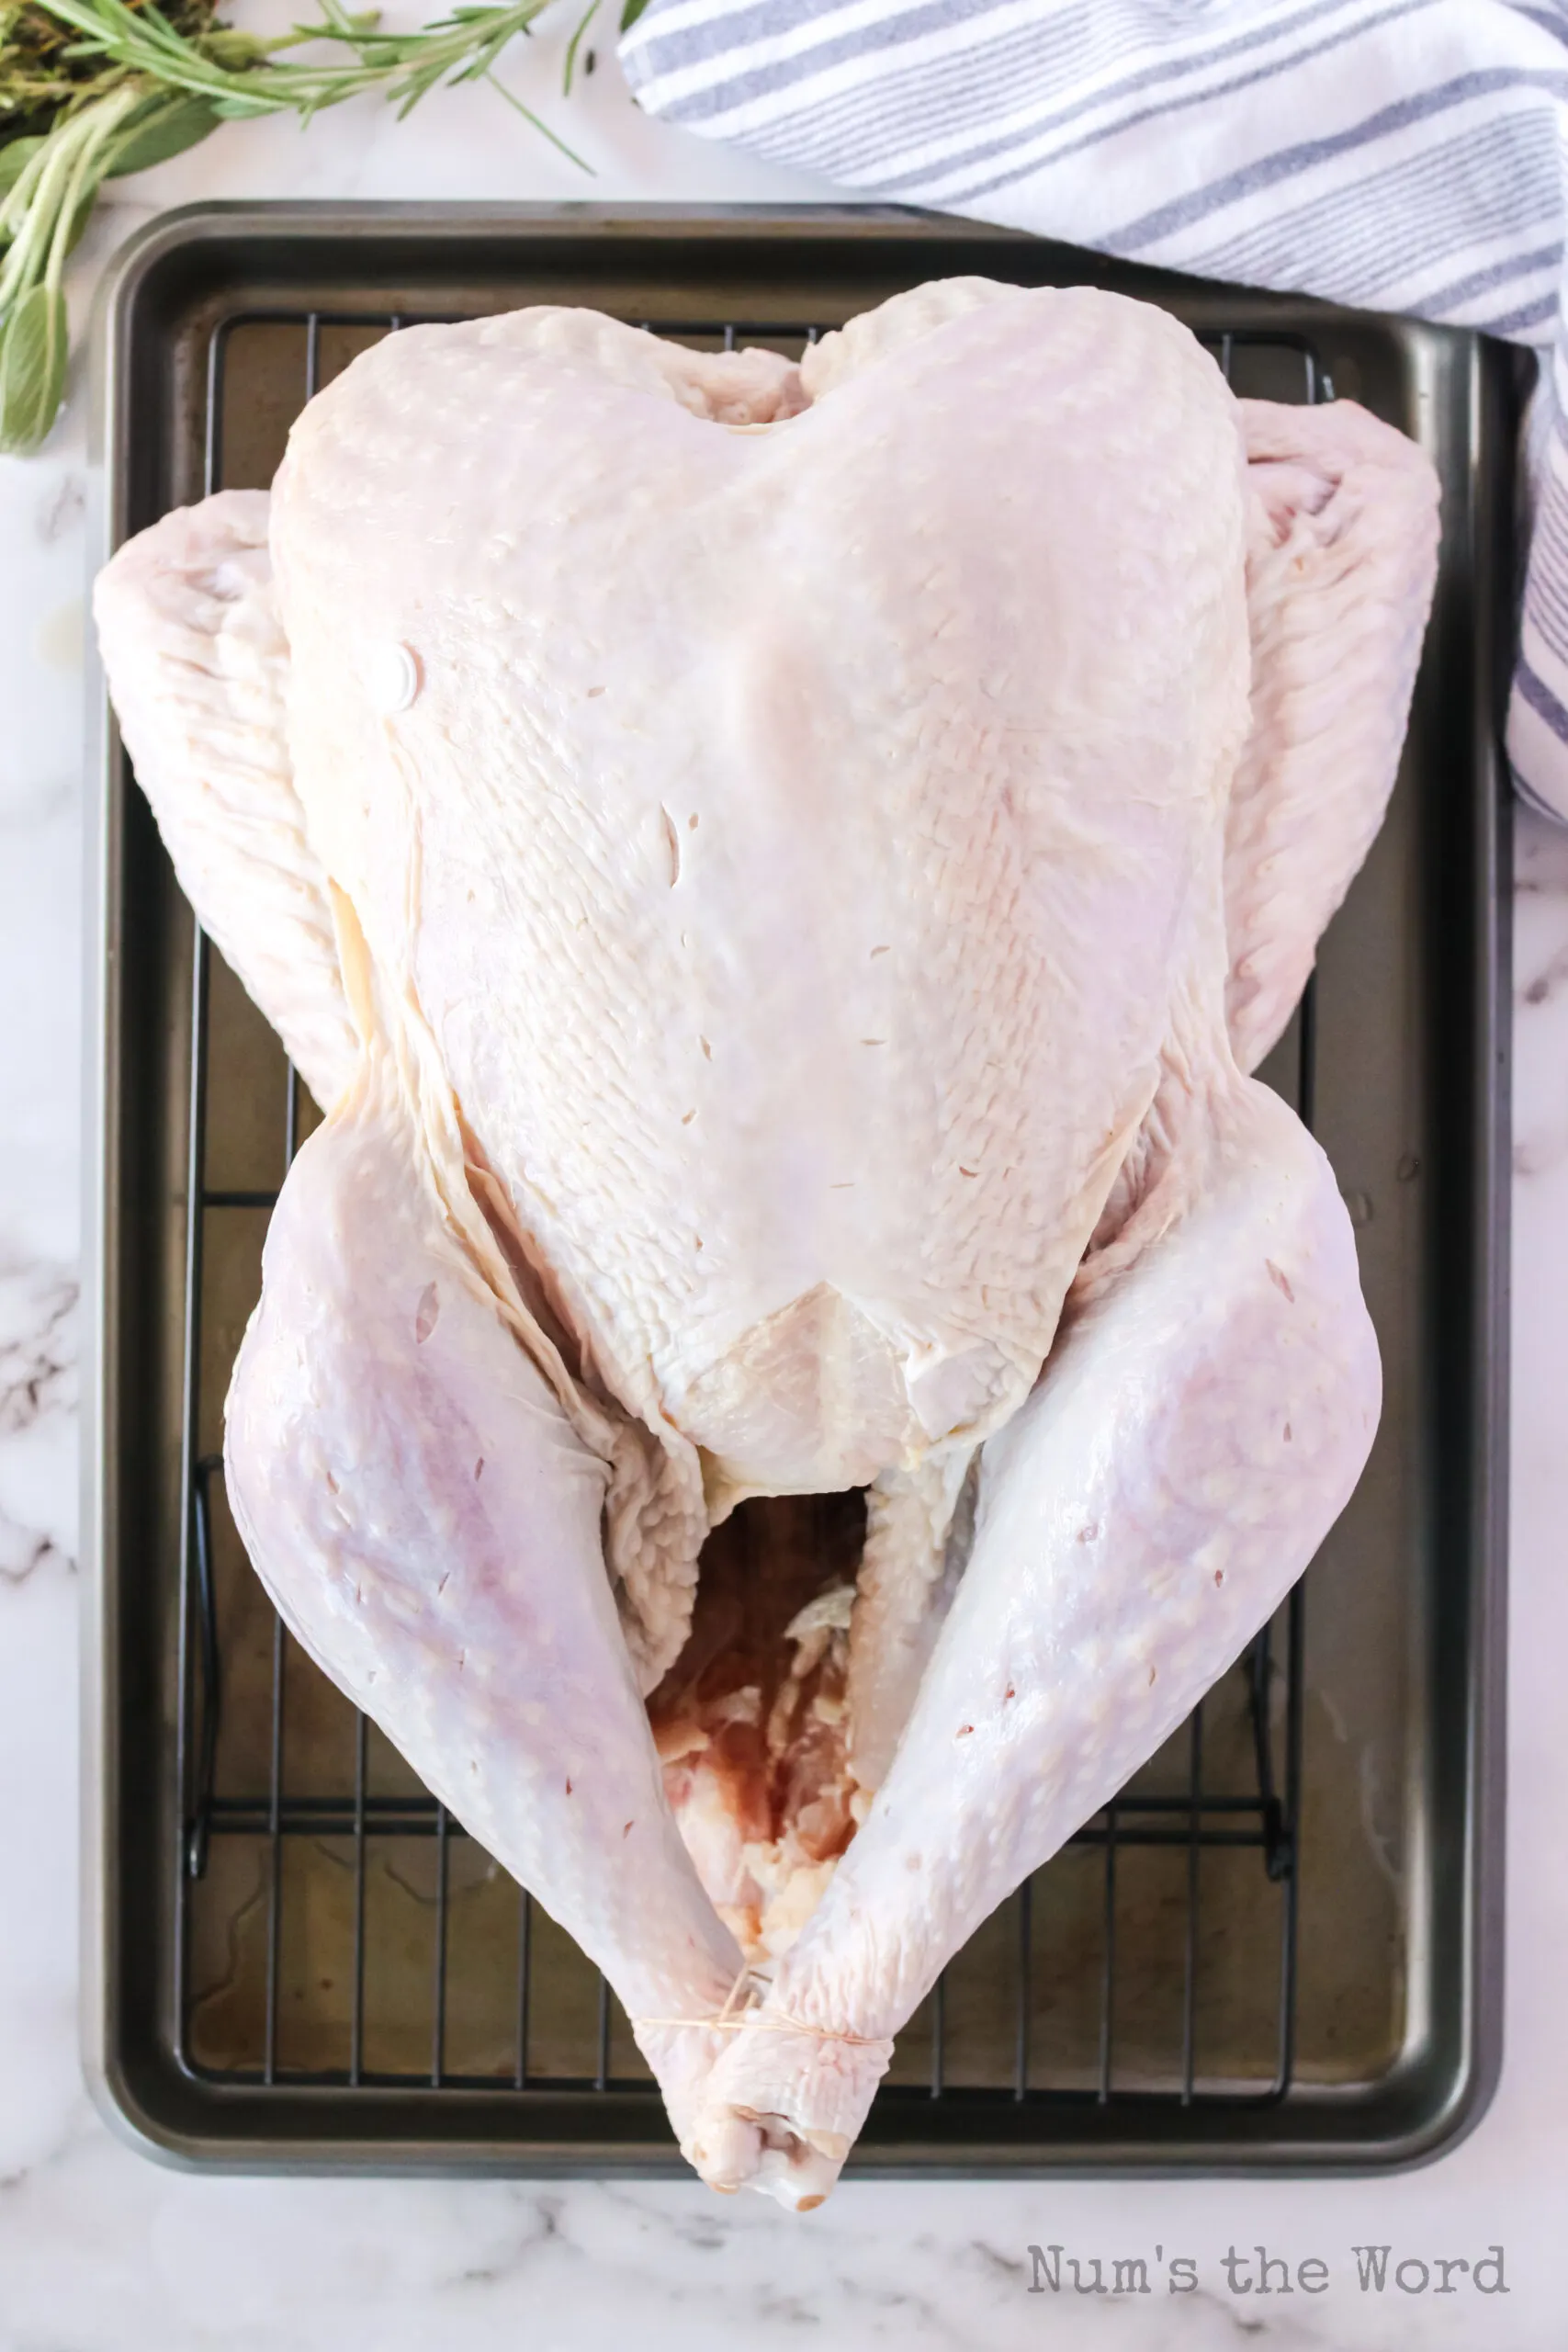
- Make sure your turkey is fully thawed.
- Open up the turkey and remove gizzards and neck, leave leg ties on. If you don't plan to cook neck and gizzards, then toss them.
- Rinse turkey.
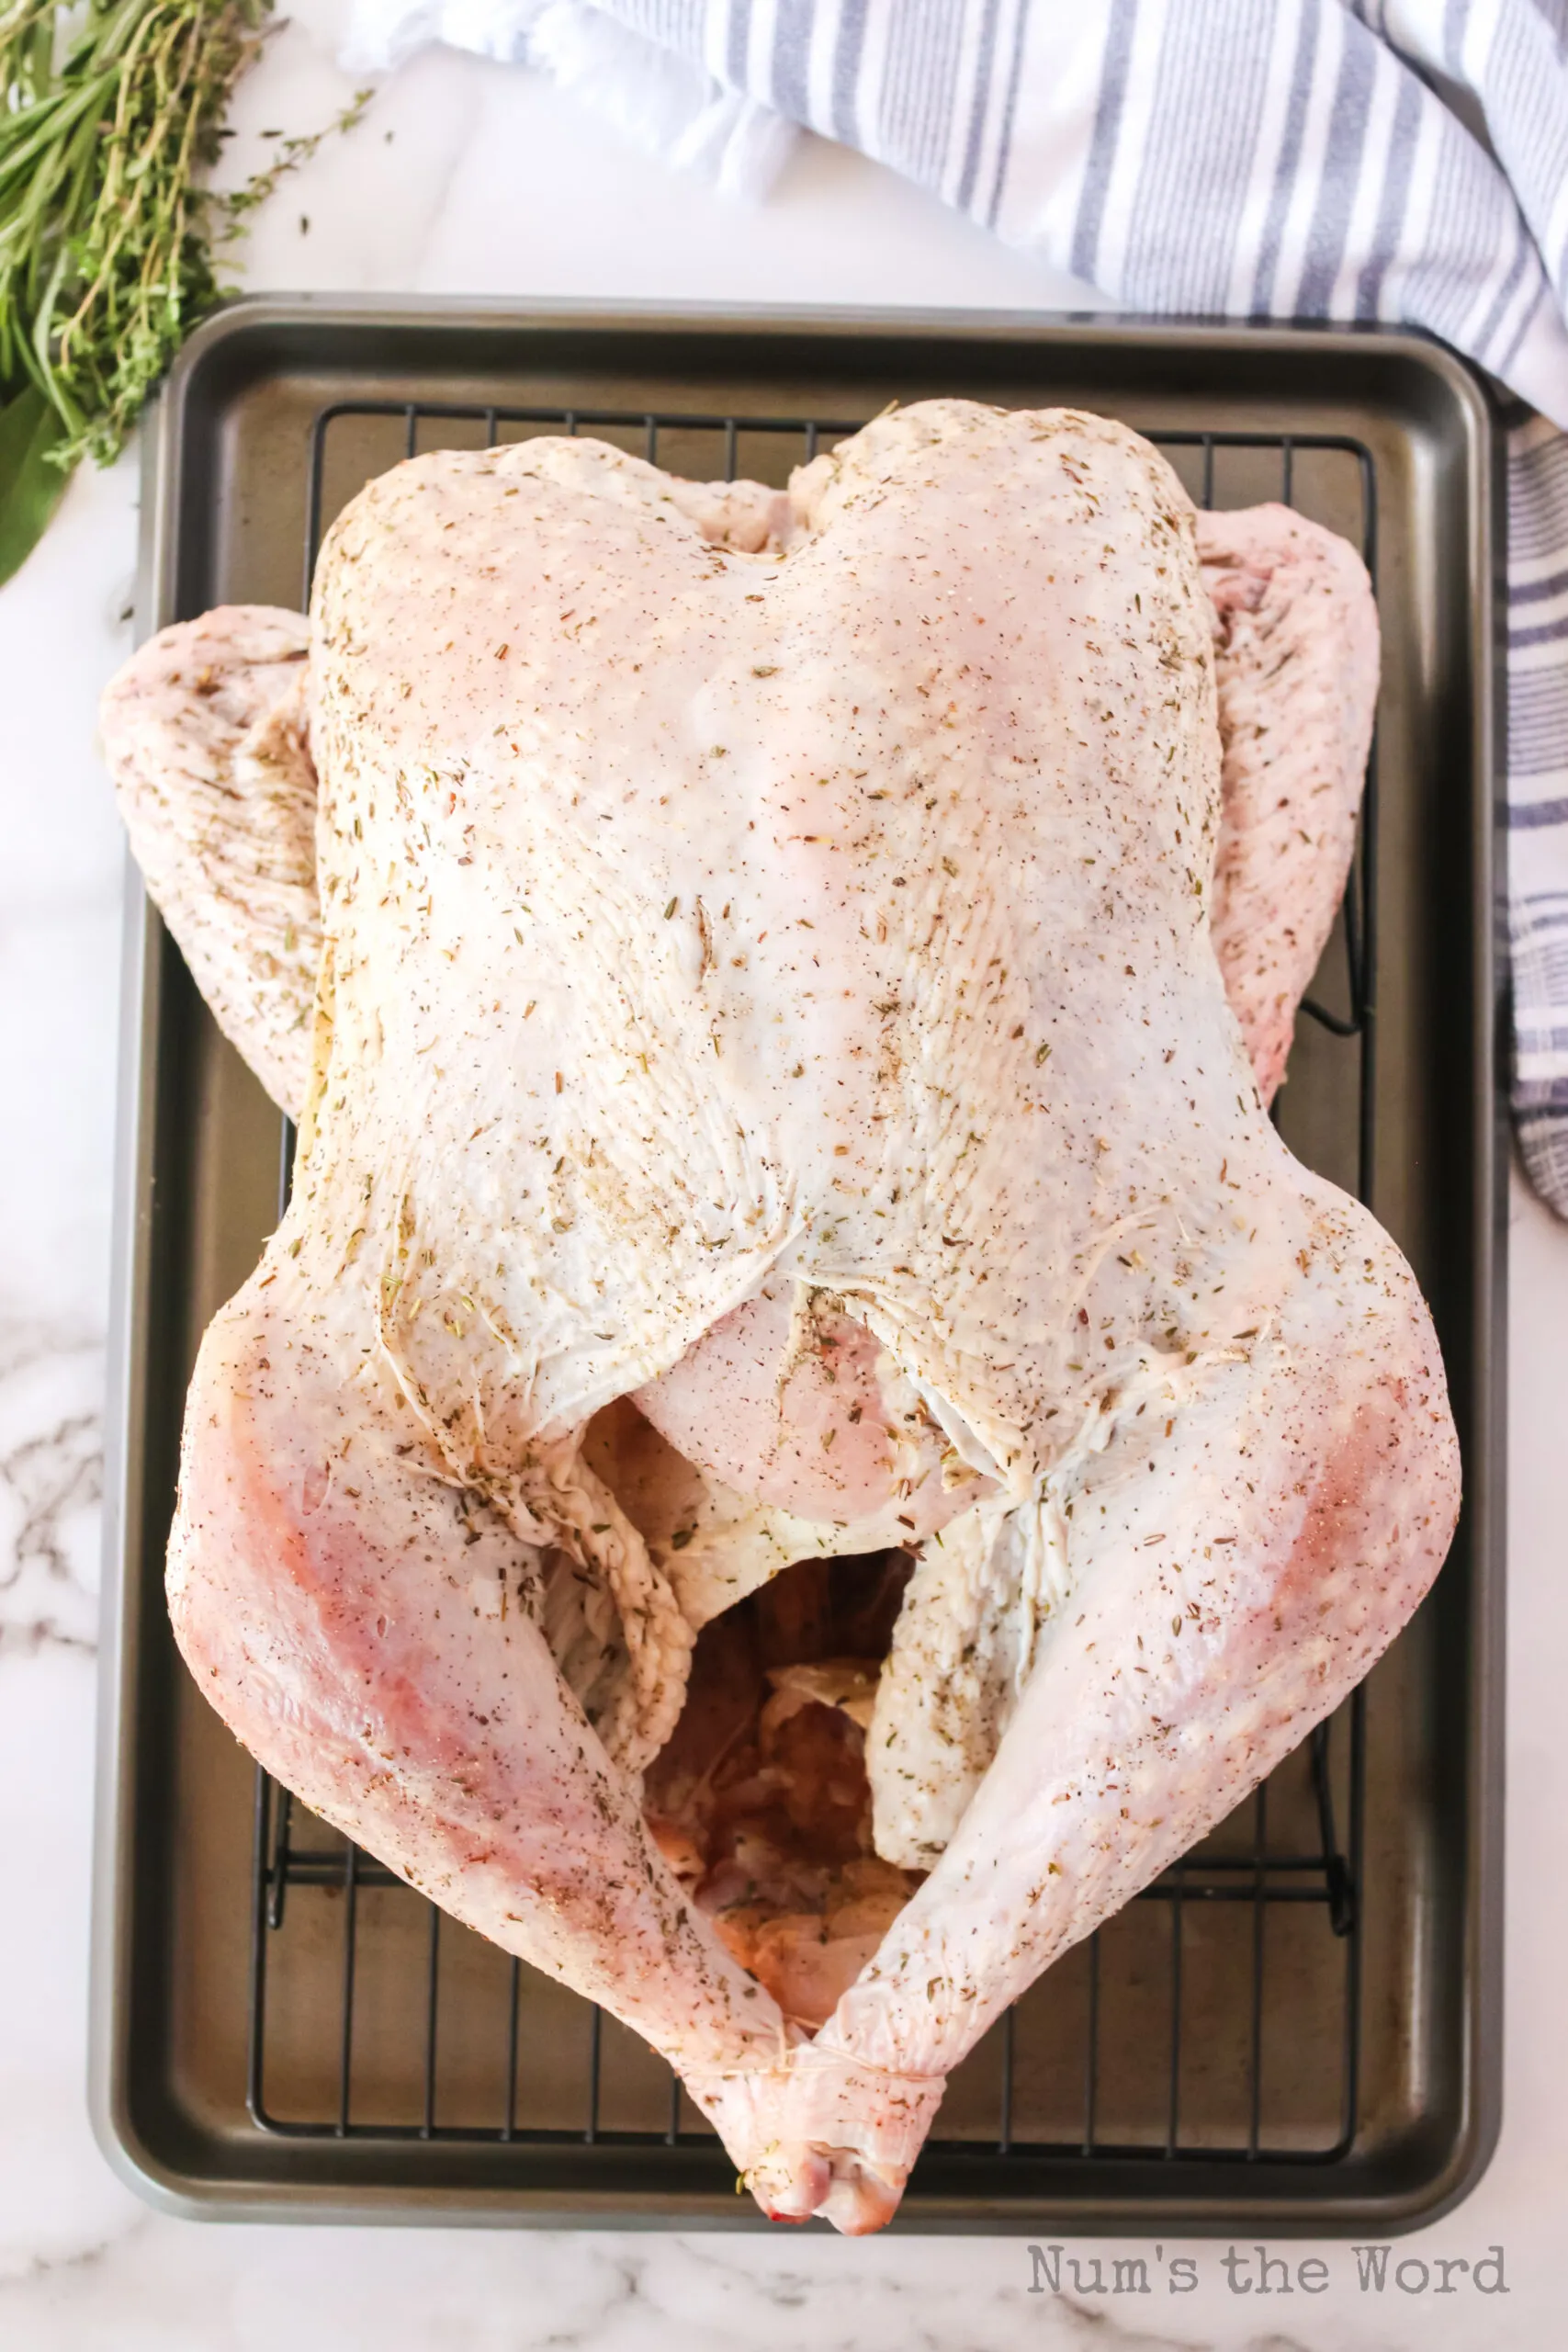
- In a small bowl combine 3 Tablespoons kosher salt, 1/2 teaspoon dried thyme, 1/2 teaspoon dried sage, 1/2 teaspoon dried rosemary and 3/4 teaspoon ground black pepper.
- Place your hands under the skin of the turkey breast to create a pocket.
- Rub your dry brine mixture all over the outside of your turkey, under the skin and sprinkle 3/4 teaspoon inside the turkey cavity and spread all around.
- Place the turkey in the fridge - DO NOT COVER, the skin will dry out and be nice and crispy.
- Brine for 24 - 48 hours in the fridge until ready to cook.
- How to Cook a Turkey in a Bag:
- Cook Turkey in an Oven Bag
- Preheat oven to 350*F
- Remove turkey from the fridge.
- DO NOT rinse or wash off brine. Leave it on there.
- Remove the turkey timer that came with the turkey and toss it away.
- Take 1/4 cup of room temperature butter and rub it all over the turkey skin, under skin and inside the cavity.
- Place 1 onion quartered, 2-3 full sized carrots with ends trimmed off and 2-3 stalks of celery with the end trimmed off inside the turkey cavity.
- In an oven ready turkey bag, place 2 Tablespoons of all-purpose flour inside the bag. Seal the bag off with your hands and shake it all over (to coat the bag with flour). This will prevent the bag from bursting in your oven and hopefully sticking to your bird during the baking process.
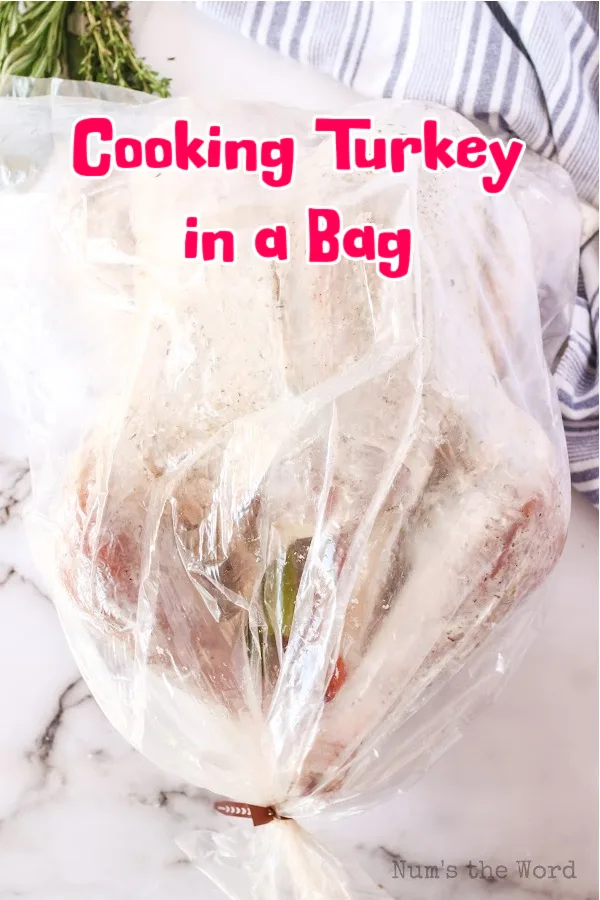
- Place the turkey into the turkey bag and seal with the provided zip tie.
- Poke the bag 4-5 times to create small holes (venting).
- Place the turkey bag into an oven roasting pan or large pan.
- Place a digital thermometer with cord into the turkey breast where the timer hole is and set the thermometer to 165F.
- Place your turkey into the preheated oven and bake until the internal temperature reaches 165*F of turkey.
- This took me 3 hours with a 17 pound turkey.
- When done cooking, remove from the oven and let sit for 10 minutes.
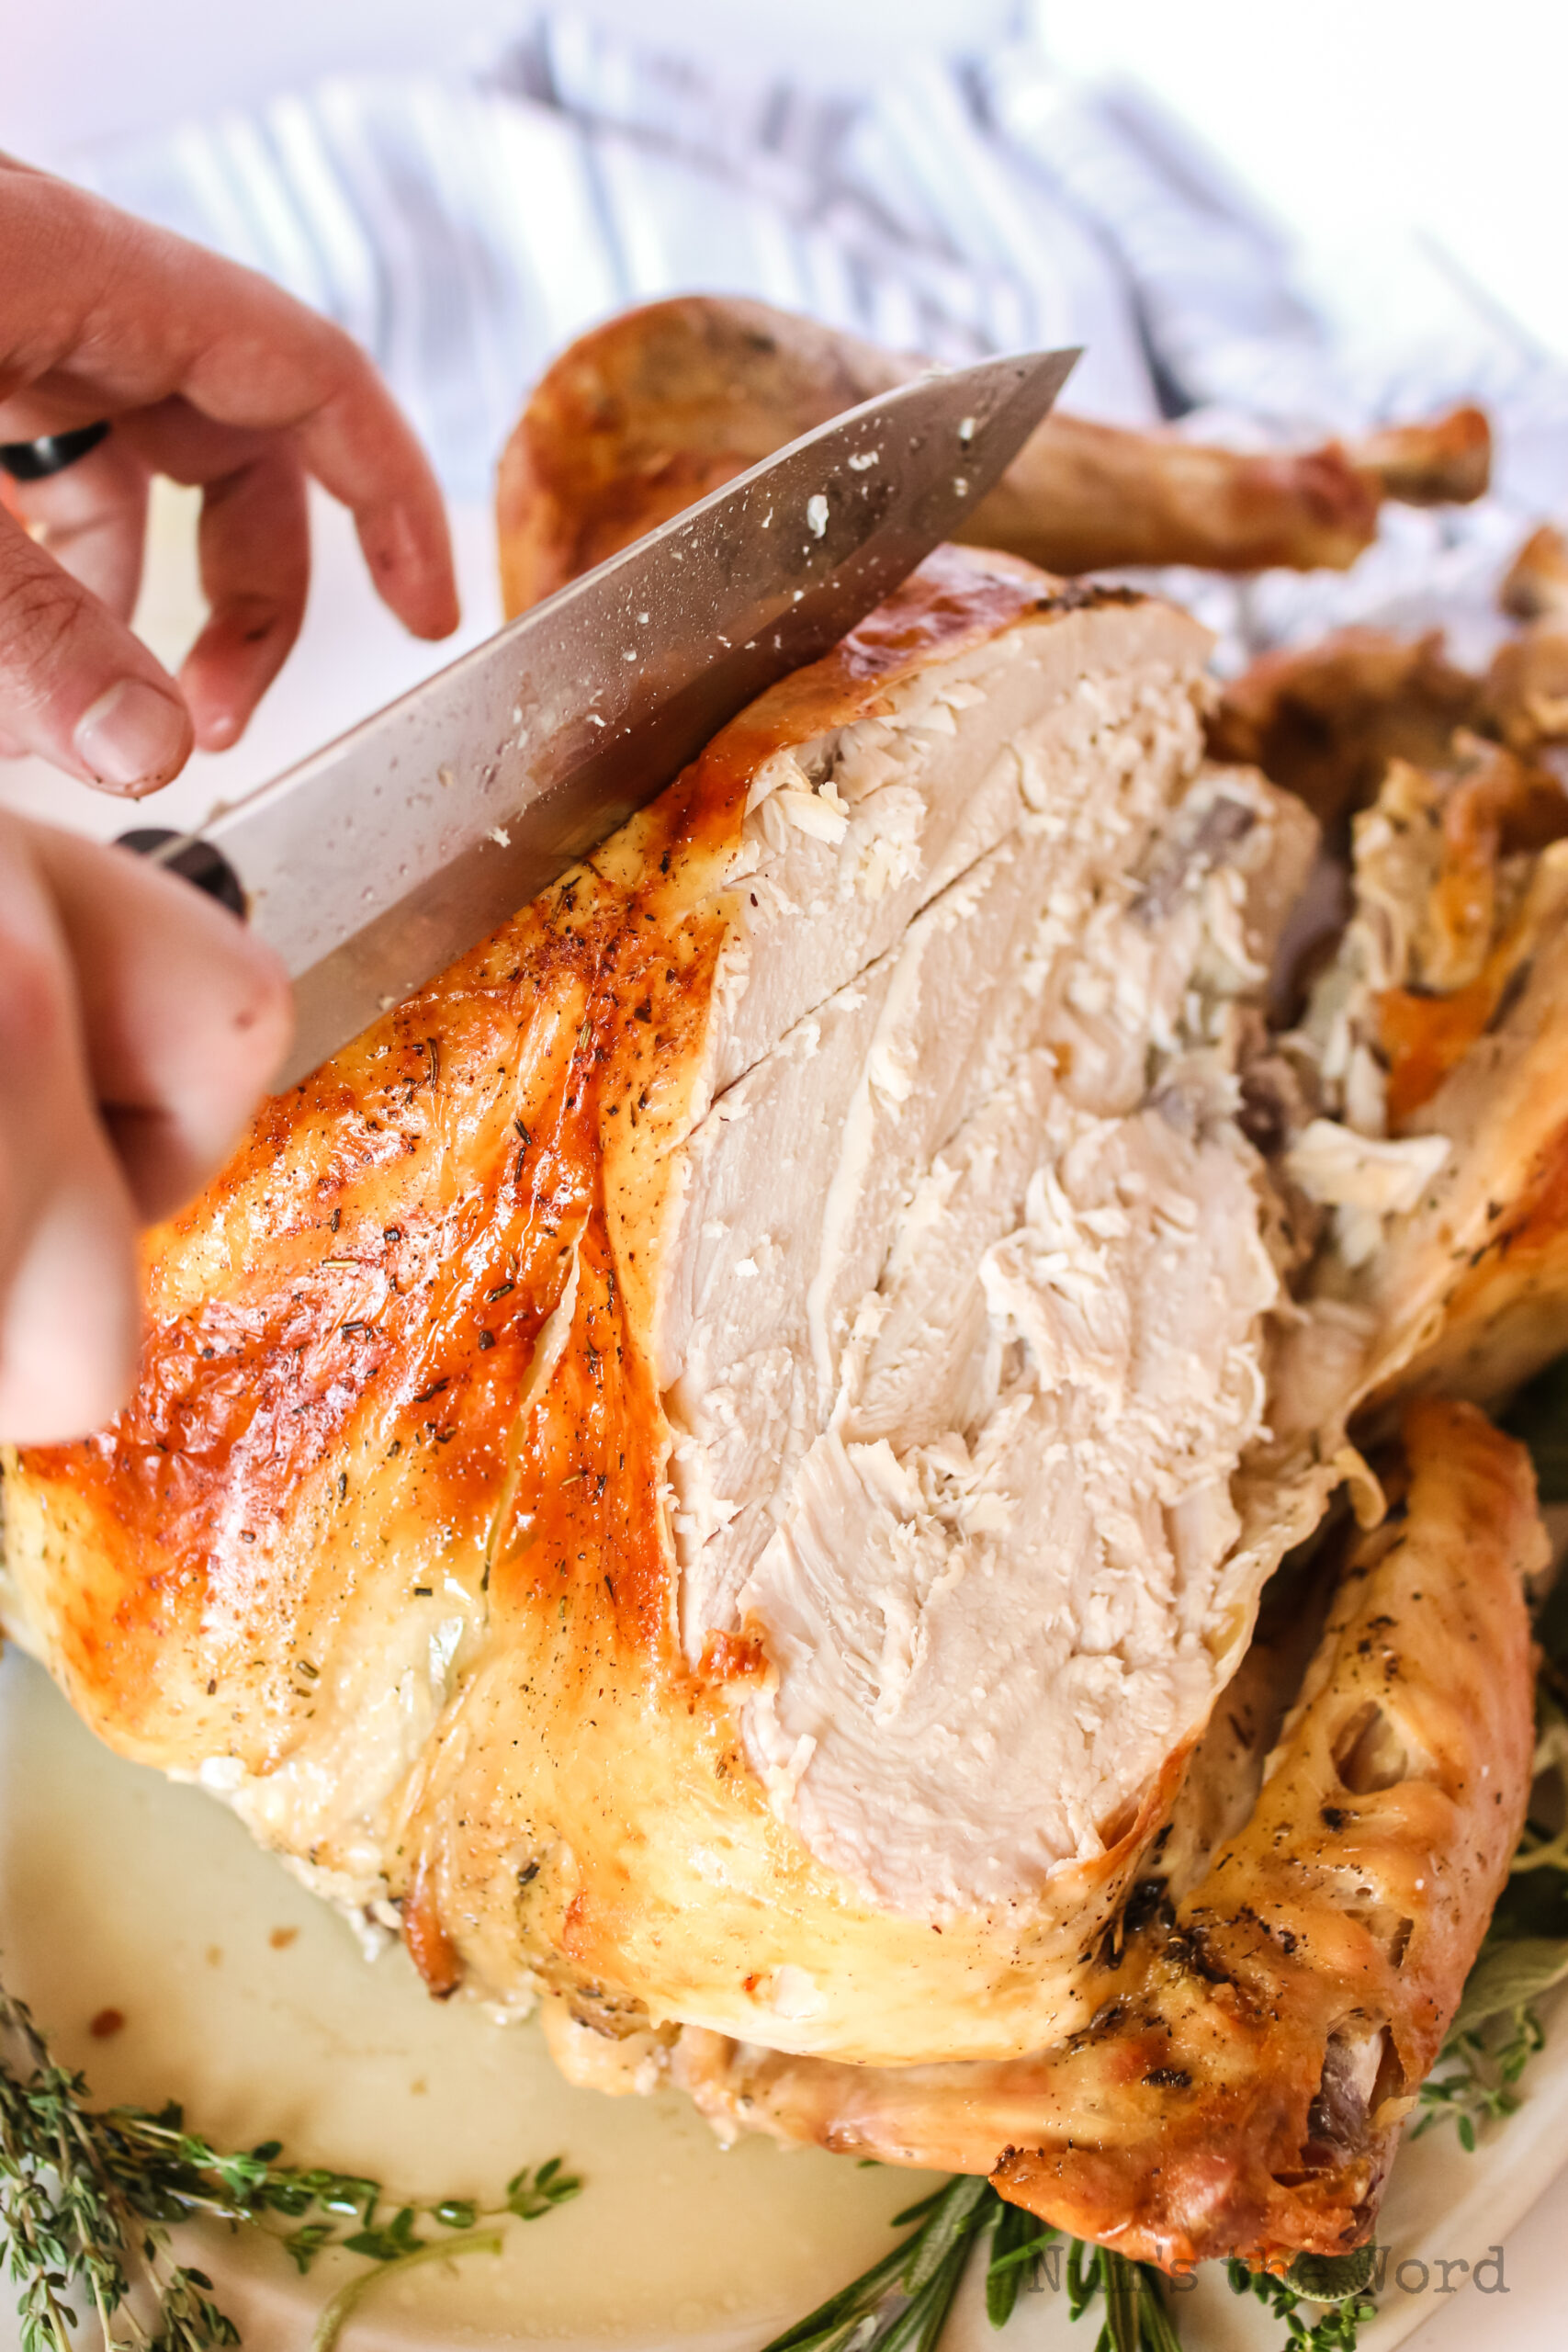
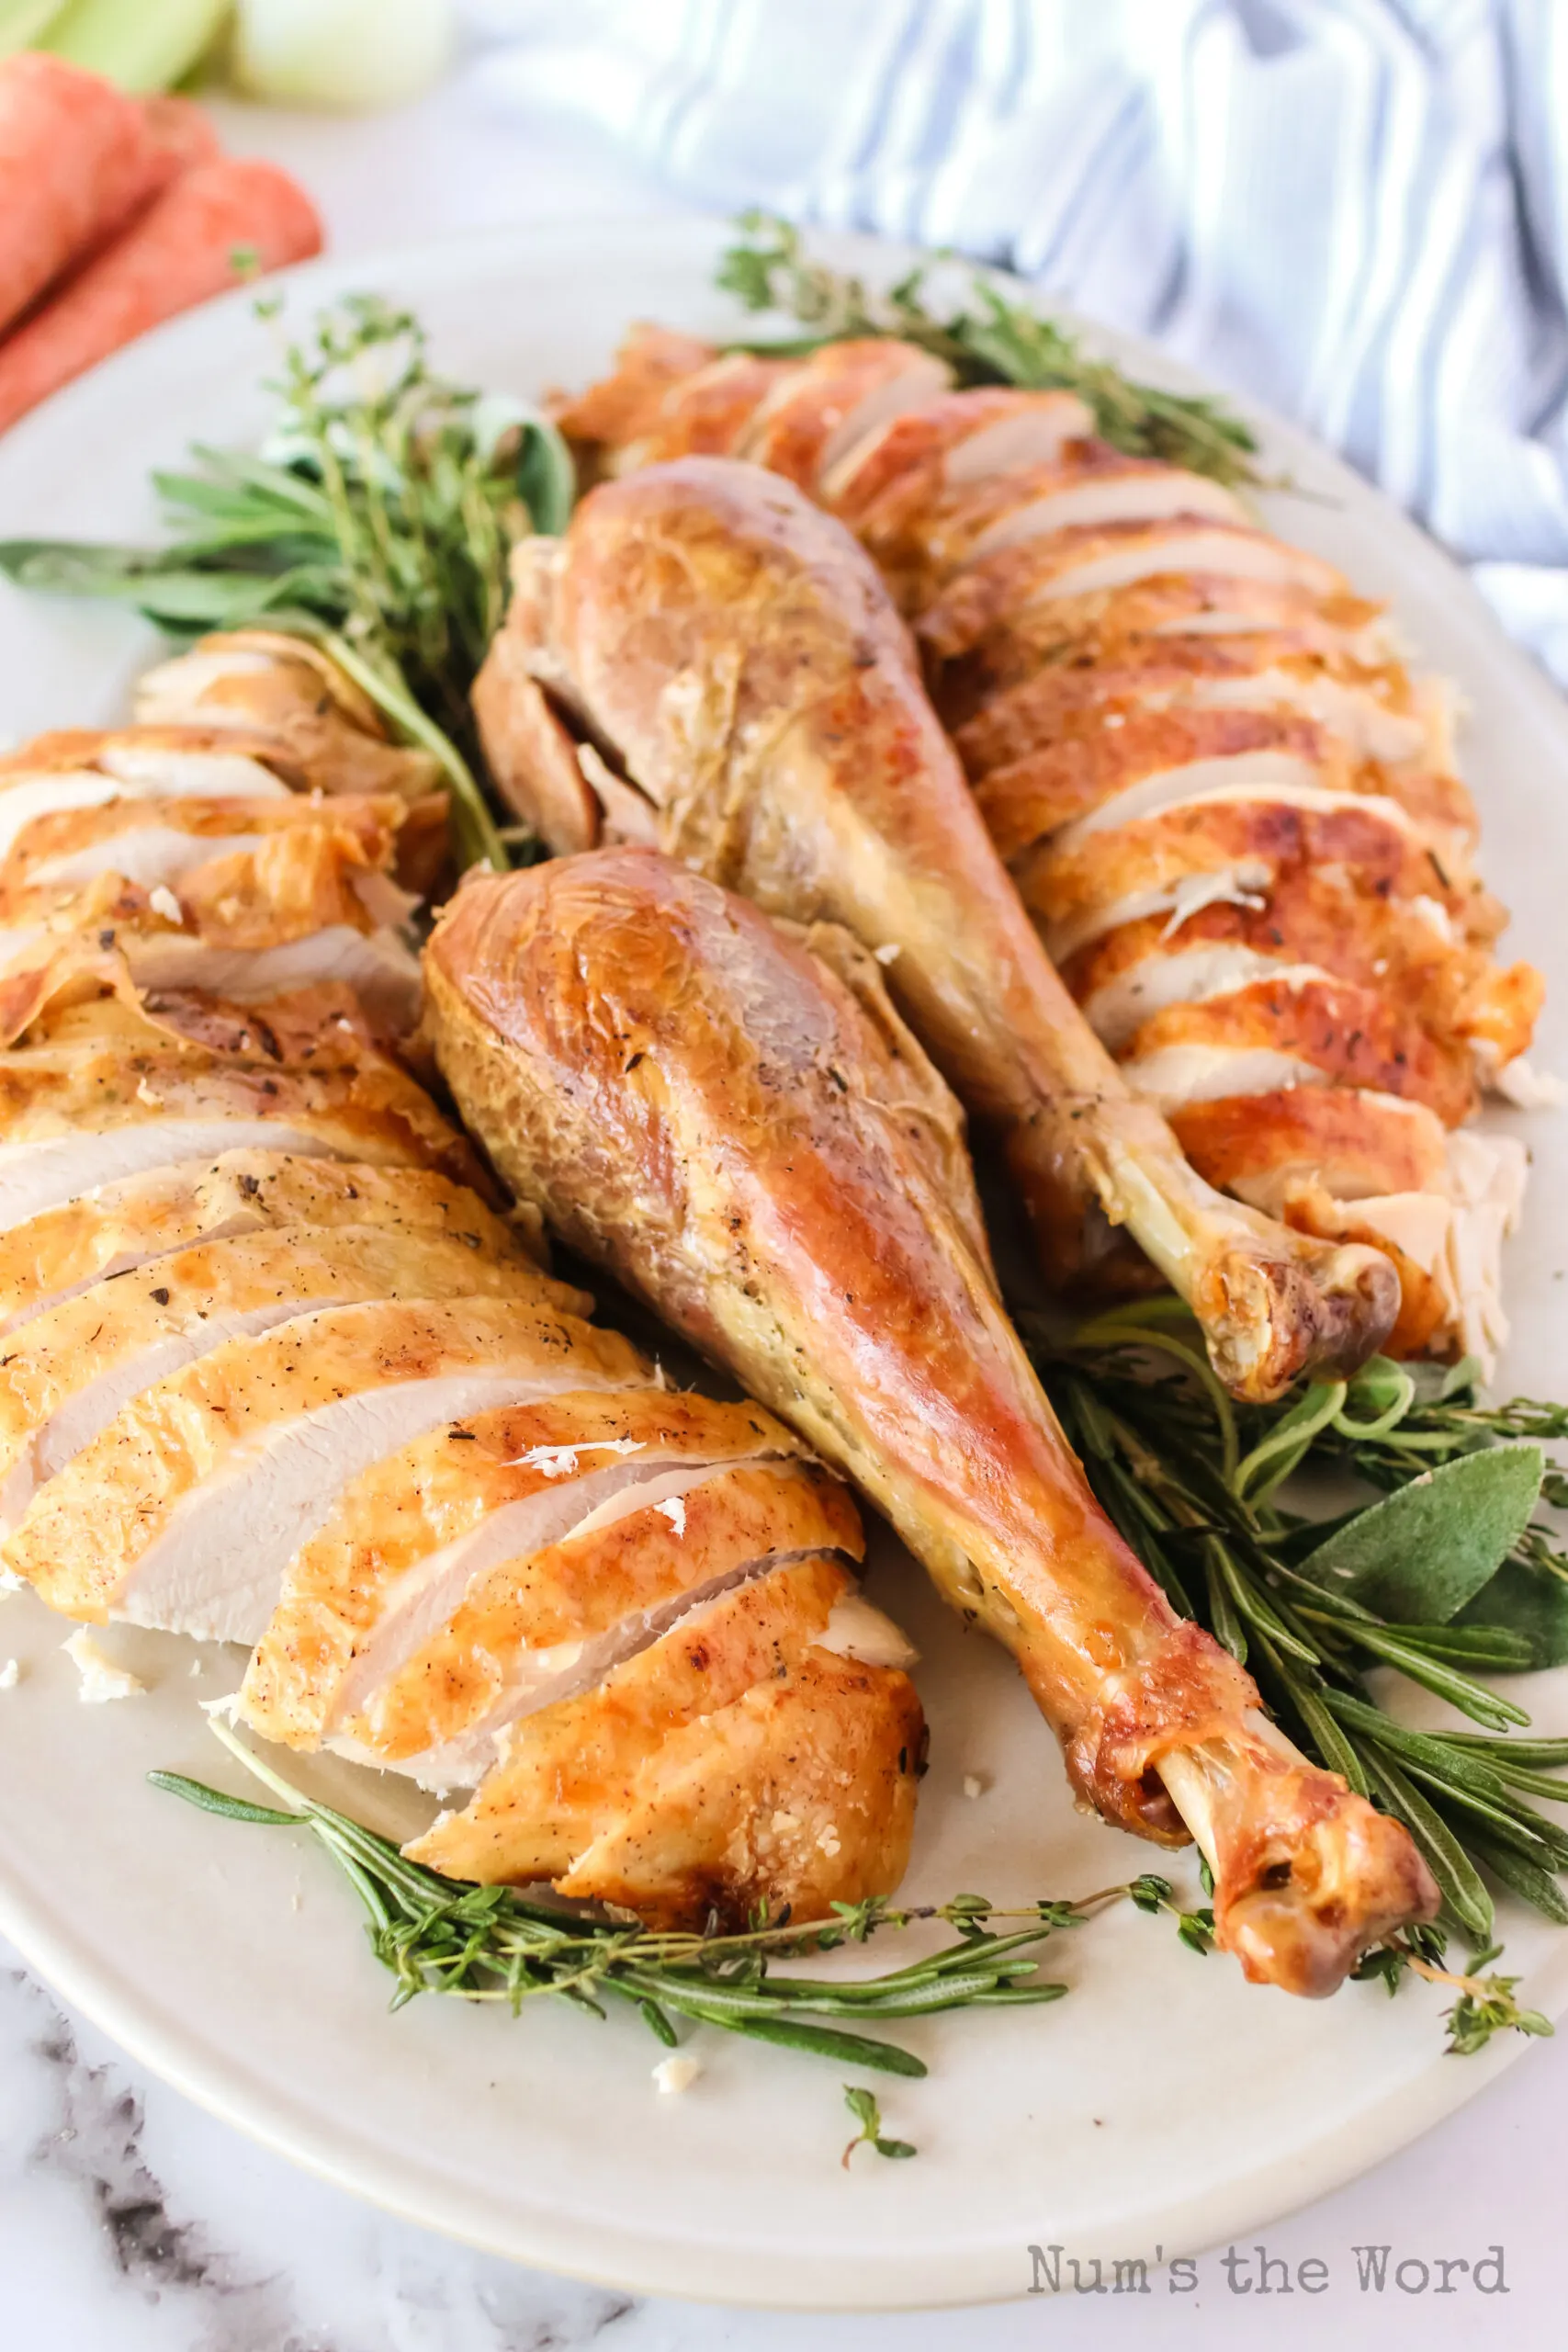
- CAREFULLY open the bag and remove the turkey to a platter.
- Remove leg clamps if still attached (snip with scissors).Carve bird and serve.
Notes
12 - 16 pound turkey: 2 - 3 hours
16 - 20 pound turkey: 3 hours - 4 hours
20 - 24 pound turkey: 4 - 5 hours
These times are based on my oven and are estimated times.
Nutrition Information:
Yield:
17Serving Size:
1Amount Per Serving: Calories: 891Total Fat: 36gSaturated Fat: 11gTrans Fat: 1gUnsaturated Fat: 22gCholesterol: 502mgSodium: 1165mgCarbohydrates: 3gFiber: 1gSugar: 1gProtein: 130g