
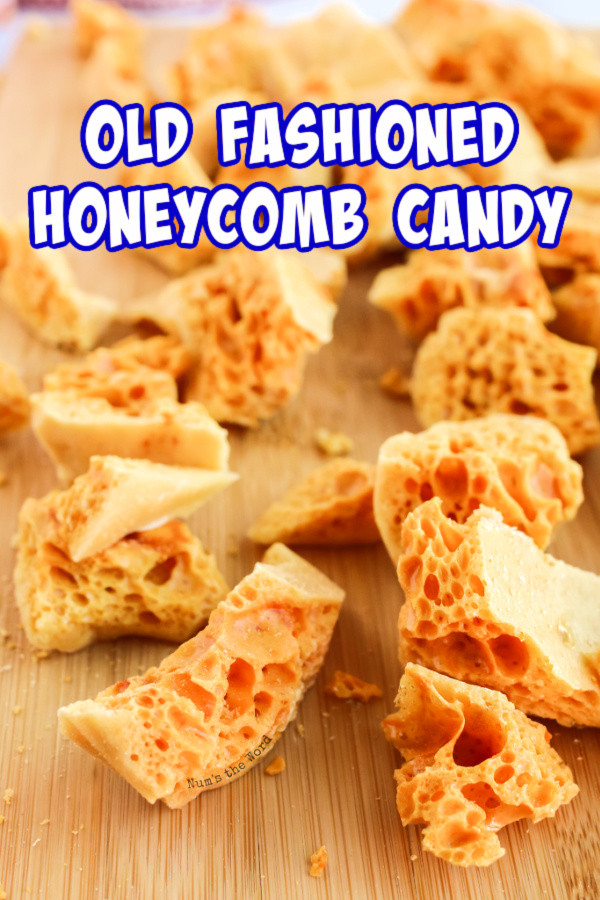
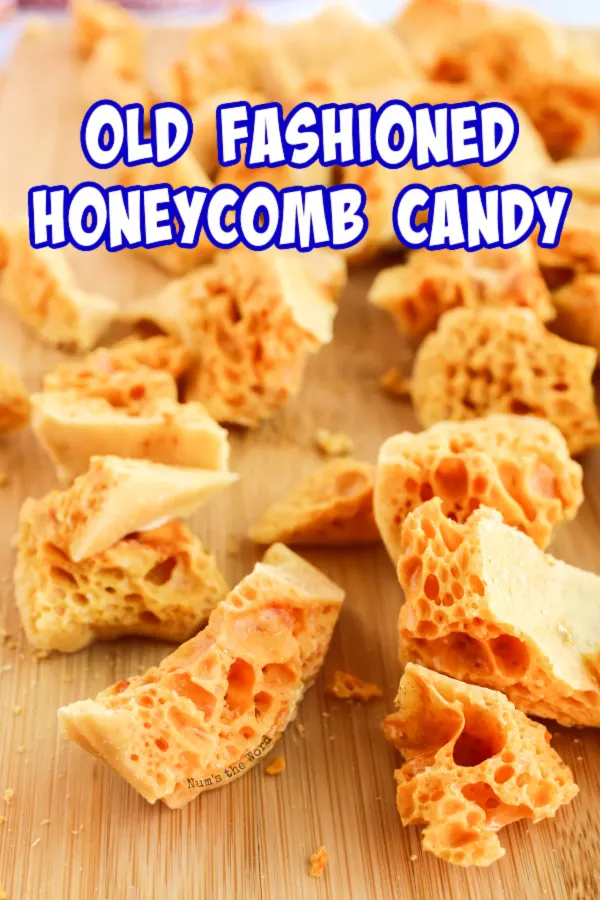
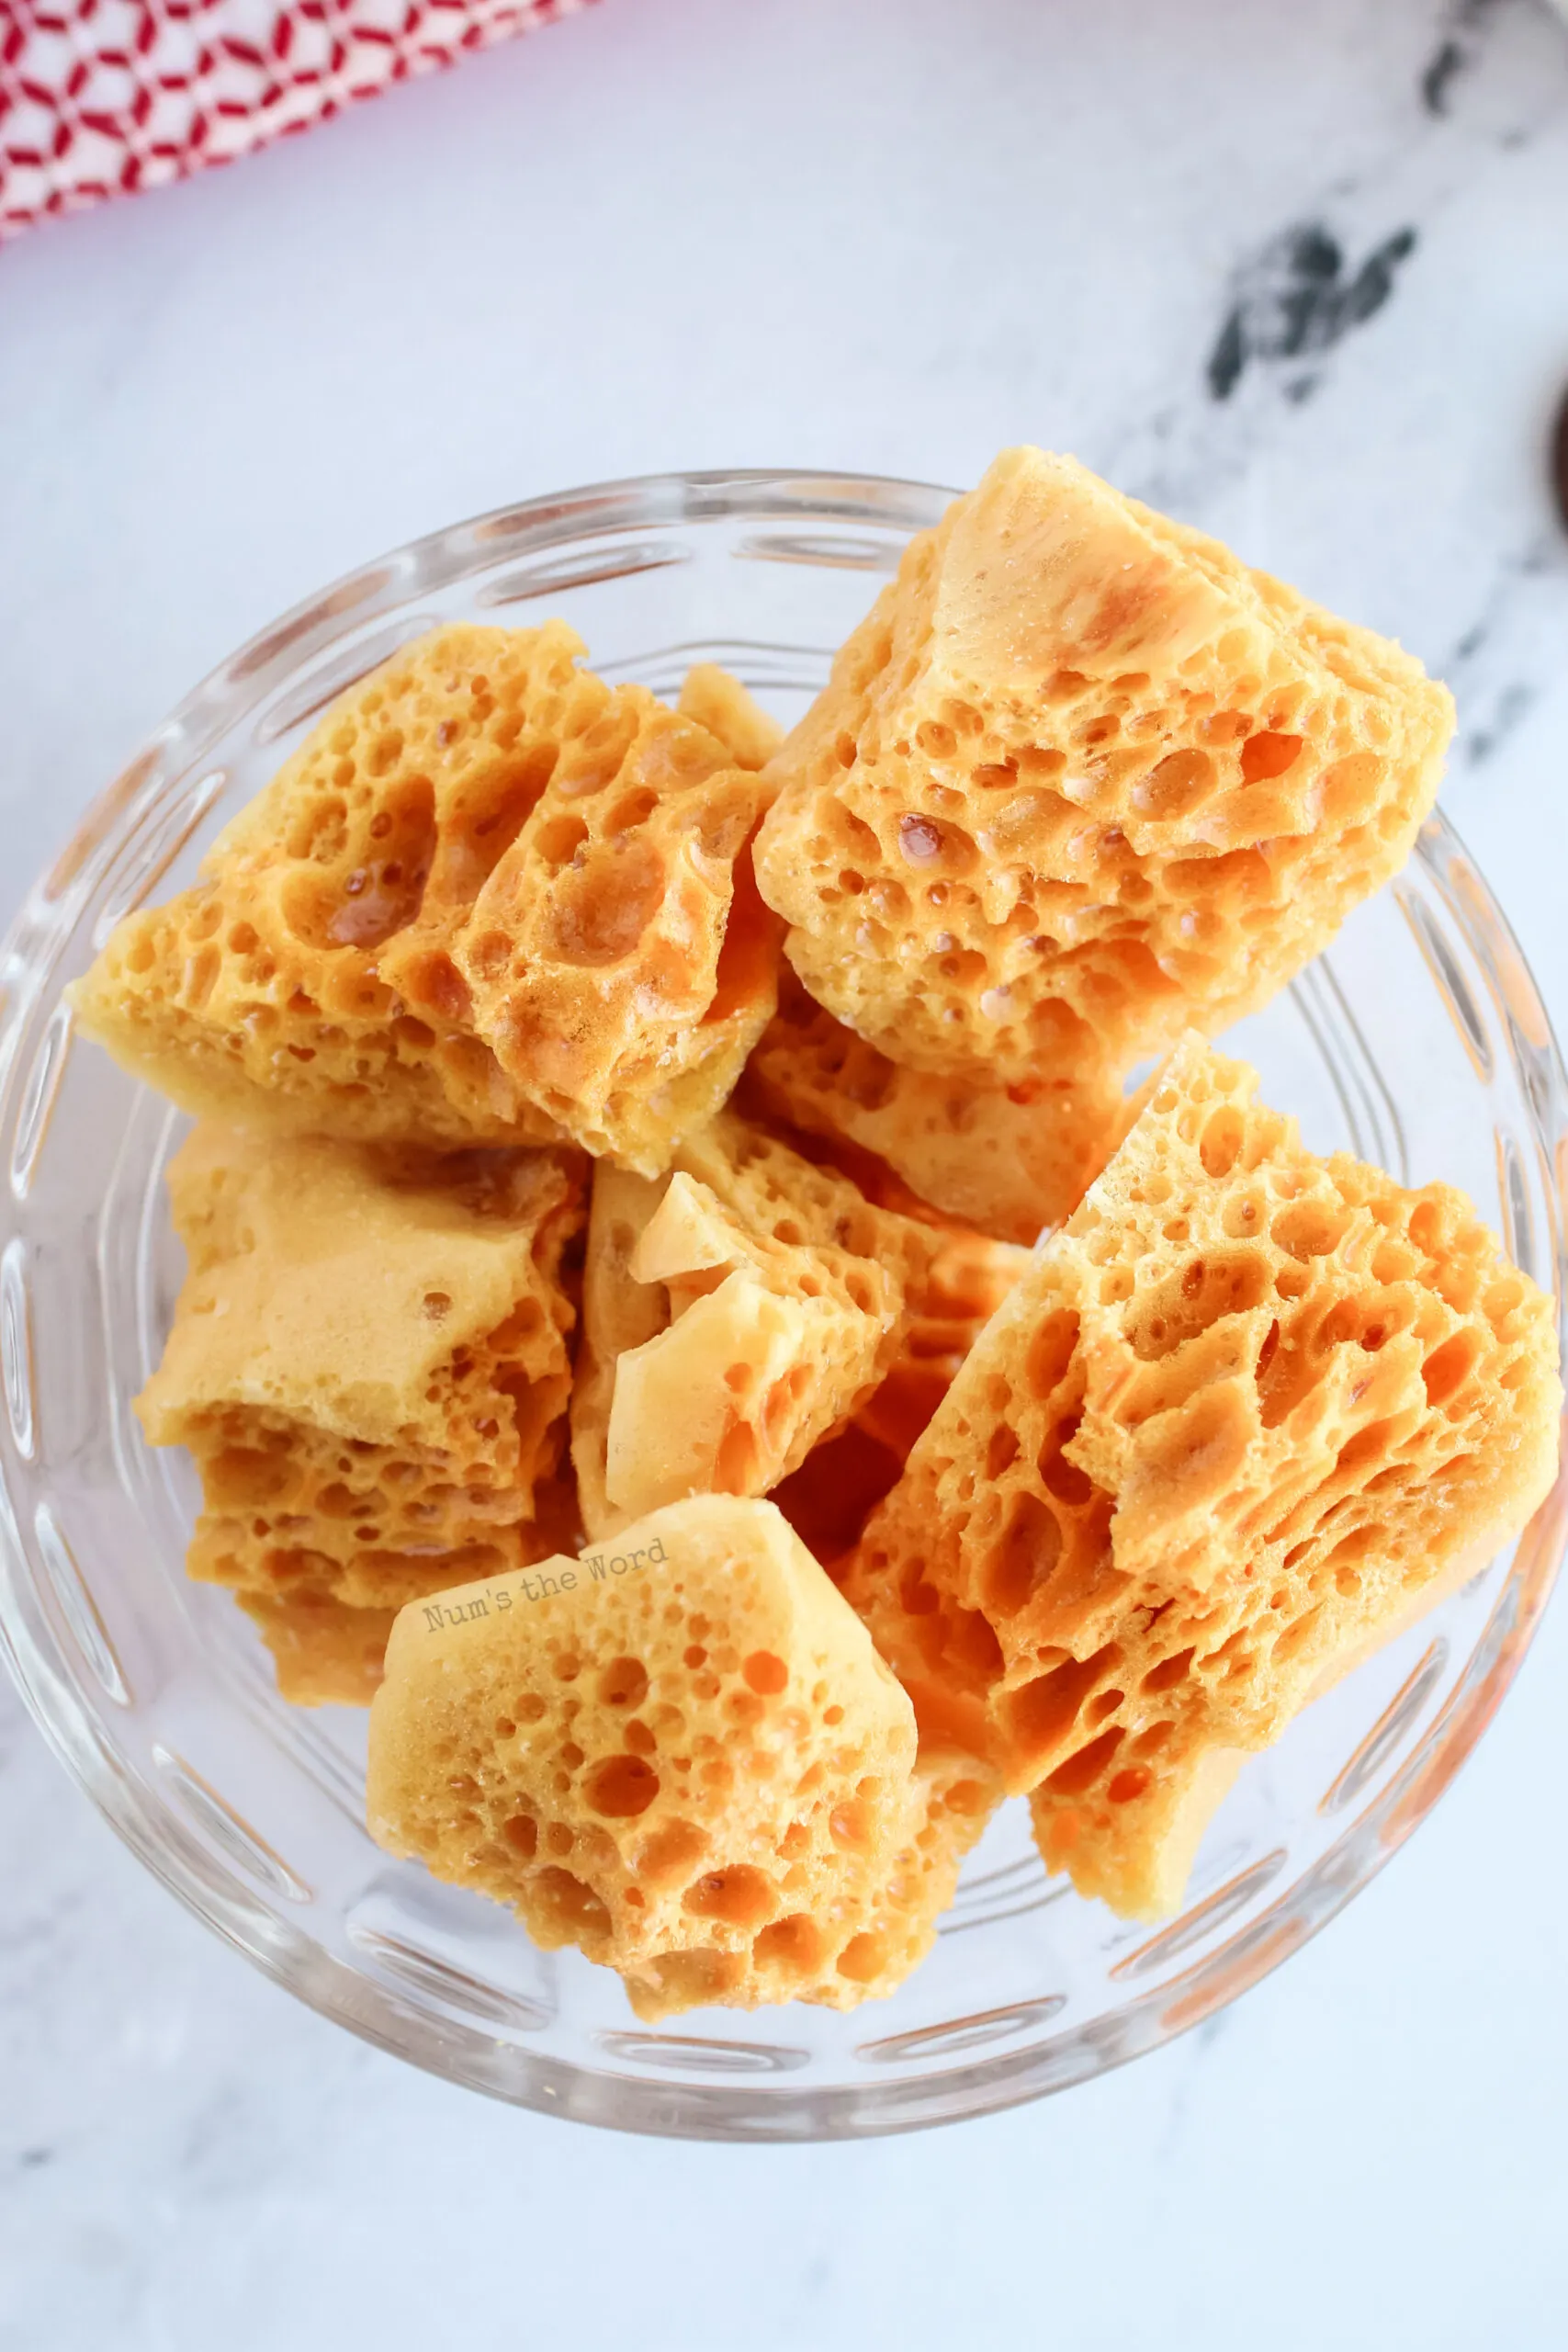
Honeycomb Candy is a crunchy, airy, sweet treat that looks like it came straight from a candy shop, but you can make it right at home!
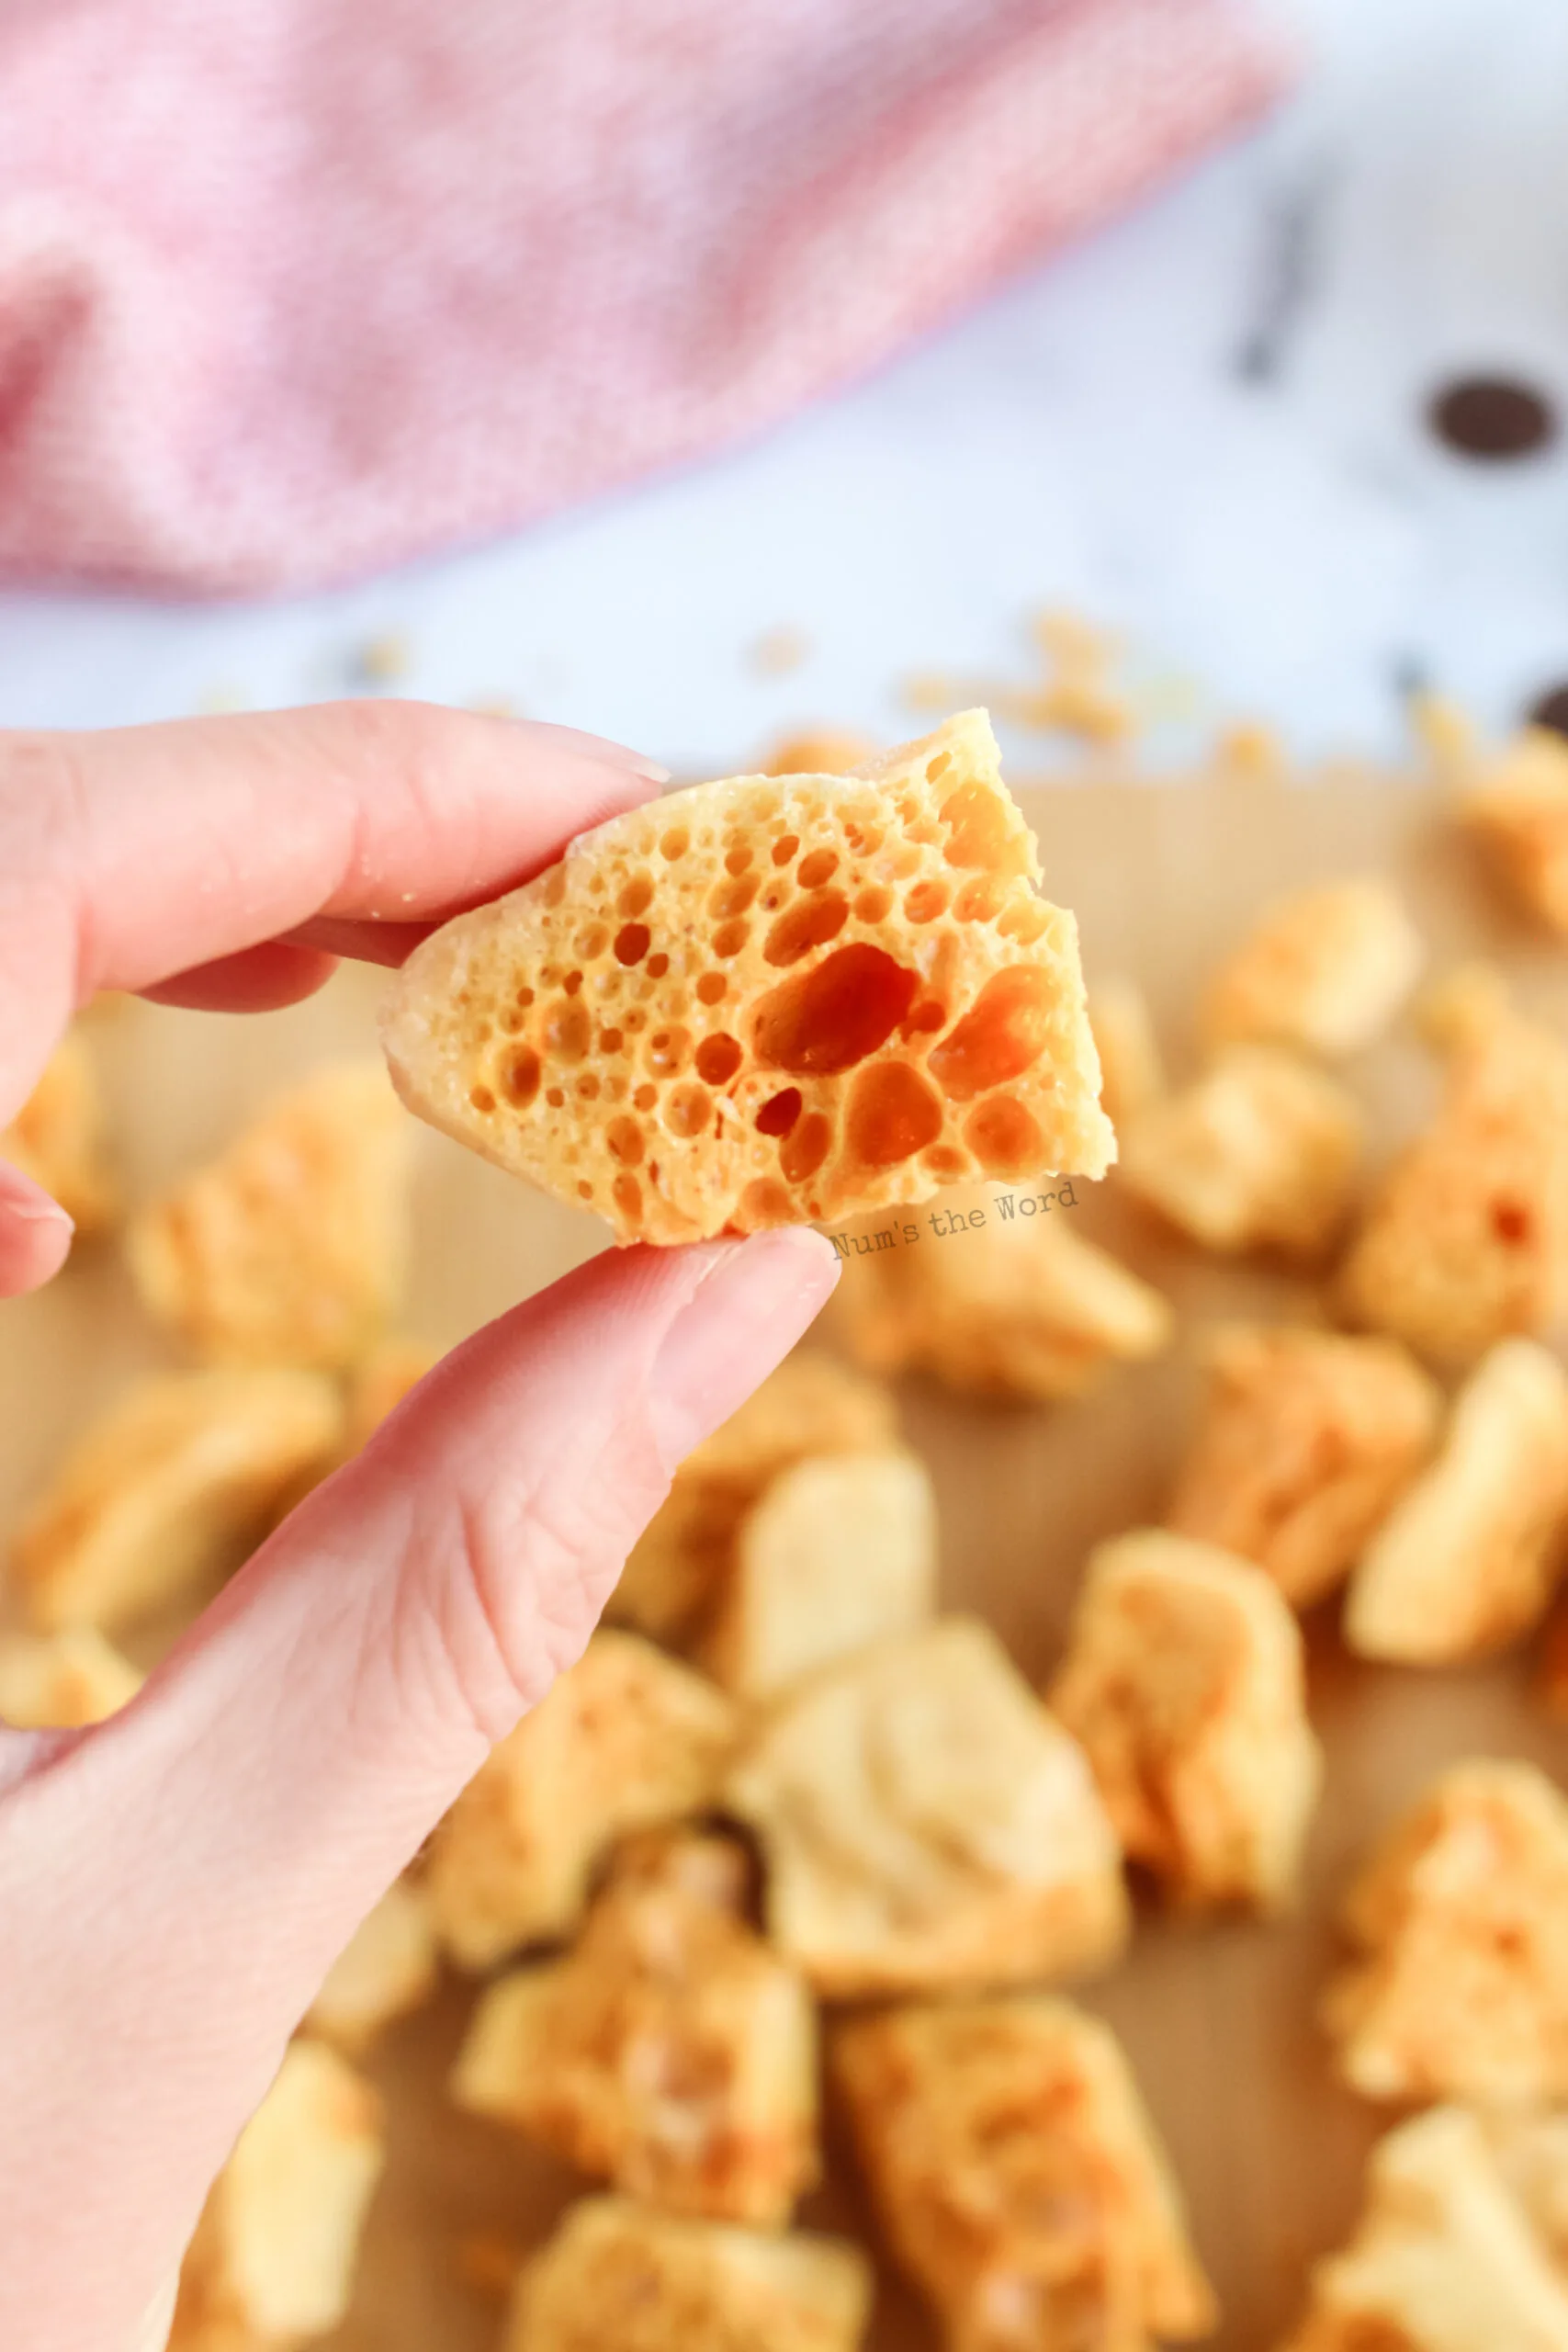
Also known as sponge toffee, this fun homemade candy gets its signature honeycomb texture from a few simple ingredients and a little kitchen magic.
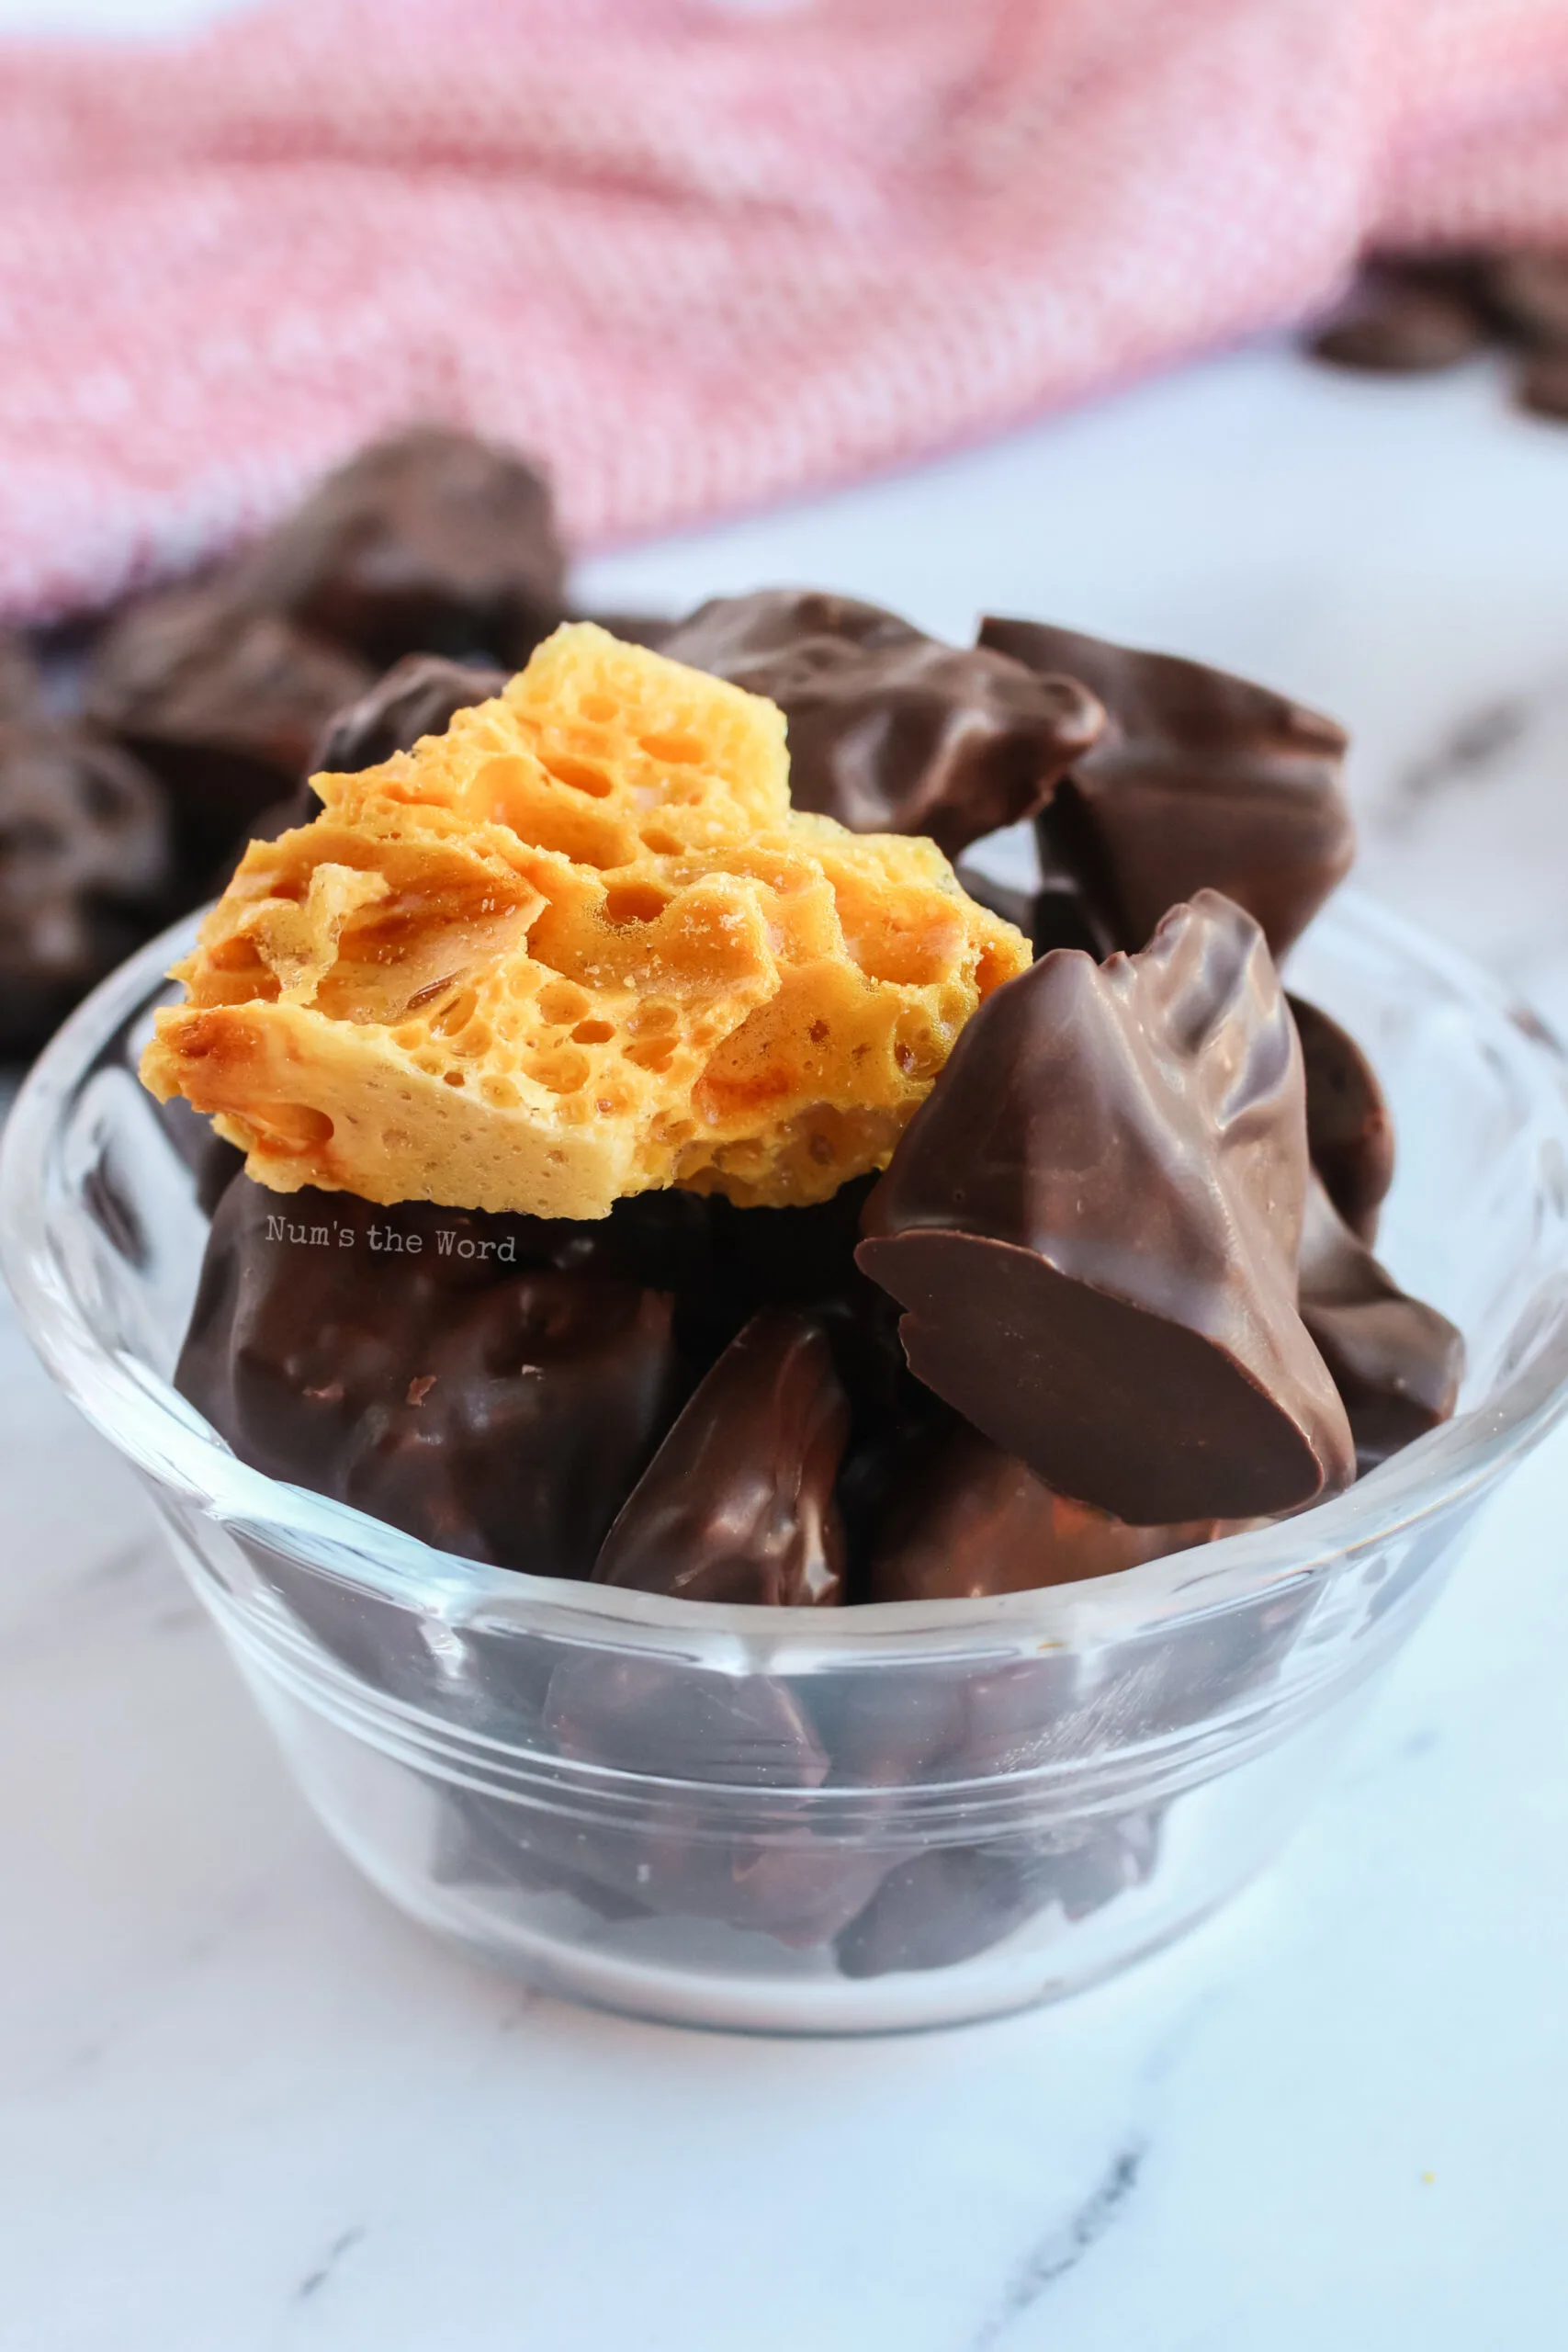
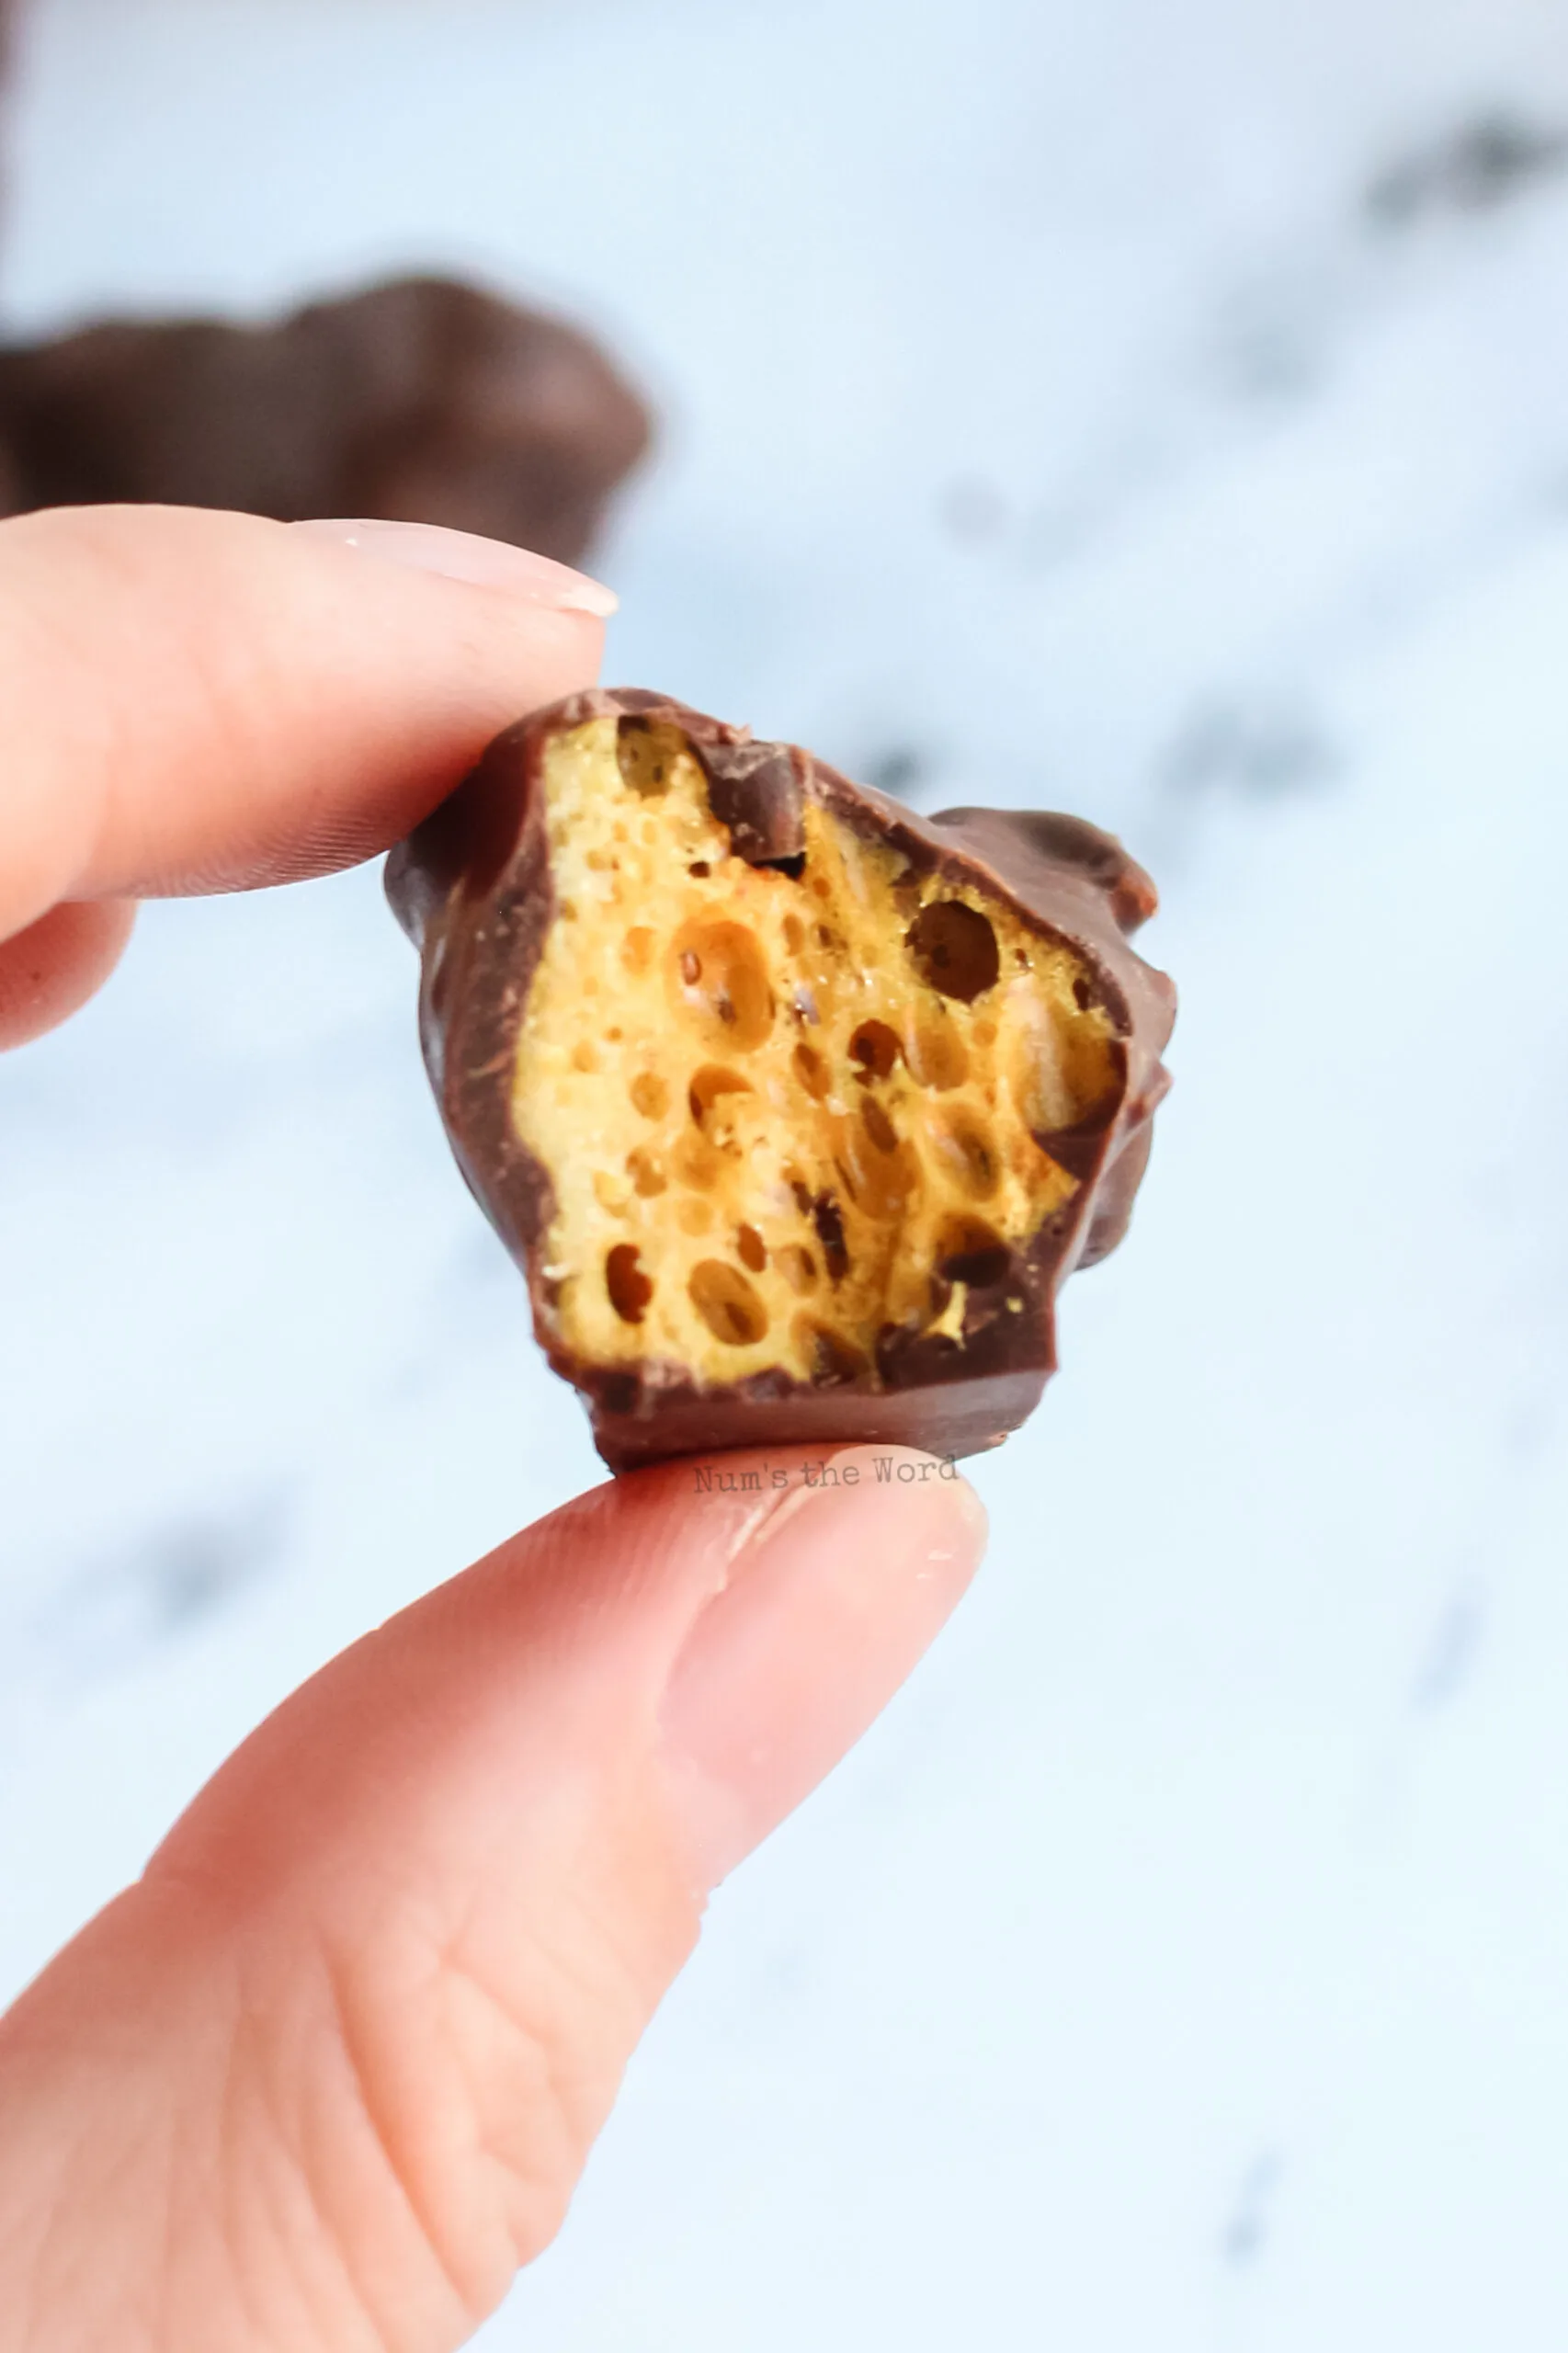
Dip it in melted chocolate for an extra layer of sweetness, and you’ll have a treat that’s hard to stop snacking on.
Don’t worry if candy-making sounds intimidating, this foolproof recipe walks you through the process so you can enjoy delicious, crunchy honeycomb candy without the guesswork!
A Sweet Accident That Became Iconic
Honeycomb candy didn’t start with a recipe, it started with someone noticing what happens when you add baking soda to hot sugar.
The treat has different names depending where you are: sponge candy in Buffalo, hokey pokey in New Zealand, cinder toffee in the UK, and honeycomb pretty much everywhere else.
It likely emerged in the late 1800s when baking soda became widely available and home cooks started experimenting with it in ways that had nothing to do with bread. The result was this bizarre, porous candy that crackled when you bit into it and tasted like caramelized sugar dreams.
It became a nostalgic staple, the kind of thing grandparents made on rainy afternoons or you’d find dipped in chocolate at old-school candy shops.
Commercial versions exist, but they’re never quite as good as the homemade stuff. The texture’s different, the flavor’s muted, and you lose that thrill of watching it foam up in real time.
Making it yourself brings back that magic, and honestly, it’s way easier than the candy aisle would have you believe.

Ingredients and What They Do
This homemade honeycomb recipe has many names. Some call it seafoam candy, honeycomb toffee, fools gold candy and even puff candy recipe. All refer to the same tasty treat that takes you back to your childhood.
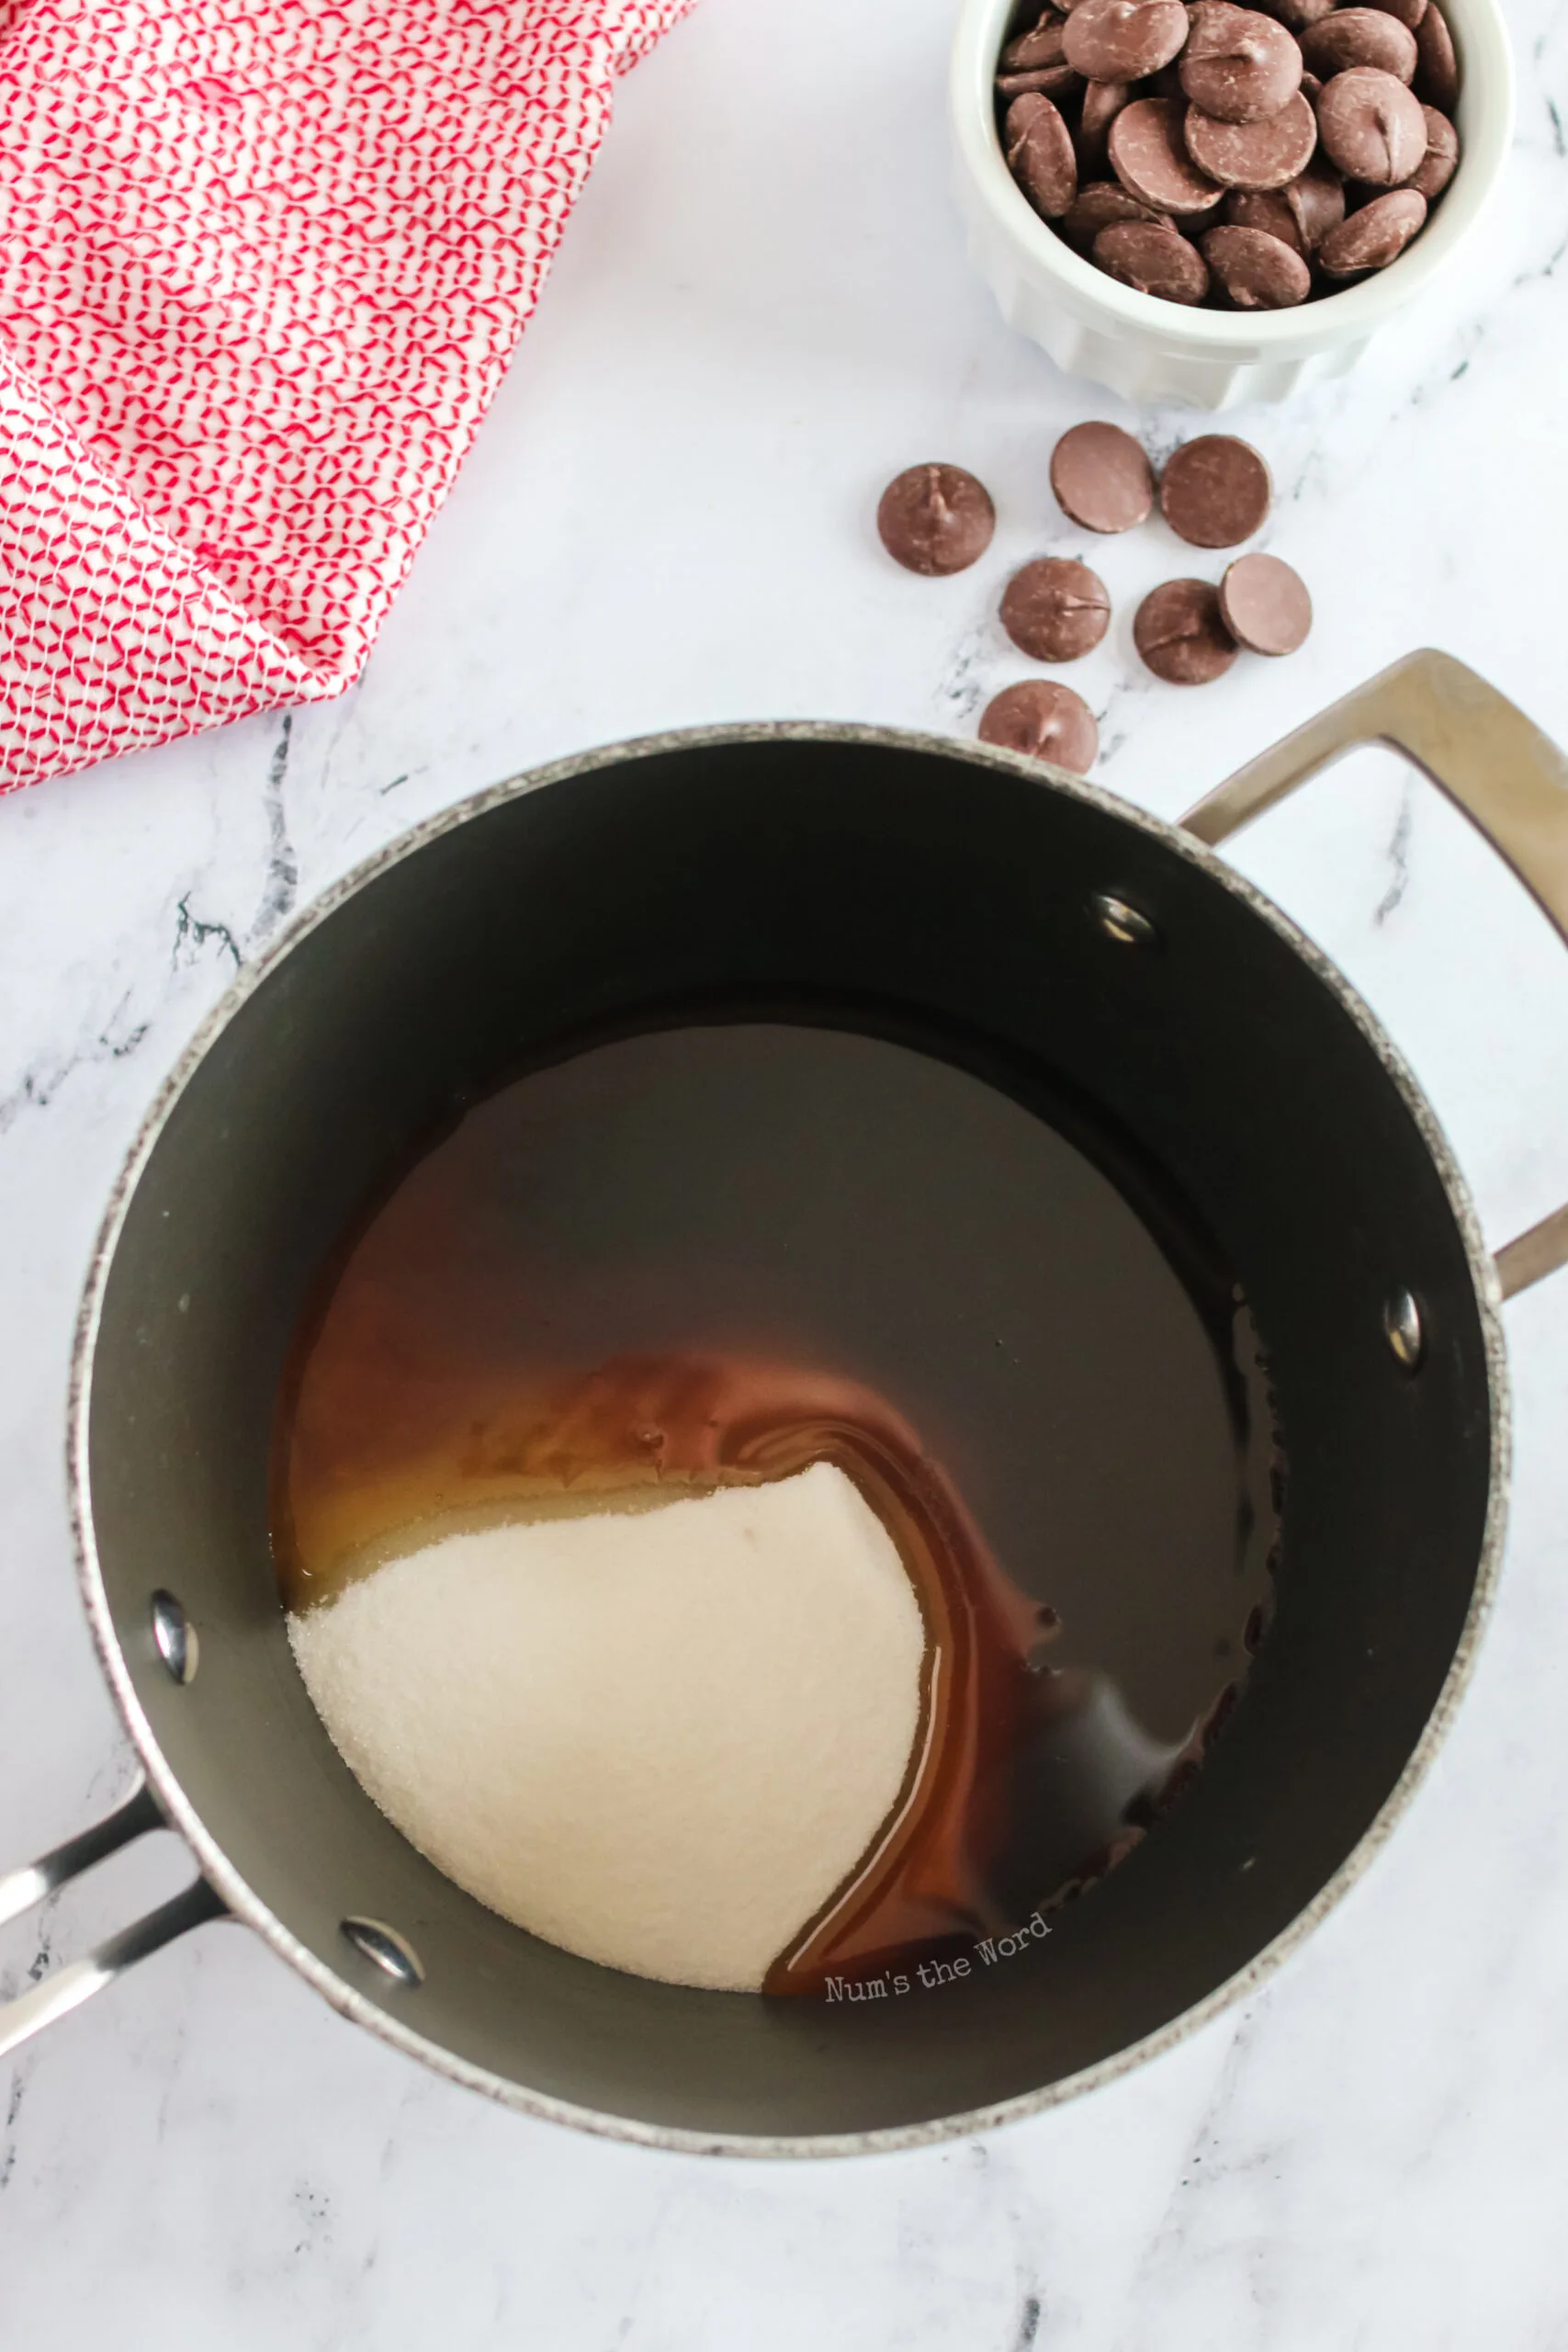
- Granulated sugar (1 cup): This is your base. It caramelizes, it holds structure, and it’s what gives honeycomb that deep, toasty sweetness. Don’t swap it for brown sugar or coconut sugar. You need the clean, neutral sweetness of white granulated sugar to let the caramel flavor develop without interference.
- White Vinegar (1 Tablespoon): Vinegar helps prevent the sugar from crystallizing as it cooks, keeping the candy smooth and helping create the right texture.
- Dark corn syrup (1 cup): Corn syrup helps keep the sugar mixture from crystallizing, making the honeycomb smoother and more reliable. It also adds a subtle richness to the candy’s flavor.Honey won’t work the same way.
- Baking soda (1 tablespoon): The MVP. When it hits the hot sugar, it releases carbon dioxide and creates all those bubbles. Use fresh baking soda. If your box has been sitting in the back of the pantry for two years, it’s lost potency and your honeycomb won’t puff properly. Also, sift it. Clumps will leave you with pockets of raw baking soda taste, which is bitter and unpleasant.
That’s the whole lineup. No vanilla, no butter, no salt unless you want to add a pinch at the end for salted honeycomb, which is a solid move. You can find all of this at any grocery store. No specialty shops, no online orders. Just grab it and go.

How to Make Honeycomb Candy
To whip up the perfect sponge candy recipe, this is where you need to lock in and move fast.
- Prep your pan and measure your baking soda. Line an 8×8 casserole dish with nonstick foil or parchment paper. Have your baking soda measured, sifted, and sitting right next to the stove with a whisk. Once things start moving, you won’t have time to hunt for anything.
- Combine sugar, vinegar and corn syrup in your saucepan. No water needed. Just dump them in together and set the pan over medium heat. Stir gently until the sugar dissolves. You’ll see it go from grainy to clear. Once it’s liquid, stop stirring. Seriously. Stop. Stirring encourages crystallization, and that’s the enemy.
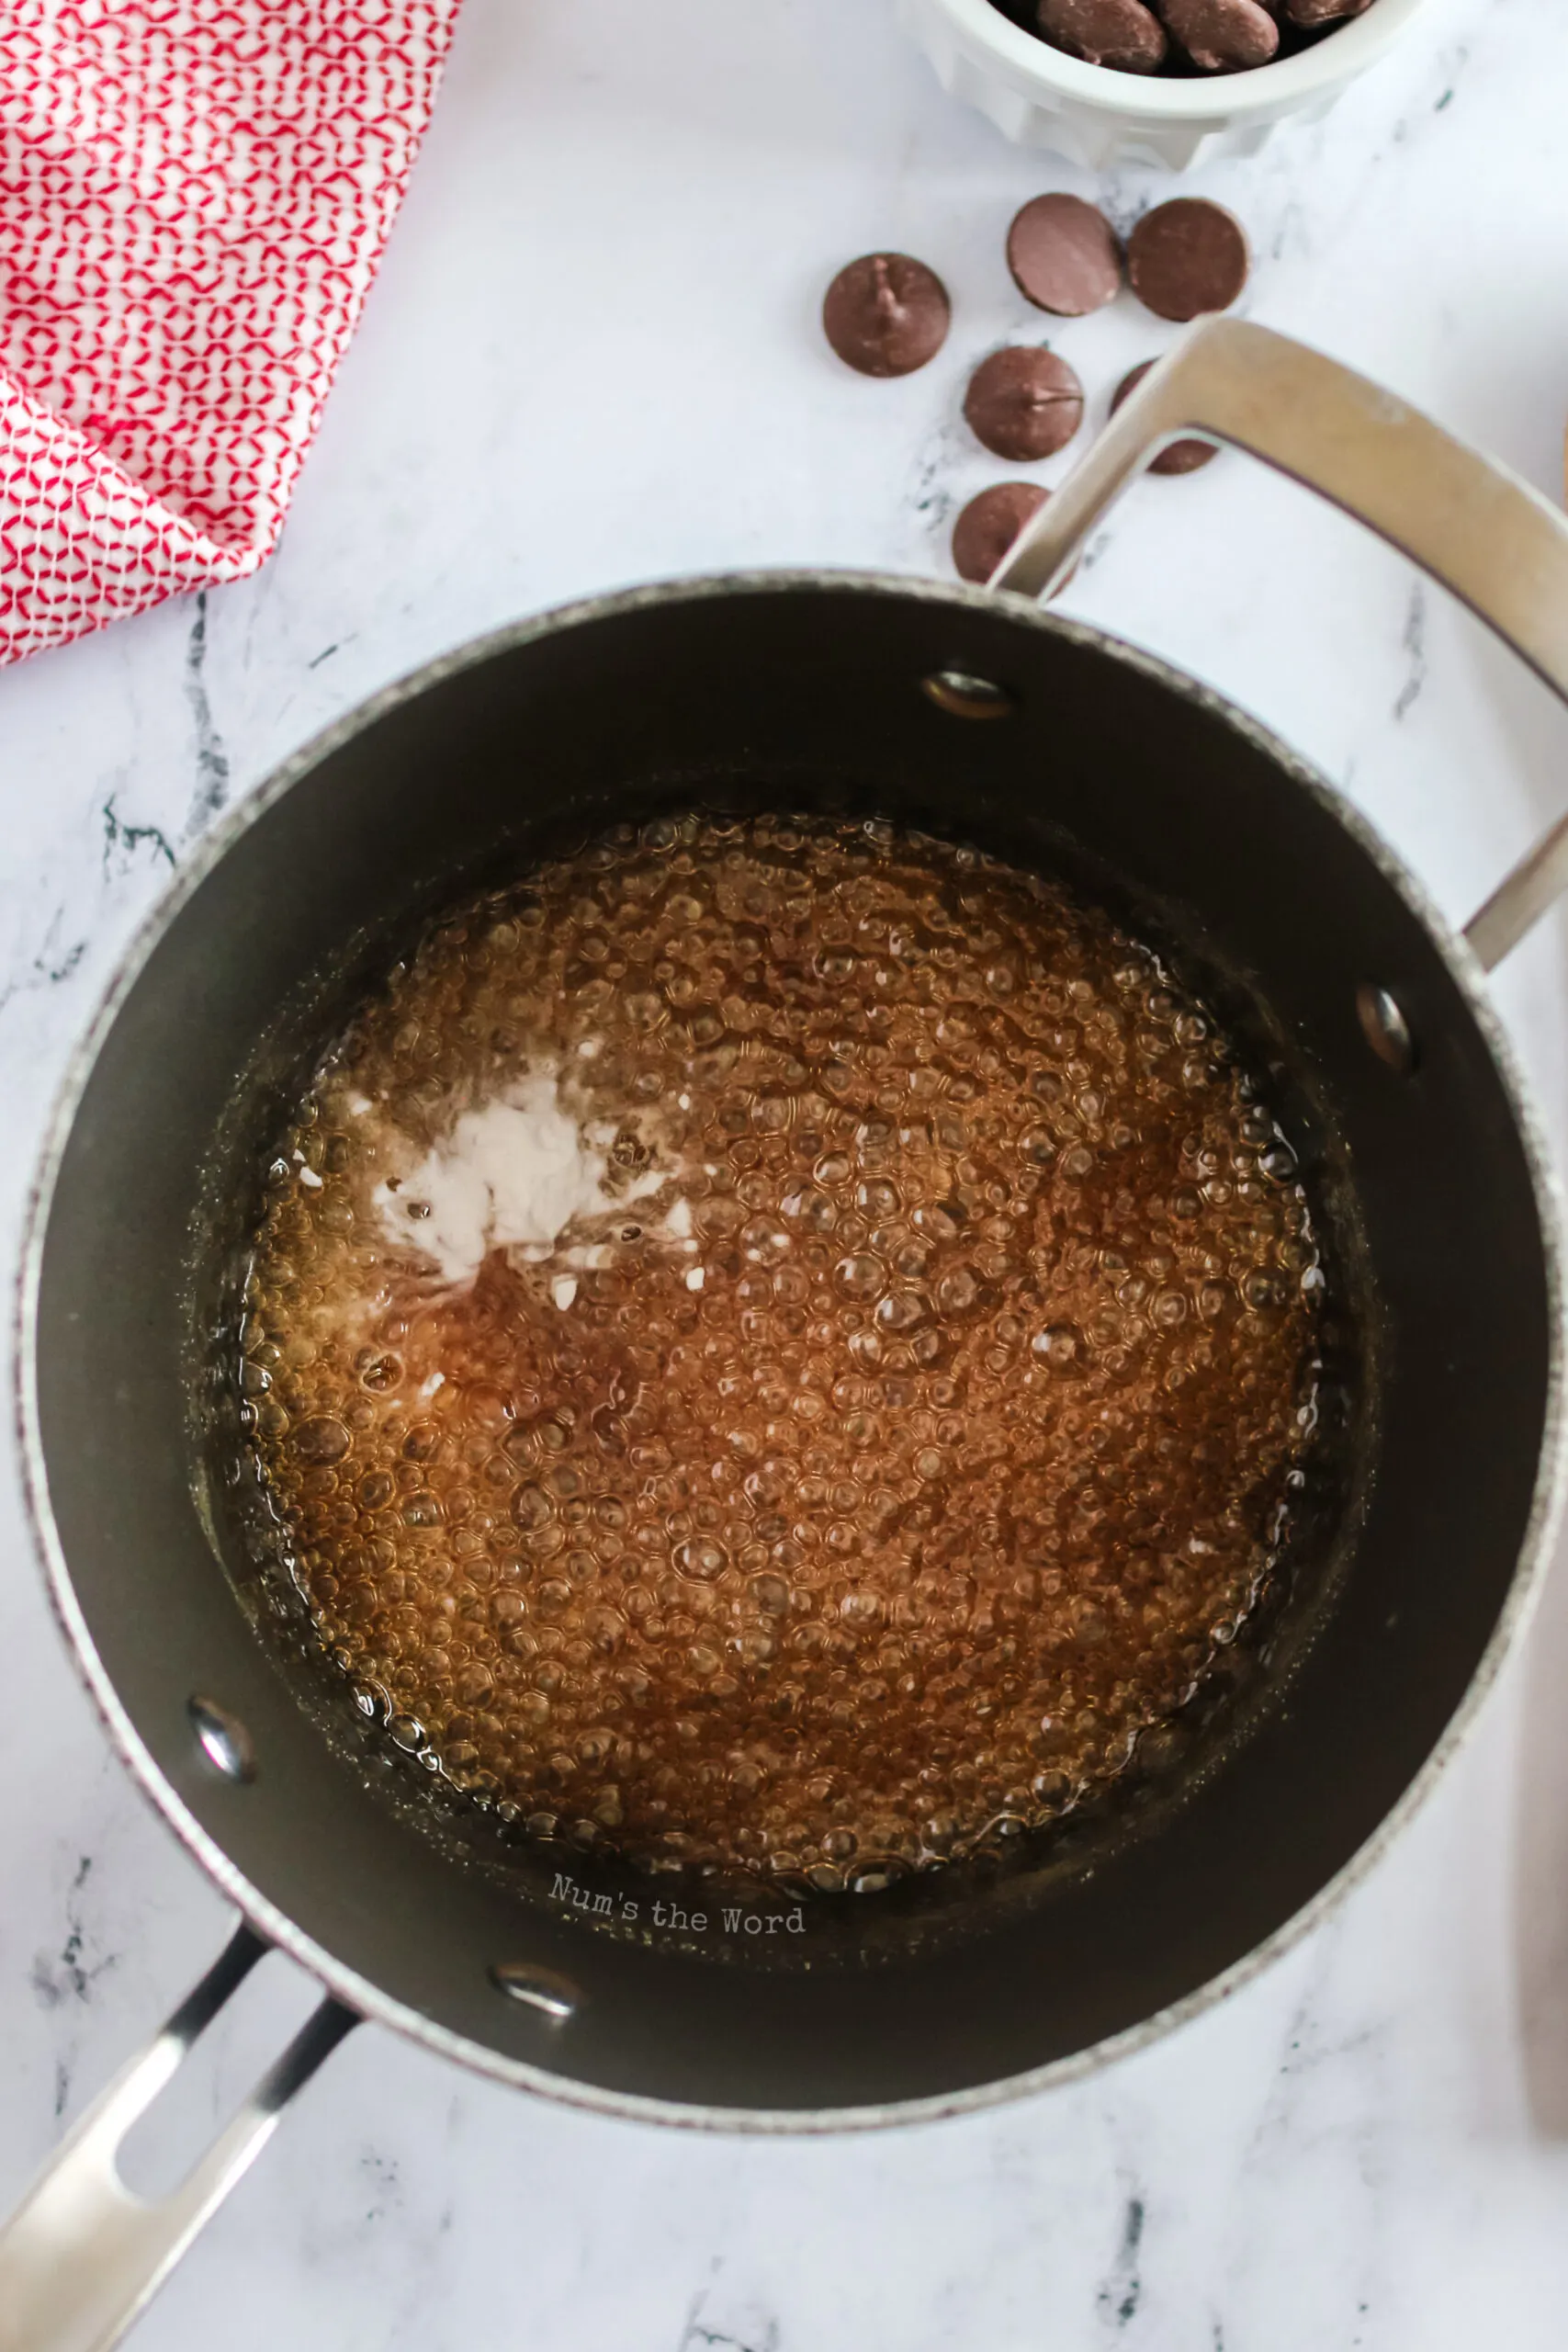
- Let it cook without touching it. Clip on your candy thermometer if you’re using one. Let the mixture bubble and darken. This takes about 8 to 10 minutes. If you don’t have a thermometer, watch for the bubbles to slow down and thicken. The color should be a rich, dark gold, like strong honey. It’ll smell nutty and caramelized, not burnt.
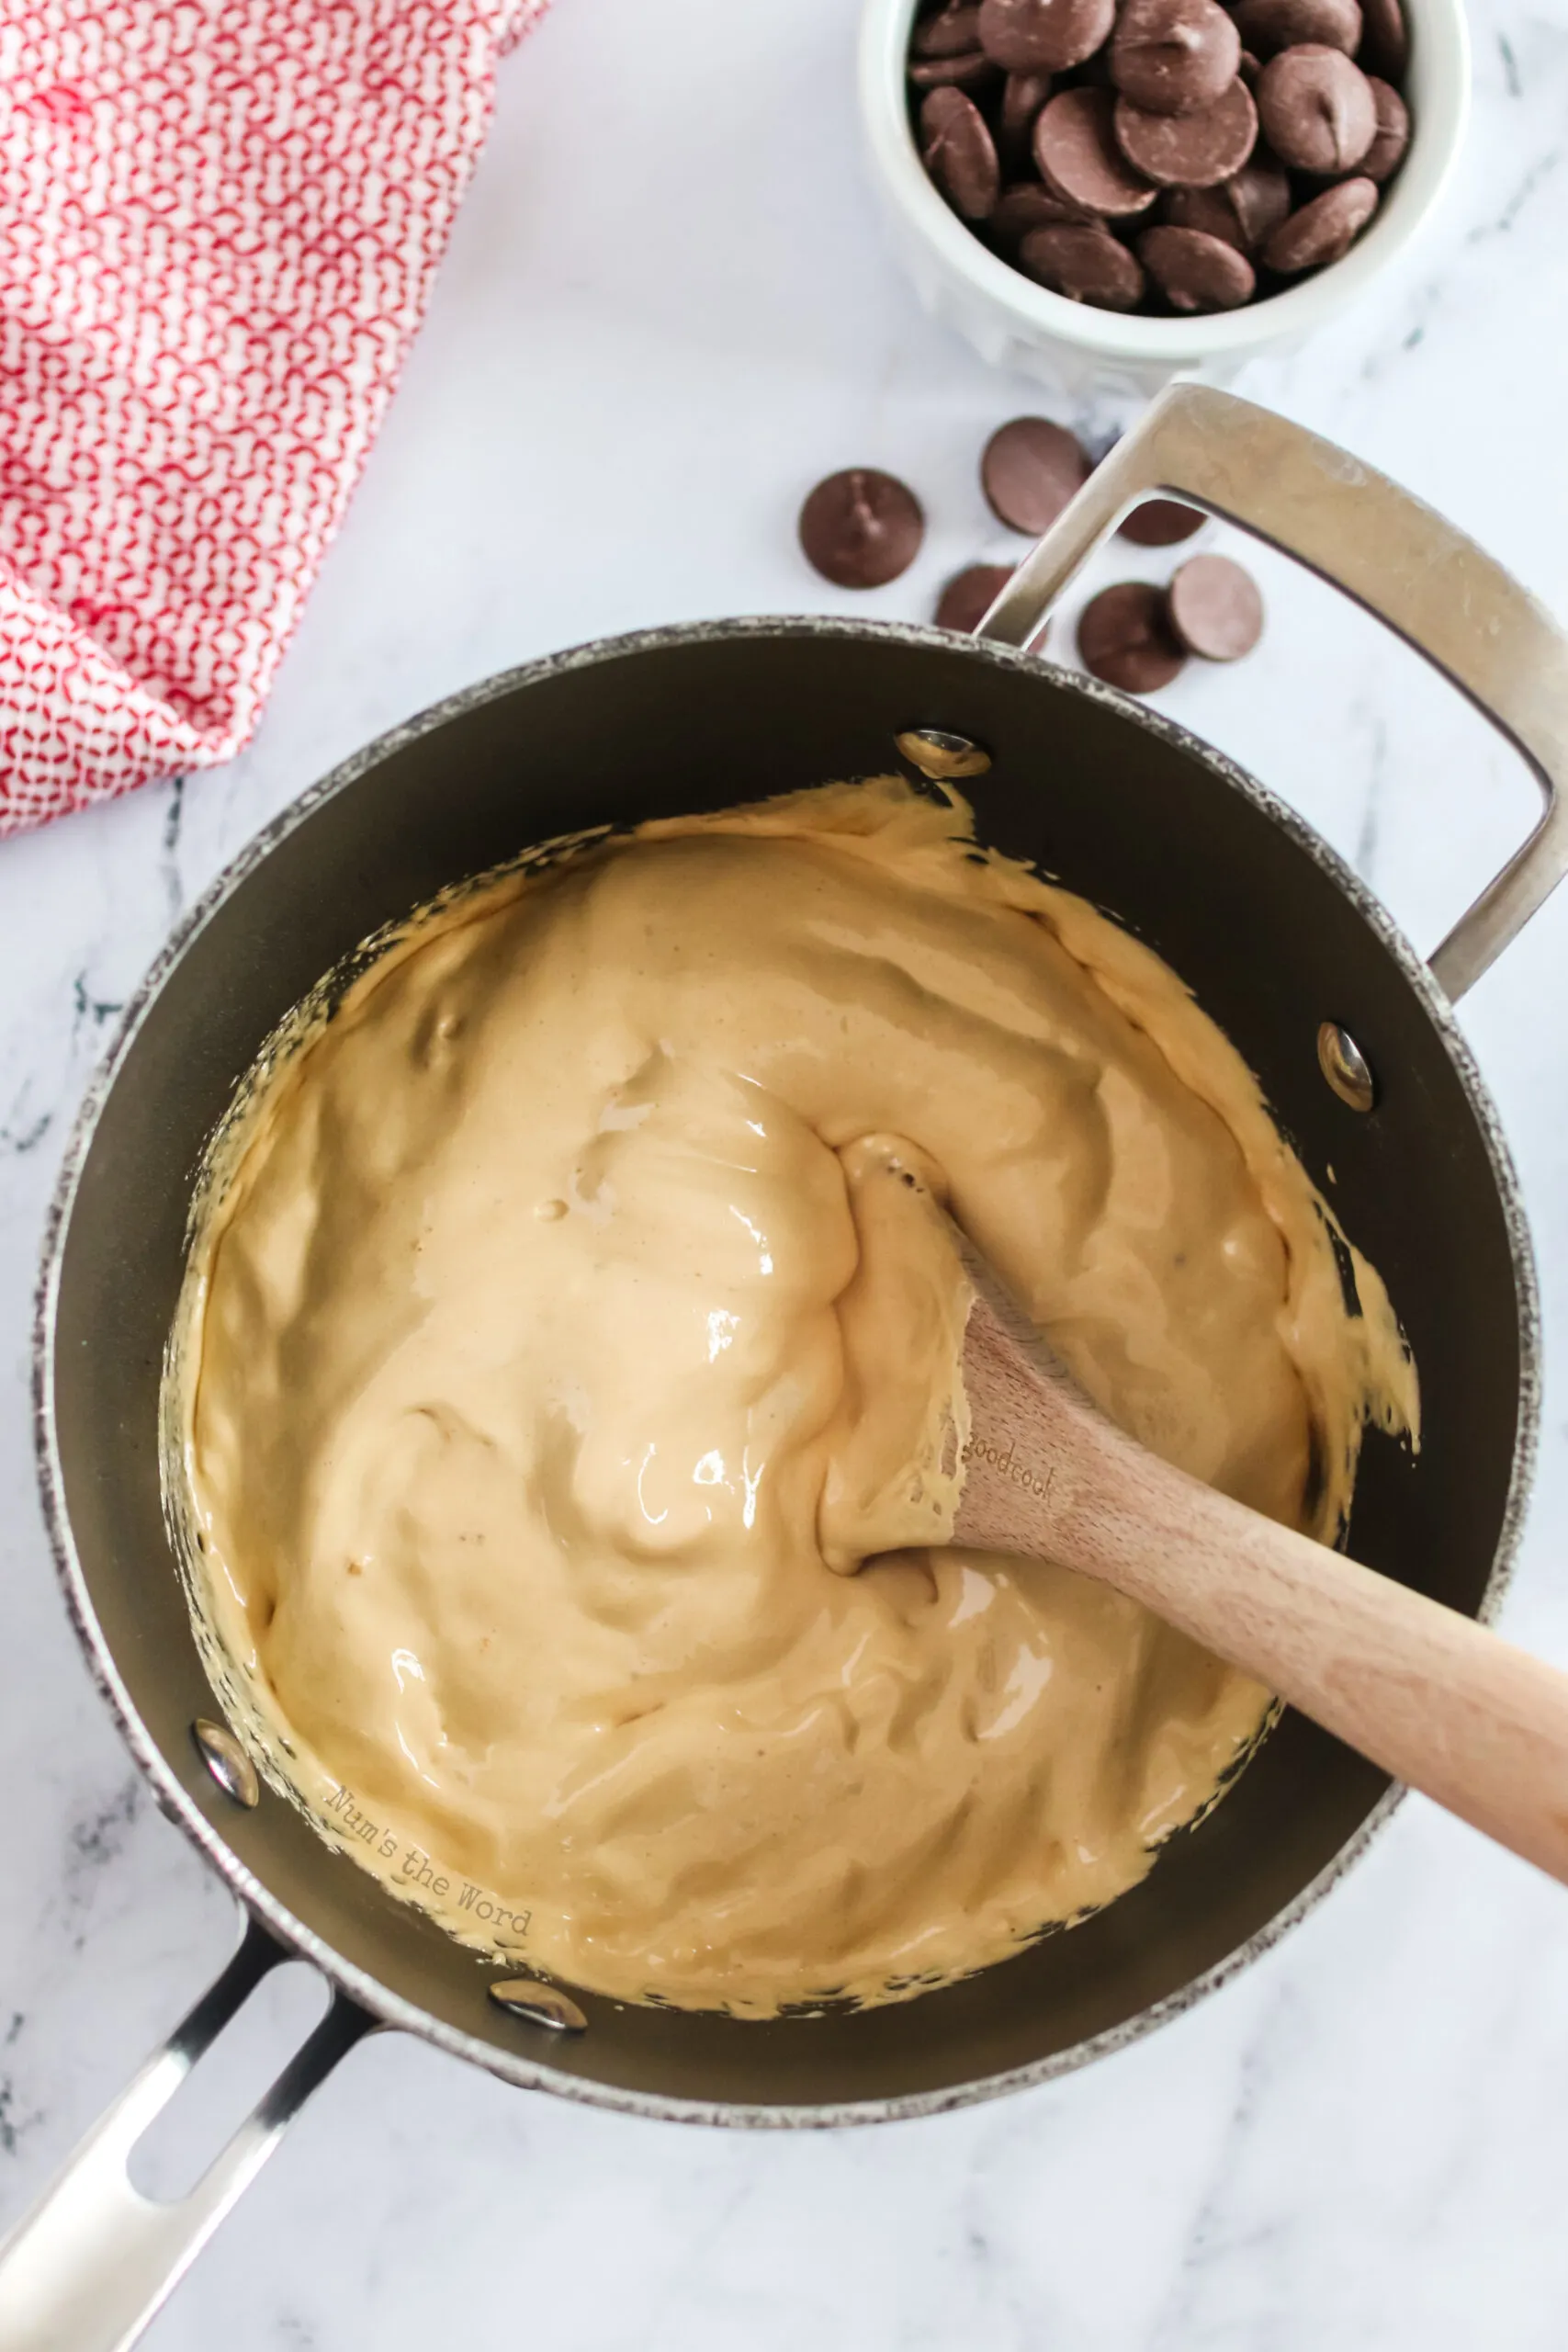
- Pull it off the heat at 300°F or when it’s deep amber. Move fast now. Take the pan off the burner. Add the baking soda all at once and whisk it in quickly. The mixture will foam up like crazy, it’s supposed to. Keep whisking for about five seconds, just until it’s combined and pale.
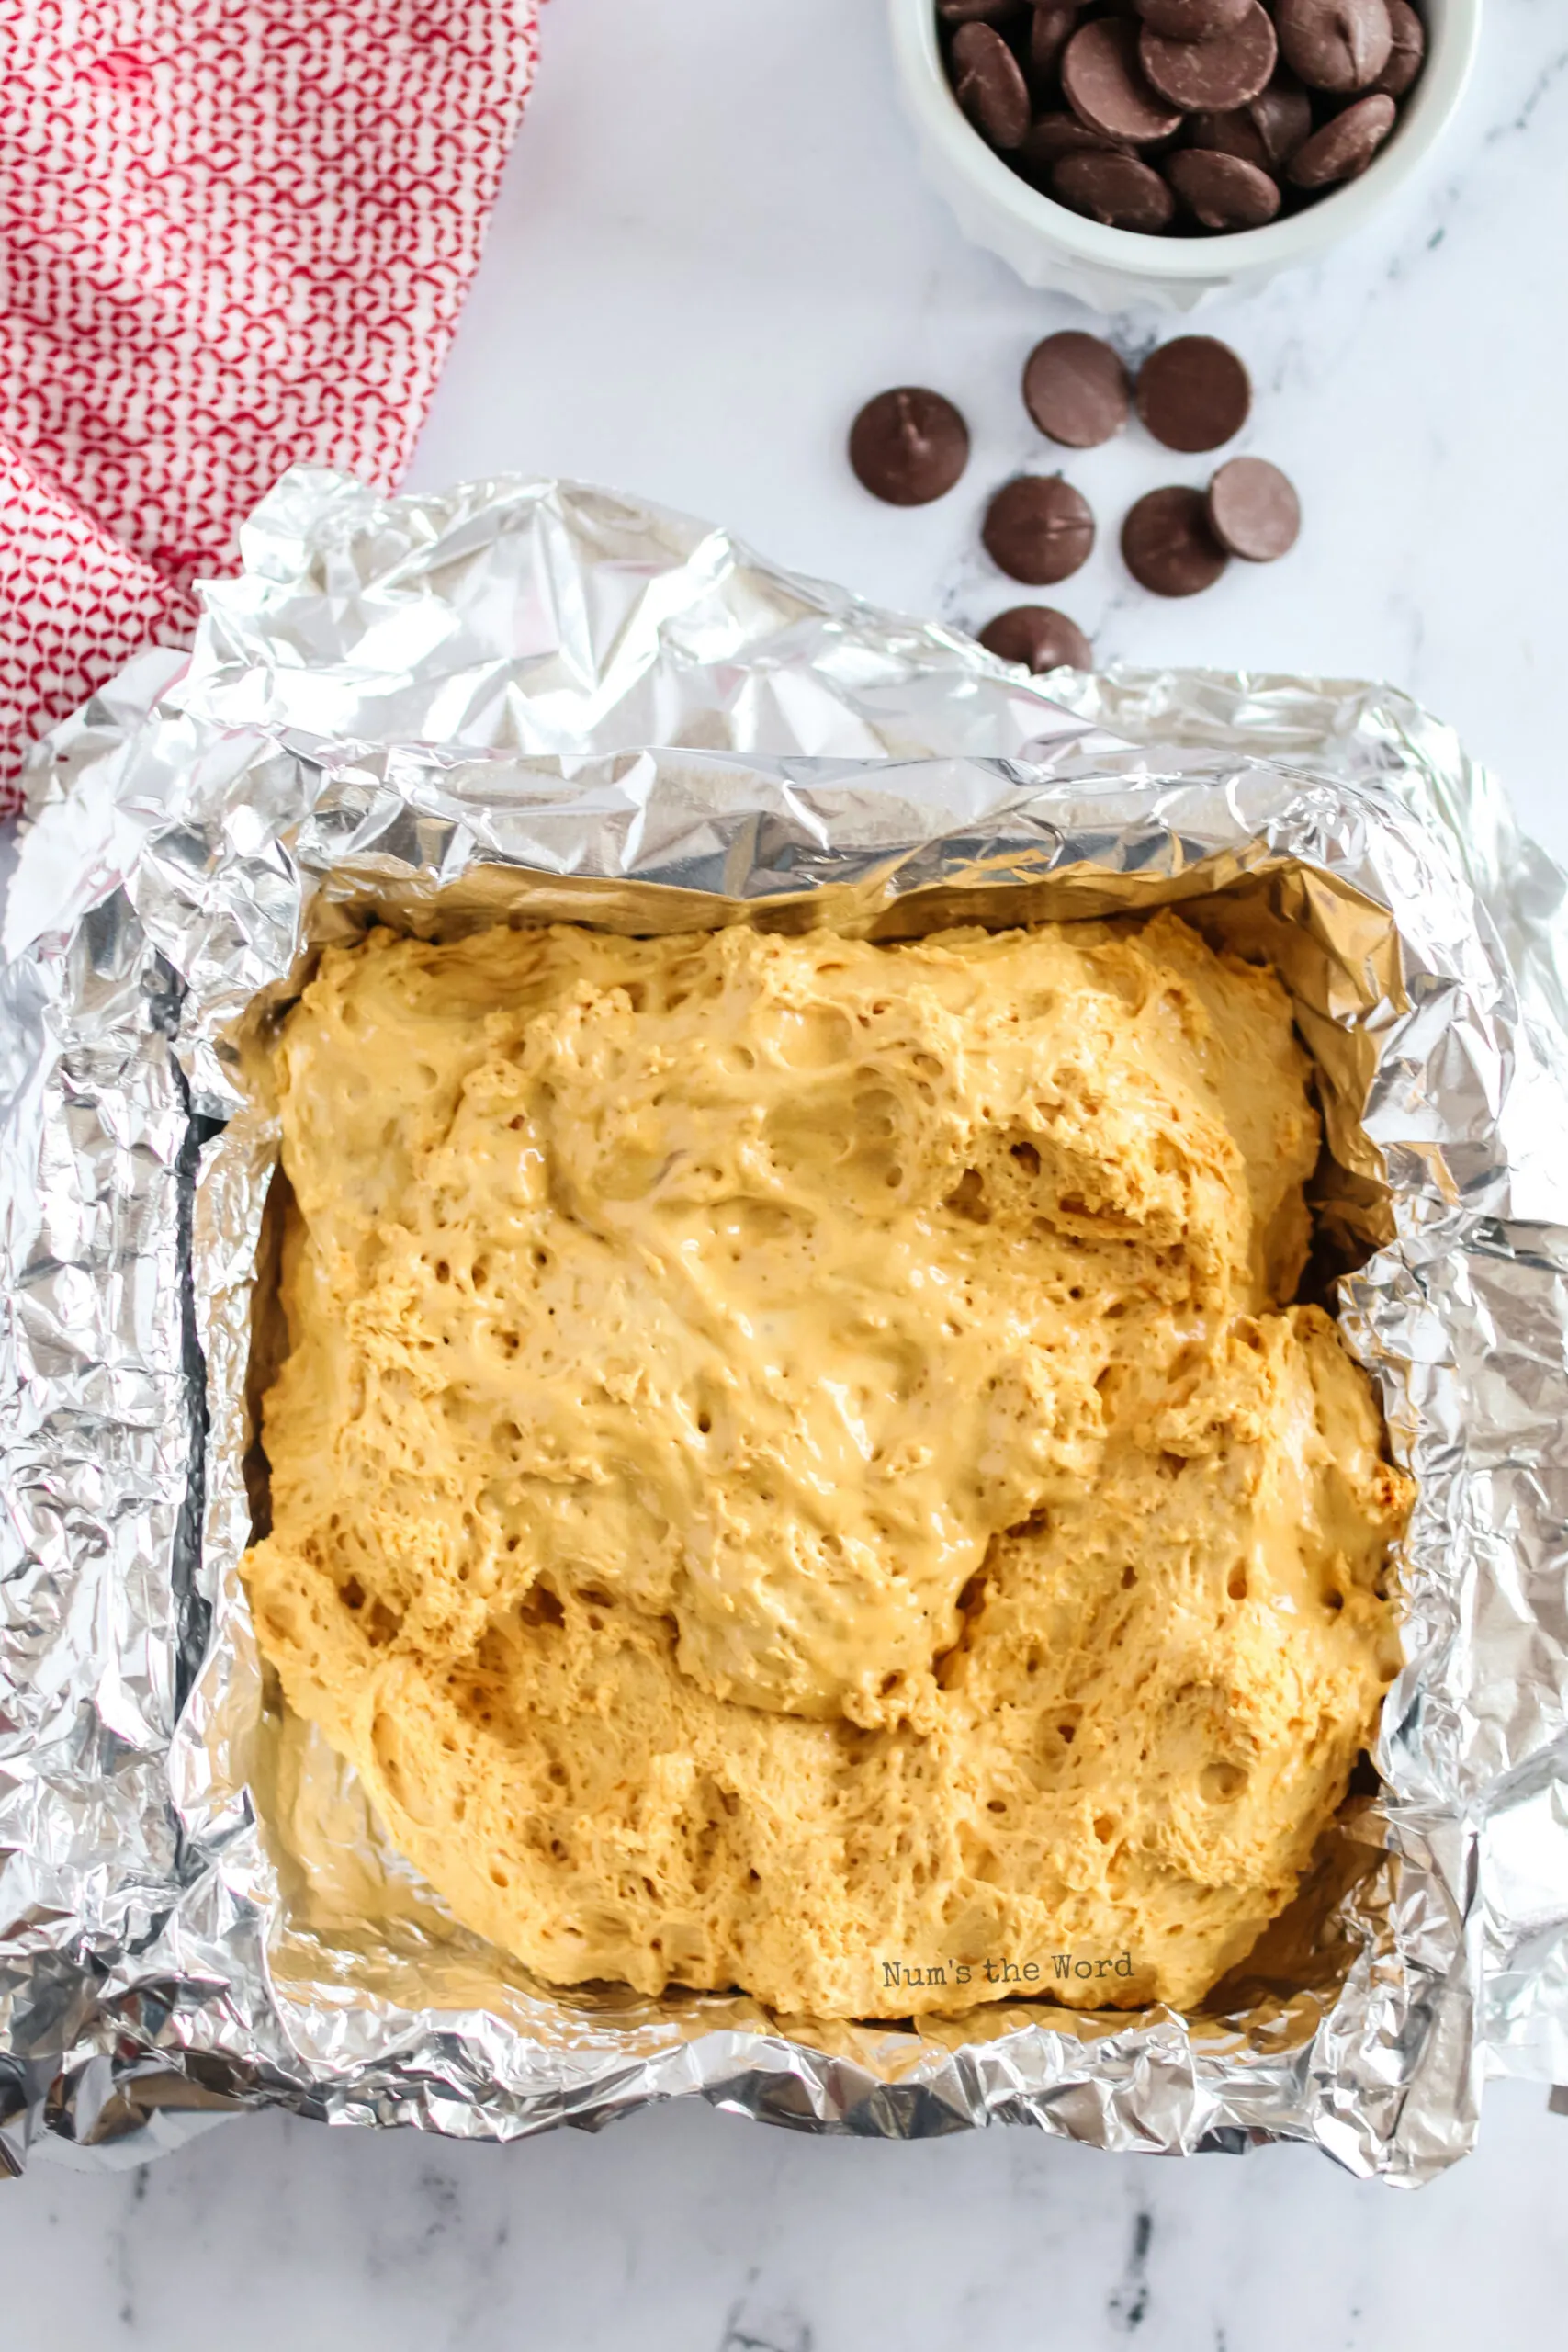
- Pour it onto your prepared pan immediately. Don’t spread it. Don’t smooth it. Just pour it out in one motion and let it do its thing. The bubbles will settle into place on their own. If you try to mess with it, you’ll deflate the foam and lose that airy texture.
- Let it cool completely. This takes about an hour. Don’t touch it. Don’t move the pan. Just let it sit at room temperature until it’s fully hardened.
Once it’s set, you can break it into shards with your hands or a knife. The edges will be your favorite part, thin, crispy, and almost lacy. The center will be thicker and chewier but still satisfying. Every piece will shatter differently, and that’s part of the charm.

How to Know It’s Done
This easy honeycomb candy recipe doesn’t give you much wiggle room, but the cues are clear if you know what to look for.
- Color is your biggest tell. When the sugar mixture turns a deep amber, almost the color of dark honey or strong tea, you’re in the zone. If it’s still pale gold, it’s not hot enough. If it starts smelling burnt or turns reddish-brown, you’ve gone too far. Pull it the second you hit that rich, golden-brown color.
- The bubbles change texture. At the beginning, the bubbles are fast and frantic. As the temperature climbs, they slow down and get thicker, almost lazy. When the bubbles look heavy and syrupy, you’re close. That’s your signal to get ready.
- Temperature confirms it. If you’re using a thermometer, 300°F is your target. That’s hard crack stage, the point where sugar will set firm and glassy instead of soft and chewy. Below that and your honey comb candy will be sticky. Above it and you’ll taste burnt sugar.
- The smell shifts. You’ll smell caramel, warm and nutty, with a hint of toffee. If it starts smelling acrid or sharp, it’s too hot. Trust your nose. It’s more reliable than you think.
Once you’ve hit all these markers, move fast. The window between perfect and overcooked is about ten seconds, so have everything ready and don’t second-guess yourself.

Tips from the Pros
These are the small moves that separate a good honeycomb toffee recipe from great honeycomb.
- Sift your baking soda twice. Clumps will leave you with bitter pockets and uneven foam. Take the extra ten seconds.
- Don’t stir once the sugar dissolves. Agitation encourages crystallization. Let it do its thing without interference.
- Use a bigger pan than you think you need. The foam triples in volume. If your pan is too small, it’ll overflow onto your stovetop and you’ll have a sticky disaster.
- Work on a dry day if you can. Humidity is honeycomb’s enemy. It’ll make your candy sticky and soft instead of crisp. If it’s raining, store it in an airtight container with a silica packet.
These aren’t deal-breakers, but they’re the difference between honeycomb that’s just okay and honeycomb that makes people ask for the recipe.
Variations and Swaps
This old fashioned honeycomb candy recipe is a blank canvas once you’ve nailed the base recipe.
- Chocolate-dipped honeycomb: Melt dark or milk chocolate and dip each shard halfway. Let it set on parchment. The chocolate adds richness and makes it feel more like a formal confection.
- Espresso honeycomb: Stir a tablespoon of instant espresso powder into the sugar before heating. You’ll get a subtle coffee bitterness that’s almost addictive.
- Spiced honeycomb: Add a pinch of cinnamon, cardamom, or cayenne to the sugar mixture. Warm spices make it feel cozy, and cayenne adds a slow-building heat that’s surprisingly good.
- Salted honeycomb: Sprinkle flaky sea salt on top right after pouring. It’s a classic move that never gets old.
- Matcha honeycomb: Whisk a teaspoon of matcha powder into the baking soda before adding it. You’ll get a pale green color and a slightly earthy, bitter edge that balances the sugar.
Play with flavors, but don’t mess with the base ratios. The sugar-to-corn-syrup-to-baking-soda formula is non-negotiable if you want it to turn out right.

Storage Tips
Honeycomb is fragile in more ways than one.
Store it in an airtight container at room temperature. Layer the pieces with parchment paper so they don’t stick together. It’ll keep for up to two weeks, but the texture is best in the first few days. After that, it starts to soften and lose its shatter.
- Do not refrigerate it. The moisture will make it sticky and chewy. Room temp is the only way.
- If you live somewhere humid, toss a silica gel packet into the container. It’ll absorb excess moisture and keep your honeycomb crisp longer.
- Honeycomb doesn’t reheat well, so don’t bother trying. Once it softens, it’s done. Eat it fresh or use it as a topping where texture matters less.

Leftover Transformations
If your honeycomb starts to soften or you just want to use it up in new ways, here’s how.
- Crush it into ice cream. Break it into small pieces and fold it into softened vanilla ice cream, then refreeze. The honeycomb adds crunch and caramel flavor without going soggy.
- Top hot chocolate or lattes. Float a shard on top and let it slowly dissolve. It’s a little dramatic and a lot delicious.
- Mix it into brownie batter. Chop it coarsely and fold it into your batter before baking. It’ll soften slightly but still add pockets of sweetness and texture.
- Blend it into a milkshake. Throw a few pieces into a blender with ice cream and milk. You’ll get a malted, caramelized flavor that tastes like a fancy diner shake.
- Use it as a garnish. Stick a small piece into the top of a cupcake, cheesecake, or tart. It looks impressive and adds a textural contrast that feels intentional.
Honeycomb might seem like a one-trick candy, but it’s versatile enough to show up in a dozen different ways. And when in doubt, just eat it straight from the container. No transformation required.
The first time you make honeycomb, you’ll probably be a little nervous. The whole thing feels precarious, like one wrong move and you’ll end up with burnt sugar and a mess.
But once you see that baking soda hit the molten sugar and erupt into golden foam, you’ll get it. This isn’t hard. It’s just fast. And the payoff, crispy, airy, shatteringly sweet candy that tastes like you know what you’re doing, is worth every second of focus.
Make it once and you’ll want to make it again. Make it twice and you’ll start experimenting. Make it three times and you’ll be the person everyone asks to bring dessert.

More Homemade Candy Recipes You’ll Love…
- Oreo Turkeys
- Birds Nest Cookies
- Homemade Turtles
- Cinnamon Sugar Pecans
- Salted Caramel Sauce
- Pecan Crack
- Peppermint Crack
- Whopper Cookie Cups
- Ghost Cookies
- Tootsie Roll Fudge
- White Chocolate Christmas Crack
- Peanut Butter Truffles
- Rainbow Marshmallows
- Chocolate Covered Pringles
If you love old-fashioned sweets, this honeycomb candy recipe is a vintage recipe worth bringing back!
Every bite has that irresistible crisp texture and sweet, caramelized flavor that pairs beautifully with a dip in rich dark chocolate.
Whether you’re making homemade candy for the holidays, sharing it with friends, or sneaking a few pieces while nobody’s looking, this crunchy treat is sure to become a favorite. Give this simple recipe a try and discover just how fun homemade candy can be!

Honeycomb Candy

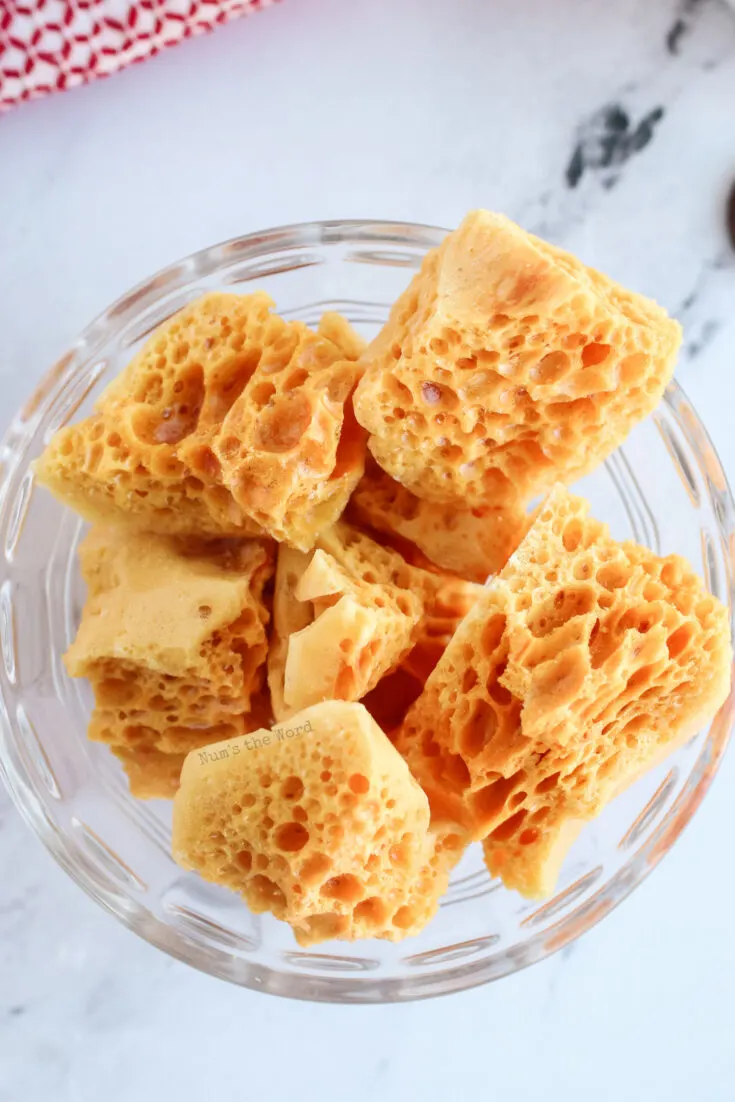
This old fashioned honeycomb candy is a classic recipe that will remind you of grandma. Easy to make and oh so tasty covered in chocolate!
Ingredients
Instructions
- Line an 8x8 square casserole dish with non stick foil and set aside.
- In a heavy bottom saucepan, combine sugar, vinegar and corn syrup.
- Cook over medium heat stirring until the sugar dissolves.
- Continue cooking without stirring until digital candy thermometer reads 300*F (hard crack stage)
- Remove from heat.
- QUICKLY stir in baking soda - mixture will foam and double in size.
- Pour mixture into prepared casserole dish. DO NOT SCRAPE MIXTURE OUT. Just pour it.
- DO NOT BUMP, SHAKE, STIR, or MOVE pan. You want it to keep all those air bubbles in the mixture undisturbed as it cools.
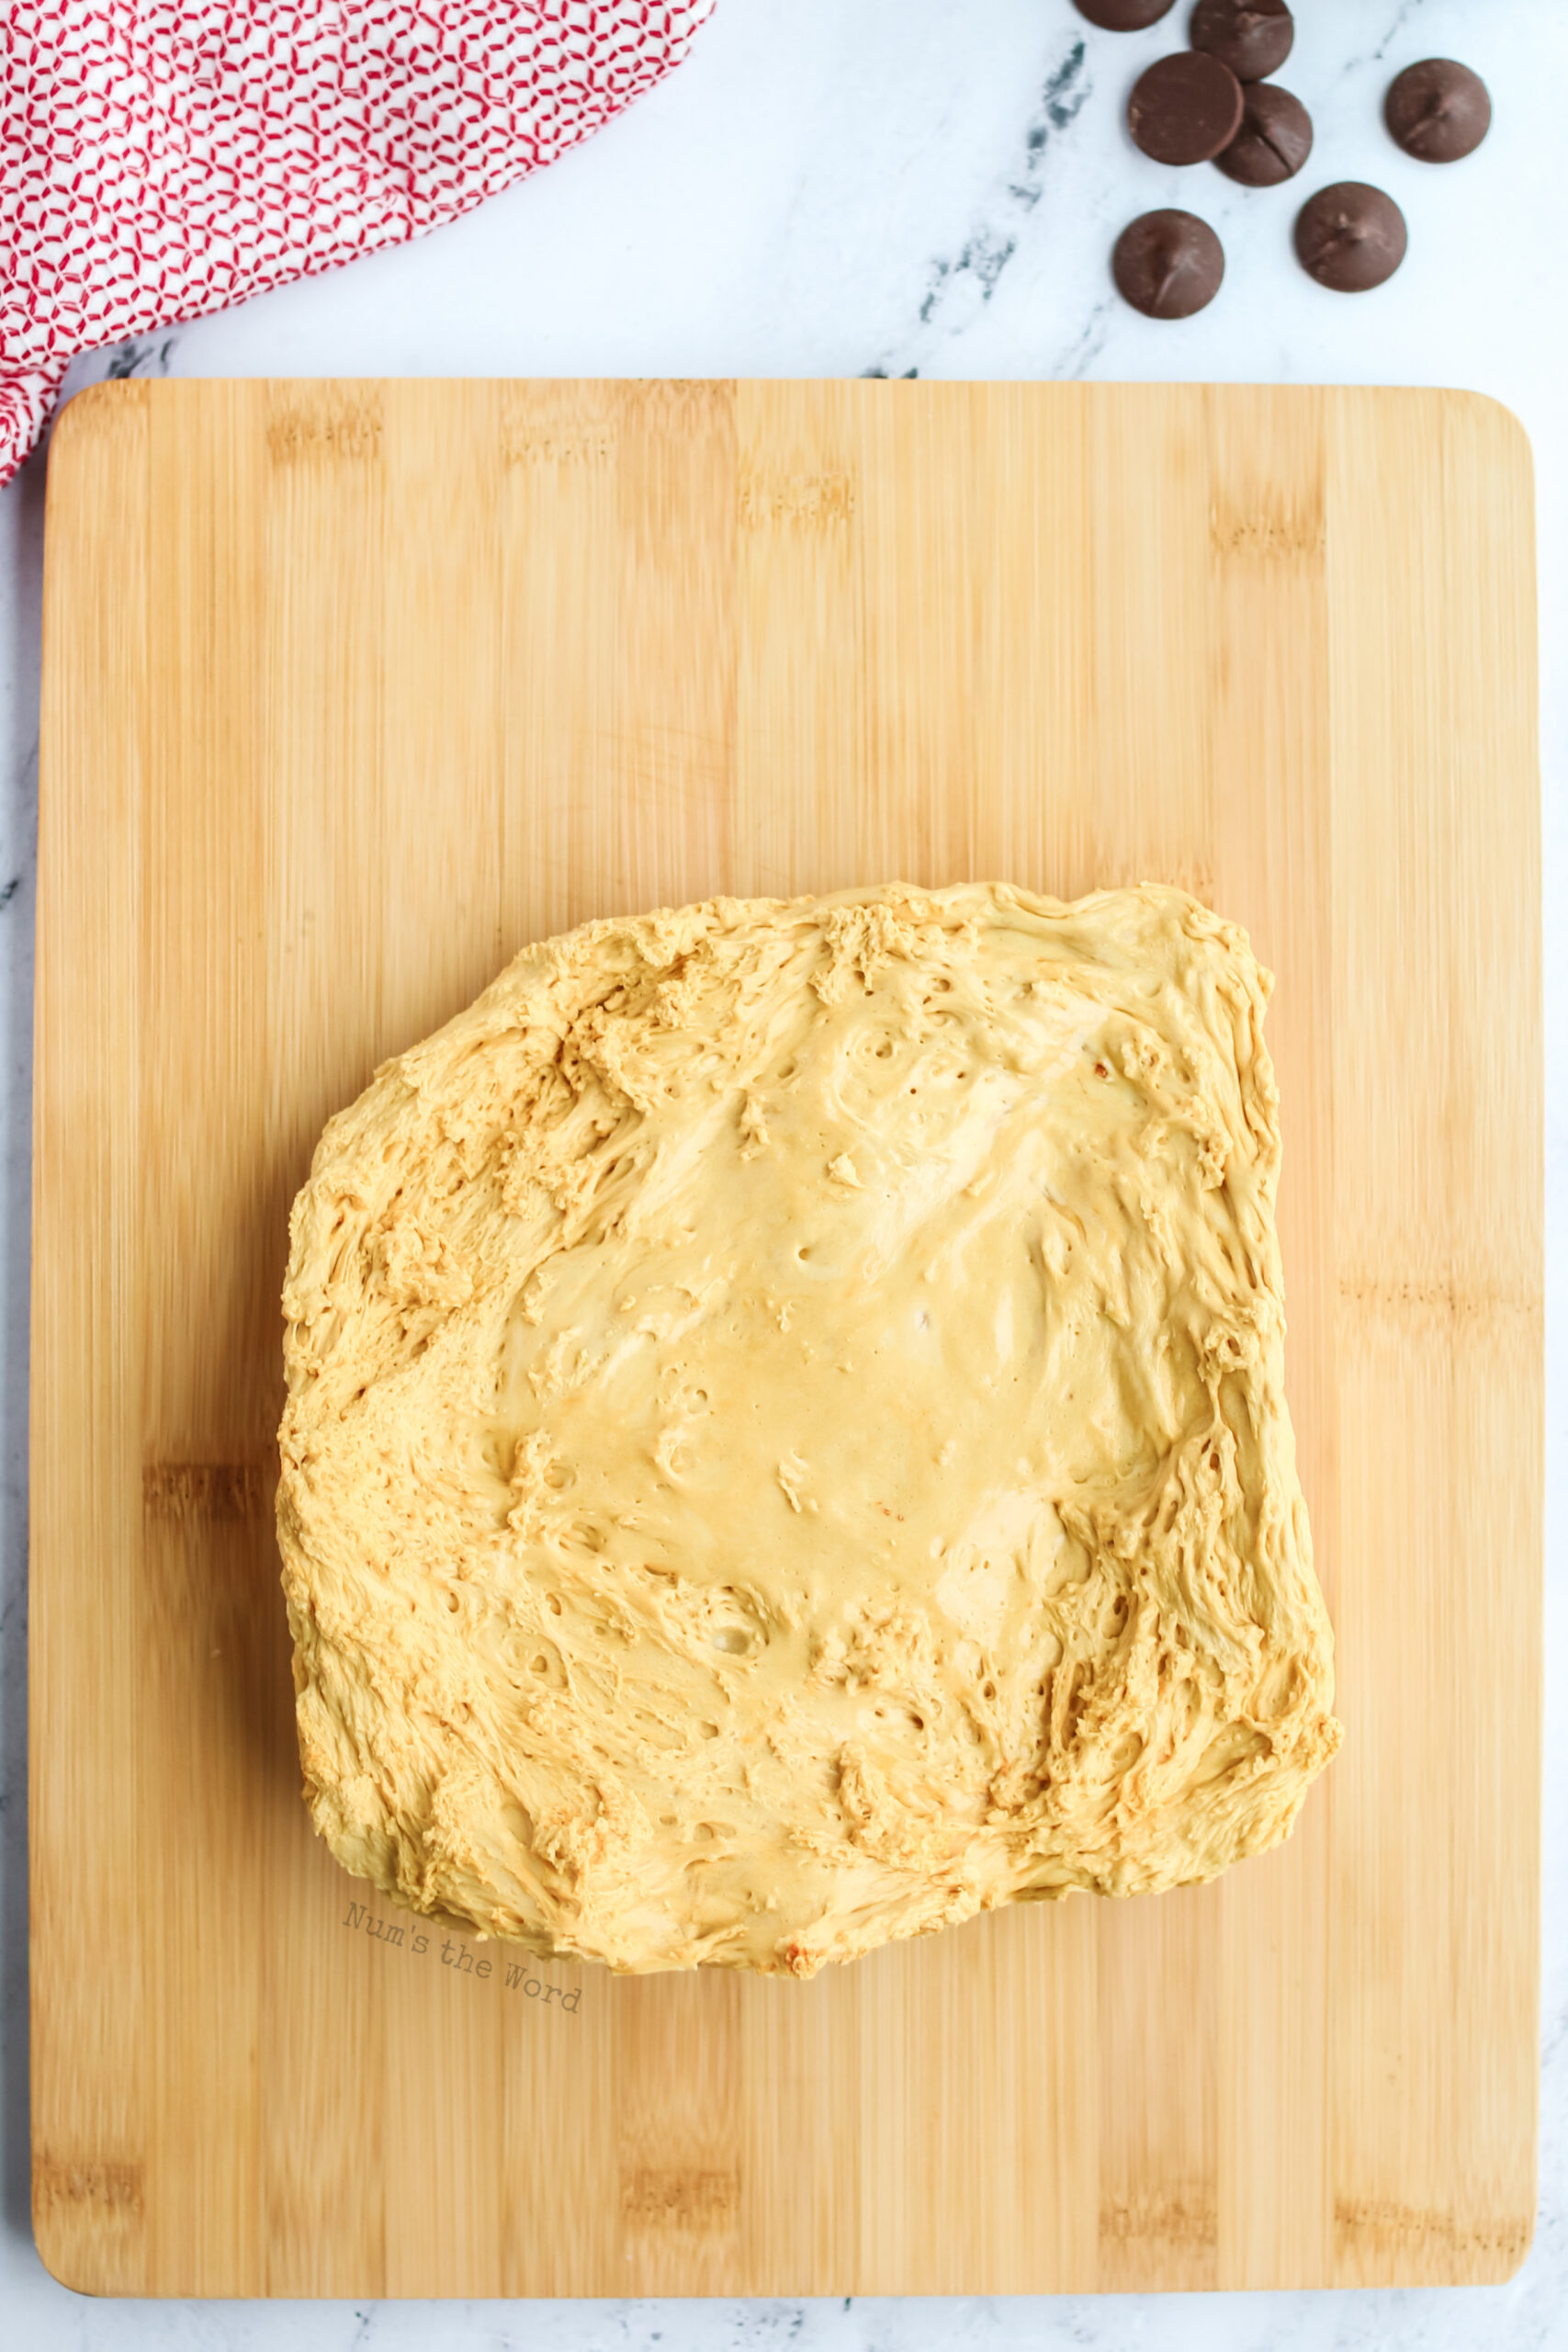
- After 2 hours, once mixture has naturally cooled to room temperature, pull hard candy slab out of pan.
- Place slab on a cutting board and with a sharp knife, carefully start to crack the candy into chunks. Generally chunks should be around 1” pieces.
- Eat candy, storing extras or dip in chocolate.
- To dip candy, melt chocolate according to package directions.
- Place a chunk of candy into chocolate, submerge and lift with a fork. Tap excess chocolate off candy and place on wax paper to dry.
- Once cooled, enjoy.
Nutrition Information:
Yield:
36Serving Size:
1Amount Per Serving: Calories: 53Total Fat: 0gSaturated Fat: 0gTrans Fat: 0gUnsaturated Fat: 0gCholesterol: 0mgSodium: 123mgCarbohydrates: 13gFiber: 0gSugar: 13gProtein: 0g
Photos & Text Updated: October 15, 2026
Nancy
Thursday 28th of December 2023
I made various candies as Christmas gifts this year and 1of them was your incredible honeycomb!! I used candiquick chocolate in both milk and dark chocolate to dip the pieces in and they were a hit with everyone that ate it!! I find that the chocolate mentioned above has a waxy consistency, while the candiquick has a true chocolate texture!! I will definitely make it again!!
Janelle
Tuesday 2nd of January 2024
Thank you for the kind comment Nancy! So glad it was a hit and that everyone loved them! Thanks for the tip on the chocolate too! I'm sure others will appreciate it!
Nancy
Thursday 21st of December 2023
Adding to my sugar comment, in Canada there is another brand called Redpath that makes refined sugar from cane sugar and their website states they do not use any animal products or derivatives in making it's sugar so it is also suitable for vegans. So it is relatively easy to find suitable "vegan" sugar in Canada at least.
Nancy
Thursday 21st of December 2023
FYI on sugar, in Canada it is really common to find beet sugar as the primary refined white sugar and it is not processed with bone char, so "vegan". Growing up in Alberta, beet sugar was the primary sugar in stores. Cane sugar and beet sugar are both refined white sugar and they function the same, they are both just refined white sugar. Rogers sugar is a common brand here in Canada made form beets. Growing up with just beet sugar, I thought that cane sugar was this exotic thing when I discovered it, then I learned it was the primary source for sugar. Anyway beet sugar is "vegan" and the same as cane sugar, tastes the same functions the same in recipes, though it does smell slightly different.
Tori
Monday 11th of December 2023
I just tried this, it turned out amazing! I’ve never made candy, can’t wait to dip it in the chocolate. Can I add vanilla next time?
Nancy
Sunday 10th of December 2023
My best friend loves honeycomb, can't wait to make this and see her expression when she tries it!! Can you make a double batch of this? Or would the cooking temperature need to be different?