You know that moment when you take a bite of something and your brain just… pauses? Like it’s trying to process whether what just happened was actually real? That’s homemade whipped cream.
The best homemade whipped cream recipe isn’t locked behind culinary school doors or fancy restaurant kitchens.
It’s just… cream. And air. And your willingness to spend 15 minutes or less in the kitchen to create an explosion of creamy, dreamy goodness.
This is your official permission to stop settling.
What Ingredients Are in This Whipped Cream Recipe?
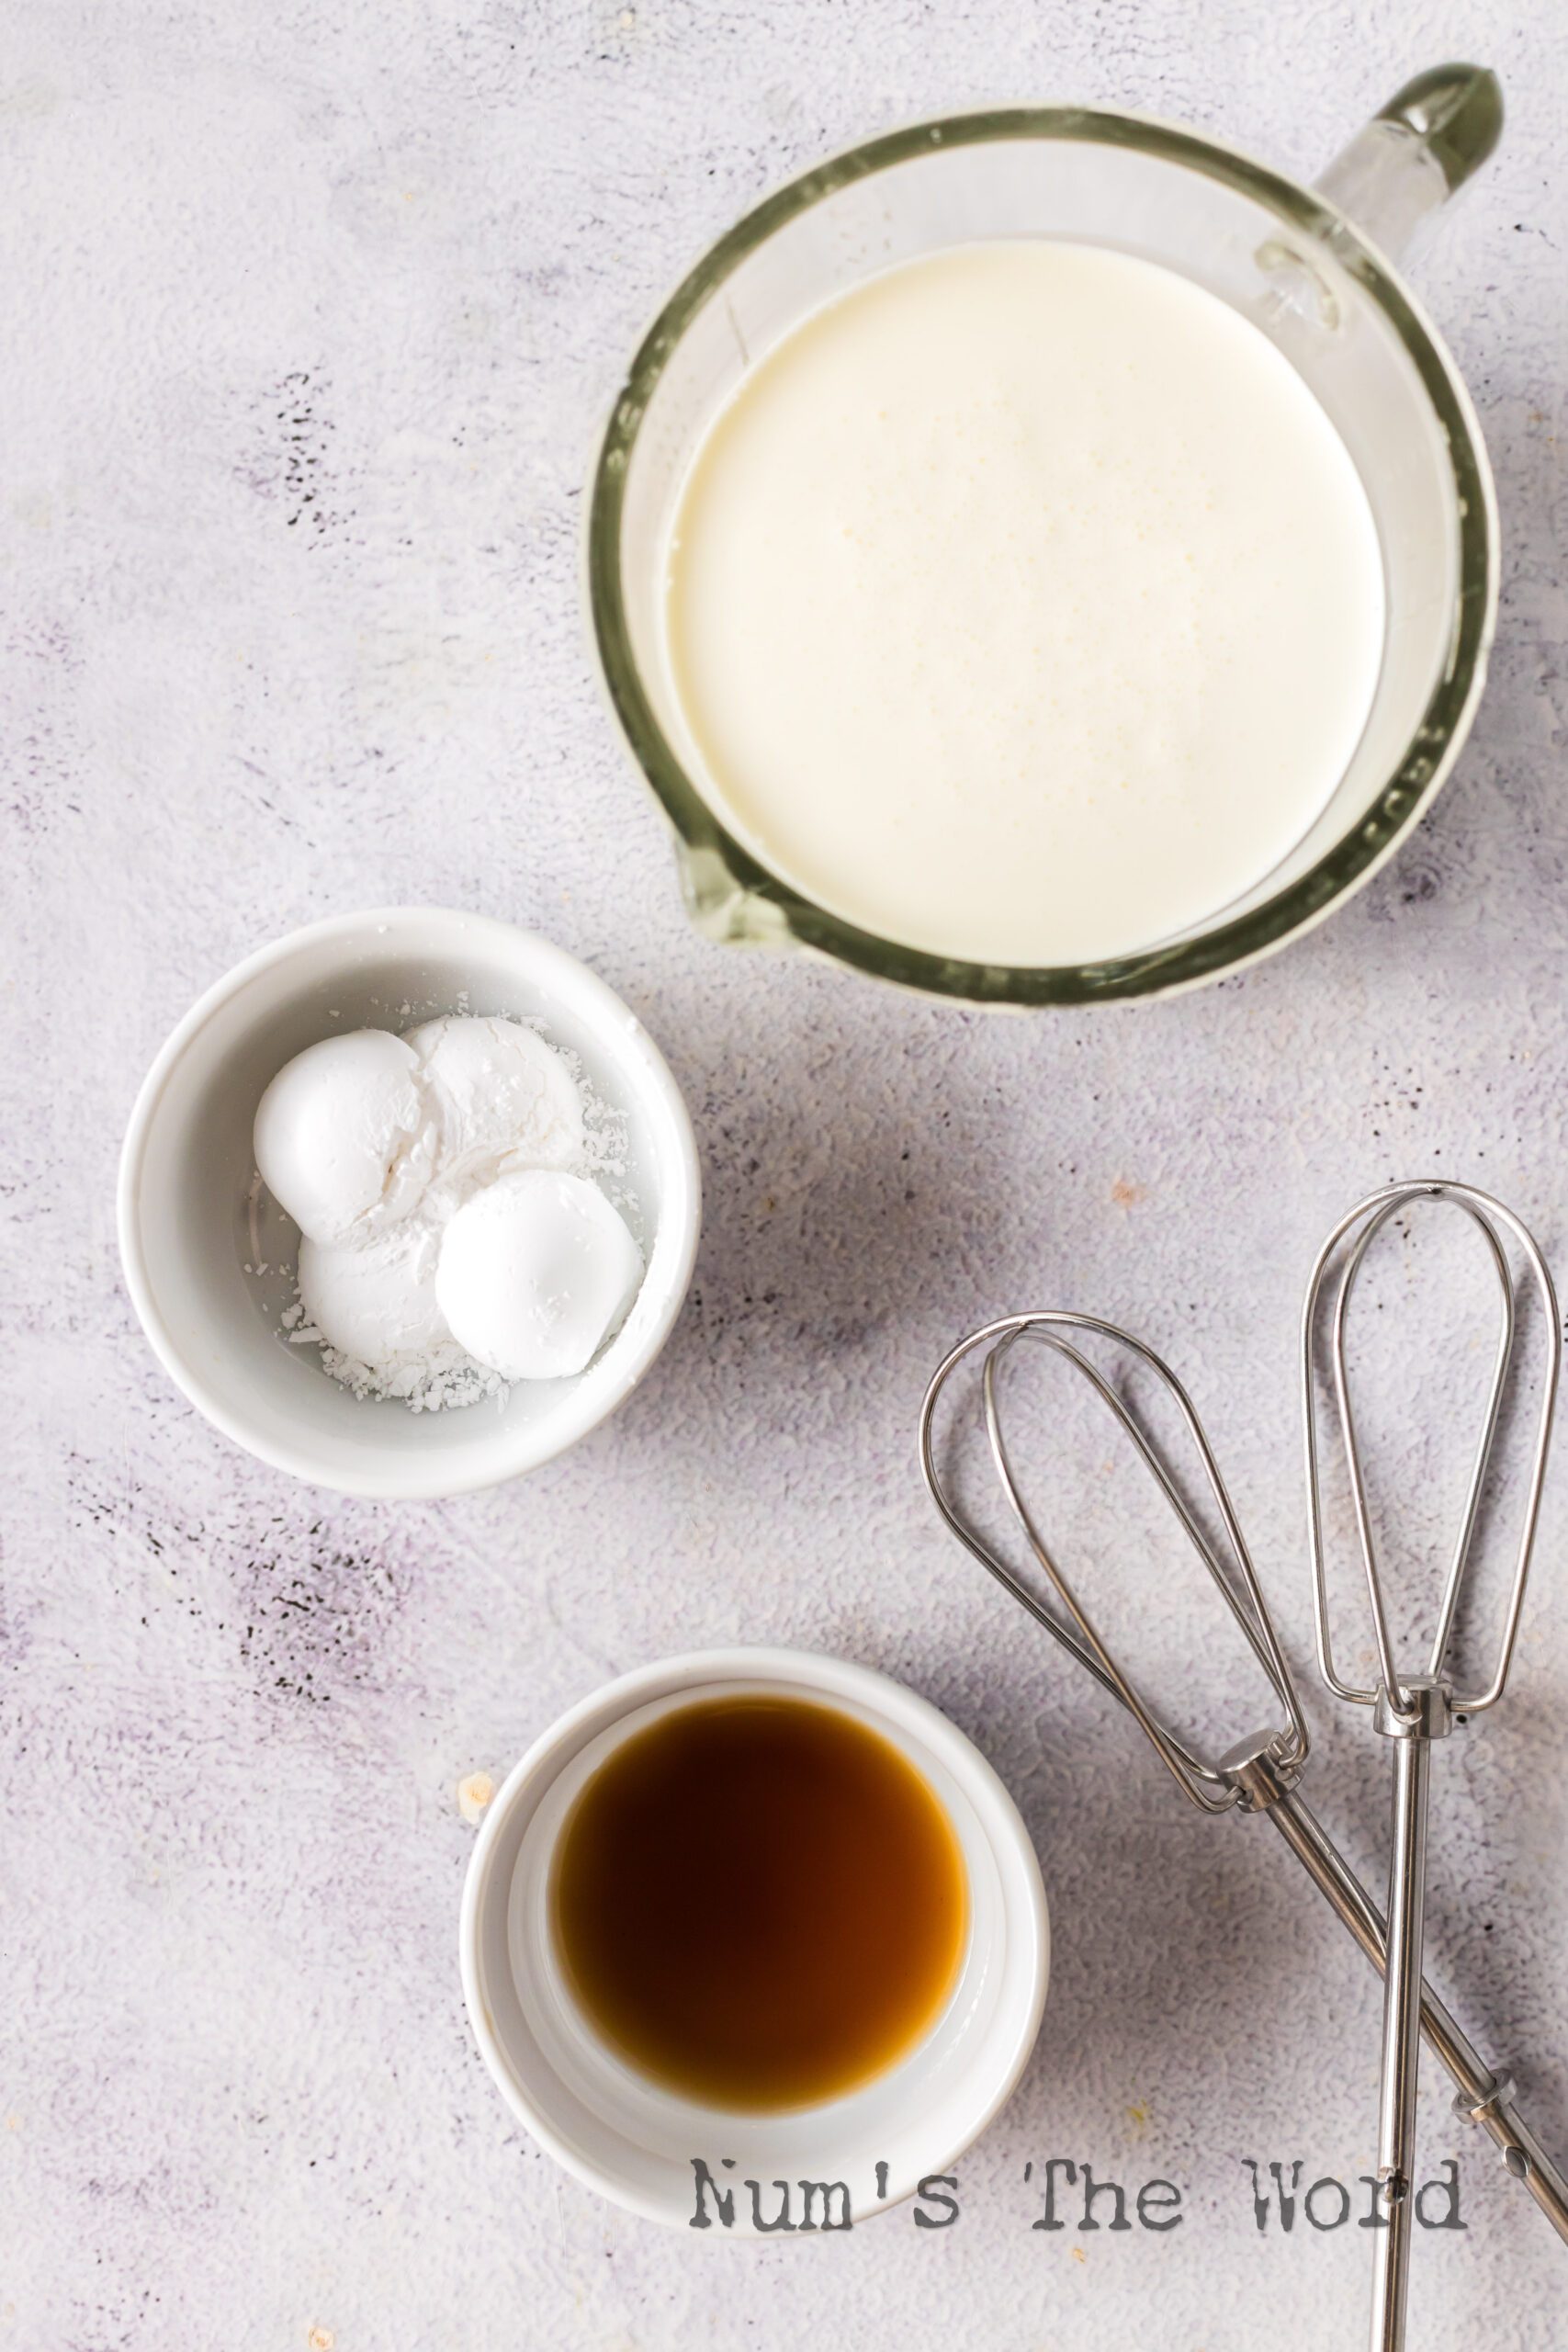
Just three humble ingredients that transform into magic:
- Heavy Whipping Cream: The star of the show. Look for 36% milk fat or higher—this isn’t the place for skim milk and dreams.
- Powdered Sugar: Sweetness plus a secret weapon. That tiny bit of cornstarch in powdered sugar? It’s like a microscopic bodyguard that helps your whipped cream hold its shape instead of turning into a puddle of dairy regret.
- Vanilla Extract: Splurge for the real stuff. You can definitely tell the difference between pure vanilla extract from fake in a simple recipe like this. Or make your own. This Double Fold Vanilla Extract Recipe is delicious!
Pro Tips:
- Chill your bowl and beaters in the freezer for 15 minutes first. Cold bowl and equipment = faster whipping = less chance of you angrily eating half-finished cream with a spoon.
- Powdered sugar is also known as confectioners’ sugar
Why use powdered sugar instead of granulated sugar?
Powdered sugar dissolves instantly into cold cream and contains a small amount of cornstarch, which also helps stabilize the mixture.
Granulated sugar can leave a grainy texture if it doesn’t dissolve completely during whipping.
How to Make This Whipped Cream Recipe
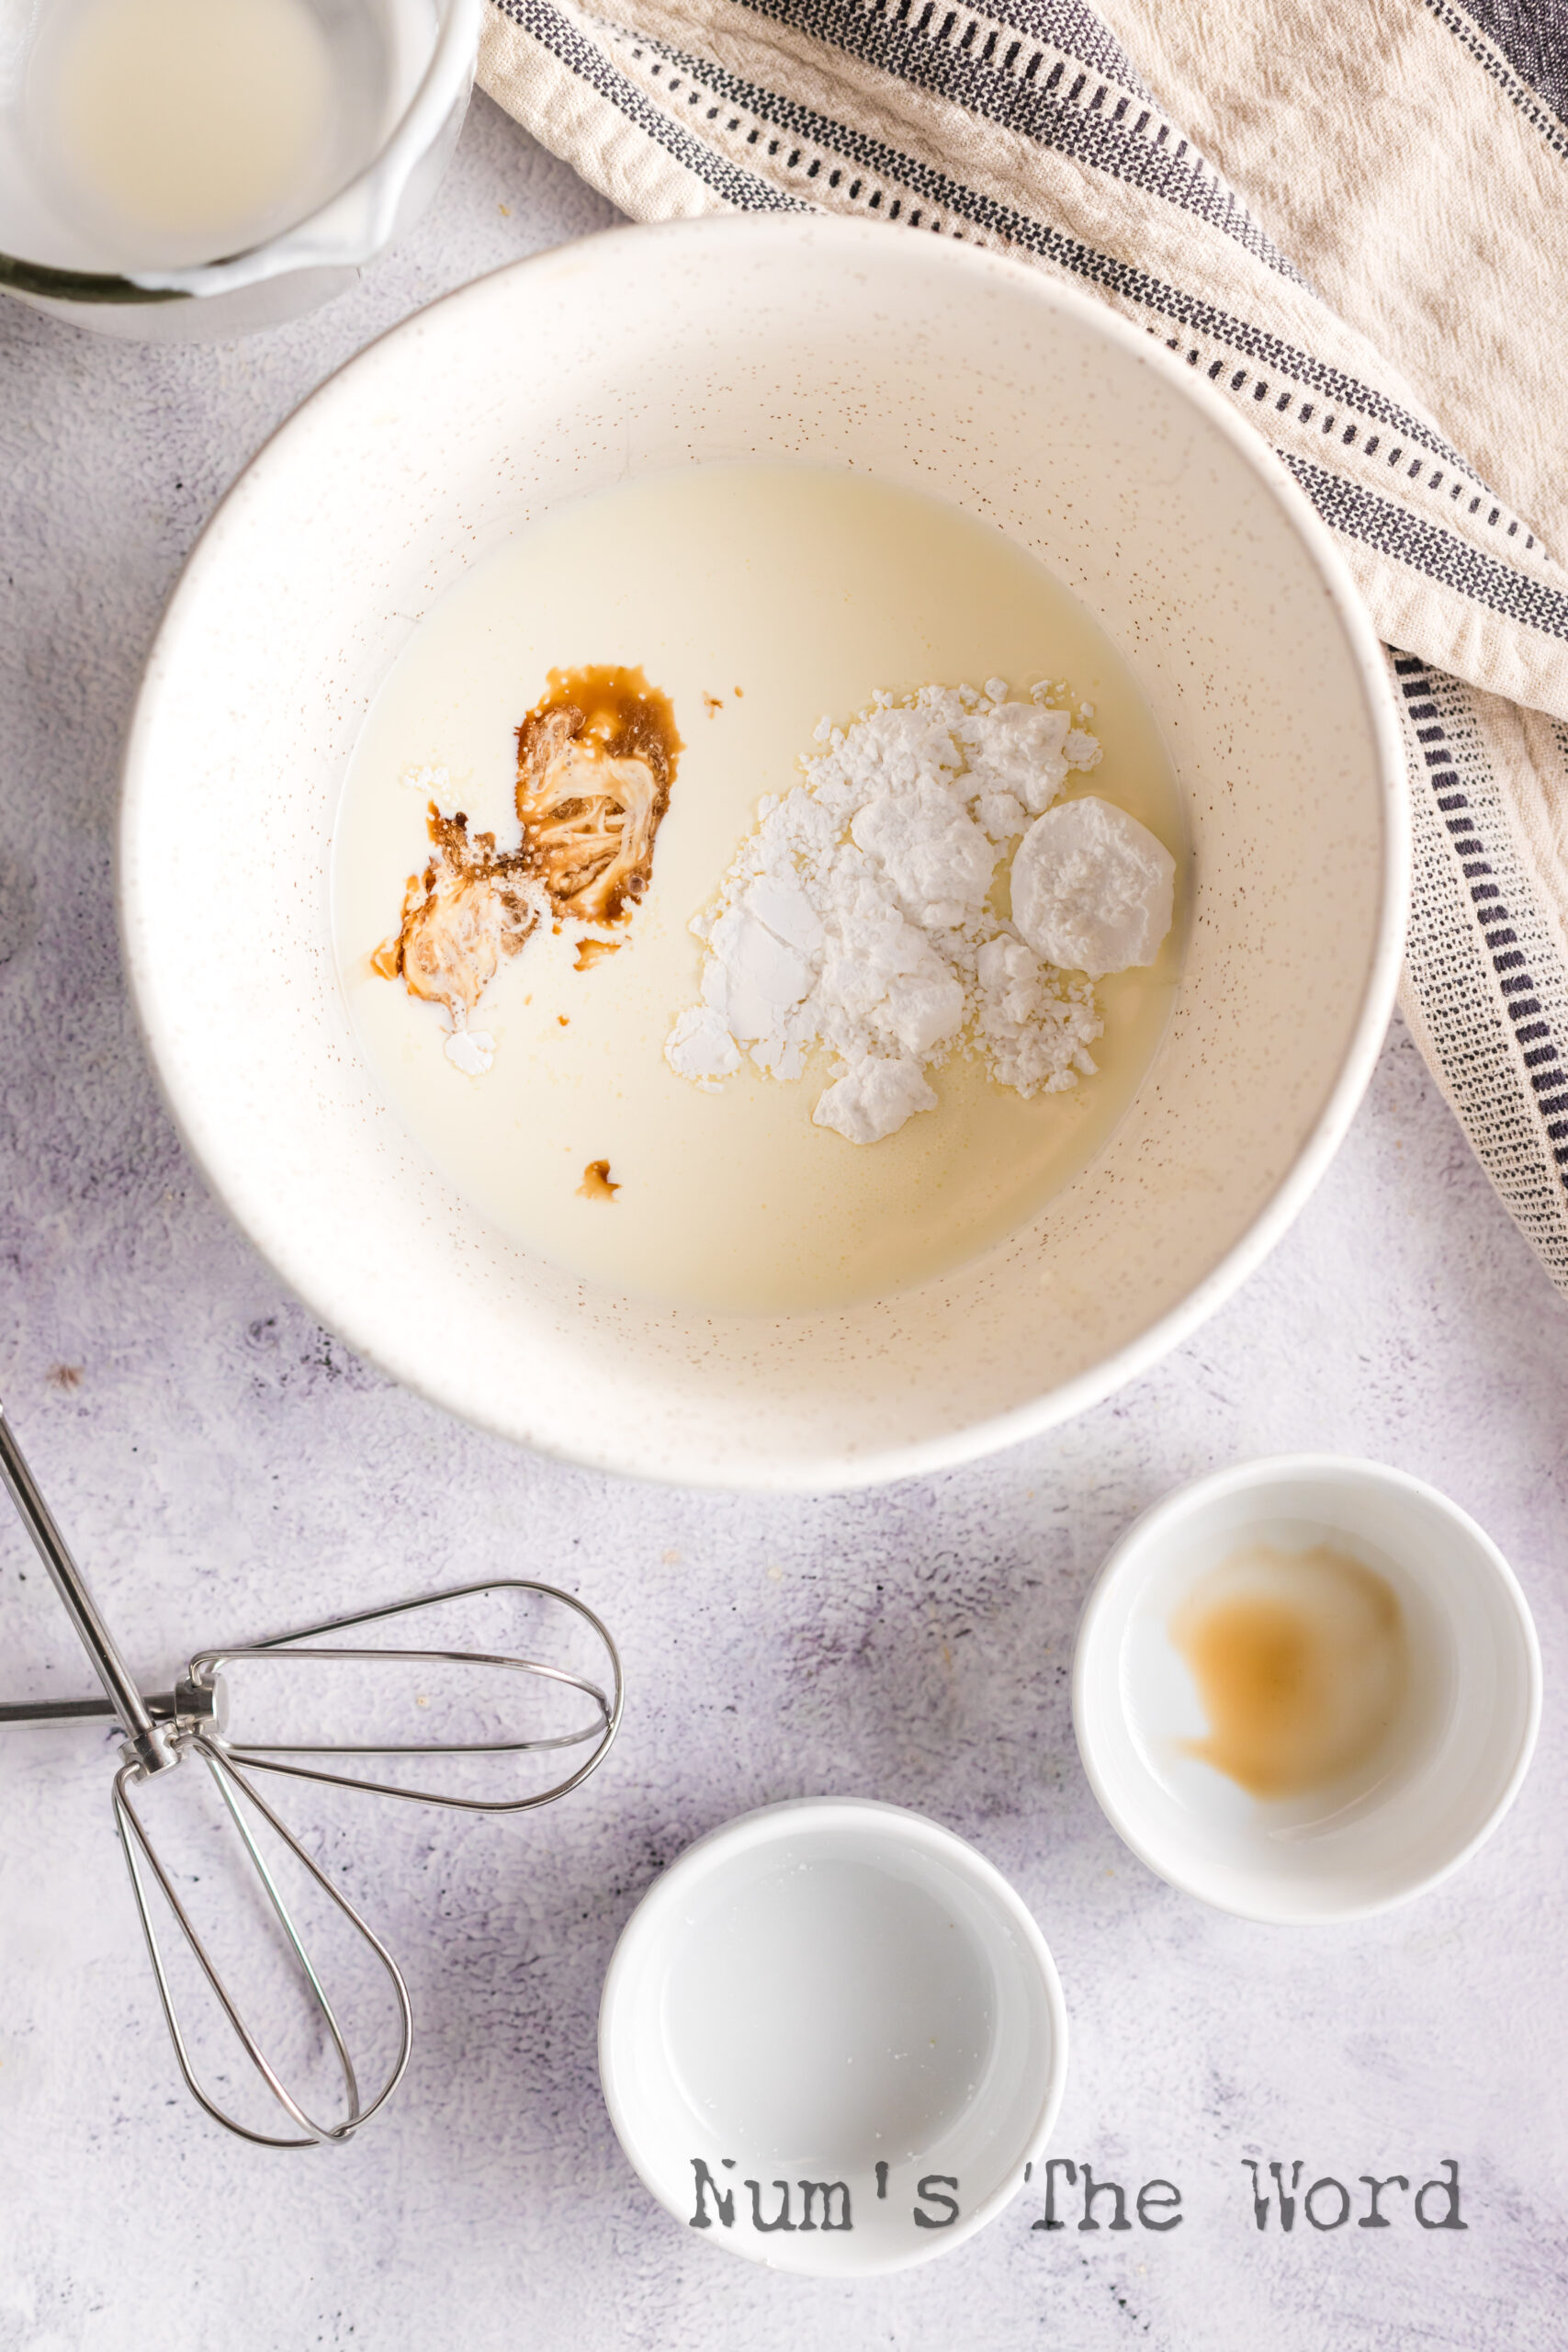
- Dump everything in your chilled bowl. Yes, everything at once. We’re not making a soufflé here.
- Start slow, finish fast. Begin on low speed using an electric mixer with a whisk attachment for about 30 seconds (so you don’t wear powdered sugar like a facial), then crank it to medium-high.
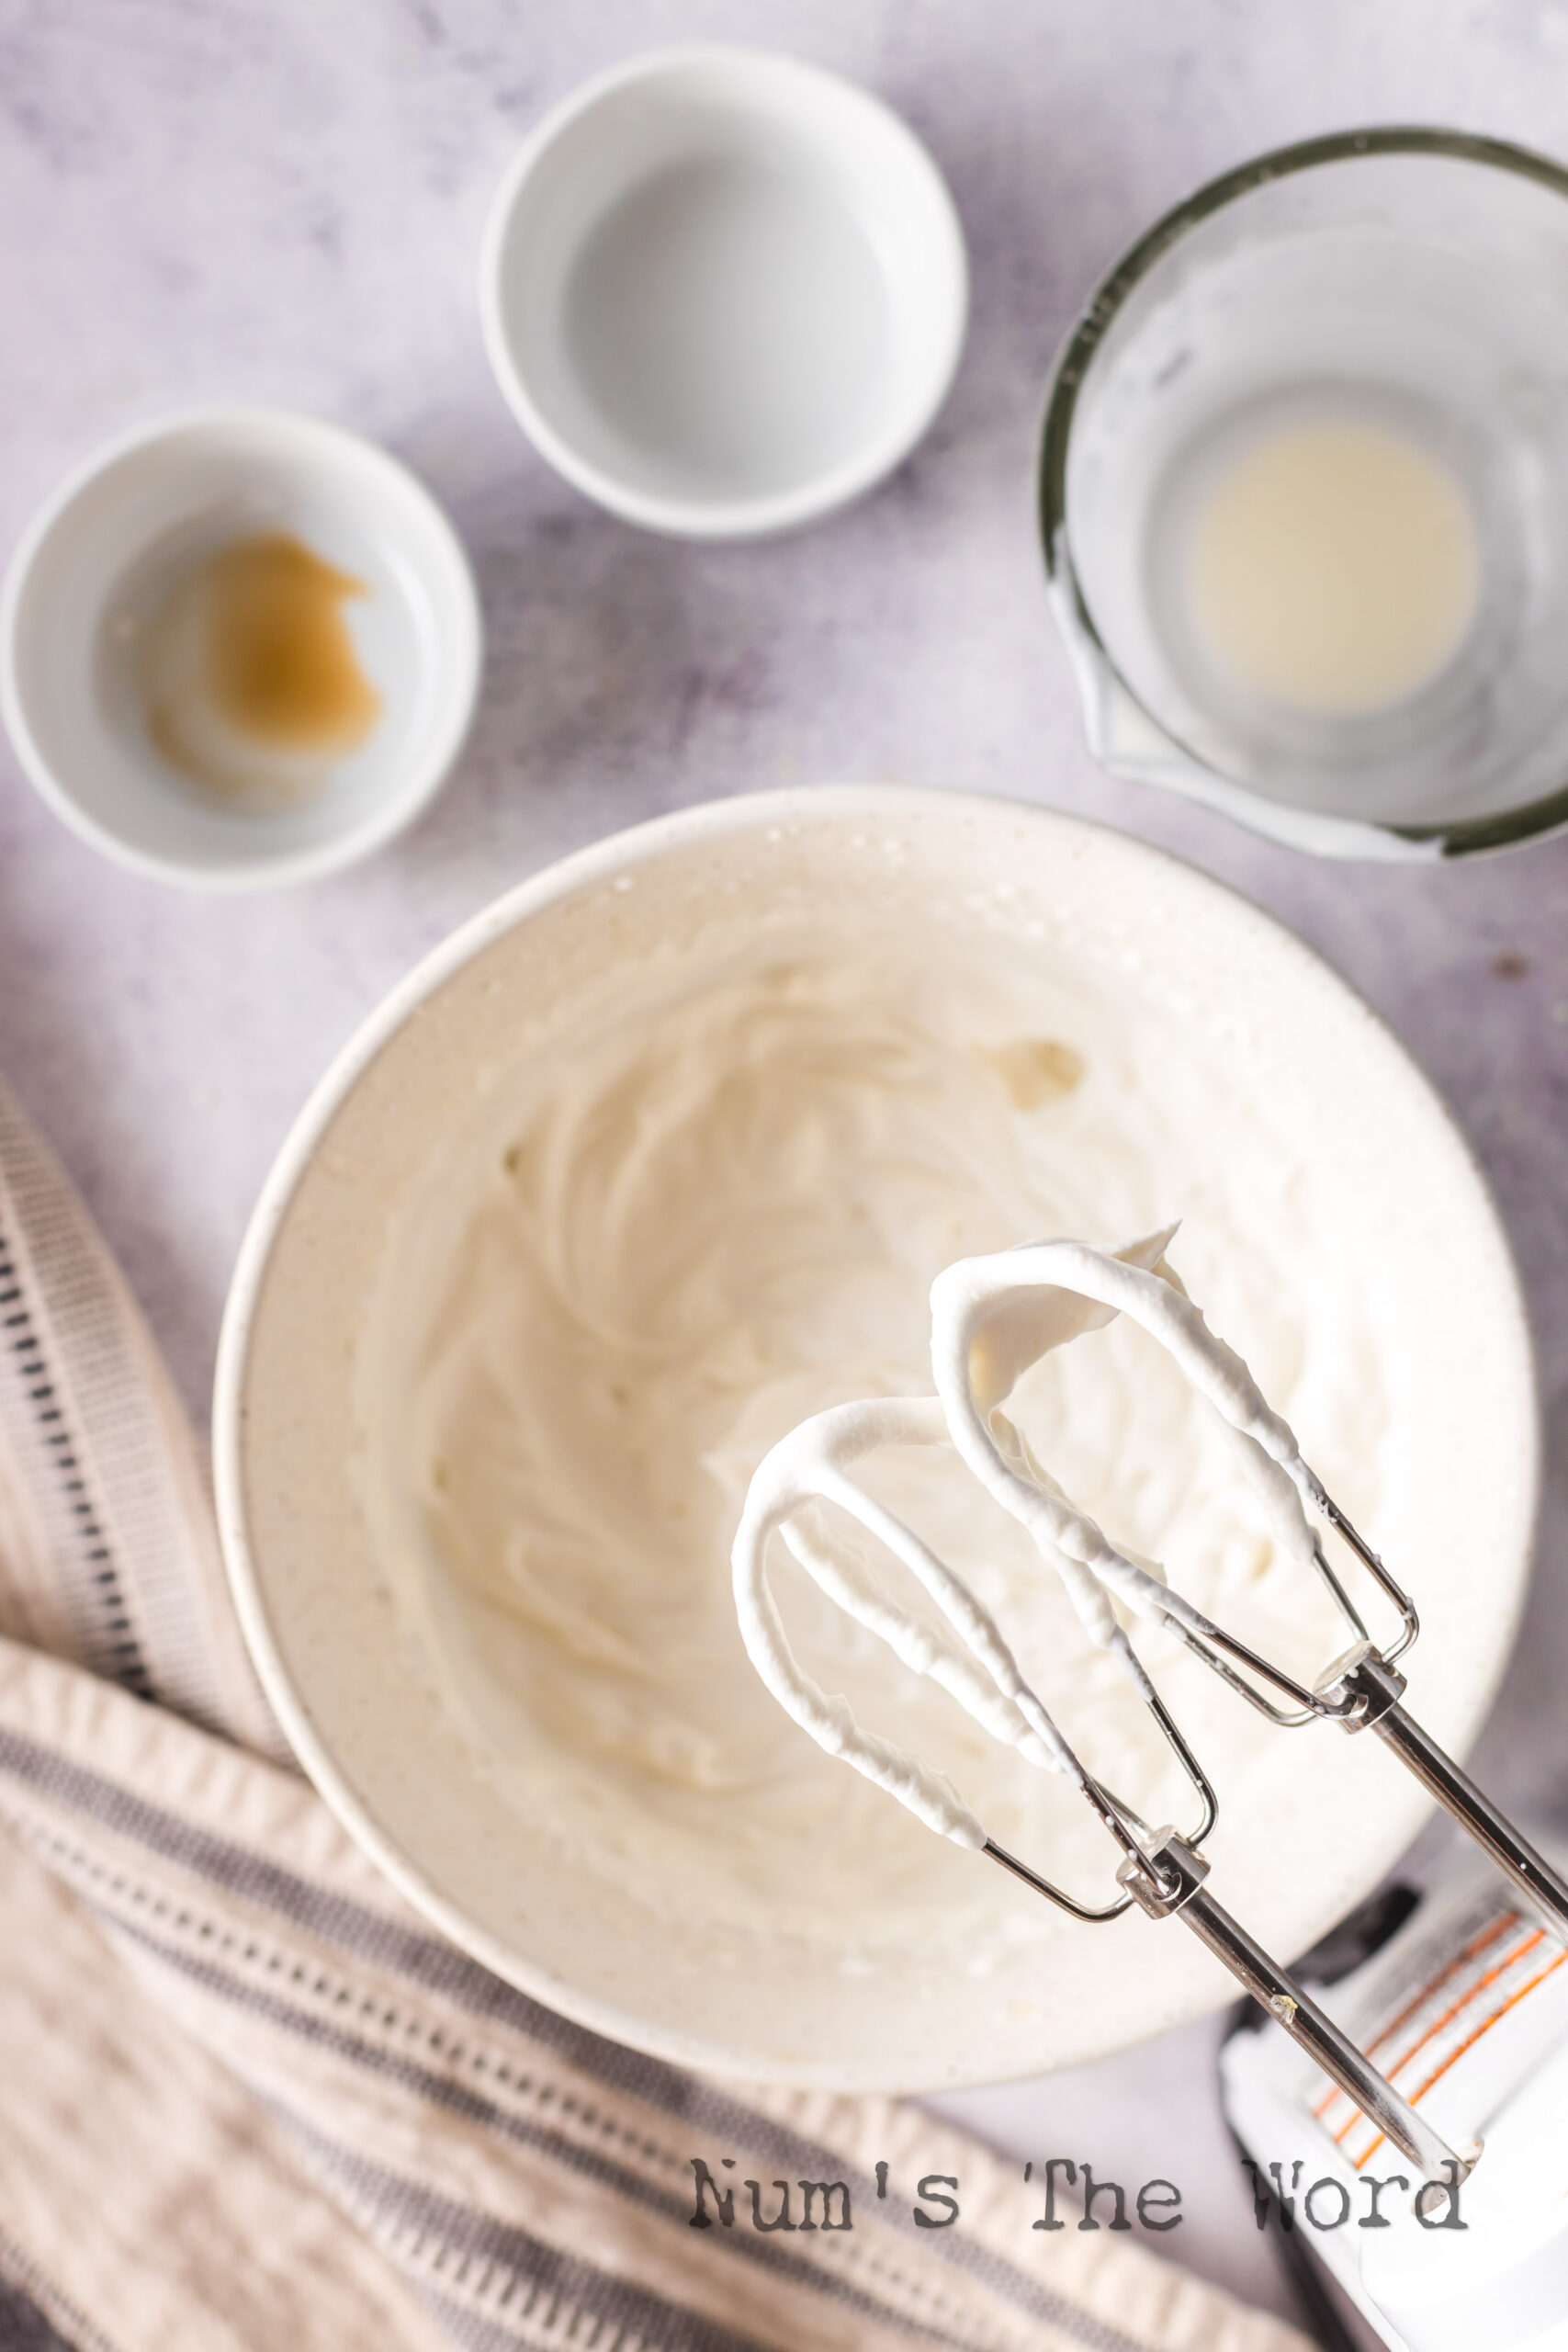
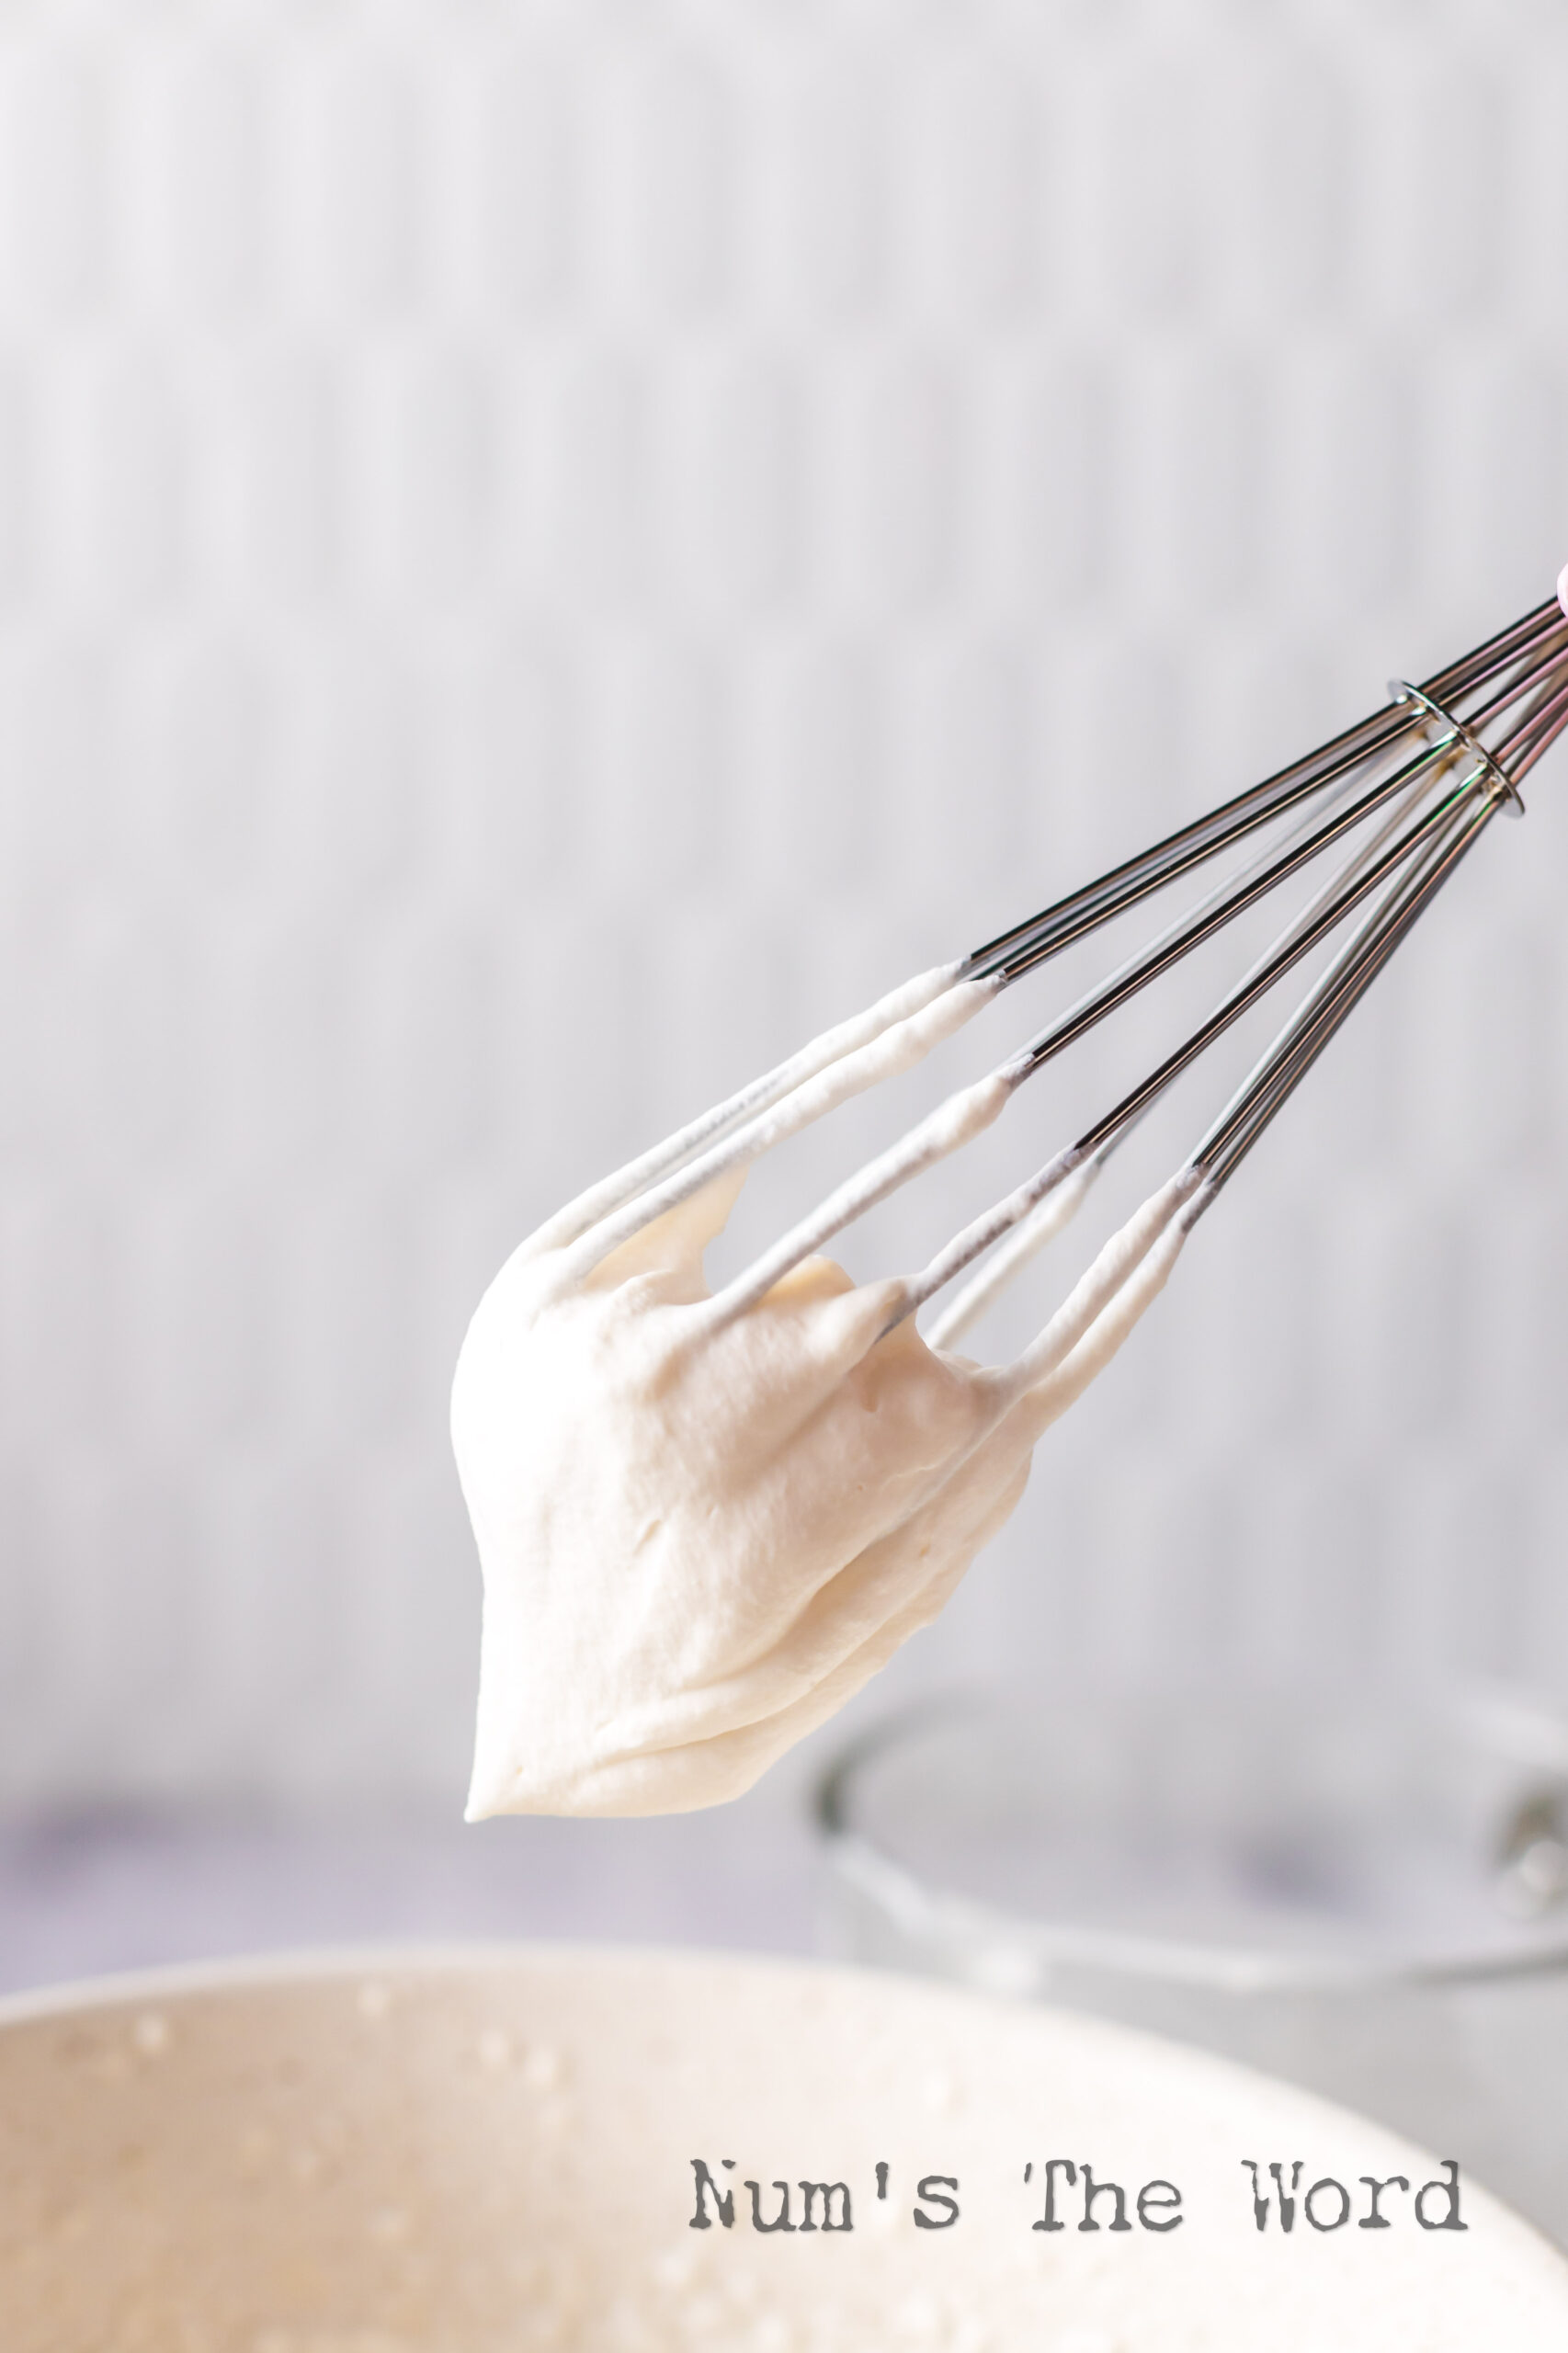
- Watch it like a hawk. In about 2-3 minutes, you’ll see soft peaks form – when you lift the beaters, the cream makes a gentle curl like a dairy wave breaking. For piping or layer cakes, keep going until you get stiff peaks that stand straight up like soldiers.
CRITICAL WARNING: The window between “perfect whipped cream” and “accidental butter” is approximately 30 seconds. Over-whipped cream gets grainy, then yellow, then suddenly you’re spreading sweet butter on your pie. If this happens, panic briefly, then fold in a tablespoon of fresh cream to rescue it.
Most people make three critical mistakes here:
- Starting on high speed. Begin on low speed for the first 30 seconds to incorporate the sugar and vanilla without splattering cream everywhere. Only increase to medium-high speed once the mixture thickens slightly.
- Walking away from the mixer. Cream goes from perfect to overwhipped in less than 20 seconds once it reaches soft peaks. You need to watch the texture continuously during the final minute.
- Ignoring the scrape-down. Cream and sugar collect on the sides of the bowl and don’t whip properly if you don’t scrape them back into the center halfway through.
Here’s the progression you’re looking for:
- Frothy stage (1 minute): The cream bubbles and looks like foam but has no body. Keep mixing.
- Soft peaks (2-3 minutes): When you lift the whisk, peaks form and curl over gently. This is the stage for folding into mousses or layering between cakes.
- Medium peaks (3-4 minutes): Peaks hold their shape but the tips still bend slightly. This works for piping borders or topping pies.
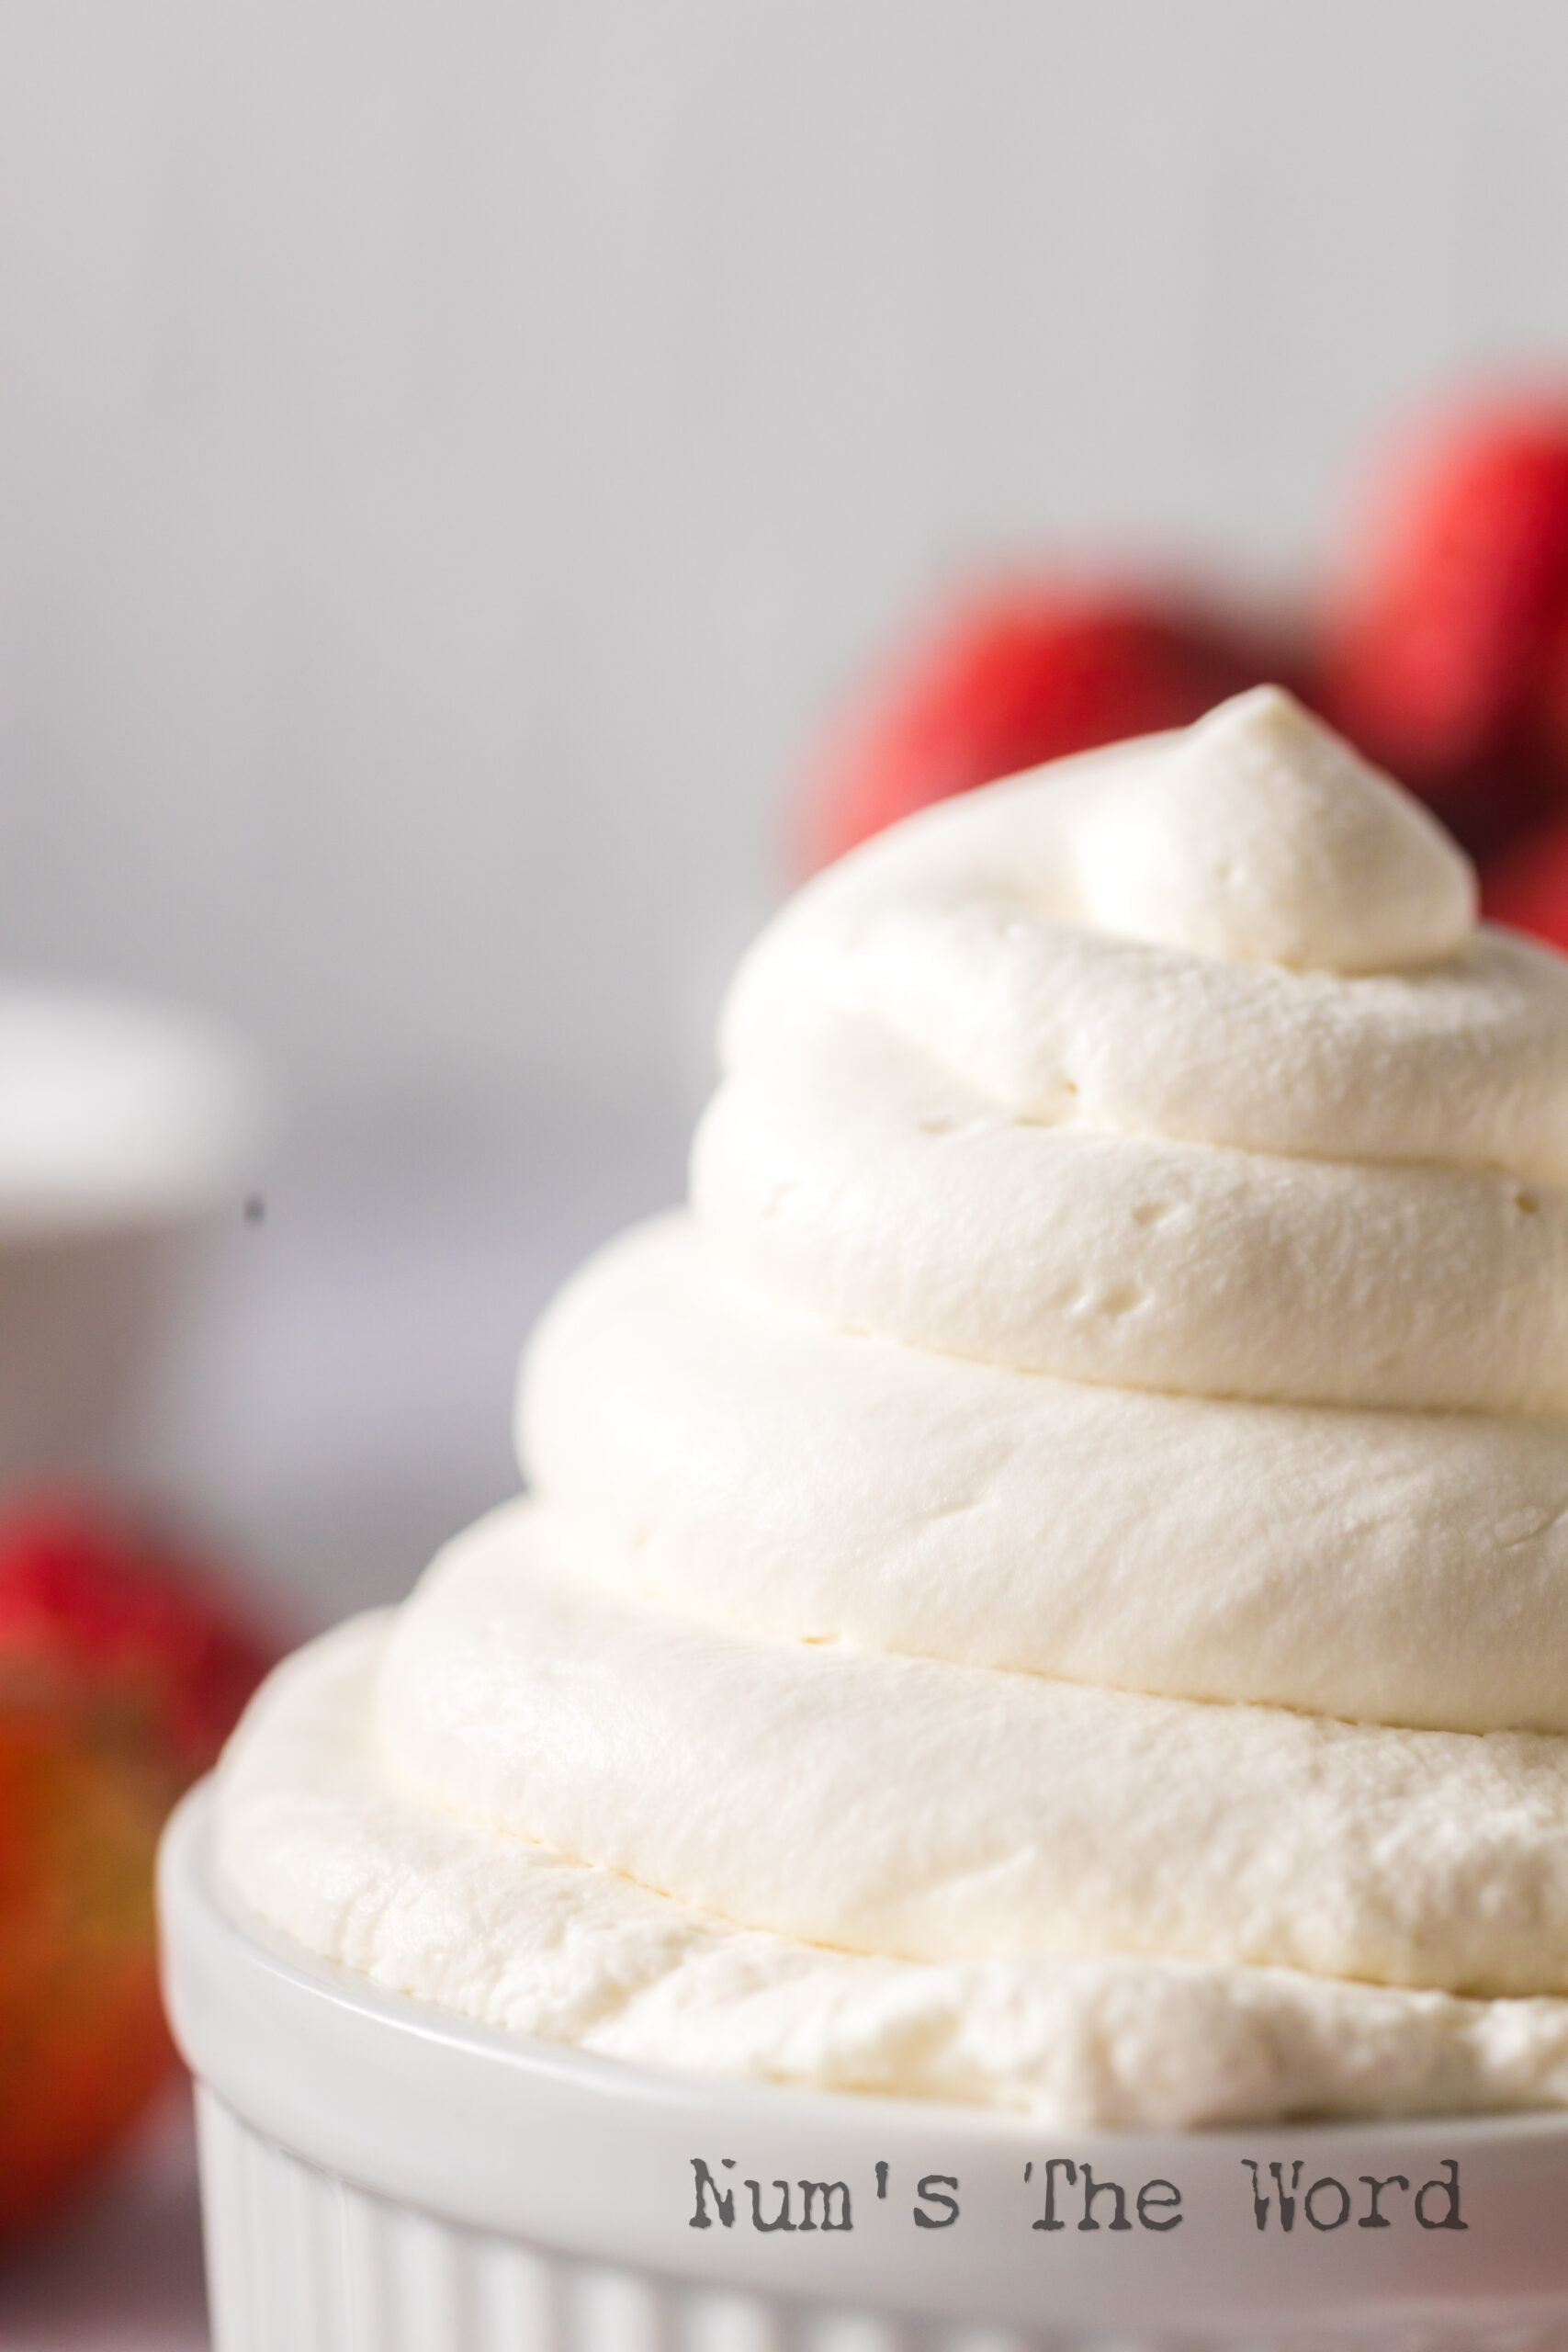
- Stiff peaks (4-5 minutes): Peaks stand straight up without drooping. The cream looks glossy and holds definition when piped. Stop here.
Pro Tip: If you want beautiful swirls or decorations using homemade whipped cream, you’ll need a piping bag and tips.
How to make Stabilized Whipped Cream?
If you’re using whipped cream in a dessert that will be out of the fridge for longer than an hour, you’ll want to stabilize the whipped cream. This can be done with cream cheese, powdered gelatin (not Jell-O) or cornstarch.
The cream cheese or gelatin acts as a stabilizer, preventing the whipped cream from separating into liquid and foam after a few hours. Bakeries use this trick to prep whipped cream in advance without losing volume or texture.
Add your stabilizer at the soft peak stage. Drizzle in dissolved gelatin while the mixer runs on low speed, or fold in whipped cream cheese by hand using a spatula. Both methods lock in the structure and prevent weeping without changing the flavor.
STABILIZATION METHODS: WHICH ONE TO USE
Unstabilized whipped cream deflates within two hours as the fat and liquid naturally separate. Stabilizers create a network that holds the emulsion together longer, which matters when you’re prepping desserts in advance or serving whipped cream outdoors. The method you choose depends on how long you need the cream to hold and whether you care about texture differences.
Cream Cheese Method
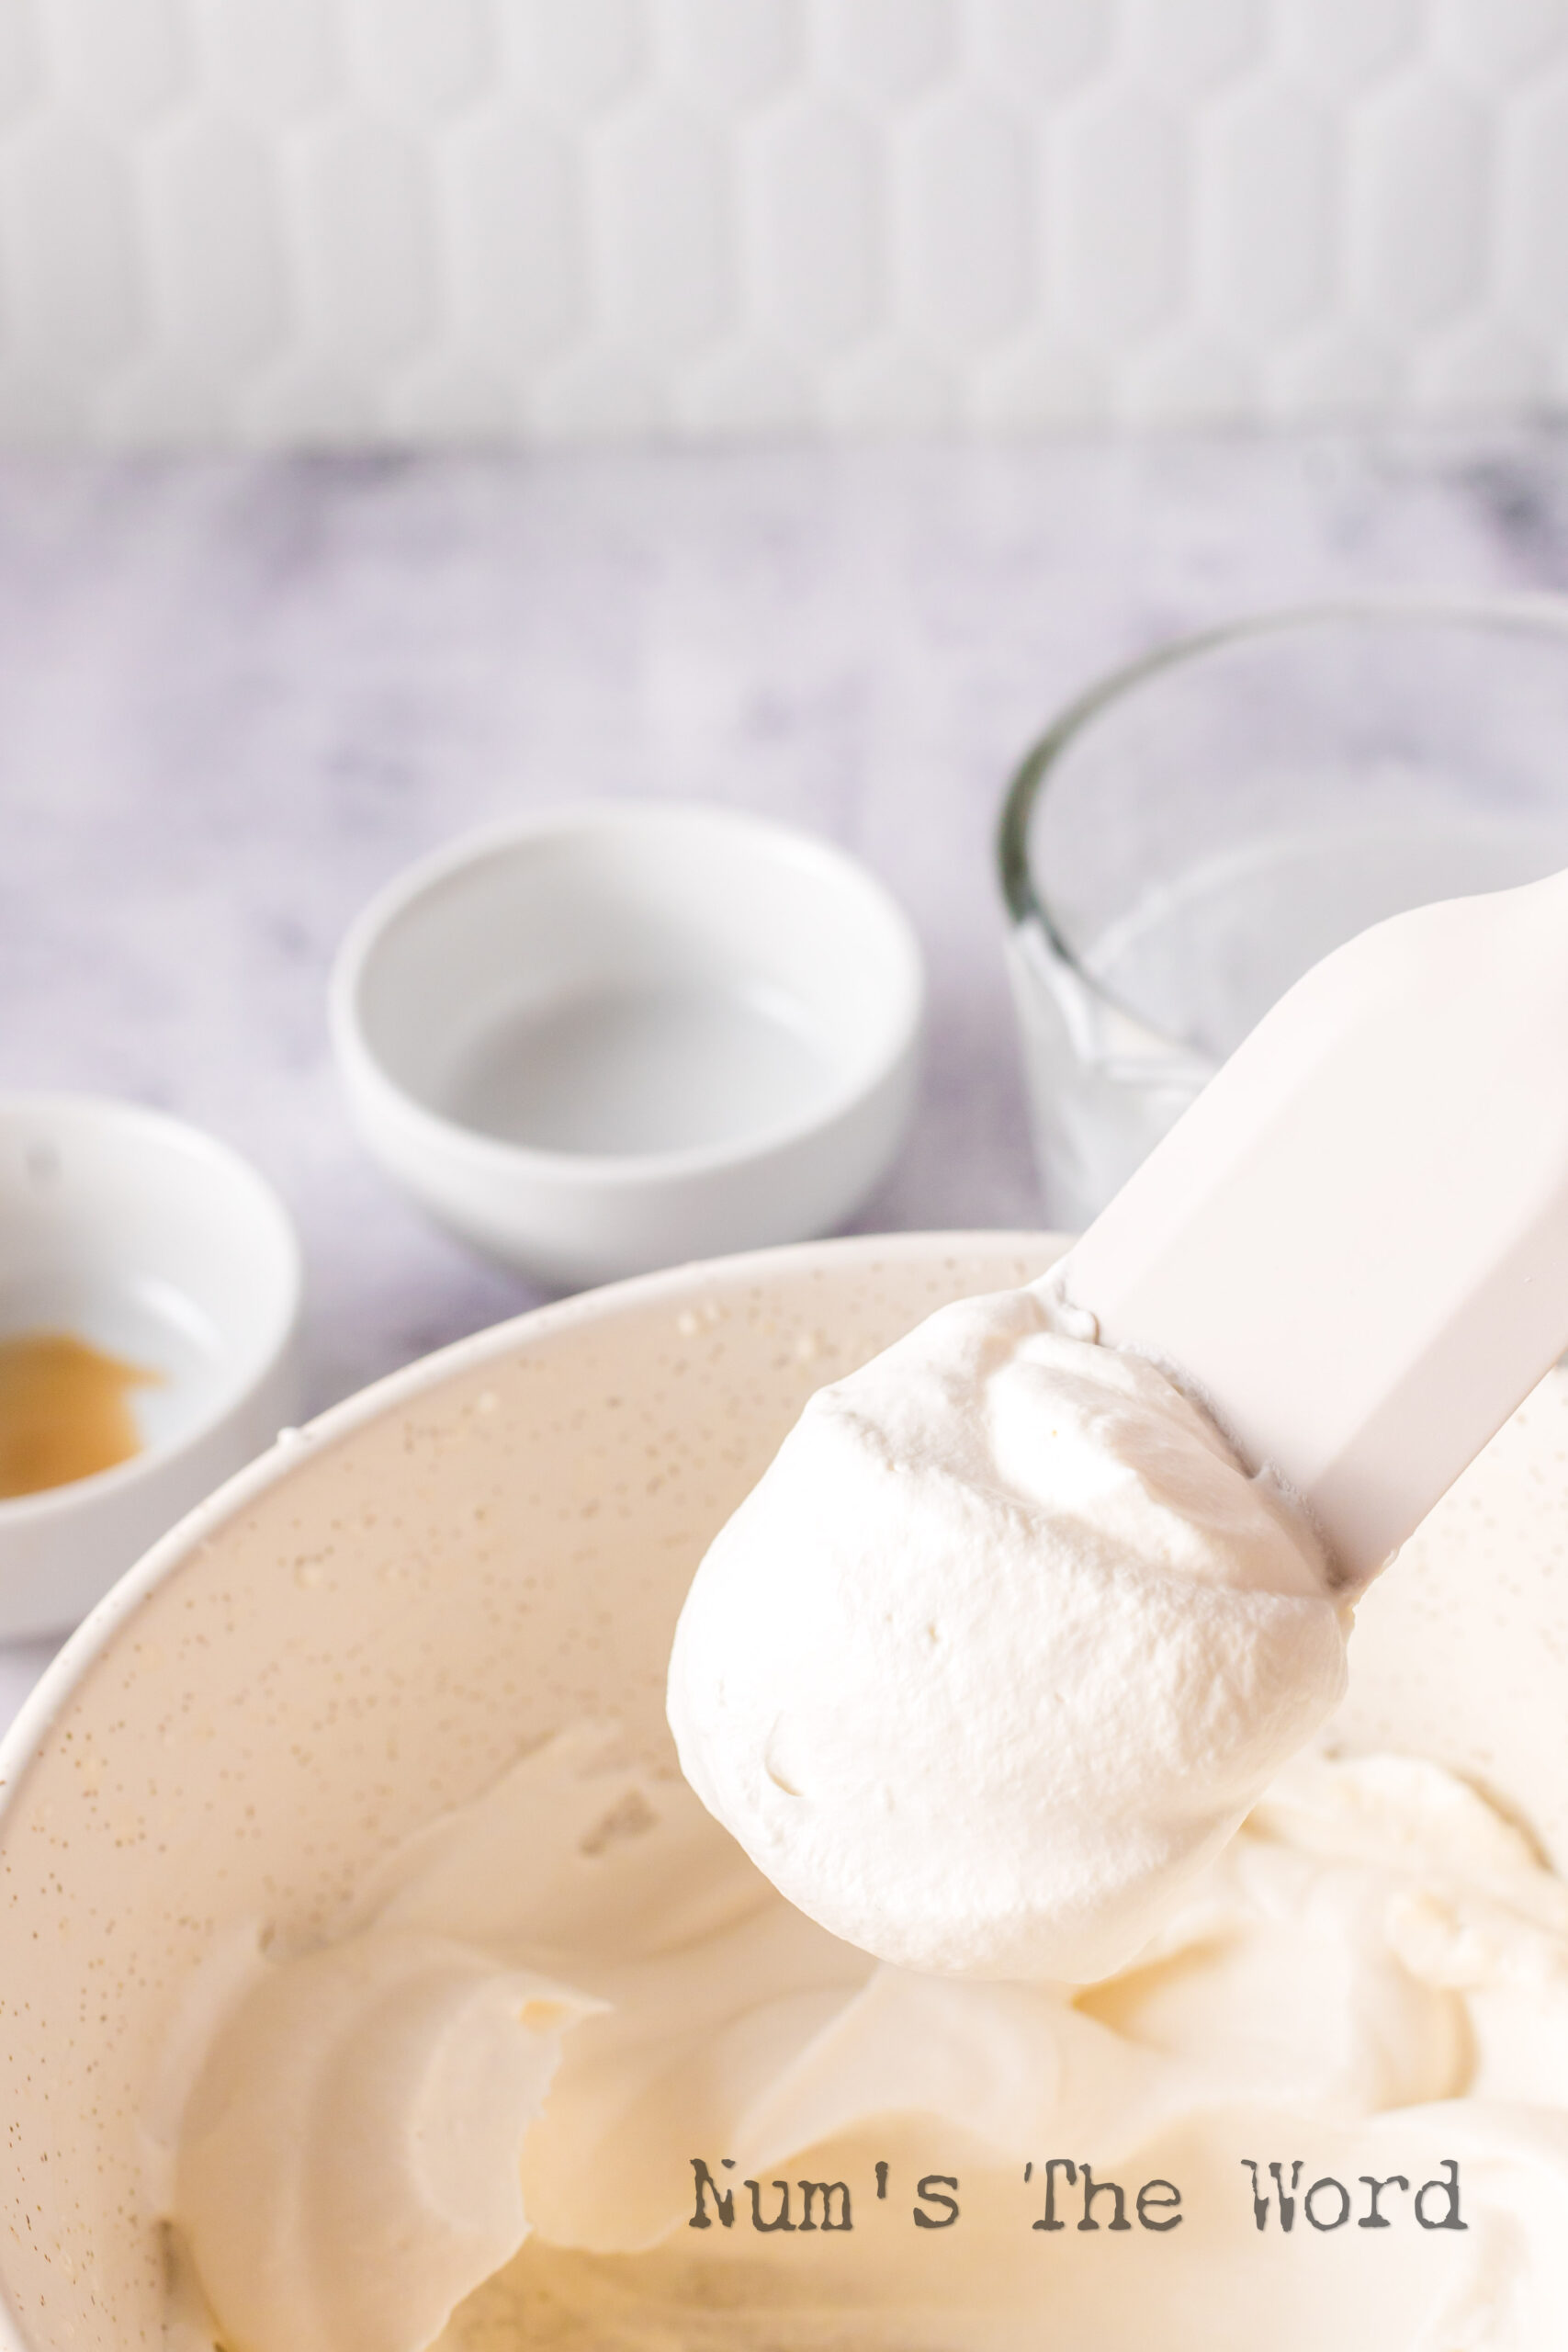
Whip 2 tablespoons of softened cream cheese until completely smooth with no lumps. Once your heavy cream reaches soft peaks, stop the mixer and gently fold in the whipped cream cheese using a spatula. Resume whipping to stiff peaks.
- What this does: Cream cheese adds structure through its protein and fat content, and the slight tang balances sweetness. The whipped cream holds its shape for 24 hours in the refrigerator without weeping or deflating.
- Best for: Topping cakes, pies, trifles, or any dessert where you want bakery-quality presentation without a separate trip to the store for specialty ingredients.
Gelatin Method
Bloom 1 tablespoon of unflavored powdered gelatin in 2 tablespoons of cold water for 5 minutes. Heat the mixture gently in the microwave for 10 seconds or over a double boiler until fully dissolved and clear. Let it cool to room temperature but not solidify. When your cream reaches soft peaks, drizzle the gelatin in slowly while mixing on low speed, then continue whipping to stiff peaks.
- What this does: Gelatin creates a stronger protein network that traps air bubbles and prevents liquid separation. This method produces the most stable whipped cream that can hold for 48 hours refrigerated.
- Best for: Piped decorations, layered desserts that sit out during parties, or any application where the whipped cream needs to survive without refrigeration for an hour or two.
- One major downside: Gelatin stabilized whipped cream can develop a slightly firmer, mousse-like texture that some people find less delicate than traditional whipped cream. It still tastes clean, but the mouthfeel changes.
Cornstarch Method
Whisk 2 tablespoons of cornstarch with 2 tablespoons of the heavy cream in a small saucepan until smooth. Add 1/4 cup more cream and heat over medium, whisking constantly, until the mixture thickens into a pudding-like consistency. Let it cool completely in the refrigerator. Whip the remaining cream to soft peaks, then fold in the cornstarch slurry and continue whipping to stiff peaks.
- What this does: The cooked cornstarch slurry thickens the base without adding protein or changing the flavor. It creates moderate stability, good for 12 to 18 hours.
- Best for: People who want more stability than plain whipped cream but prefer a traditional, airy texture over the firmer gelatin version.
Which stabilizer wins? Cream cheese gives the best balance of stability, ease, and texture without requiring extra cooking steps or worrying about gelatin lumps.

Is Heavy Whipping Cream the Same as Whipping Cream?
This may sound like a trick question but no, heavy whipping cream and whipping cream are not the same.
Heavy cream is often used in coffee as a creamer and contains 30% fat. It’s less stable and more likely to weep on your dessert like a disappointed relative.
Heavy whipping cream has a higher fat content at 36%. The higher the fat content, the fluffier and fuller your whipped cream will be.
Light whipping cream? Half-and-half? Those are the friends who say they’ll help you move and then don’t show up. They cannot whip. Do not try. You will be sad.
What exactly IS Cool Whip, anyway? Is there a difference?
Technically, it’s “whipped topping.” Emphasis on “topping,” not “cream.”
The first ingredient is water, followed by hydrogenated vegetable oil (hello, trans fats), high fructose corn syrup, and a parade of stabilizers with names like “polysorbate 60” and “sorbitan monostearate.”
The store-bought stuff is shelf-stable, freezer-friendly, and about as dairy as your coffee creamer.
Think of it as the lab-created cousin who shows up to family photos but nobody’s quite sure how they’re related. Not whip cream but works in a pinch.
Can You Cook With Whipped Cream?
Here’s where I have to be the bearer of bad news: you cannot cook with whipped cream. Heat is whipped cream’s mortal enemy. Introduce it to a warm pan and it will collapse into a sad puddle faster than my motivation on a Monday morning.
However! You can fold whipped cream into things that are already cooked and cooled:
- Fold into cooled chocolate pudding for mousse
- Layer with cake and fruit for trifles
- Dollop on warm (not hot) bread pudding—the contrast of warm cake and cool cream is chef’s kiss
For hot applications, you want unwhipped heavy cream. Add it to pan sauces, soups, or pasta for richness without the “where did my fluffy cloud go?” disappointment.
Can You Make Flavored Whipped Cream?
Oh, you’re fancy now? I love it. Rule of thumb: Keep additions under 2 tablespoons total, or you’ll dilute the fat content and end up with soup. Nobody wants soup.
FLAVOR VARIATIONS: BEYOND VANILLA
Vanilla extract is the standard, but whipped cream takes on other flavors easily without losing structure. The key is adding flavorings that don’t introduce too much liquid, which would dilute the fat content and weaken the peaks. Pastry chefs use concentrated extracts, freeze-dried powders, and reduced syrups to keep the base formula intact while shifting the flavor profile.
- Chocolate Whipped Cream: Sift 3 tablespoons of unsweetened cocoa powder with the powdered sugar before adding it to the cold cream. Cocoa powder can clump if added directly, so mixing it with the sugar first ensures even distribution. Increase the sugar slightly to 4 tablespoons because cocoa adds bitterness.
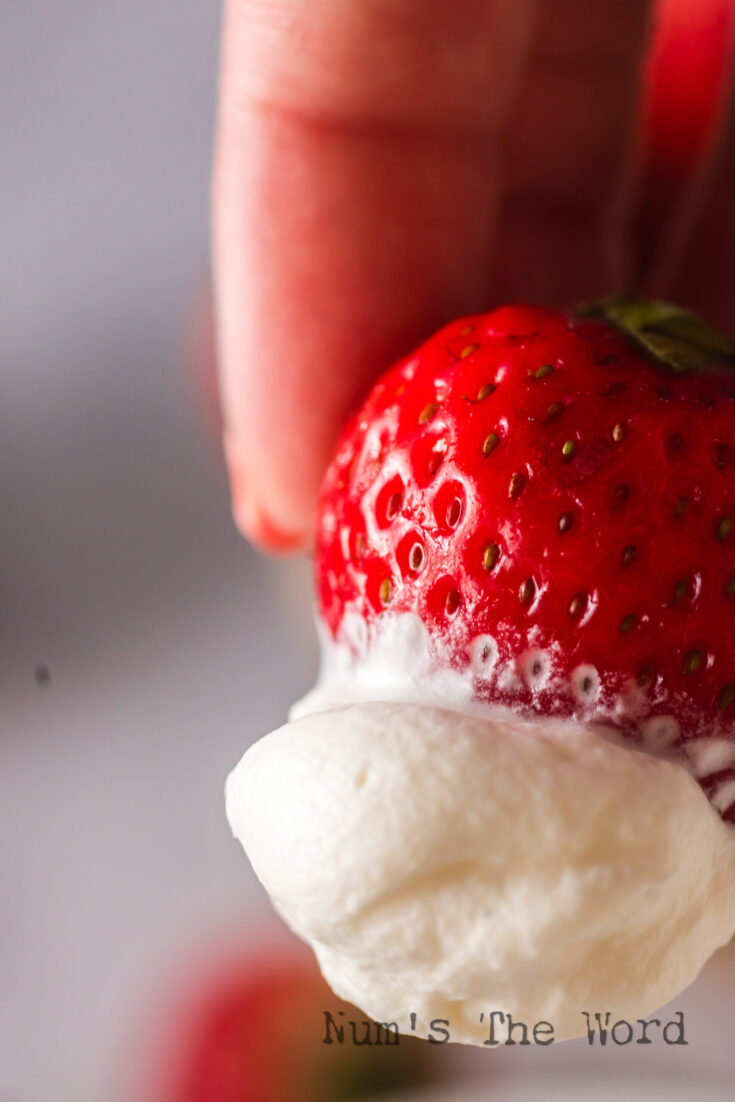
- Pairs with: Chocolate cakes, brownies, fresh strawberries, or hot chocolate.
- Coffee Whipped Cream: Dissolve 1 tablespoon of instant espresso powder in 1 teaspoon of hot water, let it cool, then add it to the cream along with the sugar and vanilla. The espresso dissolves completely and adds deep coffee flavor without extra liquid volume.
- Pairs with: Tiramisu, pumpkin pie, spice cakes, or as a topping for Irish coffee.
- Maple Whipped Cream: Replace the powdered sugar with 3 tablespoons of pure maple syrup. Maple syrup is liquid, so it adds moisture to the base, which means you need to whip slightly longer to reach stiff peaks. The flavor is subtle and warming.
- Pairs with: Apple pie, sweet potato desserts, pancakes, or waffles.
- Cinnamon Whipped Cream: Add 1 teaspoon of ground cinnamon to the powdered sugar before whipping. Cinnamon doesn’t dissolve like liquid extracts, so it creates tiny flavor bursts throughout the cream rather than a uniform taste.
- Pairs with: Pumpkin pie, churros, hot chocolate, or apple crisps.
- Lemon Whipped Cream: Add 1 teaspoon of lemon zest and 1/2 teaspoon of lemon extract to the cream. Avoid using lemon juice because the acidity can curdle the cream and prevent proper whipping. Zest provides bright citrus flavor without the liquid or acid. If you want a REALLY good lemon whipped cream, try this Lemon Whipped Cream Recipe, it’s our favorite.
- Pairs with: Berry tarts, pound cake, lemon bars, or fresh fruit.
Pro Tip across all variations: Always add flavor before you start whipping so it distributes evenly. Adding flavor halfway through or at the end creates streaks and uneven taste.
COMMON MISTAKES AND HOW TO FIX THEM
Whipped cream seems simple until it fails, and most failures share the same three root causes related to temperature, timing, or fat content. Professional kitchens avoid these mistakes by treating whipped cream prep like a strict protocol rather than a flexible process, because the chemistry only works within specific parameters.
- Mistake: The Cream Won’t Thicken: You’ve been whipping for five minutes and the cream still looks like liquid with bubbles.
- What happened: You’re using cream with less than 36% fat, or your cream and bowl are too warm. Low-fat cream lacks the structure to trap air, and warm fat stays too soft to form stable peaks.
- How to fix it: Stop immediately and chill everything in the freezer for 10 minutes. If you used the wrong cream, you cannot fix it. Start over with heavy whipping cream.
- Mistake: The Whipped Cream Turned Grainy: The texture went from smooth to curdled with visible clumps.
- What happened: You overwhipped the cream past stiff peaks, breaking the emulsion. The fat separated from the liquid and started clumping into butter.
- How to fix it: If you catch it early, fold in 2 tablespoons of unwhipped cold heavy cream by hand to reincorporate moisture. If it’s fully broken into butter, you cannot reverse it. Use the butter on toast and start fresh.
- Mistake: The Peaks Deflate Within an Hour: Your whipped cream looked perfect when you made it but turned into liquid by the time you served dessert.
- What happened: You didn’t stabilize the cream, or the dessert sat in a warm room. Unstabilized whipped cream naturally separates as the fat softens and releases trapped air.
- How to fix it: Always use one of the stabilization methods if your whipped cream needs to hold longer than 30 minutes. Store whipped cream in the refrigerator until the moment you serve it.
- Mistake: The Cream Tastes Greasy or Heavy: The texture is right but the flavor feels too rich or coats your mouth.
- What happened: You used ultra-pasteurized heavy cream or added too much stabilizer. Ultra-pasteurized cream has a cooked flavor and thicker mouthfeel compared to regular pasteurized cream.
- How to fix it: Look for heavy cream labeled as pasteurized only, not ultra-pasteurized. Reduce your stabilizer by half if the texture feels too firm.
- Mistake: Sugar Crystals Are Visible in the Cream: You can see and feel grains of sugar when you taste the whipped cream.
- What happened: You used granulated sugar instead of powdered sugar, or you didn’t whip long enough for it to dissolve fully.
- How to fix it: Switch to powdered sugar, which dissolves instantly in cold liquid. If you only have granulated sugar, let the cream and sugar sit together for 2 minutes before whipping to give the sugar time to dissolve.

STORAGE AND MAKE-AHEAD TIPS
Whipped cream tastes best fresh, but stabilized versions hold long enough to prep desserts hours or even a day in advance without sacrificing texture. The challenge is preventing condensation and separation during storage, which requires airtight containers and cold temperatures that keep the fat solid and the structure intact.
Refrigerator Storage: Transfer whipped cream to an airtight container and press plastic wrap directly onto the surface to prevent a skin from forming. Store it in the coldest part of your refrigerator, usually the back of the bottom shelf.
- Unstabilized whipped cream: Lasts 2 to 4 hours before noticeable deflation. Use it immediately for best results.
- Cream cheese stabilized: Holds for 24 hours without weeping or losing volume. Texture stays light and fluffy.
- Gelatin stabilized: Holds for 48 hours with minimal change. The texture may firm up slightly but remains pipeable and spreadable.
If the whipped cream separates slightly during storage, whisk it gently by hand for 10 seconds to reincorporate any liquid.
Freezer Storage: Whipped cream freezes well if you plan to use it as a topping rather than a filling. Pipe individual dollops onto a parchment-lined baking sheet, freeze them solid, then transfer the frozen dollops to a freezer bag. They’ll keep for up to 2 months.
- To use: Place frozen dollops directly onto hot chocolate, pie, or cake. They’ll thaw in 5 to 10 minutes and look freshly piped.
- Do not freeze whipped cream in a container and then try to re-whip it. The texture breaks down during thawing and you’ll end up with a grainy, separated mess.
Make-Ahead Dessert Assembly: If you’re topping a pie or cake with whipped cream hours before serving, stabilize the cream with gelatin or cream cheese, pipe or spread it onto the dessert, and refrigerate uncovered for 15 minutes to let the surface firm up. Then cover loosely with plastic wrap, making sure the wrap doesn’t touch the whipped cream. This prevents condensation from forming and the wrap from sticking to your decoration.
One critical rule: Never add whipped cream to warm desserts. The heat melts the fat instantly and turns your peaks into liquid puddles. Let cakes, pies, and pastries cool to room temperature or colder before topping.
Homemade whipped cream isn’t hard once you control temperature, timing, and stabilization. The difference between deflated foam and bakery-quality clouds comes down to cold equipment, proper fat content, and knowing when to stop whipping before the emulsion breaks.
Use this recipe as your baseline, then adjust flavors and stabilizers based on how long you need the cream to hold and what you’re serving it with.
What to Serve with Whipped Cream?
What can’t you serve it on? This is the little black dress of desserts—it goes with everything:
- The Classics: No Bake Pumpkin Pie, Strawberry Shortcake Trifle Cups, Peppermint Bark Hot Chocolate Recipe, Raspberry Fool Recipe
- The “Don’t Judge Me” Category: Straight off the beaters at midnight, on leftover birthday cake for breakfast, mixed into coffee when you’re out of milk
- The Unexpected: No Bake Banana Pudding Cheesecake, Lime Curd Desserts, Black Forest Cupcakes Recipe,
Pro tip: If you want to feel fancy without effort, add a mint leaf. Suddenly you’re “gourmet.”
If you have leftover heavy whipping cream, try one of these recipes:
- Homemade Cream Corn with Frozen Corn
- Pumpkin Soup with Canned Pumpkin
- Potato Gratin Stacks
- Creamy Mustard Chicken
- Chicken Salad with Whipped Cream
- Tres Leches Recipe
Look, nobody’s saying you have to become one of those people who judges others for their grocery cart choices. If Cool Whip holds a special place in your heart, maybe it was your grandma’s go-to, maybe you have nostalgia for that particular chemical aftertaste – live your truth.
But here’s what I know: once you experience the real thing, there’s no going back. Those three simple ingredients transform into something that makes every dessert it touches suddenly taste expensive. Your favorite desserts deserve better than a tub of hydrogenated regret. They deserve clouds of actual dairy, sweetened just enough, with vanilla that came from a bean and not a lab.
So clear out fifteen minutes. Chill that bowl. Embrace the whir of the beaters. Because once you’ve crowned your pie with this perfect topping, watching it hold soft peaks like a dairy sculpture, melting slowly into warm chocolate or pooling around fresh berries, you’ll understand why “homemade” isn’t just a word. It’s a warning to every store bought imposter that their days on your dessert are officially over.
Your pie is waiting. And it’s judging your life choices. So make the homemade whipped cream and eat your heart out!
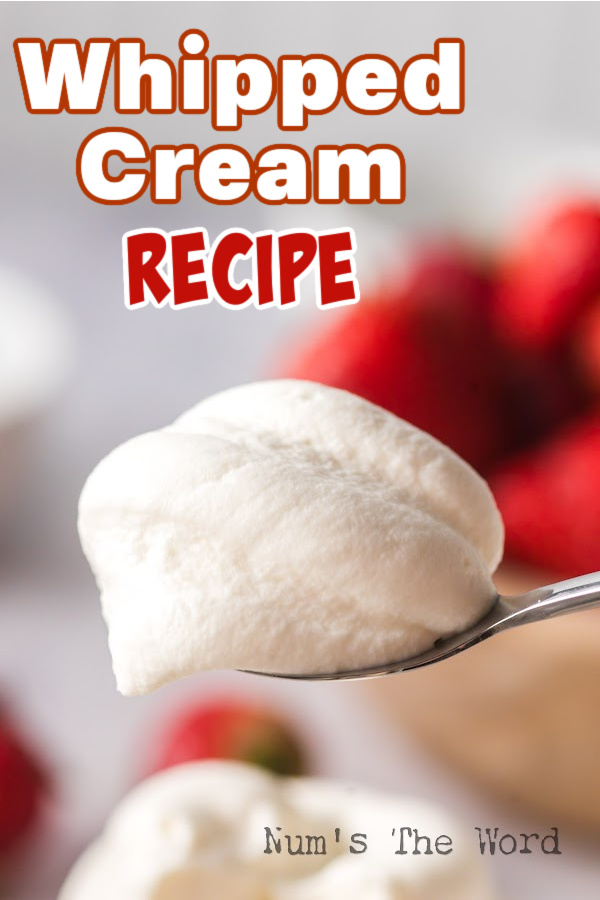
Whipped Cream Recipe
Light, fluffy, and perfectly sweet, this Homemade Whipped Cream comes together in minutes and makes any dessert better.
Instructions
- Pour all ingredients into a medium sized bowl.
- Using a hand mixer with a whisk attachment, blend for 3-5 minutes, depending on your speed.
- Mixture should triple in volume and the peaks should be soft and fluffy and not stiff and solid.
Notes
Be careful not to over whip or you'll have butter.
Nutrition Information:
Yield:
12Serving Size:
1Amount Per Serving: Calories: 87Total Fat: 1gSaturated Fat: 1gUnsaturated Fat: 0gCholesterol: 3mgSodium: 1mgCarbohydrates: 20gSugar: 20gProtein: 0g