This Easy Walnut Fudge only takes 15 minutes to whip together and is the creamiest fudge you’ll ever eat. A family favorite recipe that makes the perfect gift and is also gluten free!


There are a few recipes that I am confident in.
I am confident they are good, easy and no matter how I manipulate them, they will turn out great.
One is cupcakes.

I have made more cupcakes in the last few years than most people make in a lifetime and this has made me very confident in my cupcake making abilities.
I have a slew of variations for cupcakes and only a small handful have made it onto this website.
All of which I am pretty darn confident in because I’ve had those cupcakes taste tested by hundreds of people with confident reviews.

This therefore makes me confident in my cupcake making abilities.
Second is Fudge.
A few years ago I was a stranger to the world of homemade fudge.
However, one winter I decided to tackle fudge making.

I whipped up a variety of basic fudge recipes, doing my best to find the BEST basic chocolate fudge recipe that existed.
I had a huge group of people who taste tested each batch and after some trial and error found the perfect fudge recipe.
My See’s Fudge Recipe has gotten rave reviews from everyone who has tried it, which also helps in building up my confidence in fudge making.

I have also taken that basic recipe and adapted it into a few variations, which have all turned out amazing.
This Easy Walnut Fudge recipe is one of them.
Everyone loves basic chocolate fudge.
But there are a few (ok, more than a few) of us who really like Walnut Fudge.
It’s a must have at the Holidays and a platter of fudge at a party is always a hot item.
Fudge works great at any party because it’s something you can make ahead of time, stores well for days and literally melts in your mouth the moment you take that first bite.

This Easy Walnut Fudge does just that. It melts in your mouth.
It’s not chalky, crumbly or bland.
This Easy Walnut Fudge is also not weirdly chewy.
It’s soft, and sweet and decadent.


This has become my go to recipe for any friends and neighbors who require a gluten free treat at the Holidays because it comes together so quickly.
As a child I don’t recall fudge as a regular item in our home at the holidays.
But now as a grown up, I’ve come to crave it and find myself making excuses just to make a batch.
Plus I want my kids to have fudge making and eating as one of our yearly traditions.
Making memories with my kids (especially the 15 minute kind) is time well spent!
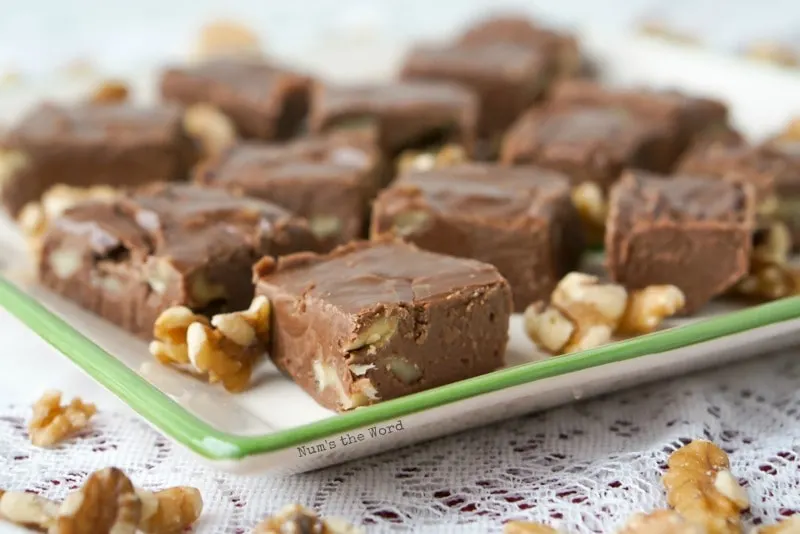
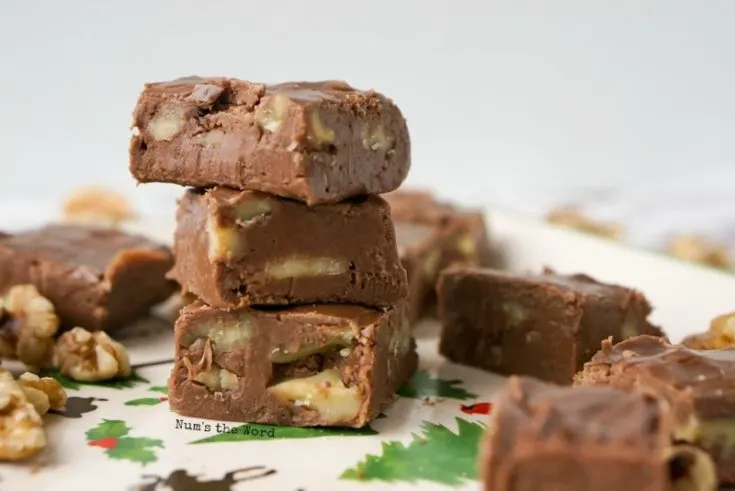
If you love fudge and walnuts, whip up a batch of this Easy Walnut Fudge. You’ll be glad you did!
Easy Walnut Fudge

This Easy Walnut Fudge only takes 15 minutes to whip together and is the creamiest fudge you'll ever eat. A family favorite recipe that makes the perfect gift and is also gluten free!
Ingredients
- 6 Tablespoons salted butter
- 1 teaspoon vanilla
- 1 cup leveled semi sweet chocolate chips
- 1/2 cup walnuts, chopped
- 2 cups sugar
- 1 (5 ounce) can (or 2/3 cup) evaporated milk
- 10 large (not giant, just normal large) marshmallows cut in half.
Instructions
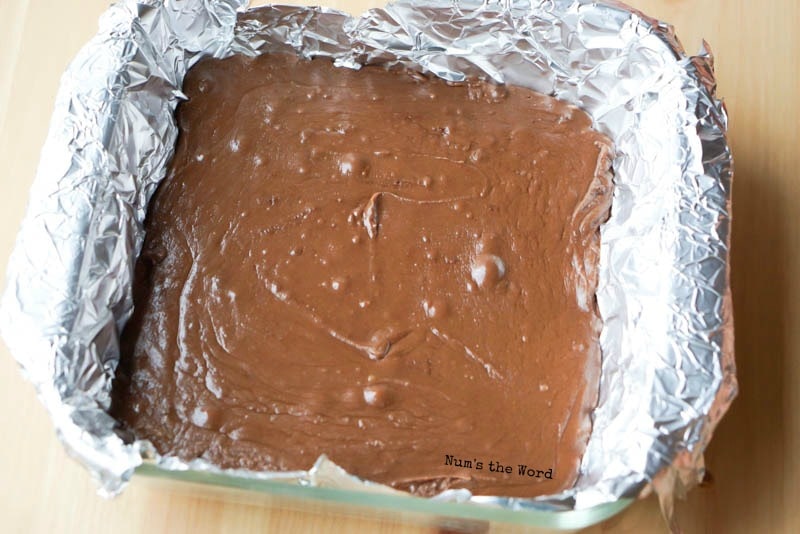
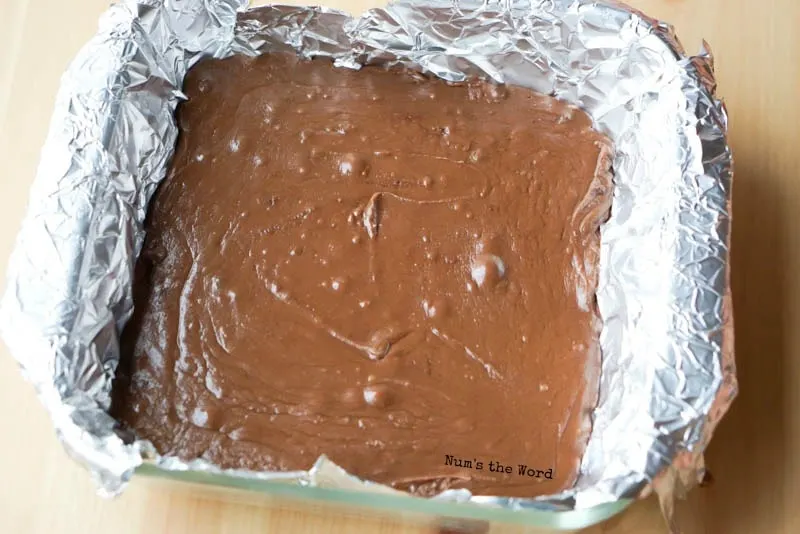
- Line a 8x8 baking dish with parchment paper or non stick foil, making sure to cover edges. Set aside.
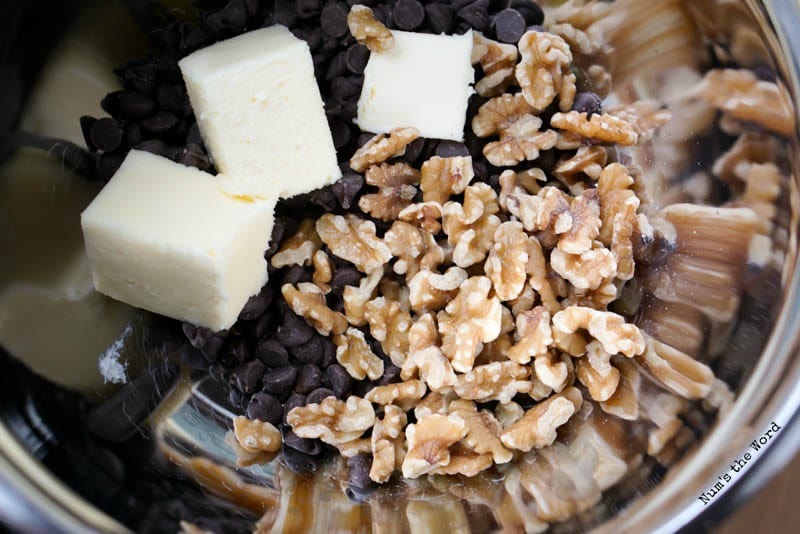
- In a large bowl add butter, vanilla, chocolate chips and walnuts. Set aside.
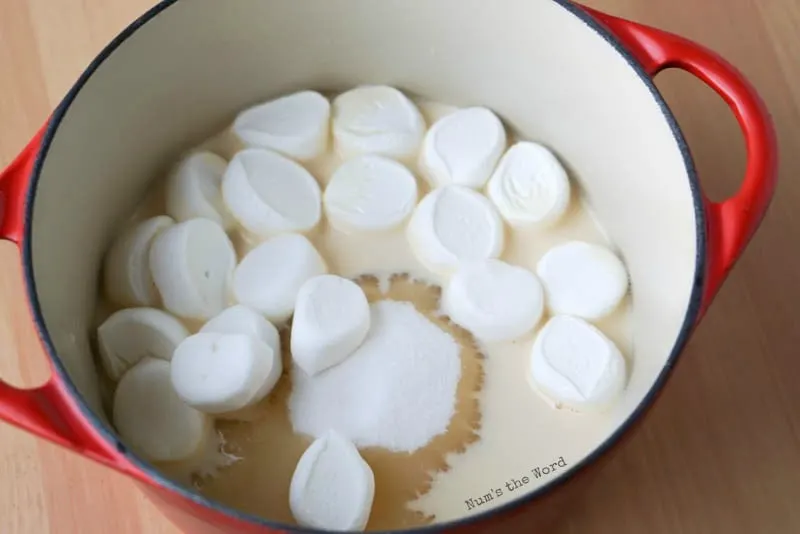
- Put sugar, milk and marshmallows in a heavy 6 quart sauce pan.
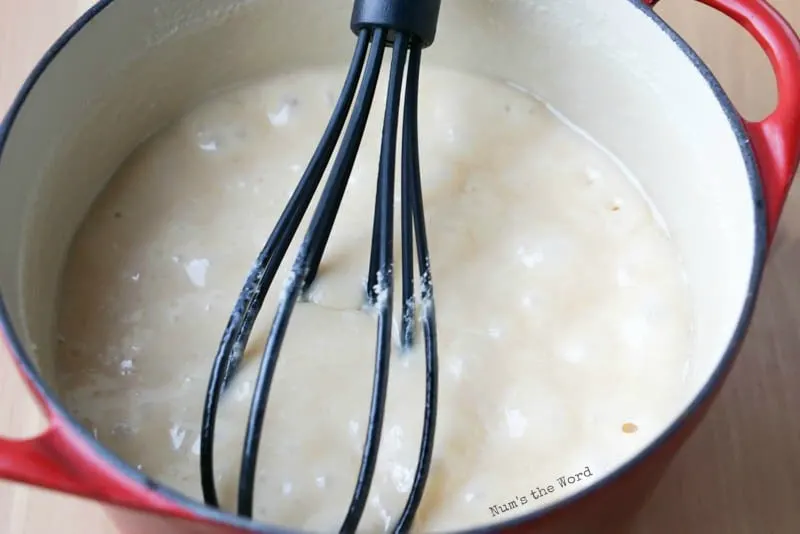
- Over medium heat, bring mixture to a boil and boil until mixture reaches 230*F (approximately 5 minutes) whisking continuously.
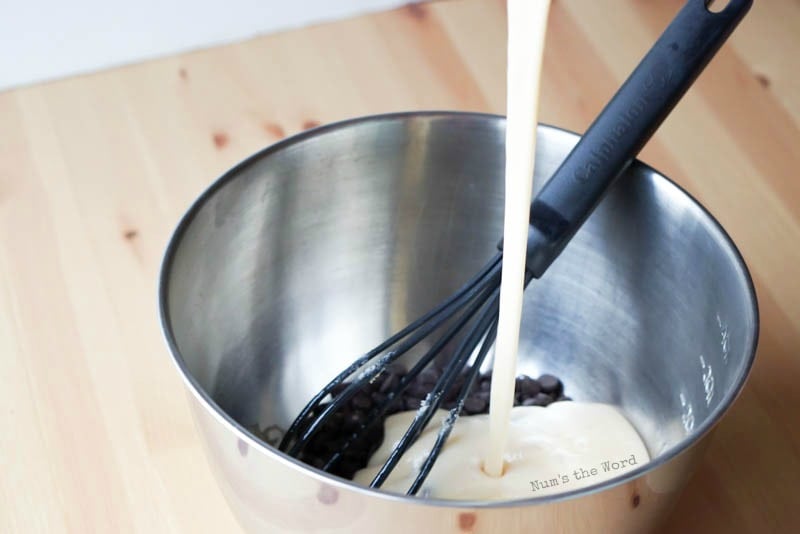
- Pour mixture over chocolate.
- Using a spatula, mix together until butter and chocolate is melted and mixture is well blended.
- Pour fudge into prepared dish.
- Allow fudge to set for 1 hour or until it is hard and no longer soft. This will depend on where you live. You can place it in the fridge to speed up the process.
- Remove from pan and slice up.
- Store extras in an air tight container.