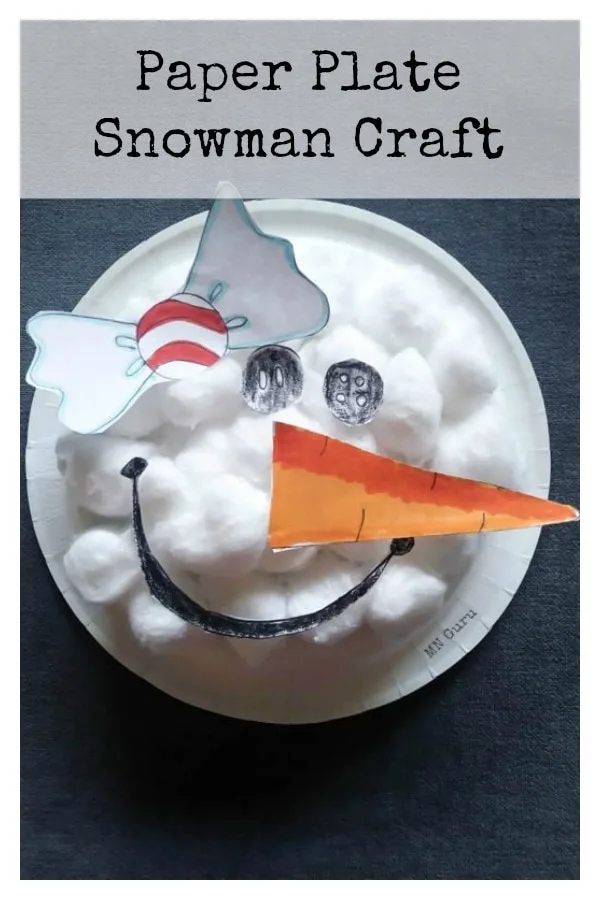
Winter means all things snowman! This Paper Plate Snowman Craft is easy and perfect little or big kids! A fun home school idea or Winter break craft, your kids will love how fun and easy these are to recreate!

As a mother of a young preschool aged child, life can be tough. Between getting the older kids up, dressed, fed, lunch packed and then out the door to school by 7:30 AM, our morning routine is hectic.
Once the older kids are off, it’s just me and my little one at home. She wishes she could go to school with the big kids, however she’s not quite old enough. Because of this, one of the things that we try to do is our own homeschool preschool. Each week I pick a new theme and we focus on various aspects of learning with the theme.
Our homeschool preschool works great because my youngest gets to feel like a big girl.
This weeks theme is snowmen.
What a wonderful theme to go with during any winter month! When there is snow on the ground (or a wish for snow on the ground) there is bound to be some fun!
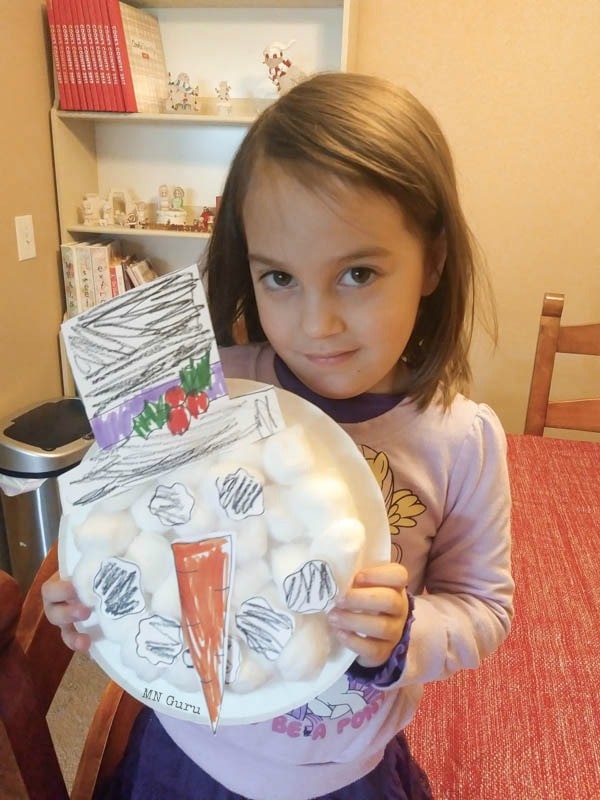
This Paper Plate Snowman (or snowgirl) is a fun and easy activity you and your toddler can do together!
Tip: Keep extra supplies on hand! When the older kids see how cute it is, they’ll want to make one of their own!
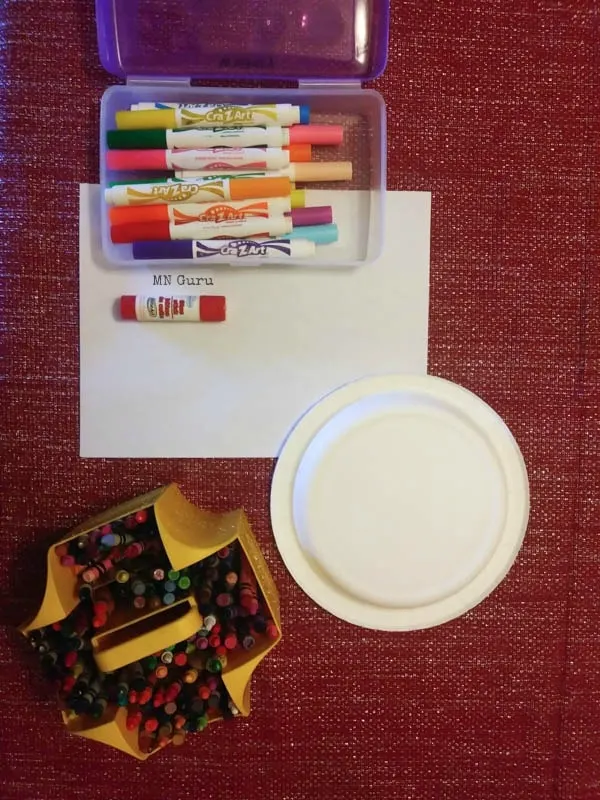
Supplies:
- Printed snowman or snowgirl outline (see below)
- Paper plate – Lunch or dinner sized plates work best. You can also use card stock cut into a circle or an old cereal box for a thicker surface!
- Cotton balls
- Scissors
- Glue (drippy or stick)
- Coloring utensil (crayons, markers, or colored pencils)
- Pencil for every child doing the project.
Craft Time: 30 minutes
Age Appropriate: 2 and up
Bonus Educational Ideas:
- Discuss shapes (triangle nose, circle head, circle eyes, square hat)
- Talk about colors
- Discuss textures and feel them.
- Watch videos about snowmen (see below)
- Listen to snowmen songs & do action movements (see below)
- Read books about snowmen (see below)
- Build a snowman & be creative with his look!
- Create a playdough snowman
- Take turns making up stories about snowmen
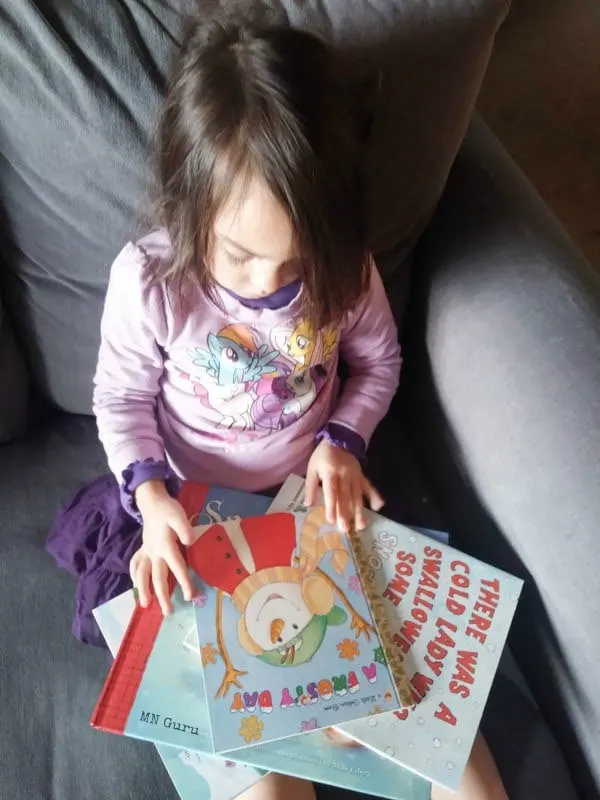
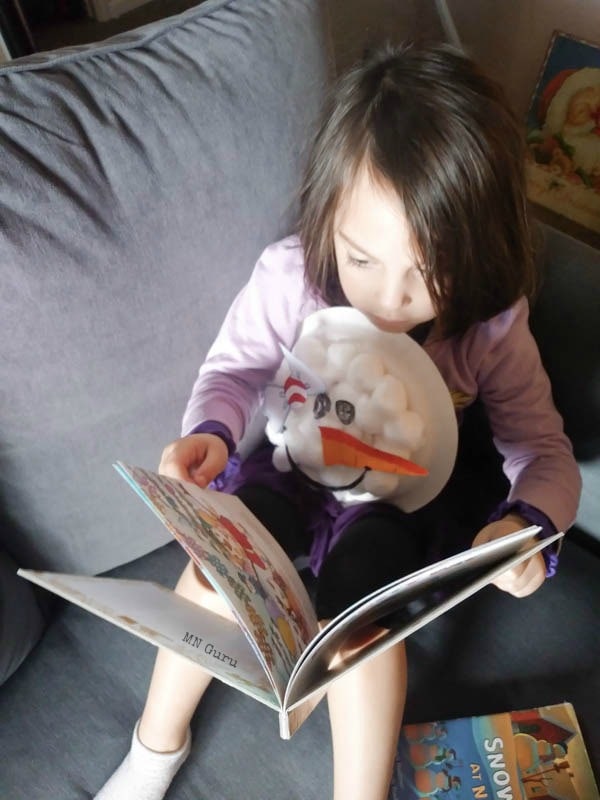
Step One: First of all, you’ll want to find some inspiration for your snowman in some snowman books! Below are a few of our FAVORITE snowman books. Read a few books with your child and then pick out how you would like your Snowman to look.
This is a great time to talk about how each snowman looks different, just like how we each look different. During this time you can also talk about the colors and shapes you see and how a snowman might walk!
Some of our favorite books are:
- Snowmen at Night
- There was a Cold Lady
- Frosty
- Snowman Magic
- Snow What Fun
Your local library should have these on hand. However, if they don’t you can invest in the books and add them to your home library collection to read all year!

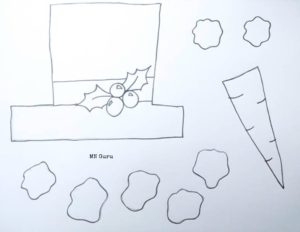
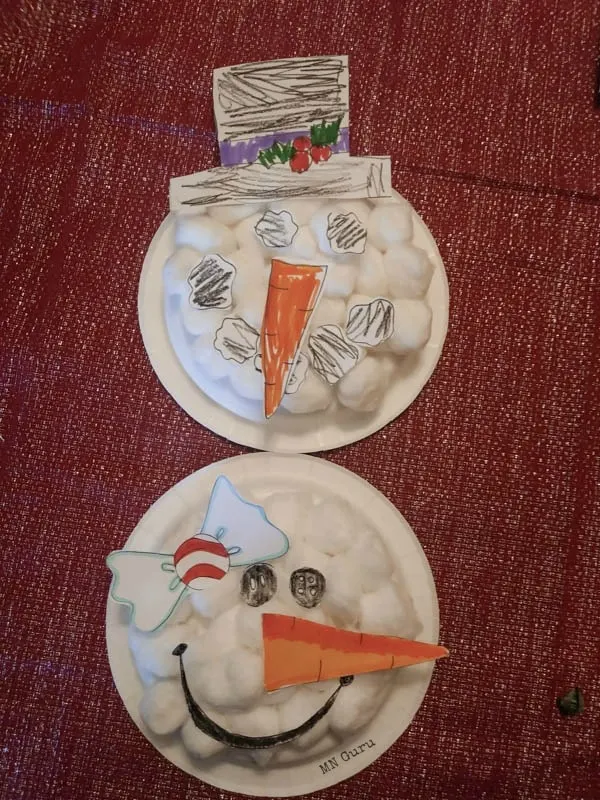
Step Two: Decide if you want to make a snowman or a snowgirl. Then print an outline! Or be creative and create your own!
Printable – click on image to print.
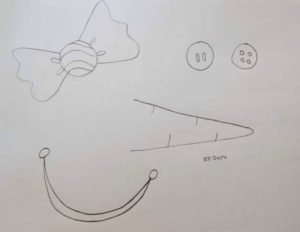


Before you cut out your outline, this is a great time to discuss the shapes and color choices! Will the snowman or snowgirl have an orange nose, rainbow or polka dot? Does your snowman have square eyes or circle eyes?
If you are going to create your own outline, keep in mind the size of your plate and draw accordingly. You can really have fun with a variety of non-traditional ideas! Their snowman could have a carrot nose or a pickle nose! You can also ask what kind of hat should the snowman wear?
How about a Santa hat or a black hat? Likewise, will your snowman be a cowboy, astronaut, artist, kitten, or princess? Your child’s snowman could be anything they want it to be!
This is where the storybooks can help you because they can point to characteristics that their snowman face should have.
Step Three: Color the outline of your snowman! You and your child can get as creative as you like. I suggest for younger children you keep it simple. Use crayons or markers to color the accessories.
However if you want to add some pizzazz to your snowman, use stickers or glitter glue. Warning, glitter glue and little kids is definitely a supervised activity because they can somehow get it on everything!
In contrast, for older children you can pull out all the stops! Let them use stickers, ribbons, scrapbook paper, glitter, pom pom balls, etc. because they tend to be more responsible. Whatever you have lying around your house!

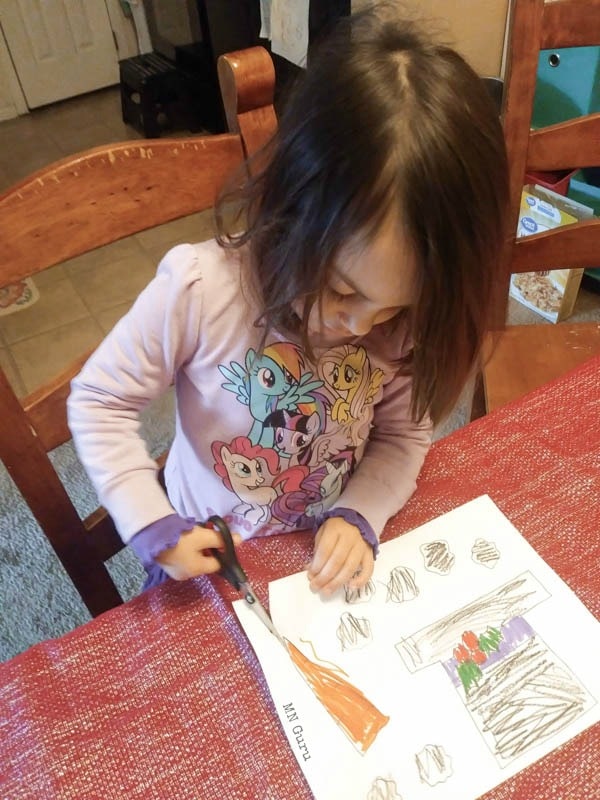
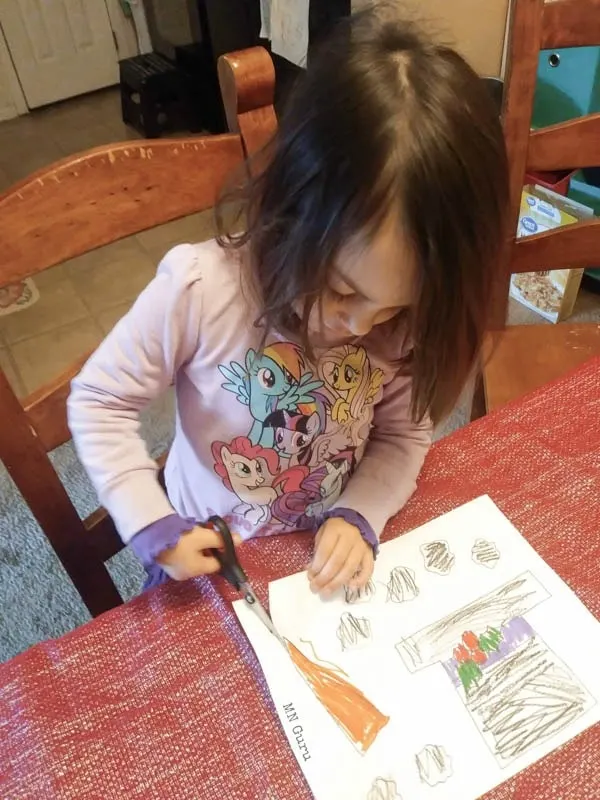
Step Four: Cut out the accessories. My four year old could cut out some of the shapes she picked, but I helped with the rest. This could be a great way to teach them how to use scissors too. Be sure that you use safety scissors made especially for little fingers.
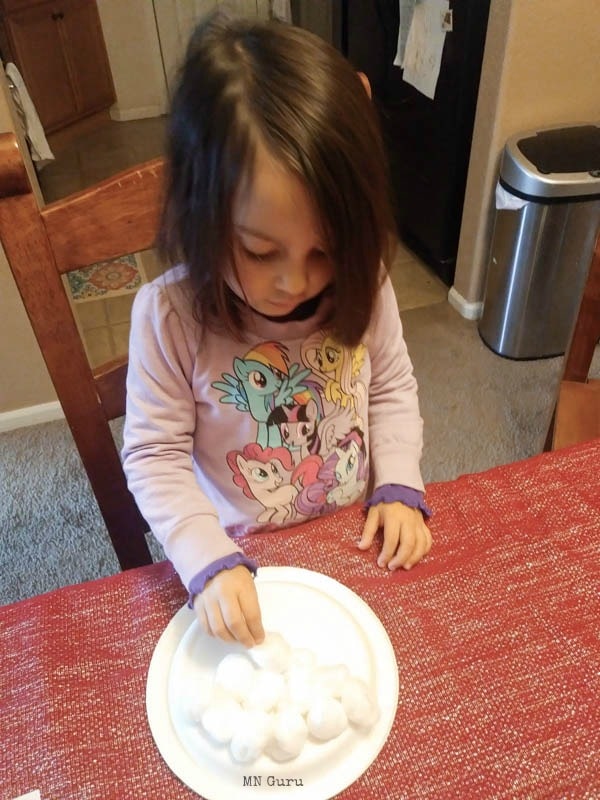
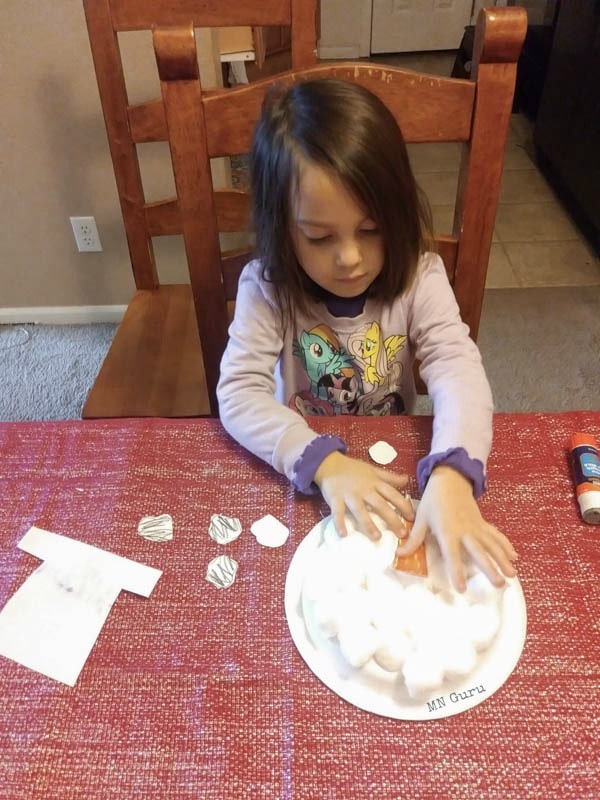
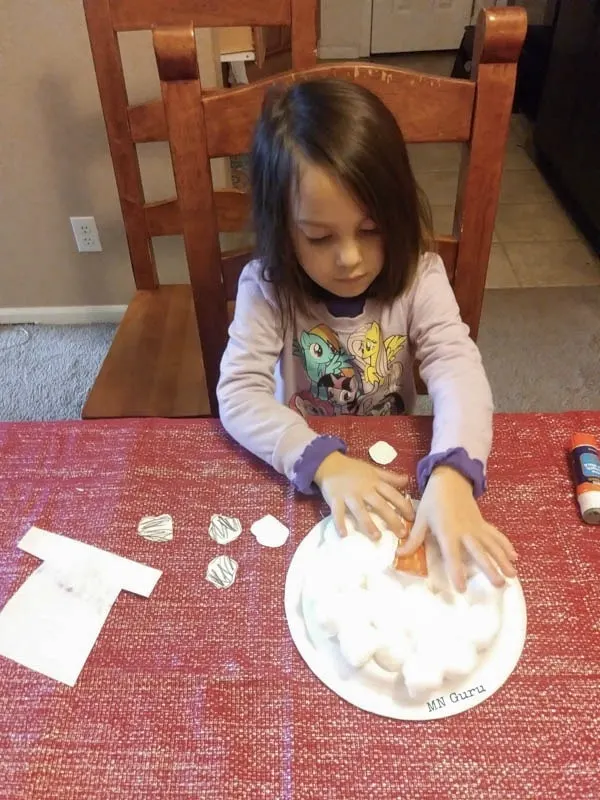
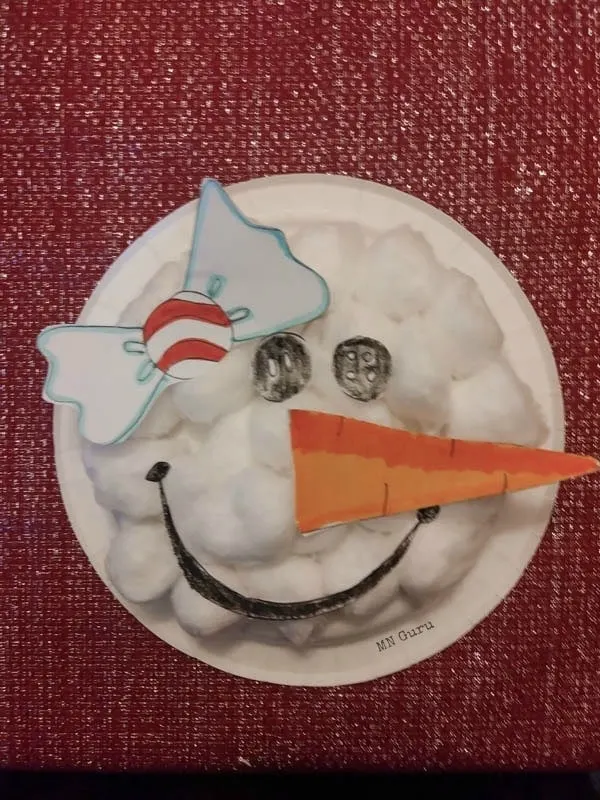
Step Five: Take your paper plate and place it in front of your child with the domed side up. Smear the domed circle with a layer of glue. Give your child a bunch of cotton balls (aka: snowballs) to make the snowman’s face base.

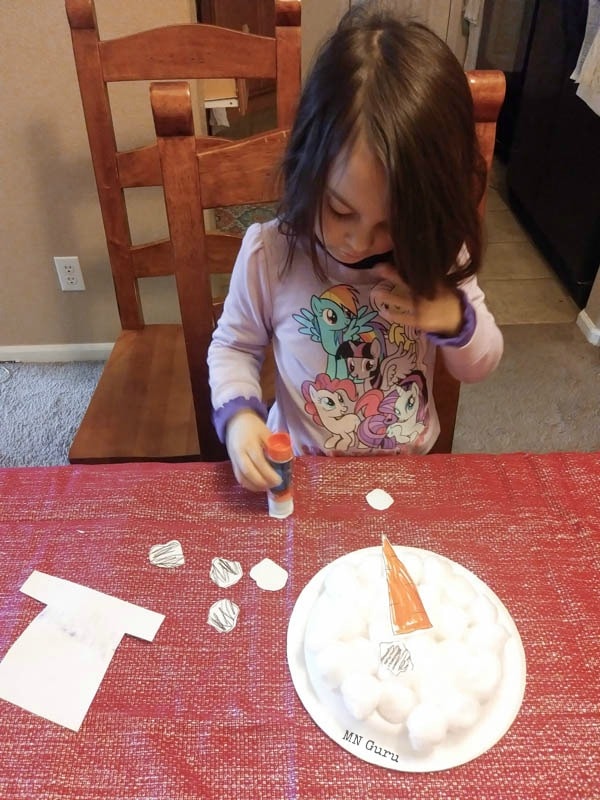
Step Six: BEFORE you glue the snowman’s accessories on the face, have your child place them where they want them. This way they can rearrange without any tears because they are stuck to the snowman already. Once they have chosen the layout of the snowman, use glue to attach the accessories to the cotton balls.

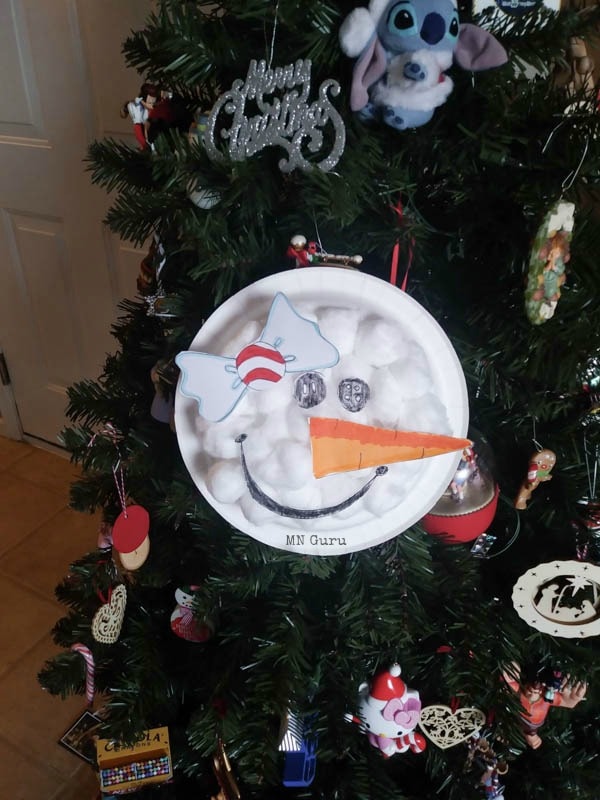
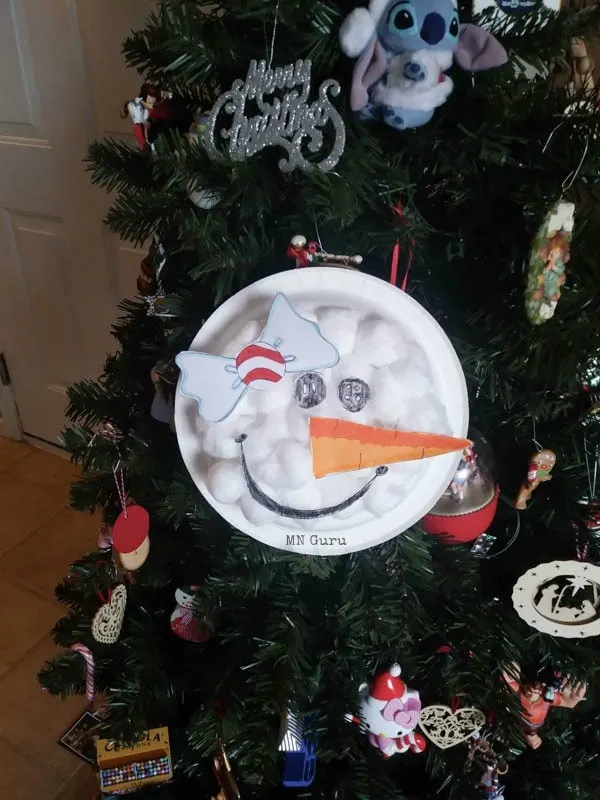
Step Seven: Hang your snowman up for display. My four year old placed her snowman on the branches of our Christmas Tree. You can hang these on the wall, display them on your refrigerator or let them play Frisbee with them! My daughter also “read” some of the snowman books to her snow girl!


BE CREATIVE! There are so many different things to continue your snowman activity! Here are some more ideas!
- Snuggle up and watch Frosty the Snowman, the movie!
- Drink a cup of hot chocolate with snowman poop (marshmallows).
- Watch the quick YouTube video Once there was a Snowman
- Watch the short YouTube video Little Snowflake. This video is adorable and you and your kids will watch it over and over again.
- Watch the video Five Little Snowmen Standing in a Row while counting down their fingers.
- Play in the snow & build your own snowman outside!
- Bring some snow inside to play with in a bucket or on a cookie sheet
- Have an indoor snowball fight with crumpled up paper balls
- Play snowman games like pin the carrot on the snowman
- Play Girl-Boy-SNOWMAN (Duck-Duck-Goose)
- Listen to music about Snowmen! Our favorites are I’m a Little Snowman & Five Little Snowmen.
- Play Snowman Frisbee (use your paper plate snowman to play frisbee!)
- Draw a snowman and practice holding a pencil or crayon.

Let’s be honest, homeschooling can seem stressful and scary. However it doesn’t have to be either! Yes, coming up with fun activities can be draining because not everyone is Pinterest creative.
However, this Paper Plate Snowman craft is easy, perfect for all ages, and a favorite of ours! My daughter still talks about how much fun it was to make her snowman. It was also a great opportunity to let her practice with scissors and glue!

The best part of this craft is that we can have it hanging up in our home all season long! Not only does it add to the home as cute decor, but it is also an opportunity for my child to feel proud of her accomplishments and remember all the things we learned this week!
If you don’t homeschool your kids or have older kids, then this Snowman Paper craft is a fun activity they can do during their Holiday break from school. From start to finish this activity will take 30 minutes plus time for any additional optional activities!
Paper Plate Snowman Craft

Winter means all things snowman! This Paper Plate Snowman Craft is easy and perfect little or big kids! A fun home school idea or Winter break craft, your kids will love how fun and easy these are to recreate!
Materials
- Printed Outline of Snowman or Snow girl.
- Paper Plate (Lunch or dinner sized)]
- Glue (stick or wet)
- Colored Pencils, Crayons or Markers
- Cotton Balls
Instructions
- Print outline.
- Color outline.
- Cut outline shapes out.
- Flip paper plate to the back.
- Glue cotton balls onto paper plate.
- Temporarily arrange decorative snowman details onto cotton balls to make sure it looks just the way you want it to.
- Glue decorative snowman details onto cotton balls.