If you love to craft but do not have the time, energy, resources or space for them, then this Lucky Duck Crafting Kit is made especially for you! If you’ve ever wanted a craft kit for adults, this one is designed and created to help you have a few moments of “Me” time without having to invest in all the tools to space to create!

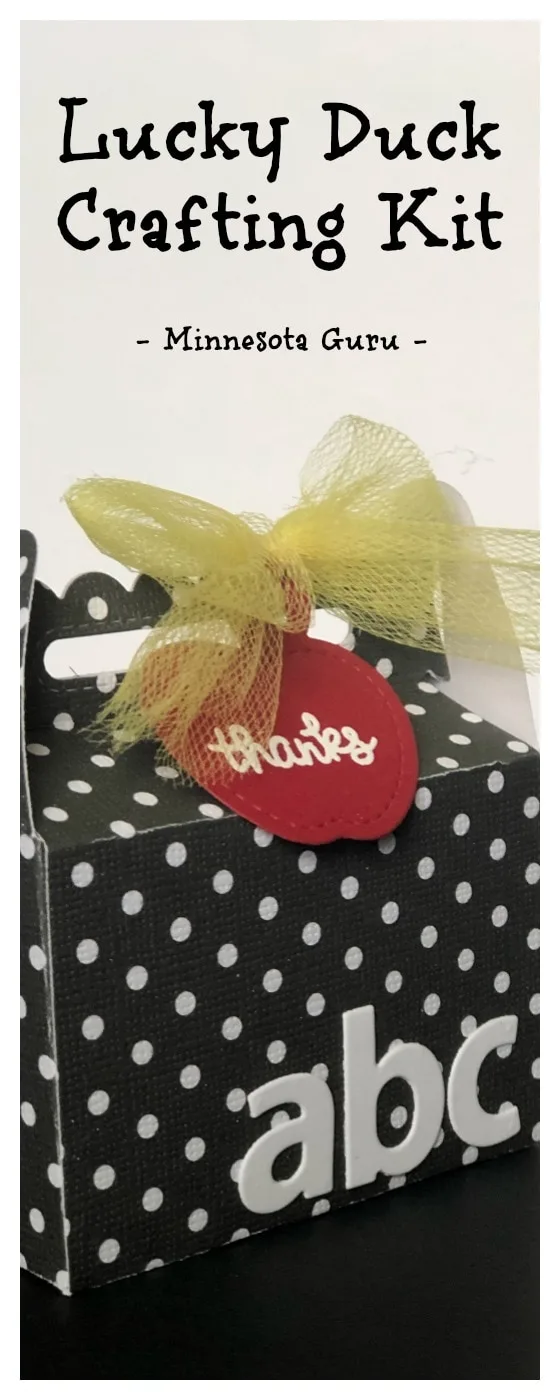
If you have found yourself caught up in the whirlwind we call life, and no longer take time for yourself, then this Lucky Duck Crafting Kit is for you! You no longer need to gather and collect expensive supplies you only use occasionally. You no longer have to find space to store your crafting supplies and best of all, creating a card is no longer an all day process!
Now it’s a 30 minute DIY craft kit for adults! Imagine yourself crafting during naps, on your lunch break or even after the kids go to bed! If you don’t consider yourself crafty but have a child that is, then this can be given as a craft kit for your tweens too!
Years ago, before children, I was an avid crafter! However when my first child came around my “me” time seemed to disappear.
I no longer had time to sit and be as creative as I once was. And I certainly had to be careful about leaving my crafting supplies out with a baby around. Nothing was safe and no zone was truly off limits.
By the time baby 3 came around I had sold most of my crafting supplies. Crafting all day was no longer feasible. Being a full time working mother was my new dream and one that I cherish! I’d always wished there were quality arts and crafts kits for adults but had a hard time finding anything worth my time.
Lucky for me, a friend of mine told me about her amazingly talented mother who LOVED to make cards. I’d regularly hear about how talented her mother was and all the cute and crafty things she was doing. But I’d never seen her work for myself. And as we all know, one persons idea of quality work is not the same as another persons.
I tend to have high standards when it comes to crafting and can spot a beginner crafter from an expert crafter.
Upon first glace of Myrna’s creations, I knew she was an expert paper crafter. The woman KNEW her stuff and she had raw natural talent. Far more talent than I possessed and I just knew that we had to find a way to work together!
The answer became clear almost immediately after talking that we needed to create a monthly craft kit for adults that we could sell. This was the perfect solution for anyone who is in a crafting rut like myself. I love to craft but really don’t have the time, space or income to be as serious as I’d like to be.
Now I can order a kit that comes with all the pieces to create two cards and a project.
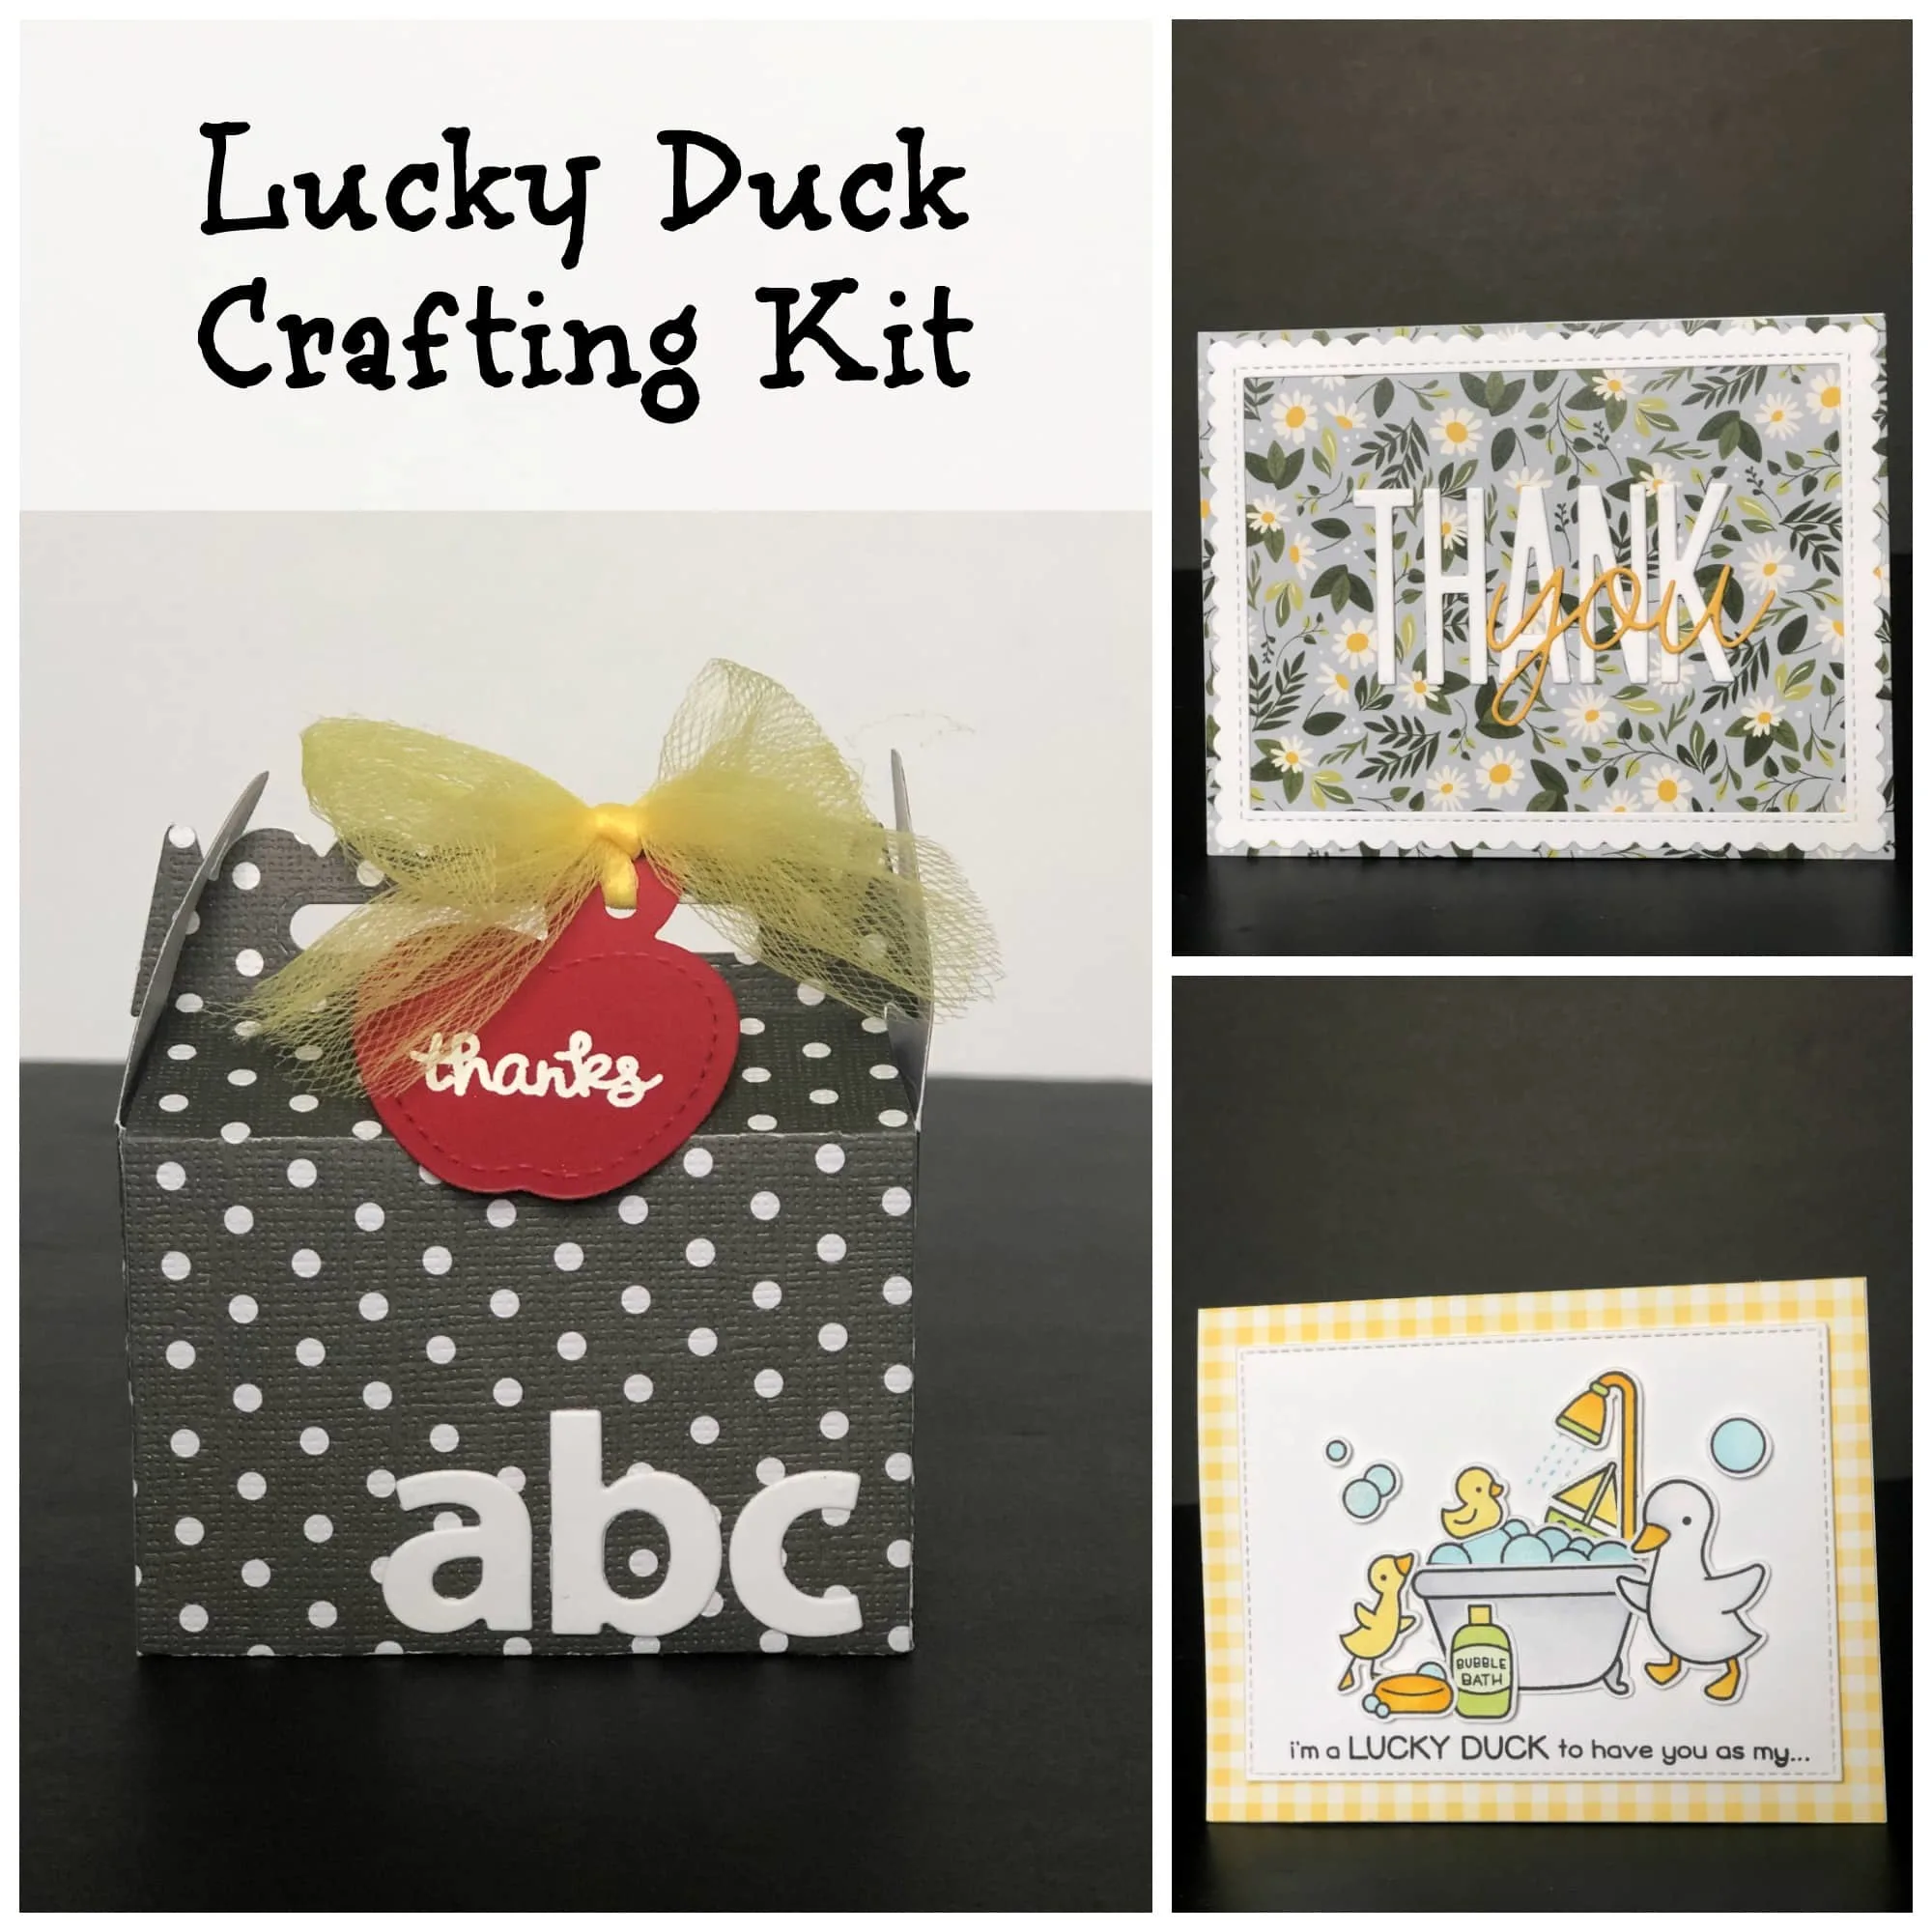
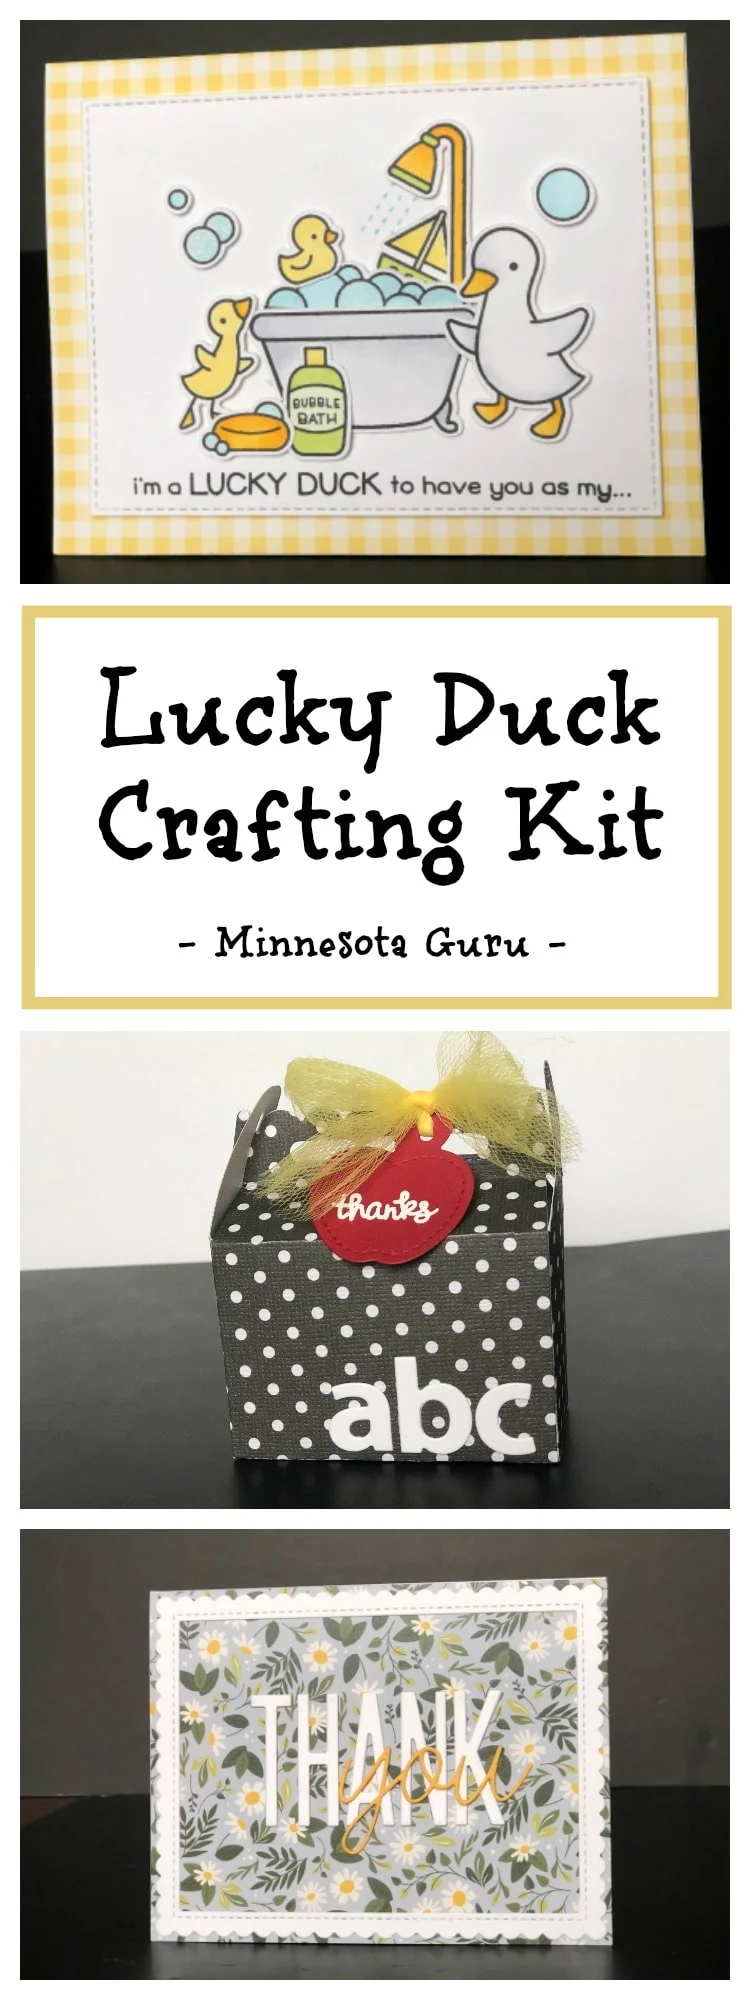
For May, we’ve decided on the Lucky Duck Crafting Kit. Included you’ll receive the items to create a Lucky Duck Card, Floral Thank You Card and a Scalloped Treat Box that you can fill with your favorite goodies! In addition to these you’ll also get all the stationary embellishments needed to make these cards look their best!
Not included in the kits are basic every day supplies you most likely have lying around. Foam Tape, runner tape, bone folder, glue and Scor-tape etc. If you don’t have all these items, we’ve got you covered! Amazon has each of the required items! You’ll be using them each month so they wont go to waste!
Paper craft kits for adults are no longer a wish or dream, they are now a reality! And they don’t have to be lame! We consider these “Cool Craft Kits for Adults”.
Myra uses the best quality paper and embellishments. Each item is hand stamped which makes this not only a paper craft kit, but a stamped craft kit too! She cuts all the pieces to make this kit as easy and fun for you!
Being creative isn’t just for those with lots of time and money. It is for everyone! We want you to feel the joy of creating once again and hope you’ll find that joy through our Lucky Duck Crafting Kit!
We’ve only created 25 Lucky Duck Crafting Kits for this month so grab yours before they sell out! They are fun for you or would make a great birthday, Christmas or thinking of you gift! All items are handmade in the United States and is a work of art you’ll be proud of!
Below you’ll find directions and a tutorial video for each card, making the entire process seamless! These cards are perfect for the beginner or expert crafter. When giving these cards and treat box away, you can feel pride in knowing that you made them yourself!
At this time we do not offer a monthly subscription kit. However we will be offering a new kit every month! So just come back monthly for your new one!
Lucky Duck Card
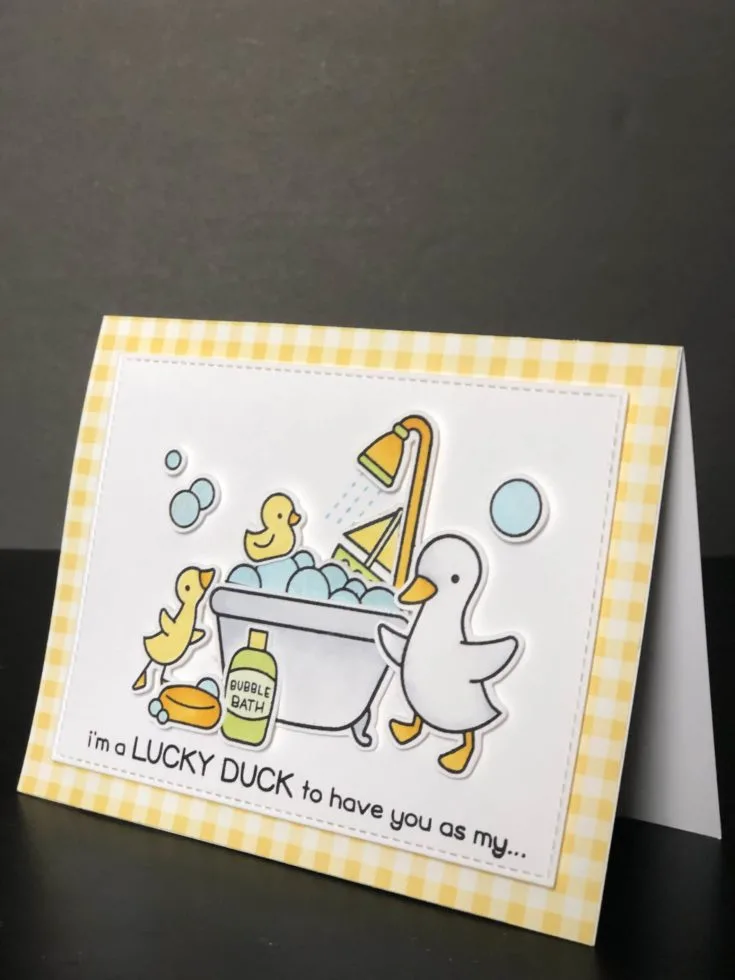
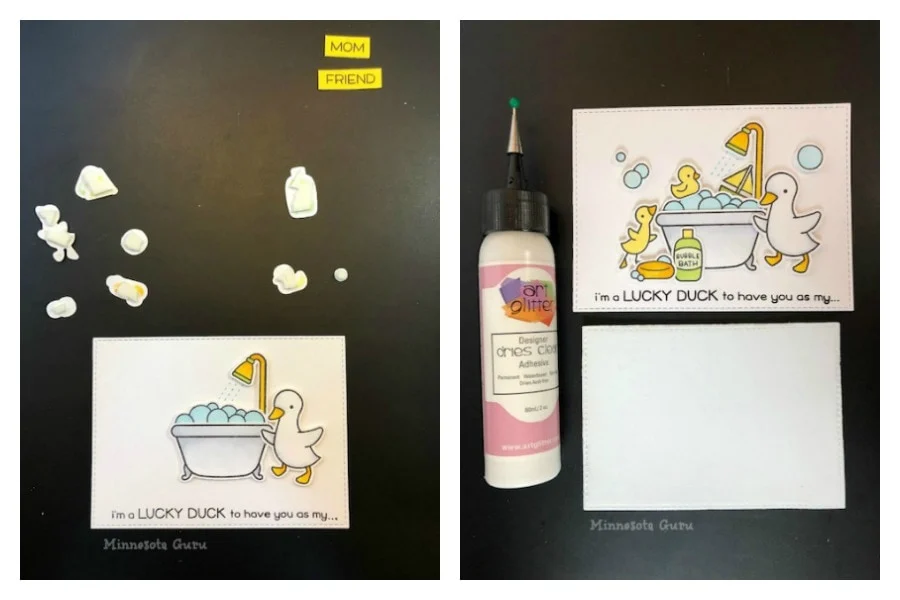
This adorable rubber ducky card is one of three items in our Lucky Duck Card Kit. All pieces come colored and cut and are ready for you to assemble and add your own personal touch!
Materials
Tools
Instructions
- Gather your liquid glue, taperunner, scor-tape & foam tape.
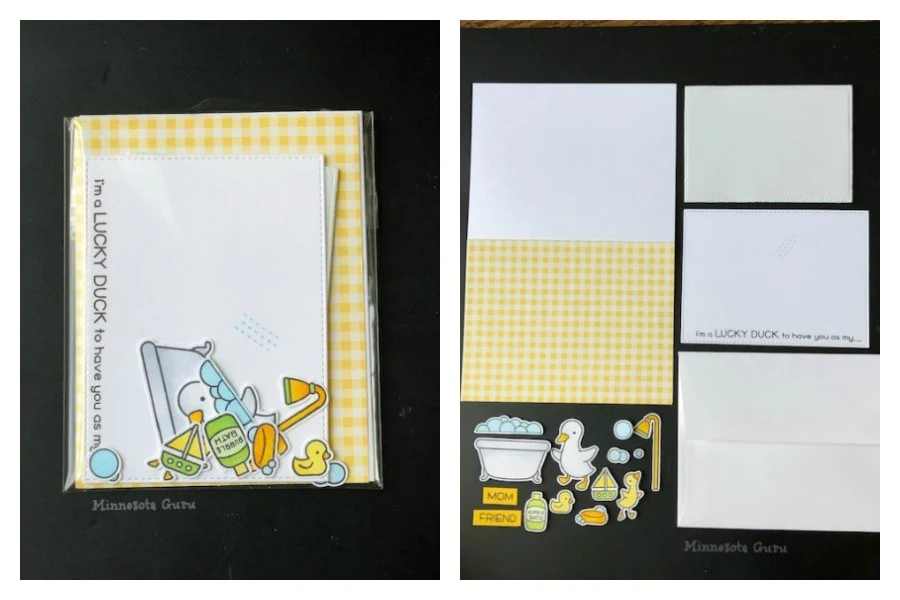
- Remove all contents from the Lucky Duck Card Kit Package. Lay each piece out in front of you.
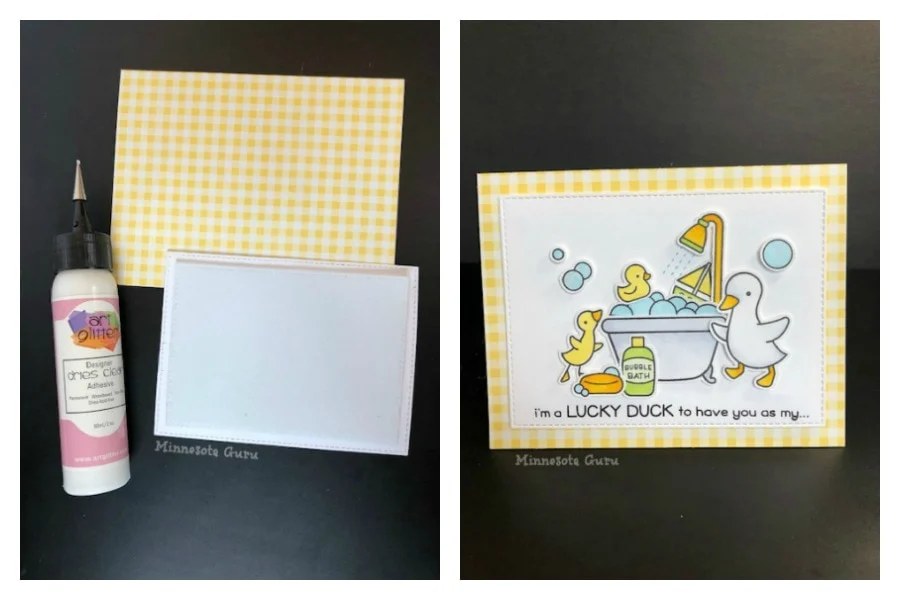
- Using the tape runner, adhear the yellow gingham panel to the front of your card. Set aside.
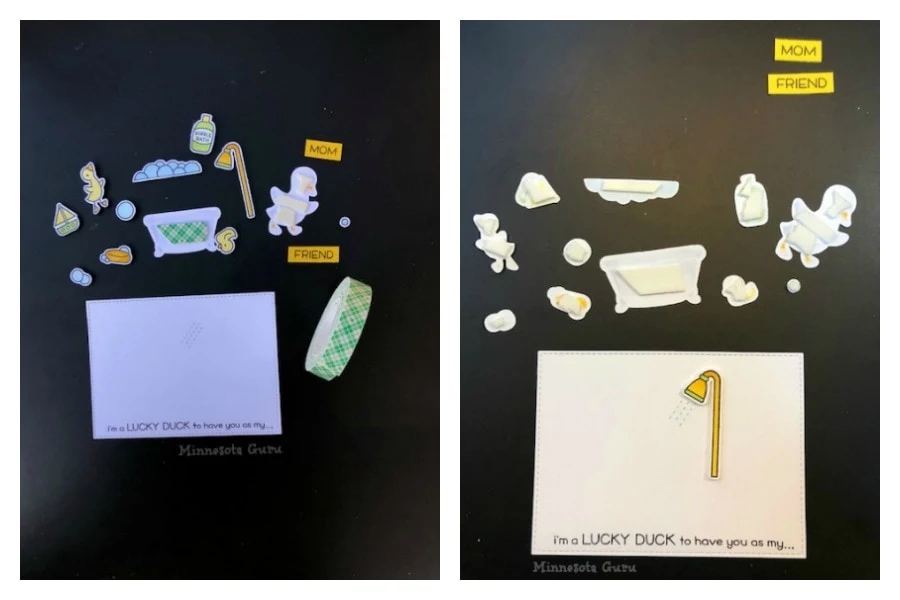
- Cut out small pieces of foam tape and stick to the back side of each pre-stamped piece for dimension.
- Starting with the shower head, adhere it to the white panel right above the pres-tamped water.
- Adhere the bathtub over the shower and the bubbles on top of the bathtub.
- Adhere mother duck to the right of the tub, slightly overlapping the tub.
- Continue to adhere each piece to the scene until it is finished. You can follow the example or create your own scene.
- Center the piece of fun foam on the back of the white panel and glue onto the yellow gingham card front.
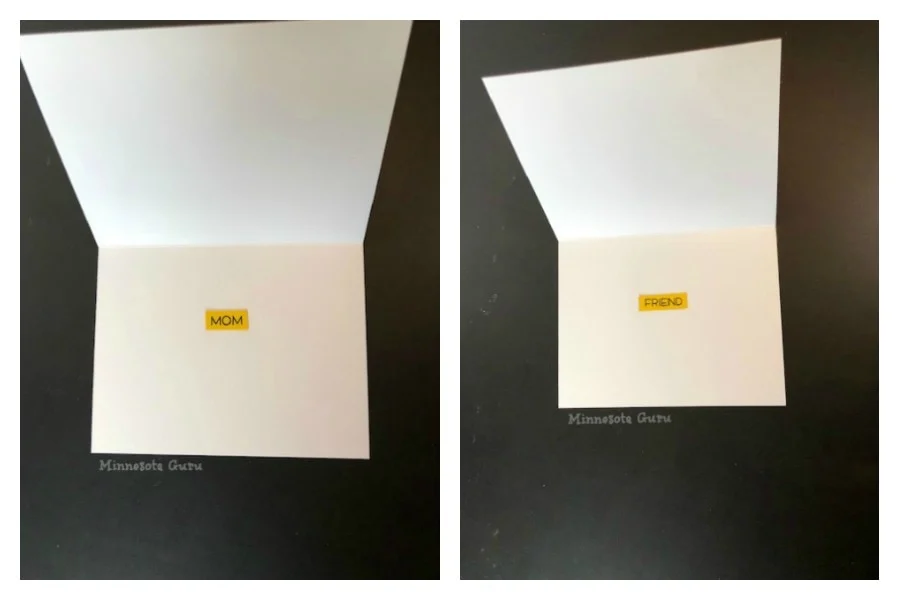
- Choose your sentiment to go inside the card - either "mom" or "friend" and glue inside your card.
Notes
Specific Copic Markers Used:
- Rubber Duck, Baby Duck, Sailboat Sails & Lid to Bubble Bath - Y13 & Y11
- All Duck Beaks & Feet, Soap, Shower Head & Pole - Y19 & Y15
- Rim on Shower, Bottom of Sailboat, Top & Bottom of Bubble Bath - YG13
- Middle of Bubble Bath - G20
- Bath Tub - C1 & C0
- Mama Duck - C1, Colorless blender
- All Bubbles - B000
Floral Thank You Card
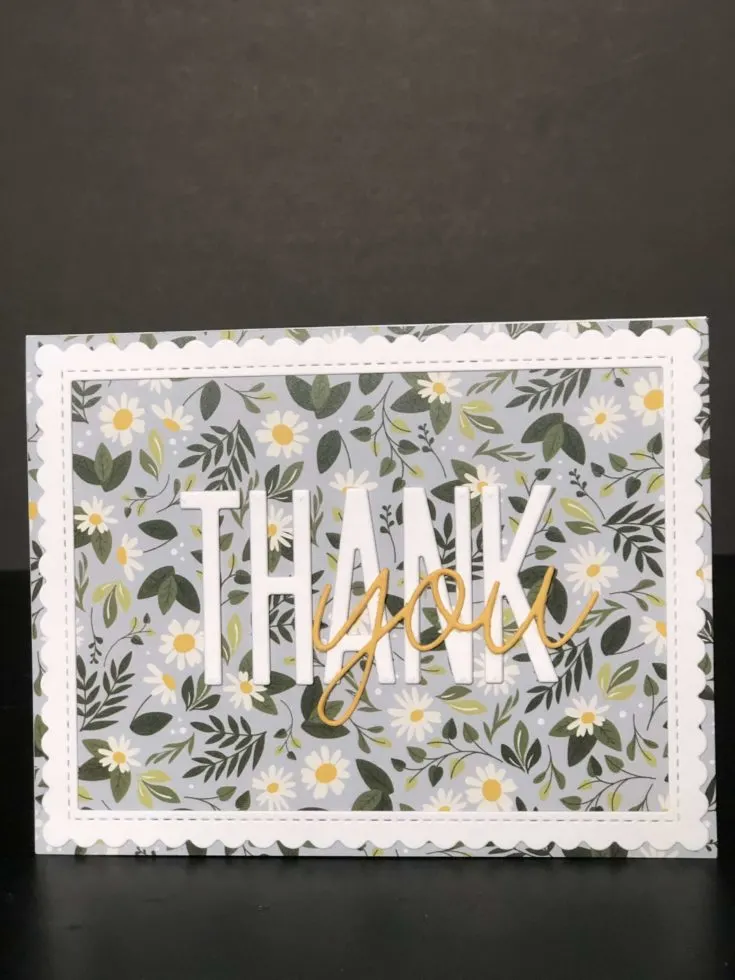
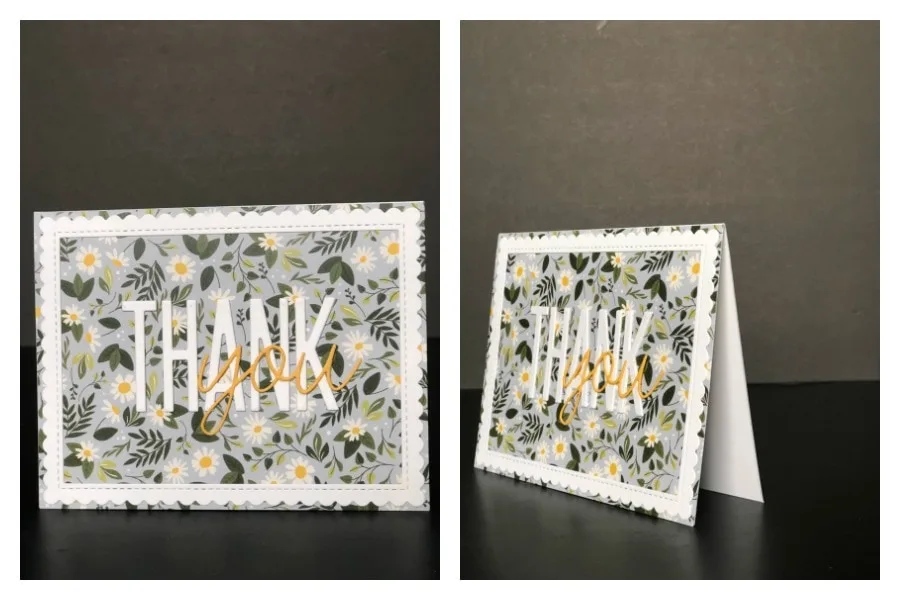
This floral Thank You card will brighten anyone's day! This beautifully designed card is the second in our Lucky Duck Crafting Kit. With a few simple tools, you'll have so much fun recreating this beautiful card!
Materials
- Card Base - Neenah Classic Crest Solar White 110 lb card stock
- Envelope - Neenah Classic Crest Solar White 80 lb
- Front Card Panel - Jen Hadfield, Heart of Home, Wild Daisies
- Big Thanks die-namic - My Favorite Things (MFT)
- Love You Die - The Stamp Market
- Gallery Frame #2 Die - Hello Bluebird
Instructions
- Gather liquid glue and taperunner.
- Place all contents of Floral Thank You Card on table.
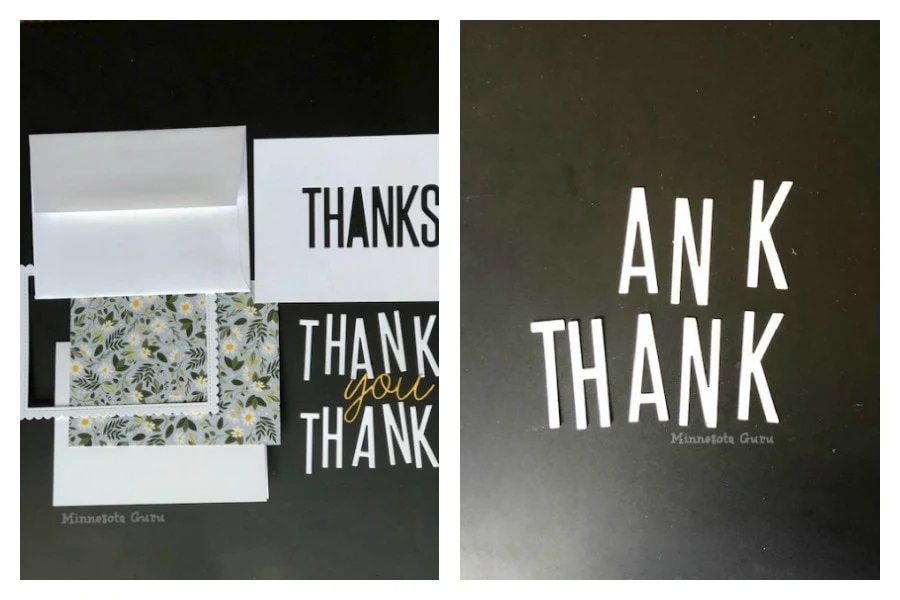
- You'll find two of each letter. Place a thin layer of glue on the back side of one set of letters. Place the glue side of one letter on top of the same non glued letter. This will raise each letter to double height. Repeat with each letter.
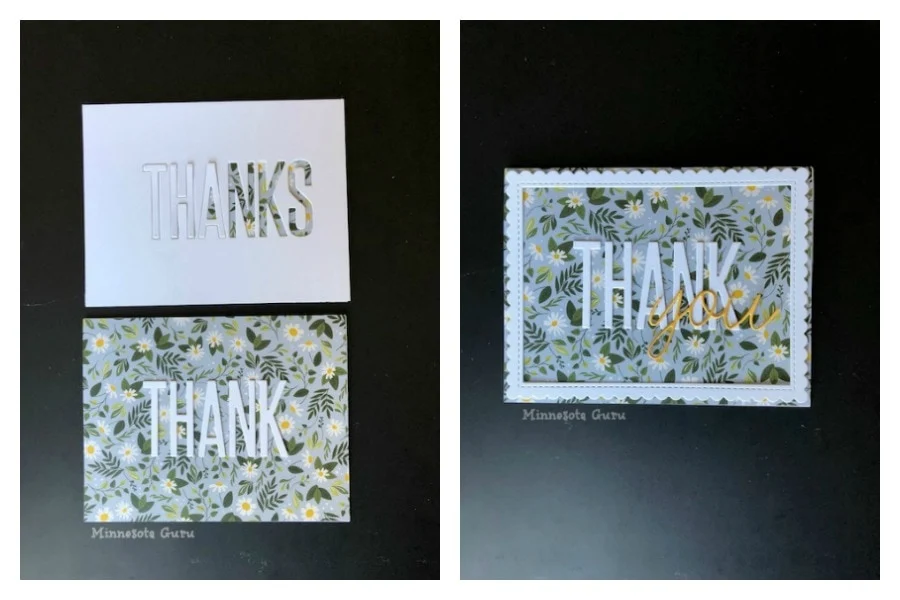
- Place the Thanks template over the floral panel. It will look off centered because we are only using the word thank, not thanks. Do not recenter the template.
- Carefully place a thin layer of glue on the back of each letter. Gently place each letter with glue into the template in it's letter space. Gently remove template to reveal the word THANK.
- Carefully glue the golden yellow "you" word on top of the white Thank as shown.
- Glue the back of the white scalloped frame and center it on the front of the card.
- Using the tape runner, tape the back of your Thank You floral panel and adhere it to the front of the card.
Scalloped Teacher Treat Box
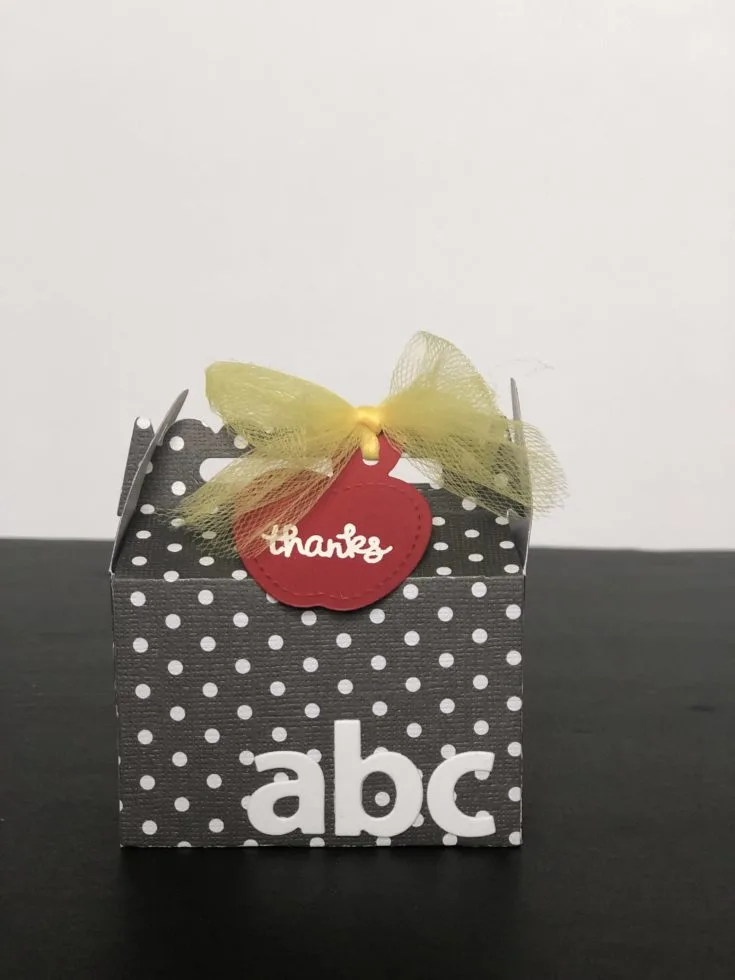
This adorable treat box is the third item included in our crafting kit this month. This small and adorable treat box is perfect for a gift card, treat or handmade treasure! Gift it to your favorite teacher or a dear friend who has taught you much over the years! No matter who gets this adorable box, they'll treasure it for years!
Materials
- Cardstock - Black Small Dot - Petit Point Noir, Darcie Inc.
- Scalloped Treat Box Die-namic - Lawn Fawn
- Fall Tiny Tags Die-namic - Lawn Fawn
- Fall Tiny Tags - Die Cut - Lawn Fawn
- Yellow Tulle - Celebrate It (any will do)
- Alphabet Die-namic (any will do)
Tools
Instructions
- Gather liquid glue, scor-tape and bone folder.
- Place contents of treat box kit in front of you.
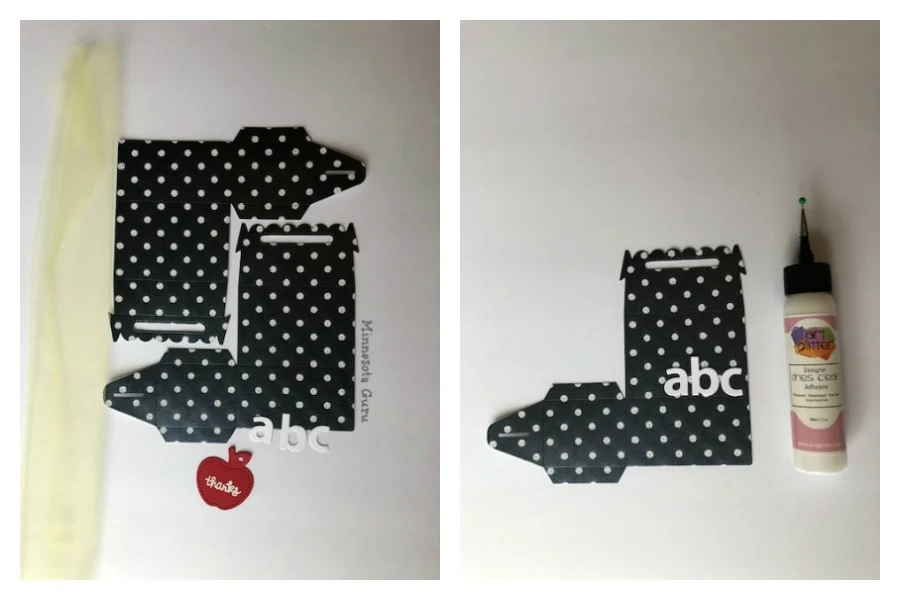
- With your finger, find the embossed line on one of the polk-a-dot card stock pieces. Carefully glue the ABC letters just above the score line.
- Gently fold all 7 embossed lines with a bone folder on both box pieces. All pieces should fold inward.
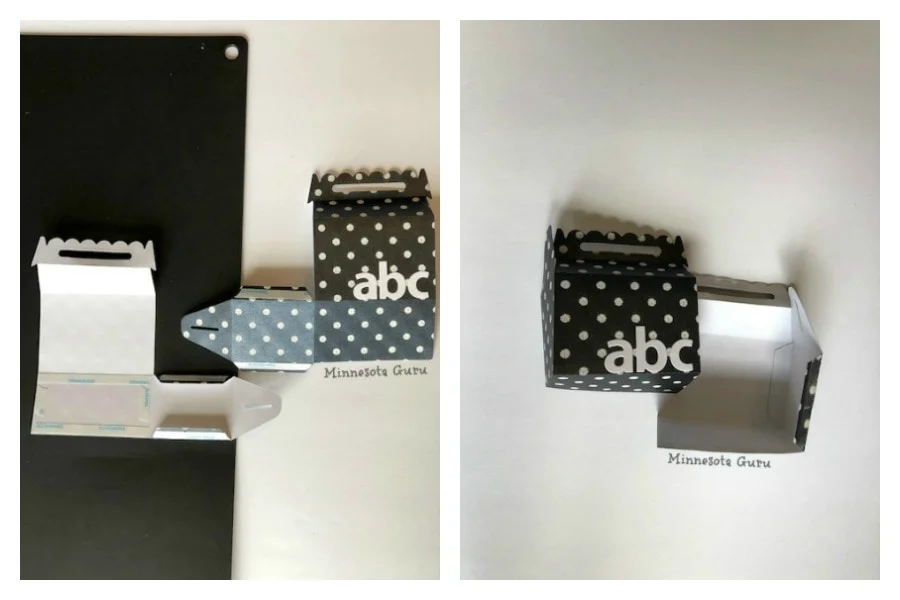
- Place score tape on both side flaps on both pieces of polk-a-dot card stock paper pieces.
- On ONE of the card stock pieces, place score tape on the four edges on the bottom.
- Remove backing and CAREFULLY match up the bottoms of each piece. Once the bottom is secured, bring the sides together.
- Fill treat box with your favorite goodies (nail polish, gift card, essential oils, chocolates etc.).
- Carefully pinch the handles together and secure the side pieces over the top sides.
- Thread the tulle through the apple and attach to the treat box. Tie a bow.
