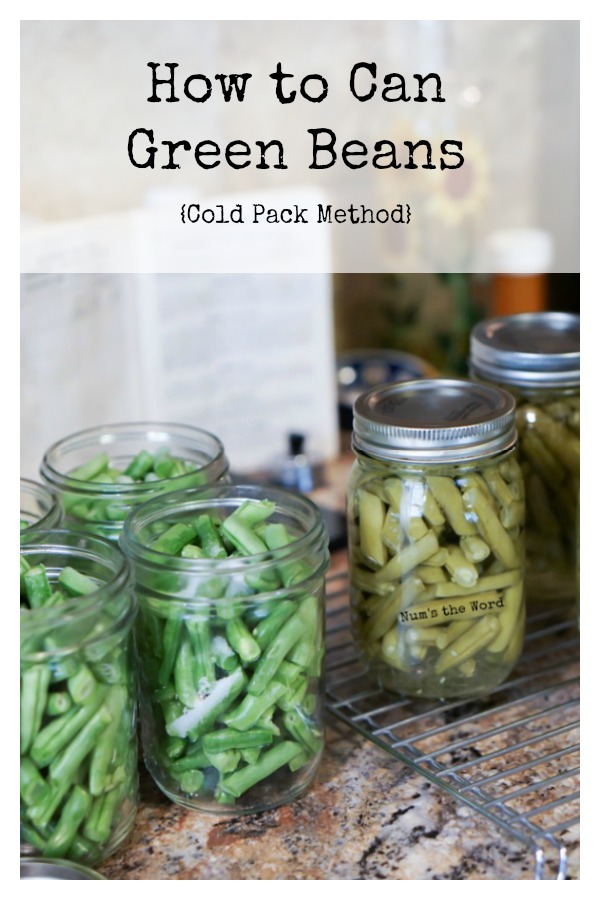
This step by step with photos guide on How to Can Green Beans – the wet pack method – is perfect for anyone new to canning. Simple, clear steps to canning garden fresh green beans to last all winter long!

Growing up, my mother was an avid Gardener. We grew up with our backyard looking a bit like the Garden of Eden yet with more edible plants than floral.
She has a green thumb that rivals anyone else I’ve ever met.
Despite her green thumb she is always looking for new ways, better ways, more efficient ways, to garden.
Because of her extensive garden, and all the variety of berries and fruit that were all around our city, we canned a lot.
Every fall, the kids were all expected to help her can the bounty our garden had given.
I hated it, as I suspect all kids do and swore I’d never can again once I moved out of the house. And it was true.
For many years I refused to can or learn to can fruits and vegetables. That is until we moved to Minnesota.
My Mother-in-Law, Liz always has a garden and she always cans green beans. Her green beans are delicious and two of the three kids go nuts for them.
Several years ago I asked her to show me How to Can Green Beans.
We spent the day canning green beans from her fresh from the garden green beans and having a good time with one another.
However, my memory is pretty pathetic and by the next summer I can forgotten everything she had taught me.
So this year, I asked her to show me how to can green beans again.
This time I was going to document it and create a blog post so that I would ALWAYS know just how to can green beans. I’m a woman in my late 30’s learning to can.
I figured if I can learn, anyone can learn.
Though this is a long post about canning green beans, and it may seem overly detailed, I hope it helps others like me learn how to can green beans.
I have pages of chicken scratch writing down everything she told me and I hope I can do her directions justice.
Learn How to Can Tomatoes HERE!
Learn How to Can Carrots HERE!
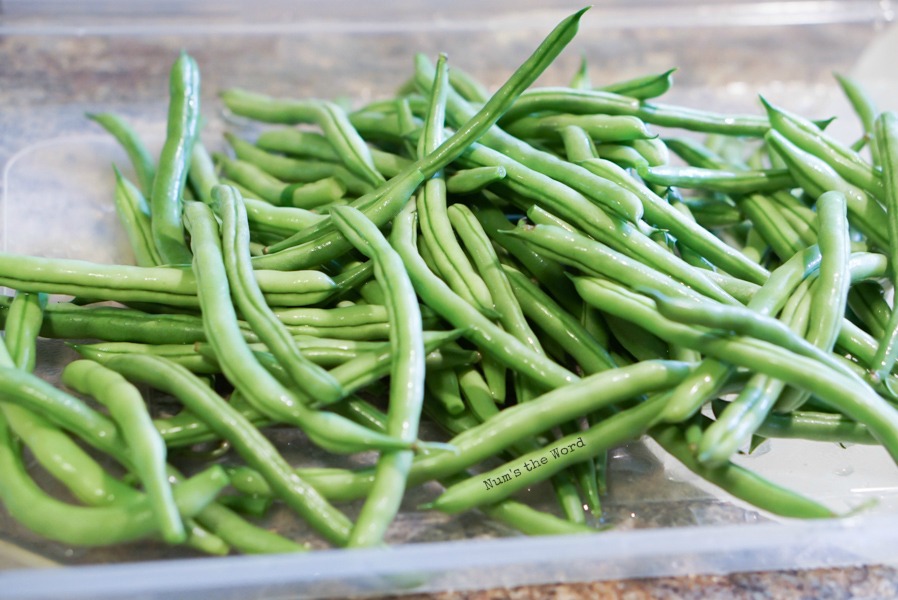
Canning Green Beans Step 1:
First things first, you want to pick your green beans. If you do not have a garden then you can purchase them from the store as well. The amount shown below filled 5 pint sized jars full.
Pro Tip: The rule of thumb is 2 pound of green beans per quart and 1 pound per pint. This is a rough estimate, but should give a good guide.

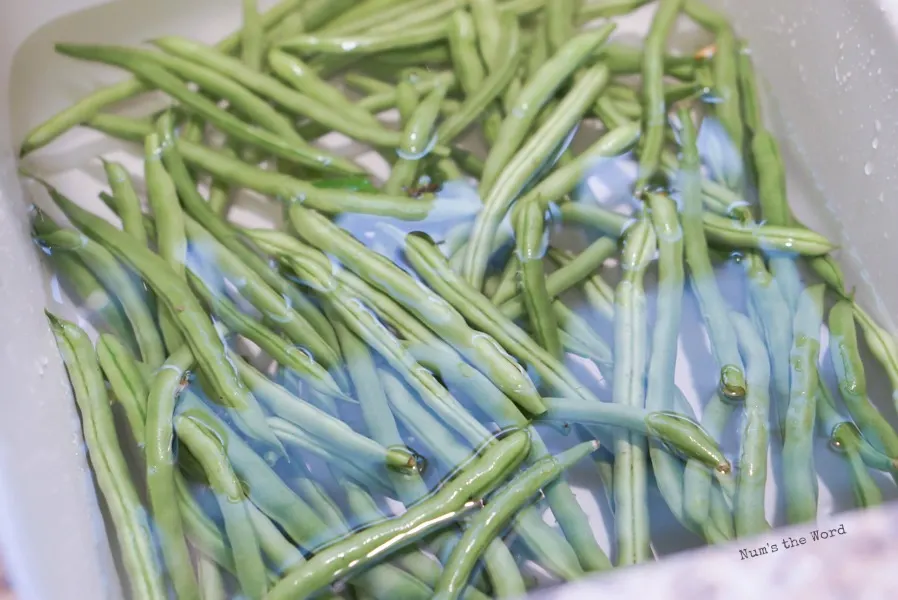
Canning Green Beans Step 2:
Always wash your green beans. Soak them in cold water for about 3 minutes.
Make sure to give a good swish to your green beans to get any bugs and dirt off. Remove and place on a plate or dish.

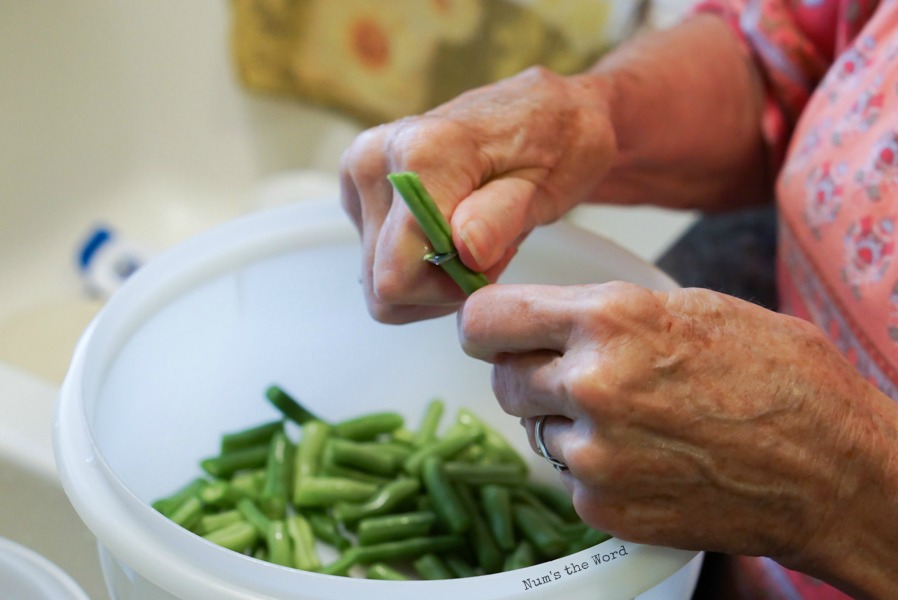
Canning Green Beans Step 3:
Start by trimming each end of the green bean then cut it into approximately 1 1/2 inch pieces.
Discard the trimmed edges for compost or garbage. Placed sliced green beans in a bowl.

Canning Green Beans Step 4:
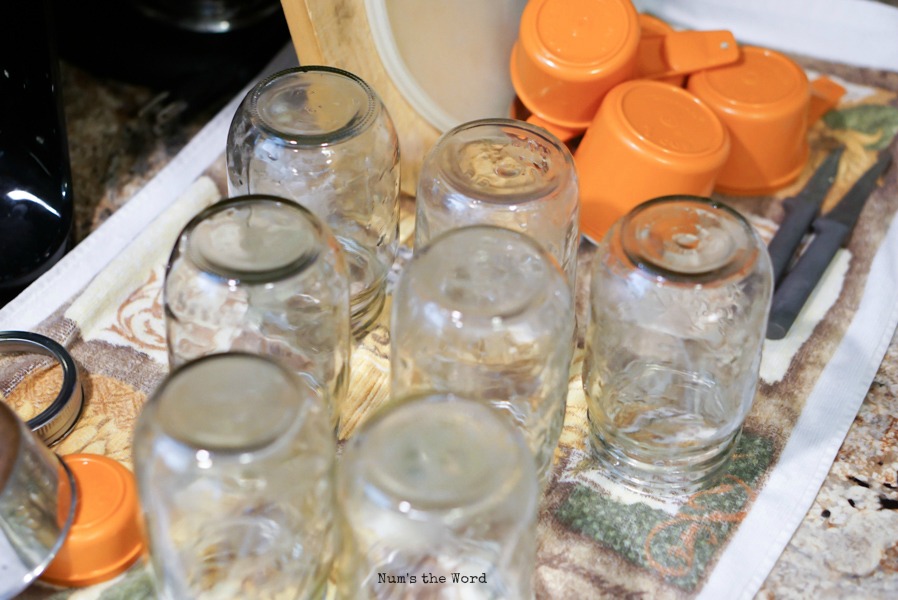
Once you’ve cut your green beans, set them aside. Now it’s time to clean your jars.
You want them to be sterile and clean so you can place them in boiling water for a few minutes or if you are 100% sure they are clean, rinse them with very hot water.
Set upside down to drip dry on a cloth.

Canning Green Beans Step 5:
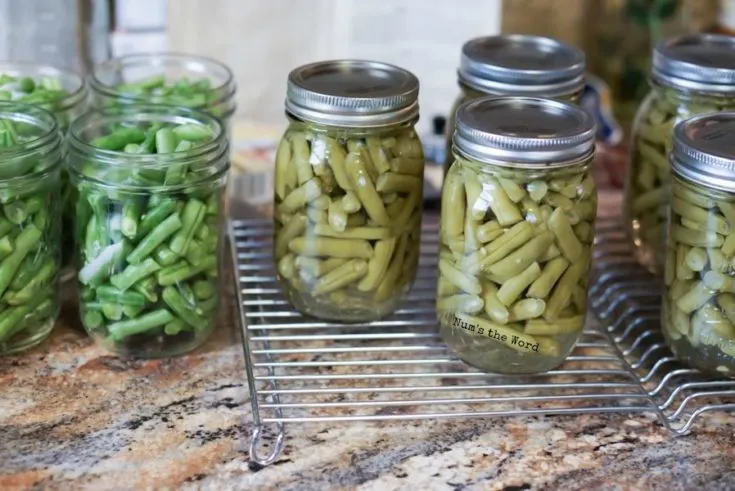
After letting the jars drip dry for a few moments, fill cans to the top rim with green beans.
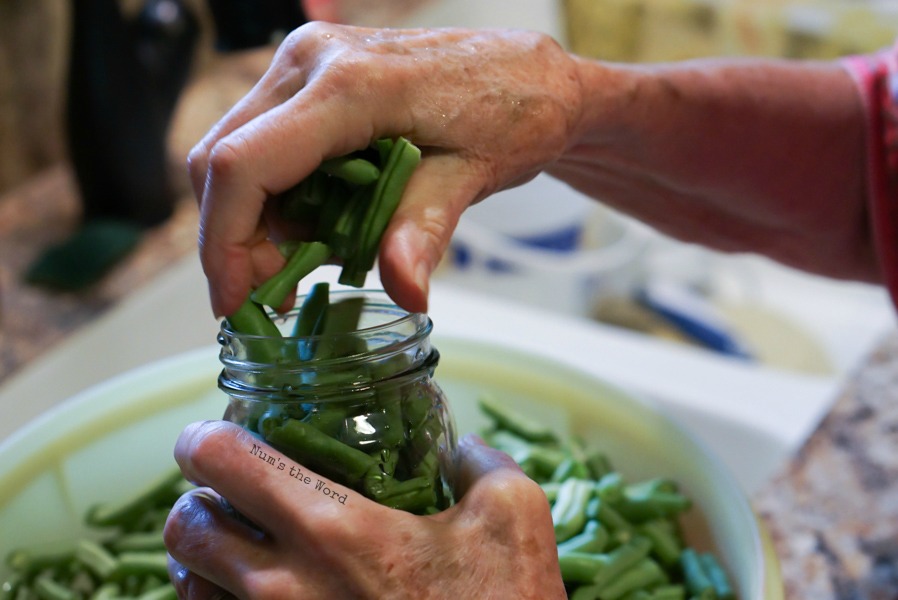

Canning Green Beans Step 6:
Tap the bottom of the jars on the counter a few times to allow beans to settle down into can and add additional as needed. Beans should be filled to the rim. Set aside.


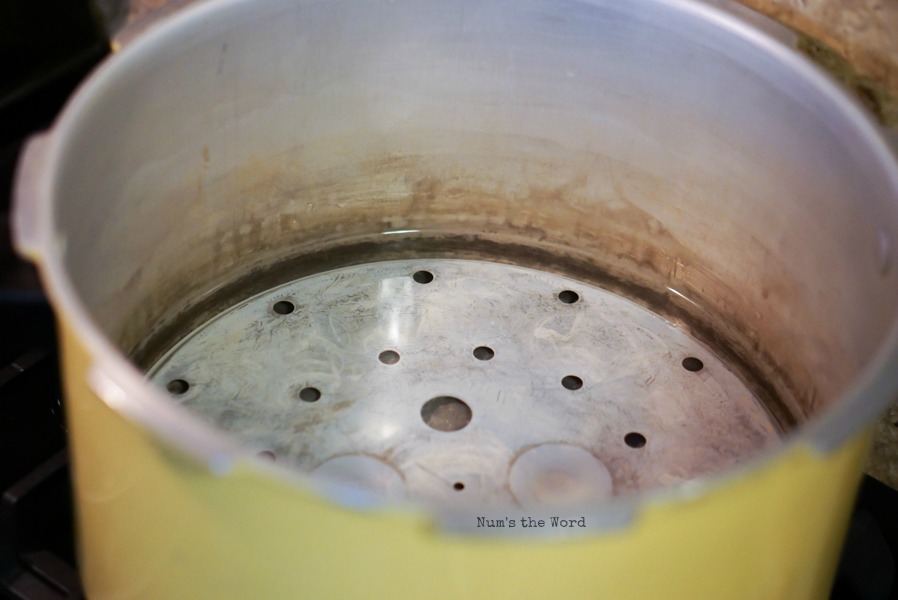
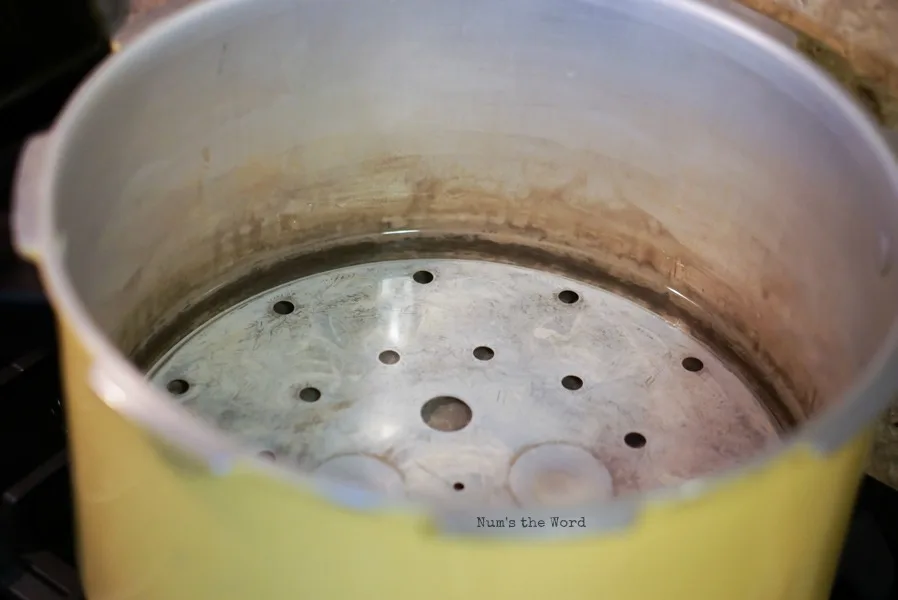
Canning Green Beans Step 7:
Place pressure canner on stove. Place the canning base inside and fill with 2 quarts of water. Turn burner on to medium.
Canning works best with a gas or coil top stove. Glass top stoves struggle to reach a high enough heat for canning. Or so I’m told by the smartest Green Bean Canning Machine I know!
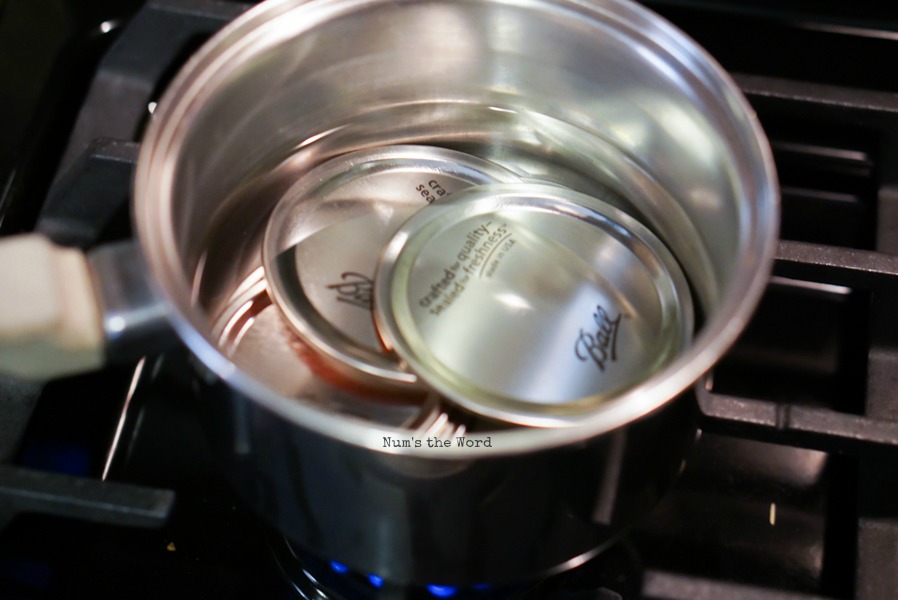
Canning Green Beans Step 8:
Place NEW flat lids in a small pot of water and bring to a boil. It is VERY important that these are hot and sterile.
You’ll want to have a pair of tongs ready for grabbing them out of the water or two forks would work too.
DO NOT USE OLD FLAT LIDS. They will not reseal. New ones are required every time.
Tip:
I have gotten comments from several readers that they reuse old lids with no issues.
I am not saying you should do this, simply that others have had luck as long as there aren’t any dents or deformities with the lids. If you try this, leave a comment and let us know if it works.

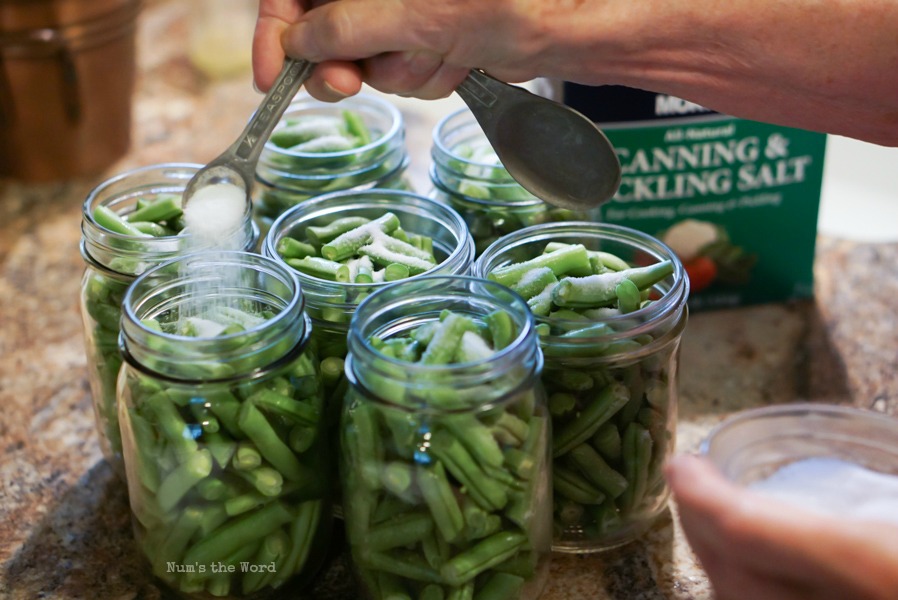
Canning Green Beans Step 9:
While lids are coming to a boil, place 1/2 teaspoon of CANNING SALT into each pint jar of green beans. Do not use table salt.
Canning salt does not contain iodine which is why it is used for canning. If you are doing quart jars, use 1 teaspoon of canning salt.
Liz always add this before the water. However I know other people add their water first. Both methods appear acceptable.
One reason for doing the salt first is that if you get distracted you can still see which jars you already added salt to.
If you add the water first, the salt begins to dissolve immediately upon touching the water.

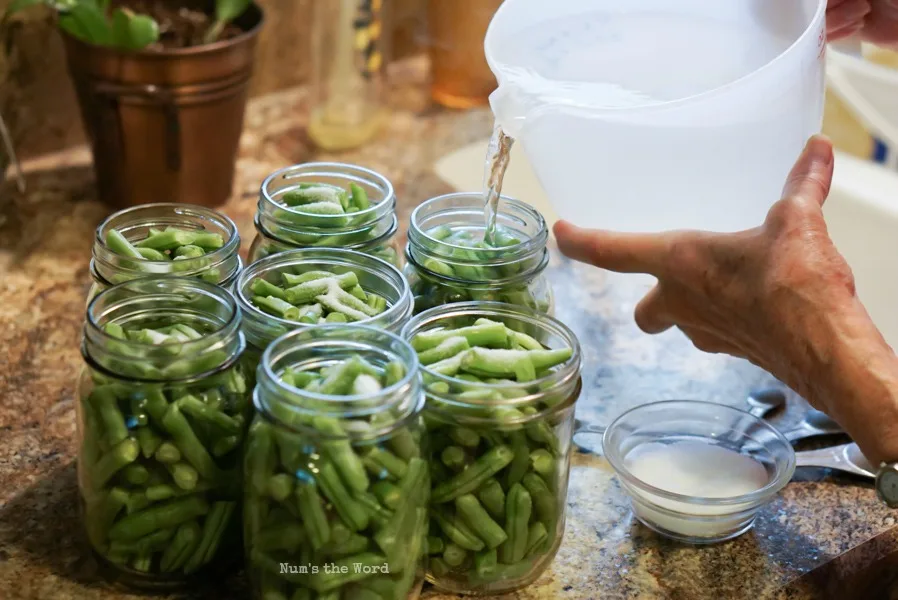
Canning Green Beans Step 10:
Fill each jar with BOILING water. You’ll want to pour water to the neck of each jar. Do not fill to the rim.
As you can see, you’ll need to boil another pot of water or you can microwave a large heat proof measuring cup (as shown below) until the water is boiling hot.
Place a butter knife inside the jar and go around the outside of the jar pressing in toward the beans.
This will remove any air bubbles that may be hiding and help with the canning process.

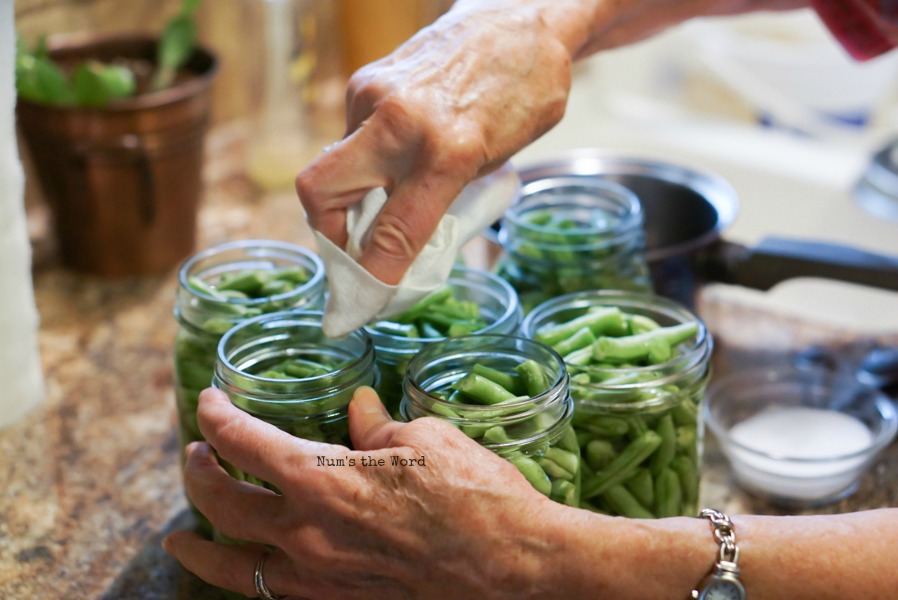
Canning Green Beans Step 11:
Wipe each rim with a dry paper towel to ensure that there is no moisture on the rim. To get a good seal you’ll want to have a nice clean rim for the lid to connect with.

Canning Green Beans Step 12:
Now place HOT flat lids on each jar. You may need tongs for this.
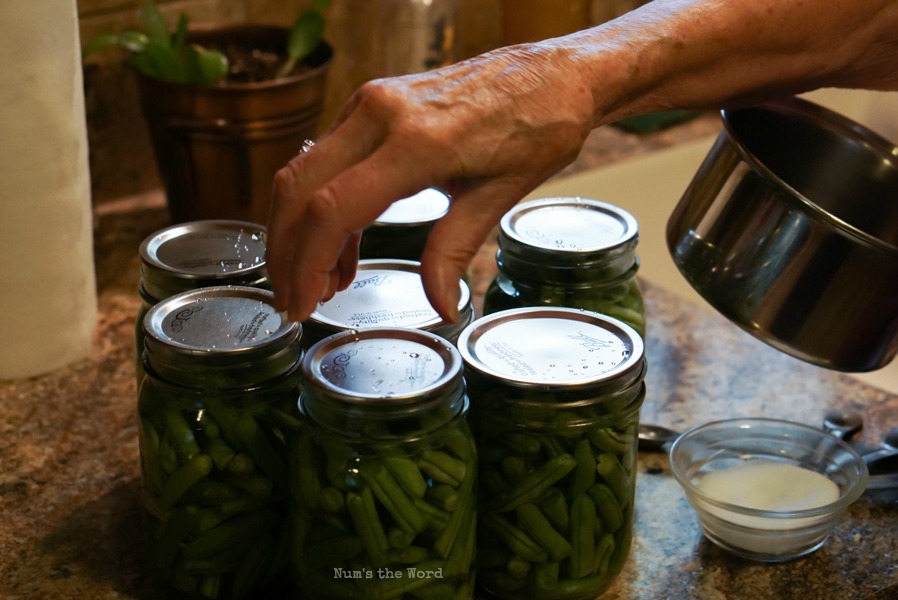

Canning Green Beans Step 13:
Place screw lids on top and screw on. Once you hit resistance, give them one more good tight twist.

Canning Green Beans Step 14:
Place jars in prepared pressure canner. Make sure that none of the jars are touching.
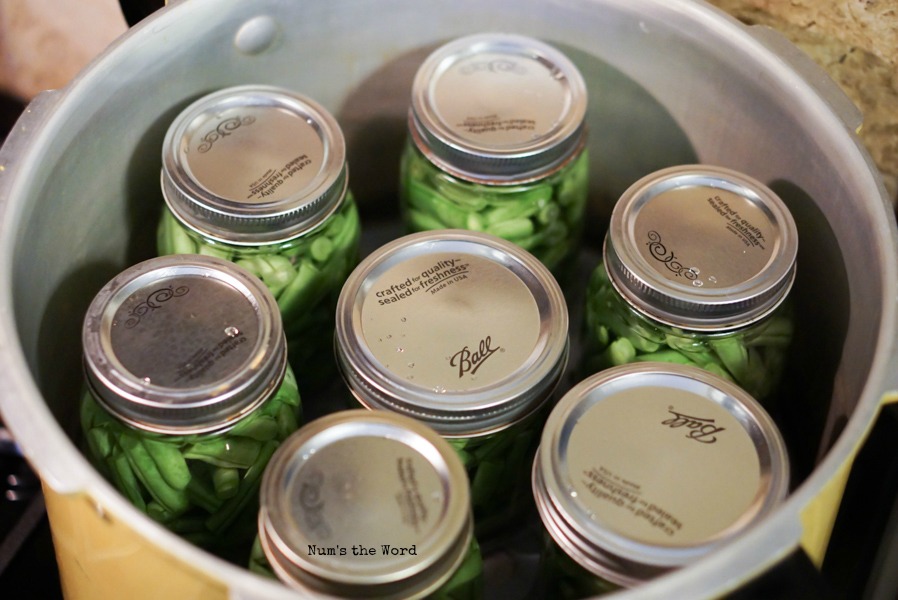

Canning Green Beans Step 15:
Place pressure canning lid on and lock it into place. Let it boil until steam comes out of the top.
This should take 5 – 10 minutes. While waiting, begin prepping the next batch of green beans.


Canning Green Beans Step 16:
Once steam begins to come out of side spout, let it steam for 10 minutes then place canning weight over the little steam spout.
Steam will them begin to pour out of the center hole. This is ok. It will seal itself off after a few moments.
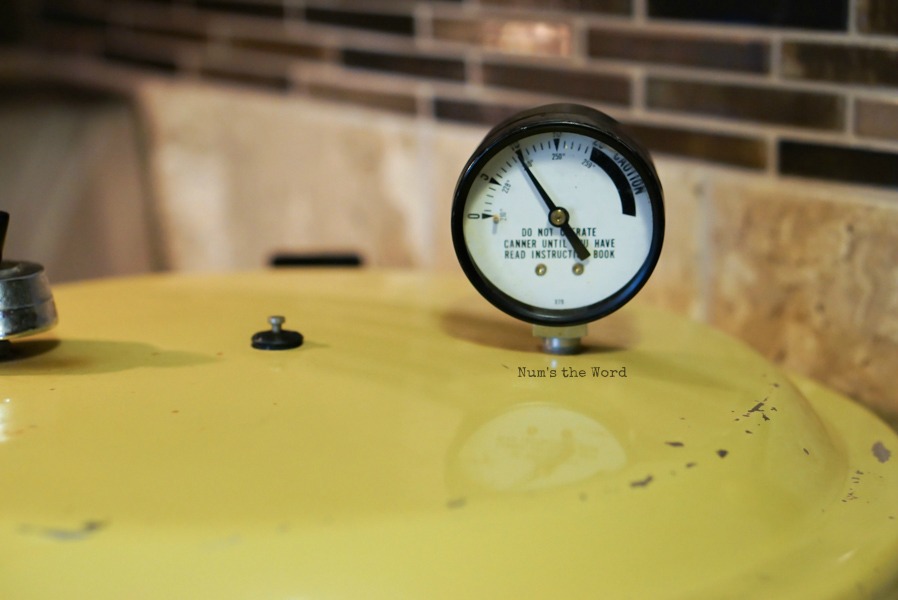
Allow the pot to continue to boil until the Gage reads 10 pounds.

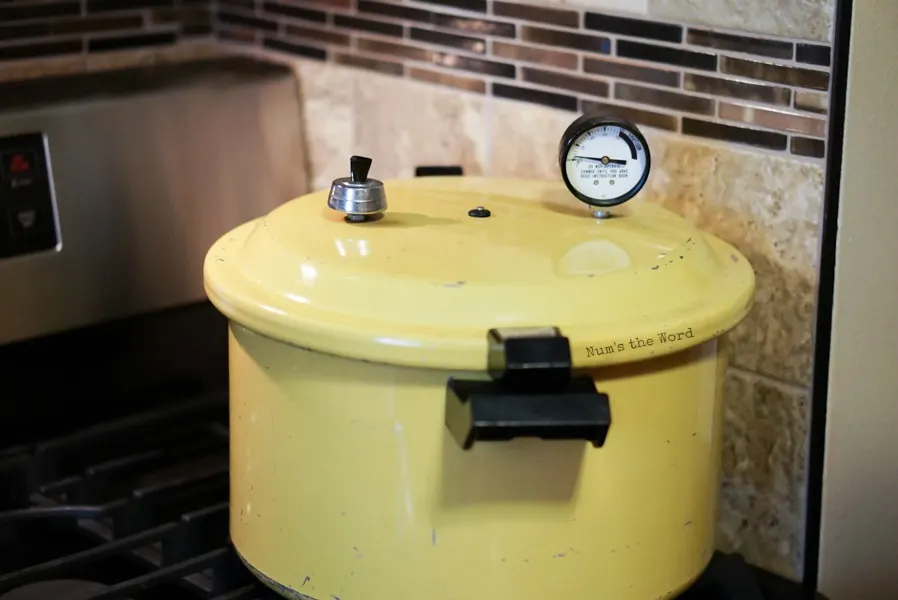
Canning Green Beans Step 17:
Once the dial reaches 10 pounds, (which should take about 5 minutes), you’ll want to watch it carefully and adjust heat of burner to keep it at 10 pounds.
Depending on the age of your pressure canner this may be a constant adjustment or you may not have to adjust it at all.
It is ok if it get above 10 pounds but do not let it get anywhere near the black line of doom.
Once you reach 10 pounds, set your timer for 20 minutes for pint jars, and 25 minutes for quart jars. Keep an eye on that pressure Gage!

Canning Green Beans Step 18:
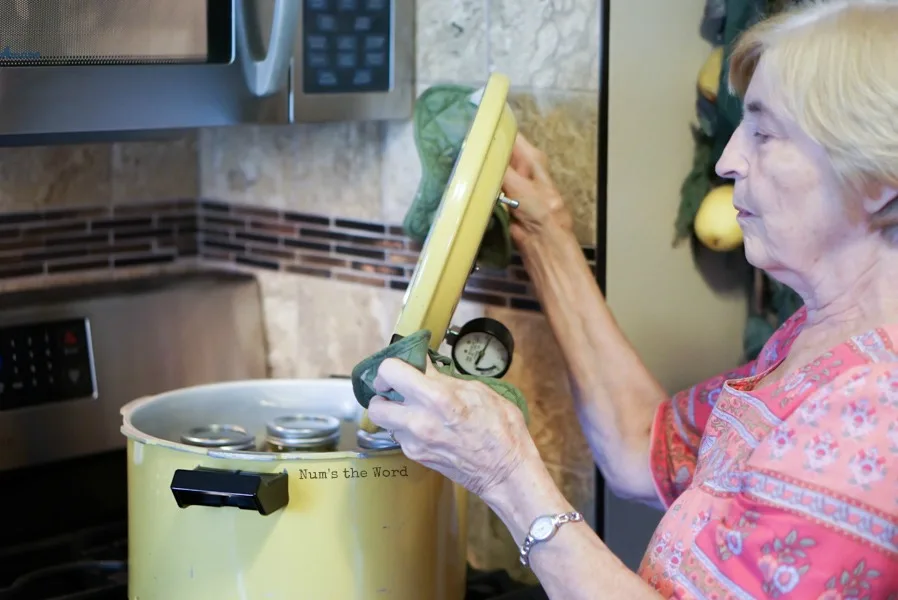
When your timer goes off, turn your burner off and allow your Pressure Gage to slowly return to zero.
Once your Gage reaches zero, using hot mitts, remove the weight and then open the lid AWAY FROM YOUR FACE. Do NOT open it towards your face.
If there is any extra build up of hot steam it can hurt you. So always open it AWAY from your face.

Canning Green Beans Step 19:
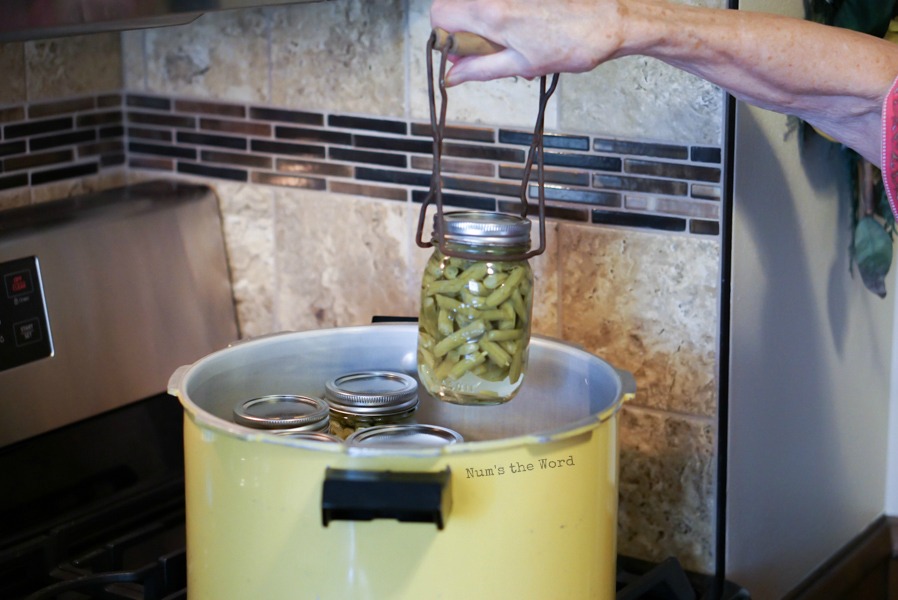
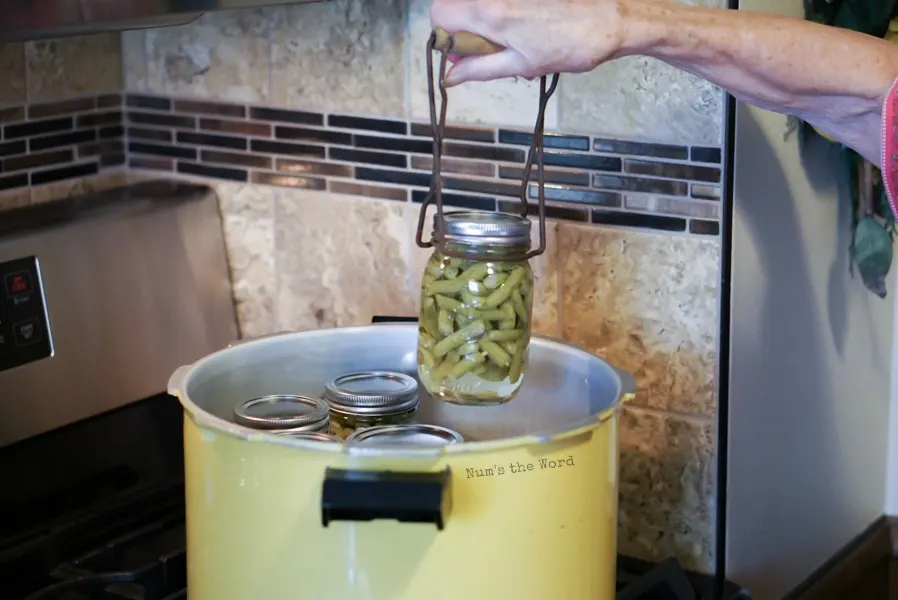
Remove jars with a jar lifter (yes that is actually what it is called). The cans will be BURNING HOT so do not use your hands.
Place jars on a wire cooling rack and allow to cool to room temperature.
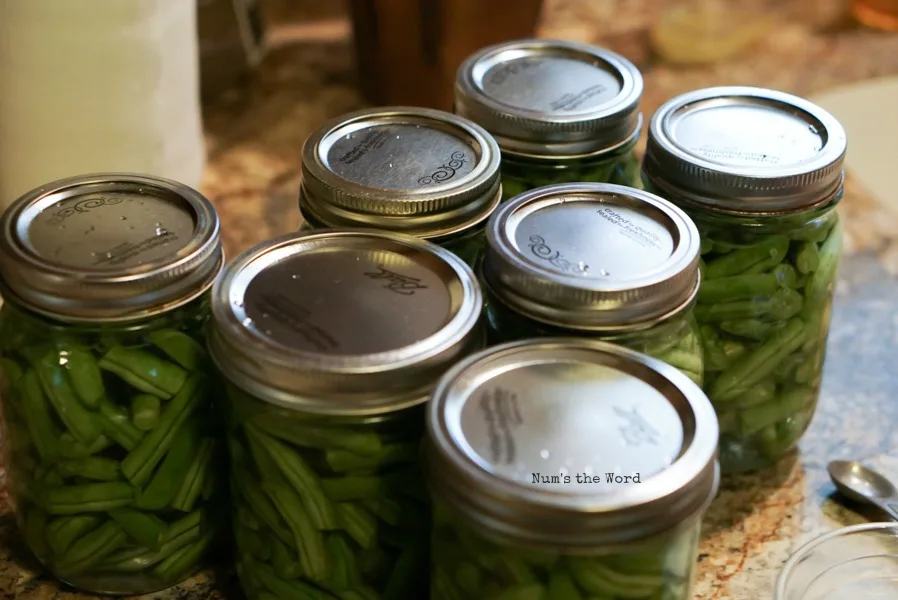
As jars are cooling you’ll start to hear a popping sound as each jar seals itself.
It is important that each jars lid pops and seals itself. If it doesn’t then you’ll be eating green beans that night from the jar that did not seal itself.
Canning Green Beans Step 20:
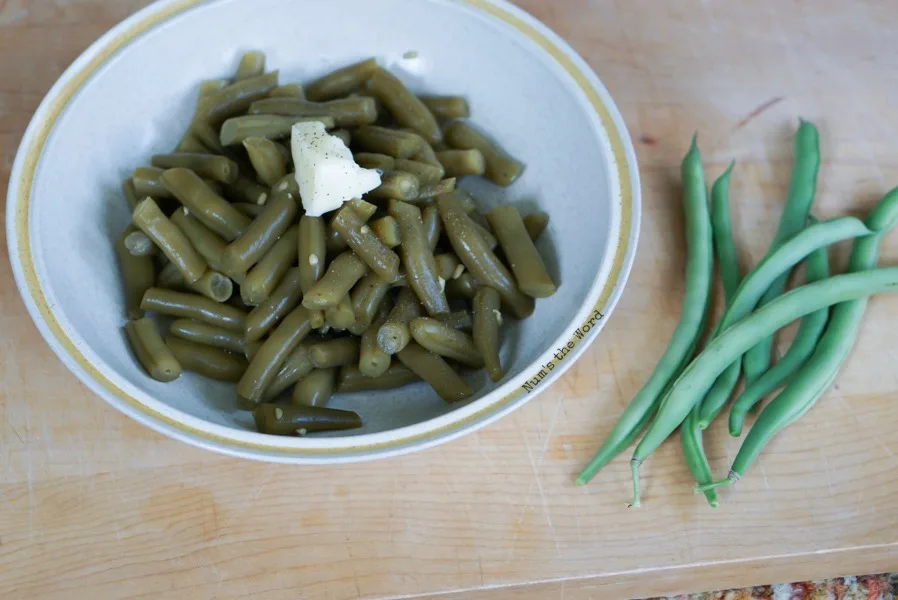
As you can see the beans cook inside the jar and go from a bright green color to a dull green color after being cooked.
Our first batch took approximately 1 1/2 hours (with all the slicing of the green beans for all batches).
However as each batch was cooking we prepped the next batch and each batch thereafter only took approximately 30 minutes.


Canning green beans is a labor of love.
It is not something you do on a whim and certainly shouldn’t be done in a hurry.
However, if you are willing to invest the time and effort into canning, you’ll not only have fresh tasting fruits and vegetables all year, you’ll have a life skill that can literally feed your family.

Each year Liz cans enough green beans for her family, our family and many friends and family members.
Some of our favorite Christmas gifts are fresh canned fruits and vegetables and we feel so blessed to receive them.
So if you have a bountiful garden and aren’t sure what to do with all of it, I hope you’ll follow these easy step by step directions for how to can green beans.
Thanks Liz for always sharing your wisdom with me and teaching me all your secrets!
How to Can Green Beans

This step by step with photos guide on How to Can Green Beans - the wet pack method - is perfect for anyone new to canning. Simple, clear steps to canning garden fresh green beans to last all winter long!
Ingredients
- Green Beans
- Water
- Pint or Quart Jars
- Canning Salt
Instructions
- First things first, you want to pick your green beans. If you do not have a garden then you can purchase them from the store as well.
Always wash your green beans. Soak them in cold water for about 3 minutes. Make sure to give a good swish to your green beans to get any bugs and dirt off. Remove and place on a plate or dish. - Trim each end of the green bean then cut it into approximately 1 1/2 inch pieces. Discard the trimmed edges for compost or garbage. Placed sliced green beans in a bowl and set aside.
- Now it’s time to clean your jars. You want them to be sterile and clean so you can place them in boiling water for a few minutes or if you are 100% sure they are clean, rinse them with very hot water. Set upside down to drip dry on a cloth.
- After letting the jars drip dry for a few moments, fill cans to the top rim with green beans.
- Tap the bottom of the jars on the counter a few times to allow beans to settle down into can and add additional as needed. Beans should be filled to the bottles neck. Set aside.
- Place pressure canner on stove. Place the canning base inside and fill with 2 quarts of water.
- Turn burner on to medium. Canning works best with a gas or coil top stove. Glass top stoves struggle to reach a high enough heat for canning. Or so I’m told by the smartest Green Bean Canning Machine I know!
- Place NEW flat lids in a small pot of water and bring to a boil. It is VERY important that these are hot and sterile. You’ll want to have a pair of tongs ready for grabbing them out of the water or two forks would work too. DO NOT USE OLD FLAT LIDS. They will not reseal. New ones are required every time.
- While lids are coming to a boil, place 1/2 teaspoon of CANNING SALT into each pint jar of green beans. Do not use table salt. Canning salt does not contain iodine which is why it is used for canning. If you are doing quart jars, use 1 teaspoon of canning salt. Liz always add this before the water. However I know other people add their water first. Both methods appear acceptable.
One reason for doing the salt first is that if you get distracted you can still see which jars you already added salt to. If you add the water first, the salt begins to dissolve immediately upon touching the water. - Fill each jar with BOILING water. You’ll want to pour water to the neck of each jar. Do not fill to the rim. As you can see, you’ll need to boil another pot of water or you can microwave a large heat proof measuring cup (as shown below) until the water is boiling hot.
- Wipe each rim with a dry paper towel to ensure that there is no moisture on the rim. To get a good seal you’ll want to have a nice clean rim for the lid to connect with.
- Now place HOT flat lids on each jar. You may need tongs for this.
Place screw lids on top and screw on. Once you hit resistance, give them one more good tight twist. - Place jars in prepared pressure canner. Make sure that none of the jars are touching.
- Place pressure canning lid on and lock it into place. Let it boil until steam comes out of the top. This should take 5 – 10 minutes. While waiting, begin prepping the next batch of green beans.
- Once steam begins to come out of side spout, place canning weight over the little steam spout. Steam will them begin to pour out of the center hole. This is ok. It will seal itself off after a few moments. Allow pot to continue to boil until the Gage reads 10 pounds.
- Once the dial reaches 10 pounds, (which should take about 5 minutes), you’ll want to watch it carefully and adjust heat of burner to keep it at 10 pounds. Depending on the age of your pressure canner this may be a constant adjustment or you may not have to adjust it at all. It is ok if it get above 10 pounds but do not let it get anywhere near the black line of doom.
- Once you reach 10 pounds, set your timer for 20 minutes for pint jars, and 25 minutes for quart jars. Keep an eye on that pressure Gage!
- When your timer goes off, turn your burner off and allow your Pressure Gage to slowly return to zero. Once your Gage reaches zero, using hot mitts, remove the weight and then open the lid AWAY FROM YOUR FACE. Do NOT open it towards your face. If there is any extra build up of hot steam it can hurt you. So always open it AWAY from your face.
- Remove jars with a jar lifter (yes that is actually what it is called). The cans will be BURNING HOT so do not use your hands. Place jars on a wire cooling rack and allow to cool to room temperature.
- As jars are cooling you’ll start to hear a popping sound as each jar seals itself. It is importantly that each jars lid pops and seals itself. If it doesn’t then you’ll be eating green beans that night from the jar that did not seal itself.
- As you can see the beans cook inside the jar and go from a bright green color to a dull green color after being cooked. Our first batch took approximately 1 1/2 hours (with all the slicing of the green beans for all batches). However as each batch was cooking we prepped the next batch and each batch thereafter only took approximately 30 minutes.
Notes
You'll need approximately 2 pounds of green beans per quart and 1 pound of green beans per pint.
Minor Updates: July 12, 2022
Deanna F
Monday 18th of September 2023
I have canned for several years. I reuse Ball canning lids 2-3 times without a problem. Just make sure it is not dented or warped from being opened previously, and that the lid gasket still feels tacky and is not dried out.
Janelle
Friday 22nd of September 2023
Thanks for sharing your experience!
Darlene
Thursday 14th of September 2023
Iam doing the wet bath no pressure cooker.so how long do I leave them in that 20 mins or more or less
Janelle
Friday 22nd of September 2023
Hi Darlene! Great question. Unfortunately I've never done water bath canning green beans. I've only done pressure canning so I cannot advise on the best method. Sorry.
Jessica M
Sunday 3rd of September 2023
Could you please give an estimate of how many pounds of green beans you used for this recipe? Thanks!
Janelle
Thursday 28th of September 2023
Great suggestion Jessica! I just updated the recipe to reflect that information!
Sam
Monday 21st of August 2023
On Step 8, no, you don't have to sterilize the lids. Everything inside the canner gets up to a fairly uniform temperature. If not, and if for some reason the lids fail to reach the proper canning temperature for 10 psig at sea level (240 F), there would be a danger of botulism surviving on the lids. That doesn't happen if you follow proper directions on using a pressure cooker. If that was a problem the boiling water temperature of 212 F in the lid pot isn't high enough to kill the botulism. Thus it makes no sense to "pre-sterilize" the lids.
Janelle
Thursday 28th of September 2023
Thanks for the step. I was taught to always sterilize them. Especially if they've been somewhere dusty. It just helps keep them clean and ready for sealing. However if you don't like that step, skip it.
Marie
Monday 31st of July 2023
Do you believe it would be safe to add some herbs, or would it be better to just keep them plain.
Janelle
Sunday 1st of October 2023
You can add herbs, but don't add meat, as that will affect the cooking and processing time.