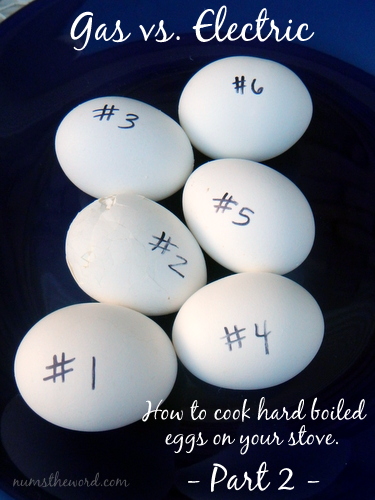

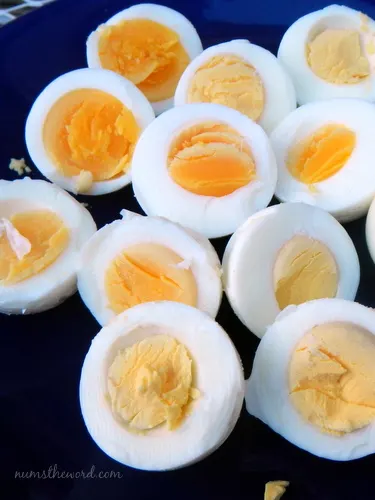
As many of you saw, we did a hard boiled egg test about a week ago. We tested 4 different methods that have been going around about being “the best way” and our results were amazing with 1 clear winner.
We had such a great response from it. Many of you submitting your own methods on how you hard boil your eggs and decided to do a follow up post.
However this time we wanted to test the theory, do eggs cook the same on a Gas stove as they do an Electric stove? After both Jodie and I did the SAME egg tests our results were interesting.
So here we bring you Part 2 of our Hard Boiled Egg test. Remember, that the age of your eggs does have a big factor on how well they peal. Fresh eggs are harder to peal while older eggs are easier. So despite our test results, your own results may differ depending on the age of your eggs.
Without further adieu, here are our results!
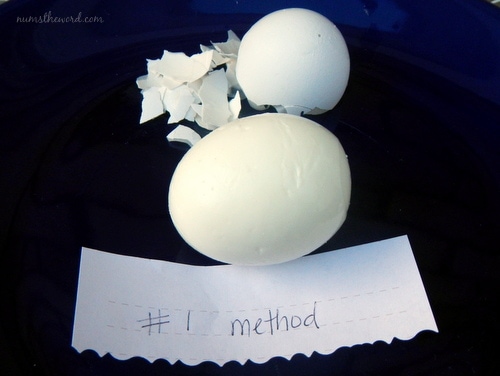
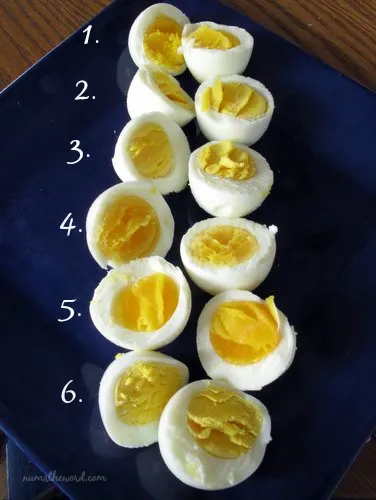
Method 1:
Gas

Electric

Method: Using a push pin, prick a pin hole at the bottom of each egg. Bring pot of water to a boil. Add eggs. Bring pot back to a boil and boil for 8 minutes. Remove from heat and allow to cool in pan or remove immediately. Once cool, peel.
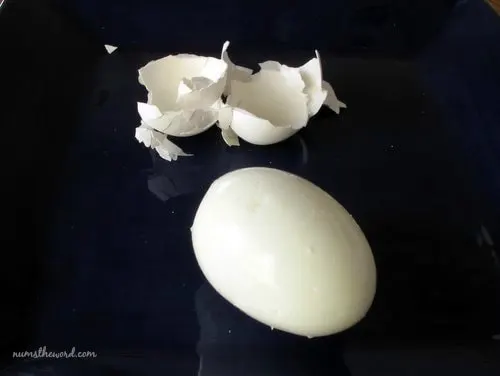
Gas Results: These eggs were easy to peel but underdone per my taste preference. I’d cook the eggs for 10 – 12 minutes next time.
Electric Results: This one turned out really well, but a little underdone. Looked good and was easy to peel.
Method 2:
Gas
Electric

Method: Put eggs in a pot of cold water. Bring to a boil. Remove from heat. Put lid on and let sit for 20 minutes. Drain water. Shake eggs in the pot allowing them to crack. Fill pot with cold water. Add ice. Allow to sit until ice melts. Remove & peel.
Gas Results: Hard to peel. My eggs all turned out looking a sad. The insides were done perfectly though.
Electric Results: Much harder to peel, but was actually done and looked pretty good if you can overlook the mess caused by the peeling.
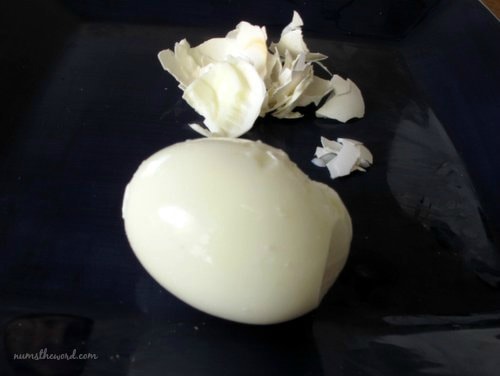
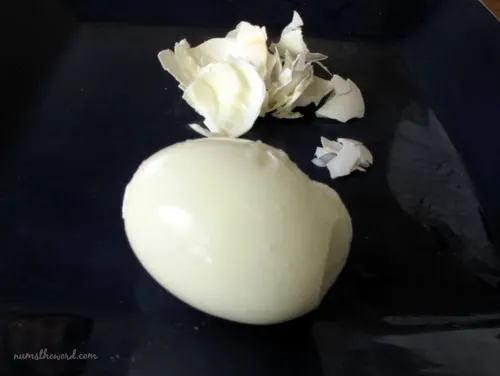
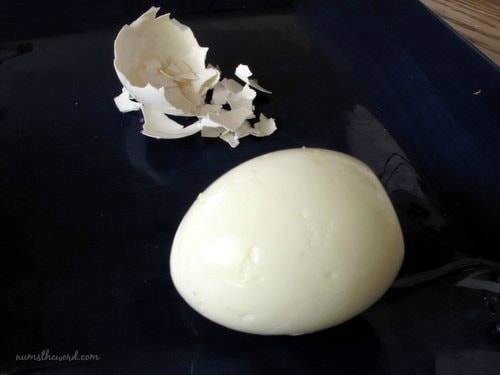
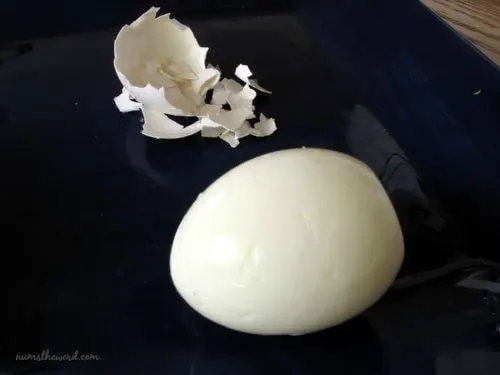
Method 3:
Gas
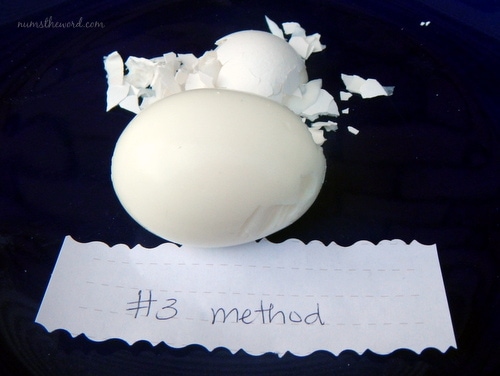
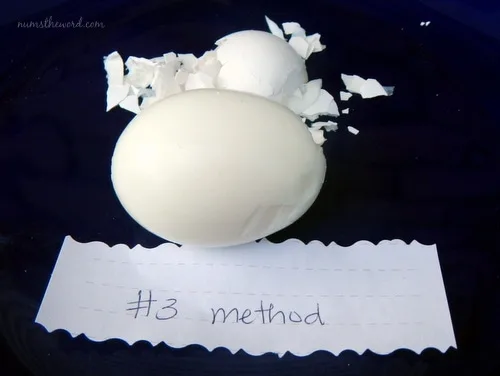
Electric
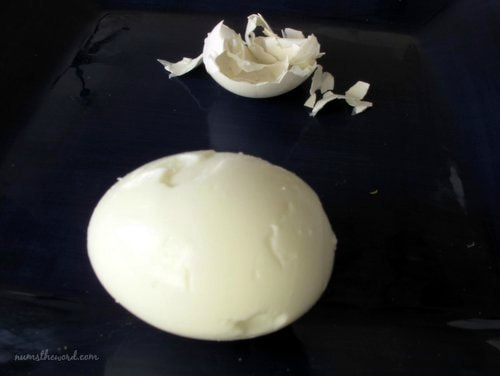
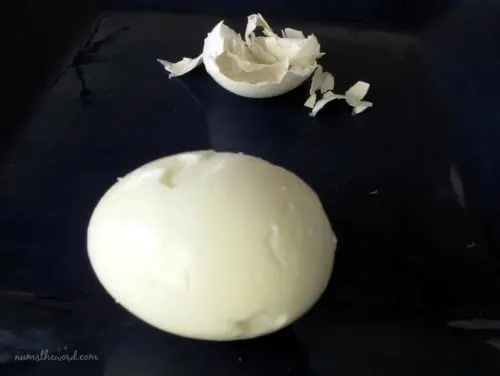
Method: Using a push pin, prick hole in the bottom of each egg. Place eggs in a pot of cold water. Bring to a boil. Remove from heat and allow to sit for 15 minutes. Remove eggs from pan and place in a bowl of ice water for 10 minutes. Once cool, then peel. (This was the best method from our first egg test)
Gas Method: Easy to peel but this time a small bit of the egg came off on a hunk of shell at the very end. I still like this method. Insides were done perfectly.
Electric Method: This one my husband said looked and tasted the best in terms of eating. From a non-egg eater perspective, it looked similar to 2 and was just as hard to peel.
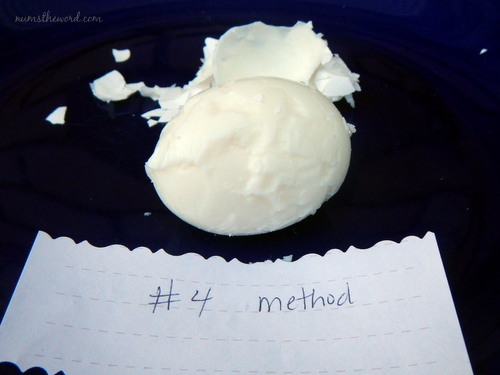
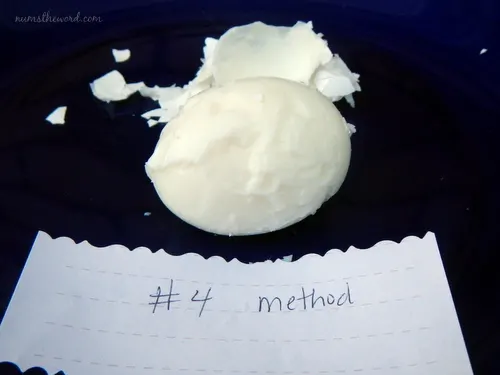
Method 4:
Gas
 ]
]
Electric
Method: Using a push pin, prick hole in the bottom of each egg. Place eggs in a pot of cold water. Add 1 teaspoon of baking soda. Bring to a boil. Remove from heat and allow to sit for 15 minutes. Remove eggs from pan and place in a bowl of ice water for 10 minutes. Once cool, then peel.
Gas Method: This was the worst for me. A total mess. It was almost as if the baking soda acted like a glue agent, attaching the shell to the egg. I peeled all the eggs I cooked and they were all this way. Inside it was done, but just a horrible mess for me to peel.
Electric Method: There wasn’t much difference in looks between this one and #3, but in terms of taste and done-ness it was not as good as #3.
Method 5:
Gas

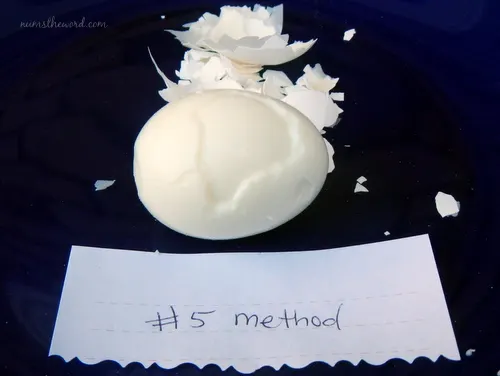
Electric
Method 5: Preheat oven to 325*F. Using a cupcake pan, fill each cup 1/2 full with water. Place 1 egg in each cup. Bake for 20 minutes. Remove and place in a bowl of ice water for 10 minutes.
Gas Method: I was surprised by the results. In our first test, we cooked the eggs for 30 minutes and did not have water in the cups and the eggs burned. However, they peeled sooo easy. In our second test (this one) we cooked them for 20 minutes and there was water in the cups. The eggs did not burn this time but peeling them was a little harder. Still decently easy to peel with the exception that a hunk came off with the shell. I also found the eggs were undercooked. If doing this again, I’d cook for 30 minutes.
Electric Method: These were the hardest to peel. I had to open all 3 of the eggs I cooked this way to get one that looked even semi-decent. When I cut them open, they were not cooked all the way through, despite following the directions.
Method 6:
Gas
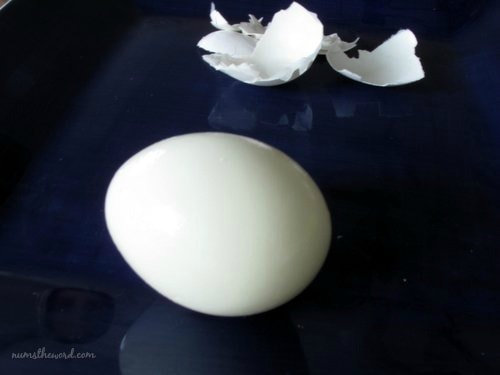

Electric
Method 6: (Steamed Eggs) Fill pot with cold water. Add eggs to steaming basket. Bring water to a boil. add lid and steam for 15 minutes. Remove eggs and place in ice water for 10 minutes.
Gas Method: These eggs I found to be as easy to peel as method 1. Mine did have a SLIGHT green ring showing the start of being more done than I like, so if I did it again I’d cook the eggs for 12 – 13 minutes next time. Otherwise a great method!
Electric Method: These ones were also easy to peel and looked nice but might have been a little over-done (once again this coming from someone who doesn’t eat hard boiled eggs).
Final Results


If you don’t have time to read through all of our notes above, we’ll make it simple and give you the end results here – You know, cause we are awesome like that!
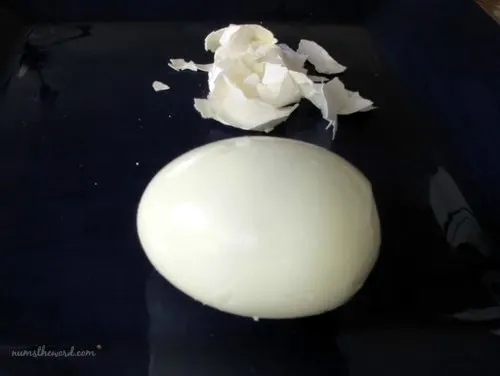
Gas Method: Best methods were 1, 3 & 6. However 1 was under cooked and 6 was over cooked. If times were adjusted, then these methods are great. Method 3 still produced awesome results for me (just like the first time) however my shell stuck a little to the egg – which could be because of the age of the egg. I would suggest any of these three methods for anyone with a gas range. Just note that cooking times may need to be adjusted.
Electric Method: Best Methods were 1, 3 & 6. Like the gas method, 1 was under cooked and 6 was over cooked. My husband said that #3 was the best taste of them all. Shell did stick a little as you can see from photo and was harder for me to peel. However if times were adjusted for method 1 and 6 I would probably like those best since they were easy to peel.
Ann Poll
Thursday 10th of August 2023
I’ve had success with the perfect hate boiled egg for over 30 years. Put eggs in cold water bring to a boil and boil for 10 minutes. Drain and run cold water over them till they’ve cooled and peel. Perfectly cooked, no black ring and not undercooked.
Janelle
Sunday 1st of October 2023
Thanks Ann for your tips!
Judy Neurauter
Sunday 16th of July 2023
I bring a pan of water to a boil, then drop eggs by spoon gently in to water. Cook 5 minutes, then remove from heat and put a lid on pan. Let sit 10 minutes then drain and run cold water over eggs until cooled and or use ice in water to cool faster. Take each egg and tap shell on side of pan to let in cold water and it makes easier to peel. Let sit for awhile. Then when ready to peel tap bottom and top of egg on the counter, then gently roll center with a little pressure and peel. As always older eggs always peel easier, so I keep at least 2 cartons of 18 eggs each, in fridge all the time. That way I will always have older eggs. Hope you try this and get good results like I do.
Janelle
Thursday 28th of September 2023
Thank you for sharing Judy! Sounds like a great method.
Louise
Sunday 19th of September 2021
Thank you, I've never cooked eggs before & tis was great
Janelle
Monday 11th of October 2021
Thank you Louise! So glad it was helpful!
Carla
Friday 26th of May 2017
I steam medium to large eggs for 12 minutes. More if they are larger. My method:
I use my pot w/ a steamer pan insert. Bring a small amount of water (so that it will be below the bottom of the insert) to a boil in the covered pot while loading the eggs in the steamer insert. When pot boils, put the insert in and cover for 12 minutes.
After 12 minutes, remove pot, dump boiling water, rinse enough so pot is cool and then add cold water and put the insert and eggs back in the pot for cooling.
Then peel them or throw them in a ziplock in the fridge for later peeling.
For some reason I have found this to be easiest for me from a timing perspective. If you get the 12 minute steam period right and go from there to cold water, nothing else really matters, age, when you peel, whether you start with cold or room temp eggs, etc.
Hope this helps!
cdra
Tuesday 16th of January 2024
@Carla, When you're ready to peel those boiled eggs just leave them in the ziplock, then at your sink add some water (maybe half the volume of the eggs?), press out some of the air and reclose the bag. Lay it in the sink to bash the eggs with something a bit weighty (eg, a small sauce pan) enough to initially crack the eggs. At this point the shells will give pretty easily and if you crack them further*, the shell/membrane unit usually just slips off into the bag, no mess! I save my shells for the garden and wash the ziplock for re-use. Voila! (*I even just lightly bash the bag with the bottom of my closed fist for just the right pressure, to gently break up the shell but not dent the nice smooth surface of a cooperative egg - there's just something rewarding about the shells just slipping off in one piece ;)
Amanda
Friday 22nd of January 2016
All of your methods start with eggs in cold water, then boil. My mother taught me, and I Have never had trouble peeling an egg, that you boil the water first then add your eggs. So put a put on, being the water to a boil. Using a soup spoon gently place the eggs into the boiling water. I like mine a little under cooked so I boil for 8-10 mins. Then put the pot into the sink and run cold water over the eggs until they are cool enough to hold. Take the egg, smack out on the counter and roll it once. This will break the shell all around the middle, peel off.
Janelle
Saturday 23rd of January 2016
Hi Amanda! I've never heard of putting the eggs into boiling water. I've only ever heard and seen the cold water method! GREAT TIP! I'll give this new method a try too! Thank you so much for your suggestion!